![]()
![]()
The home of world class bodging.
|
The home of world class bodging.
|
|
|
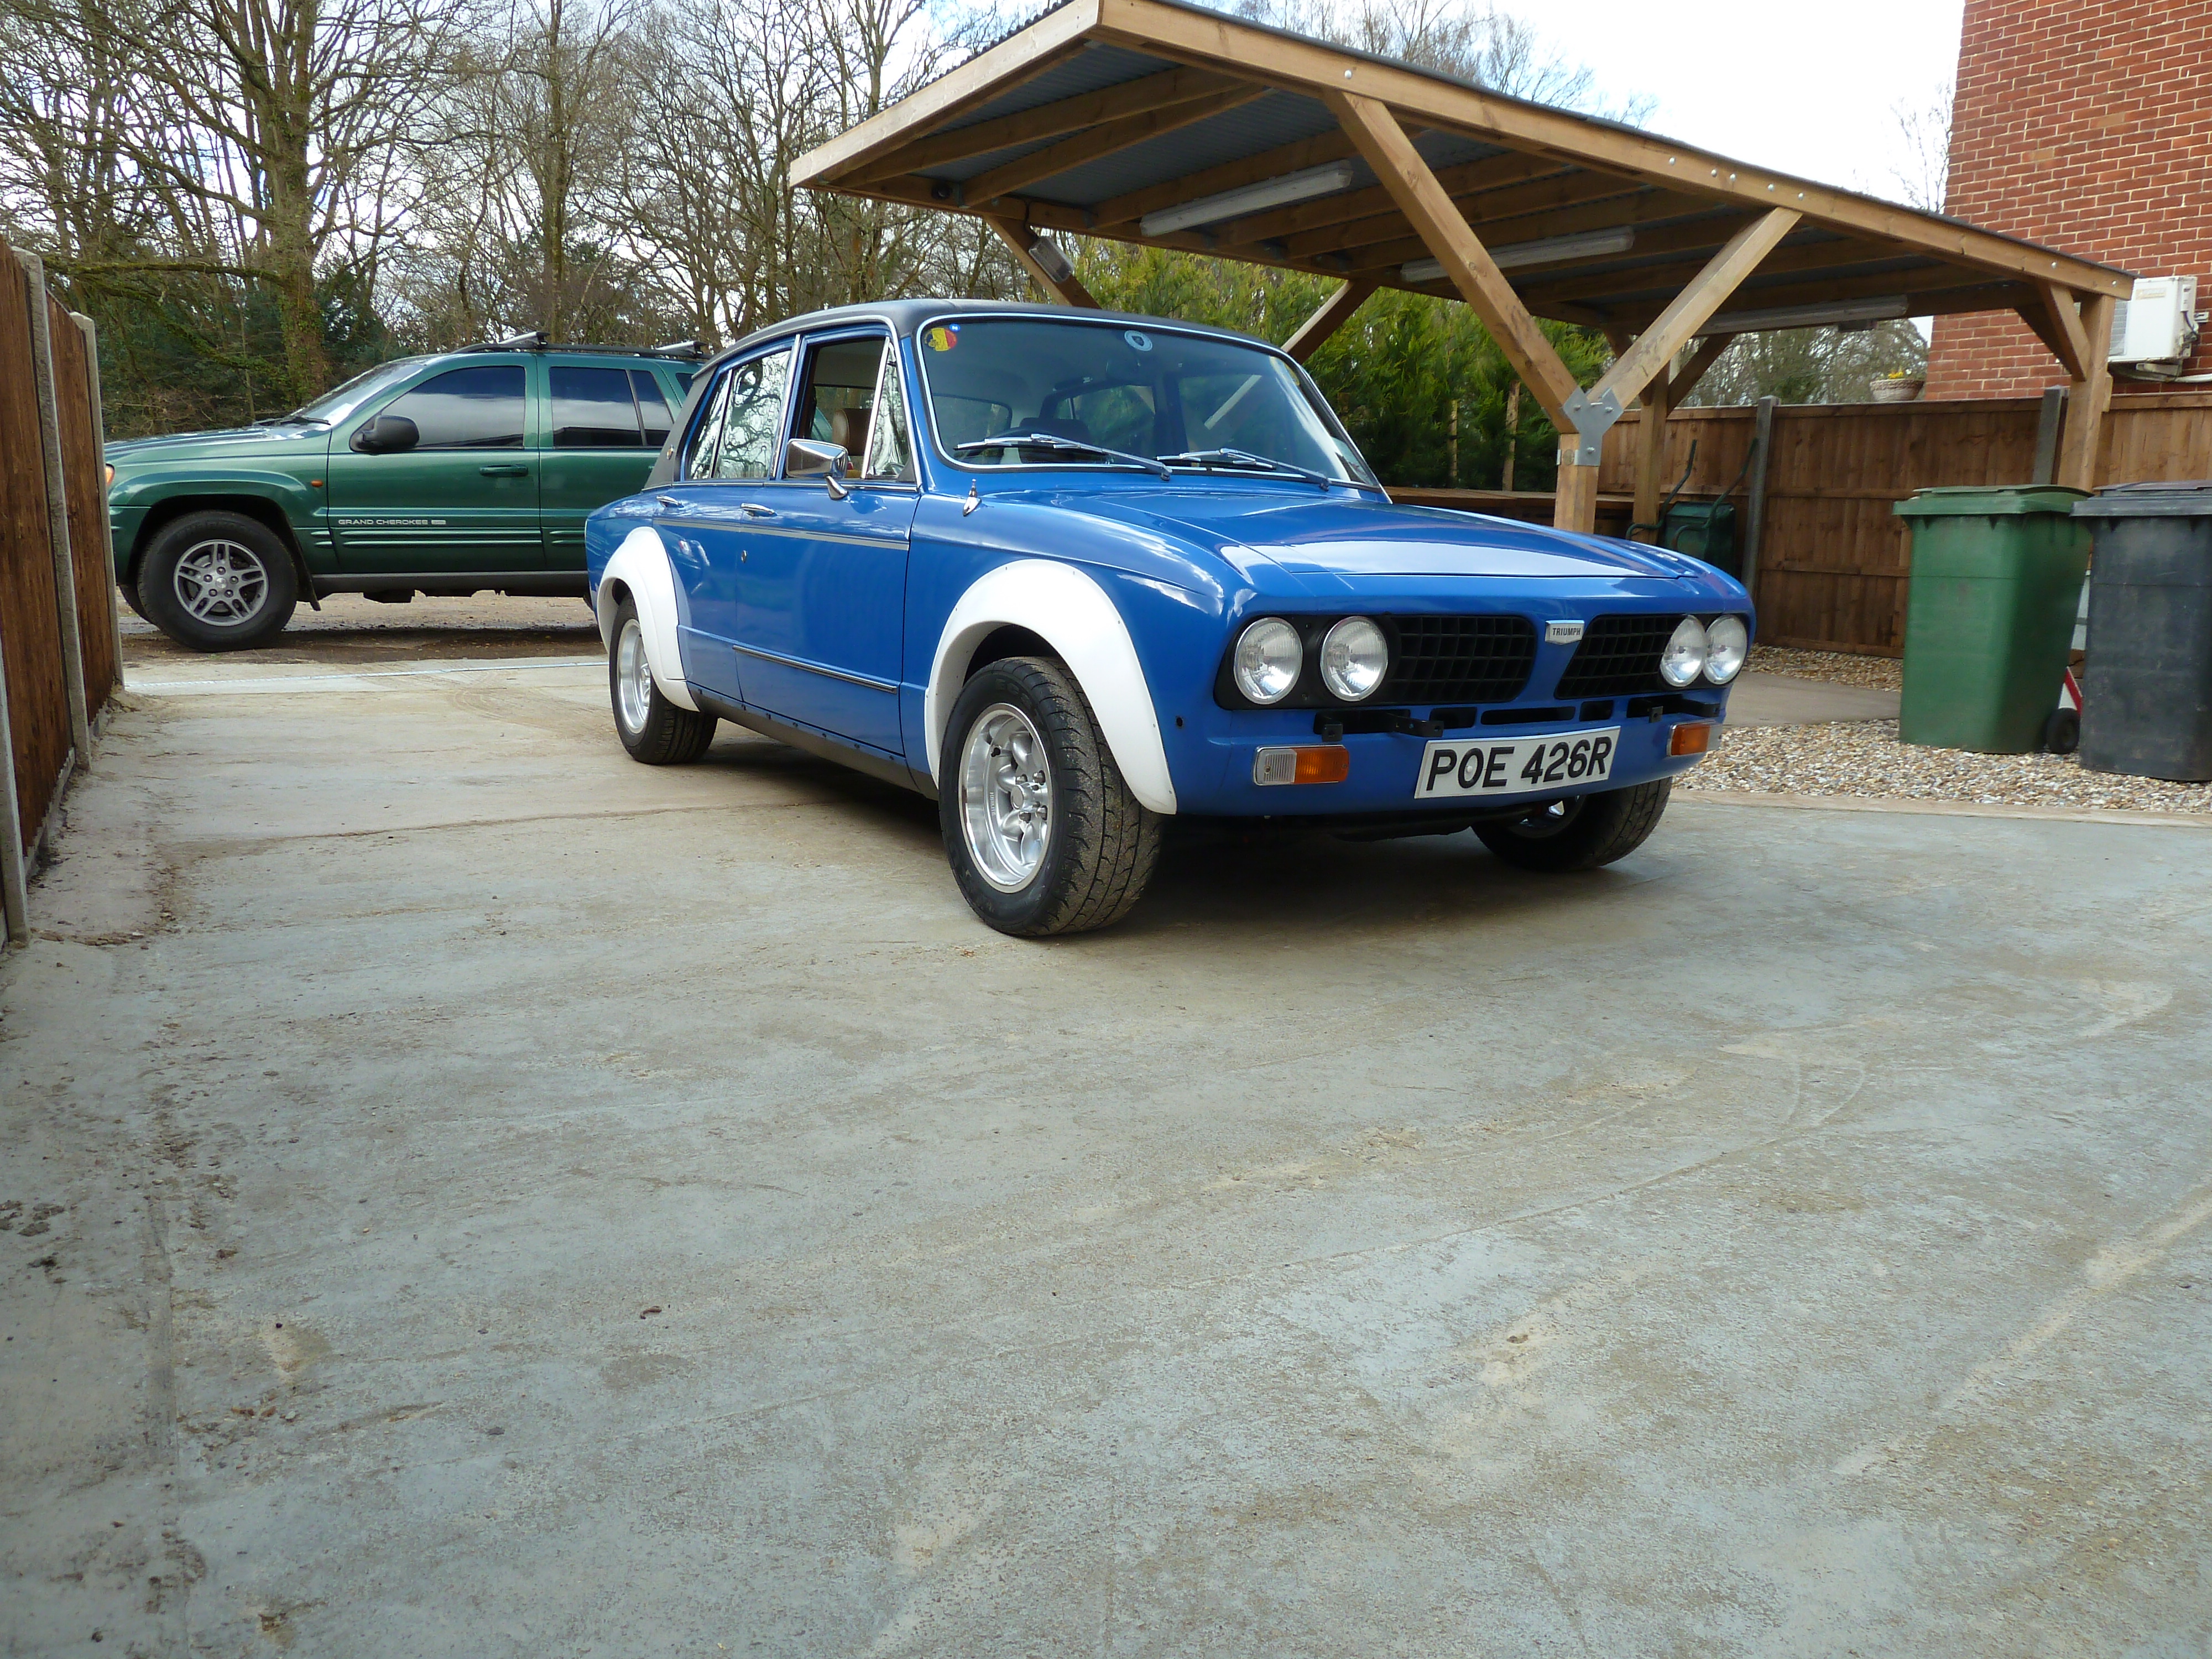
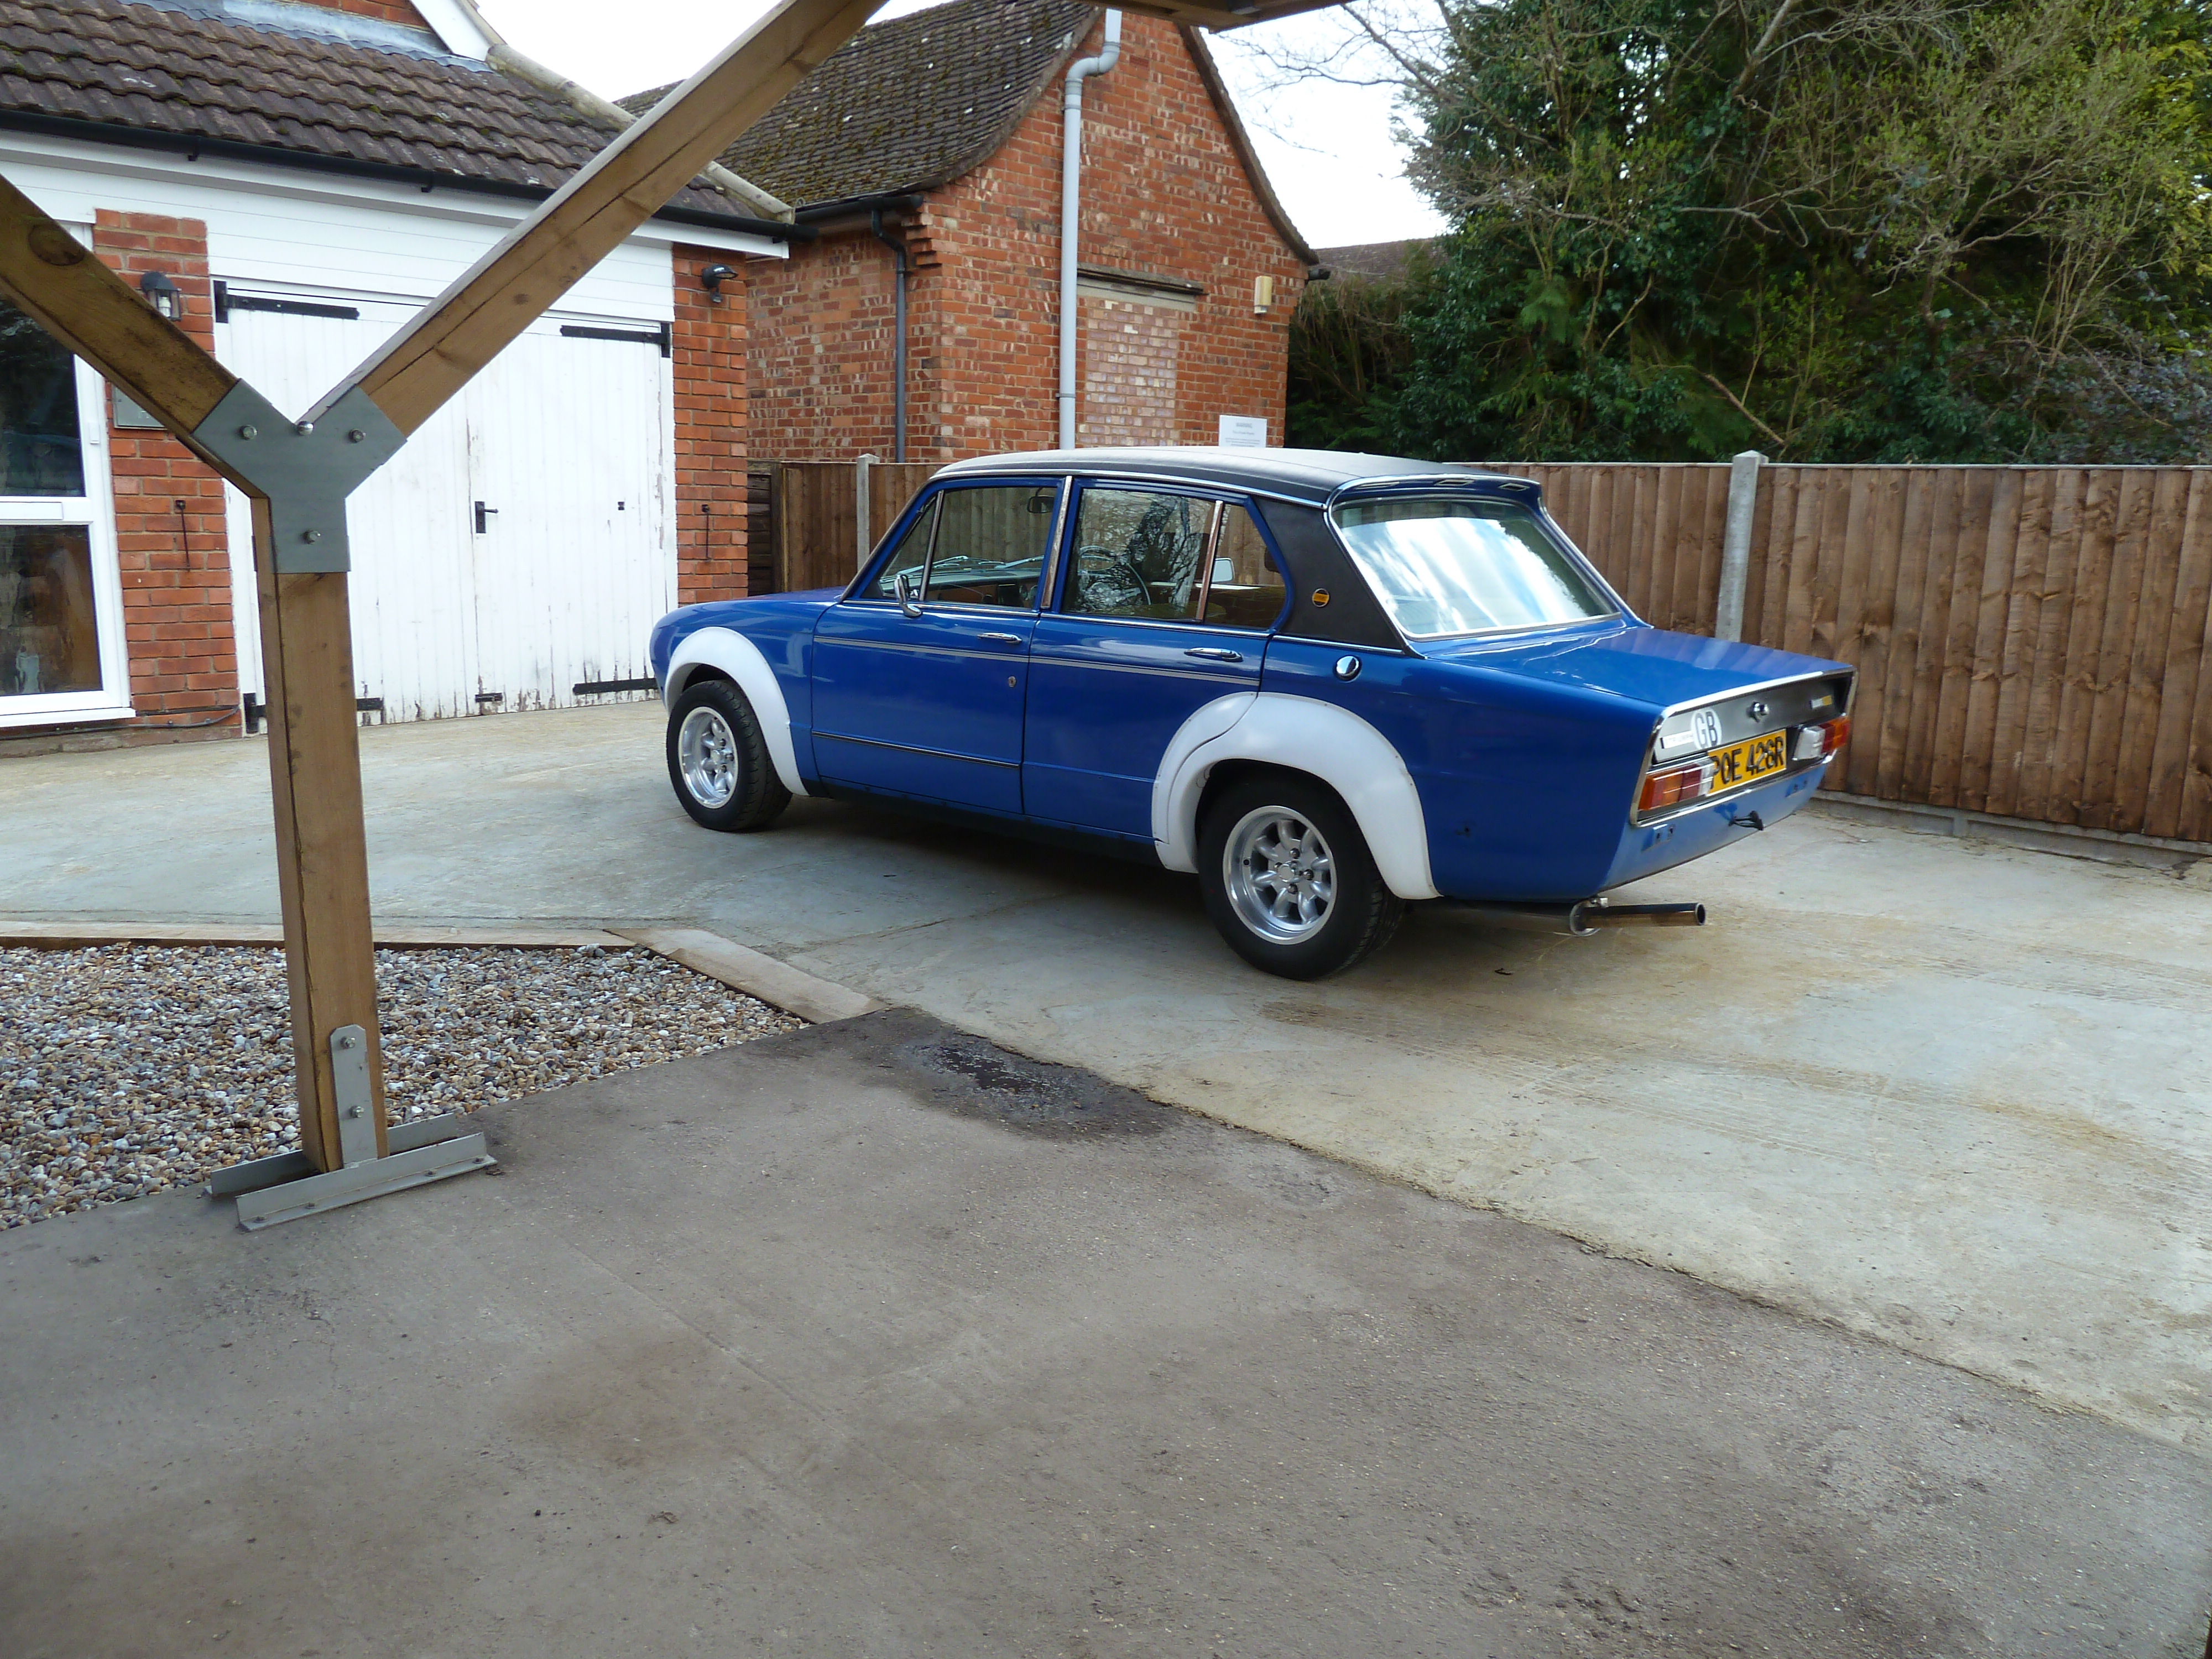
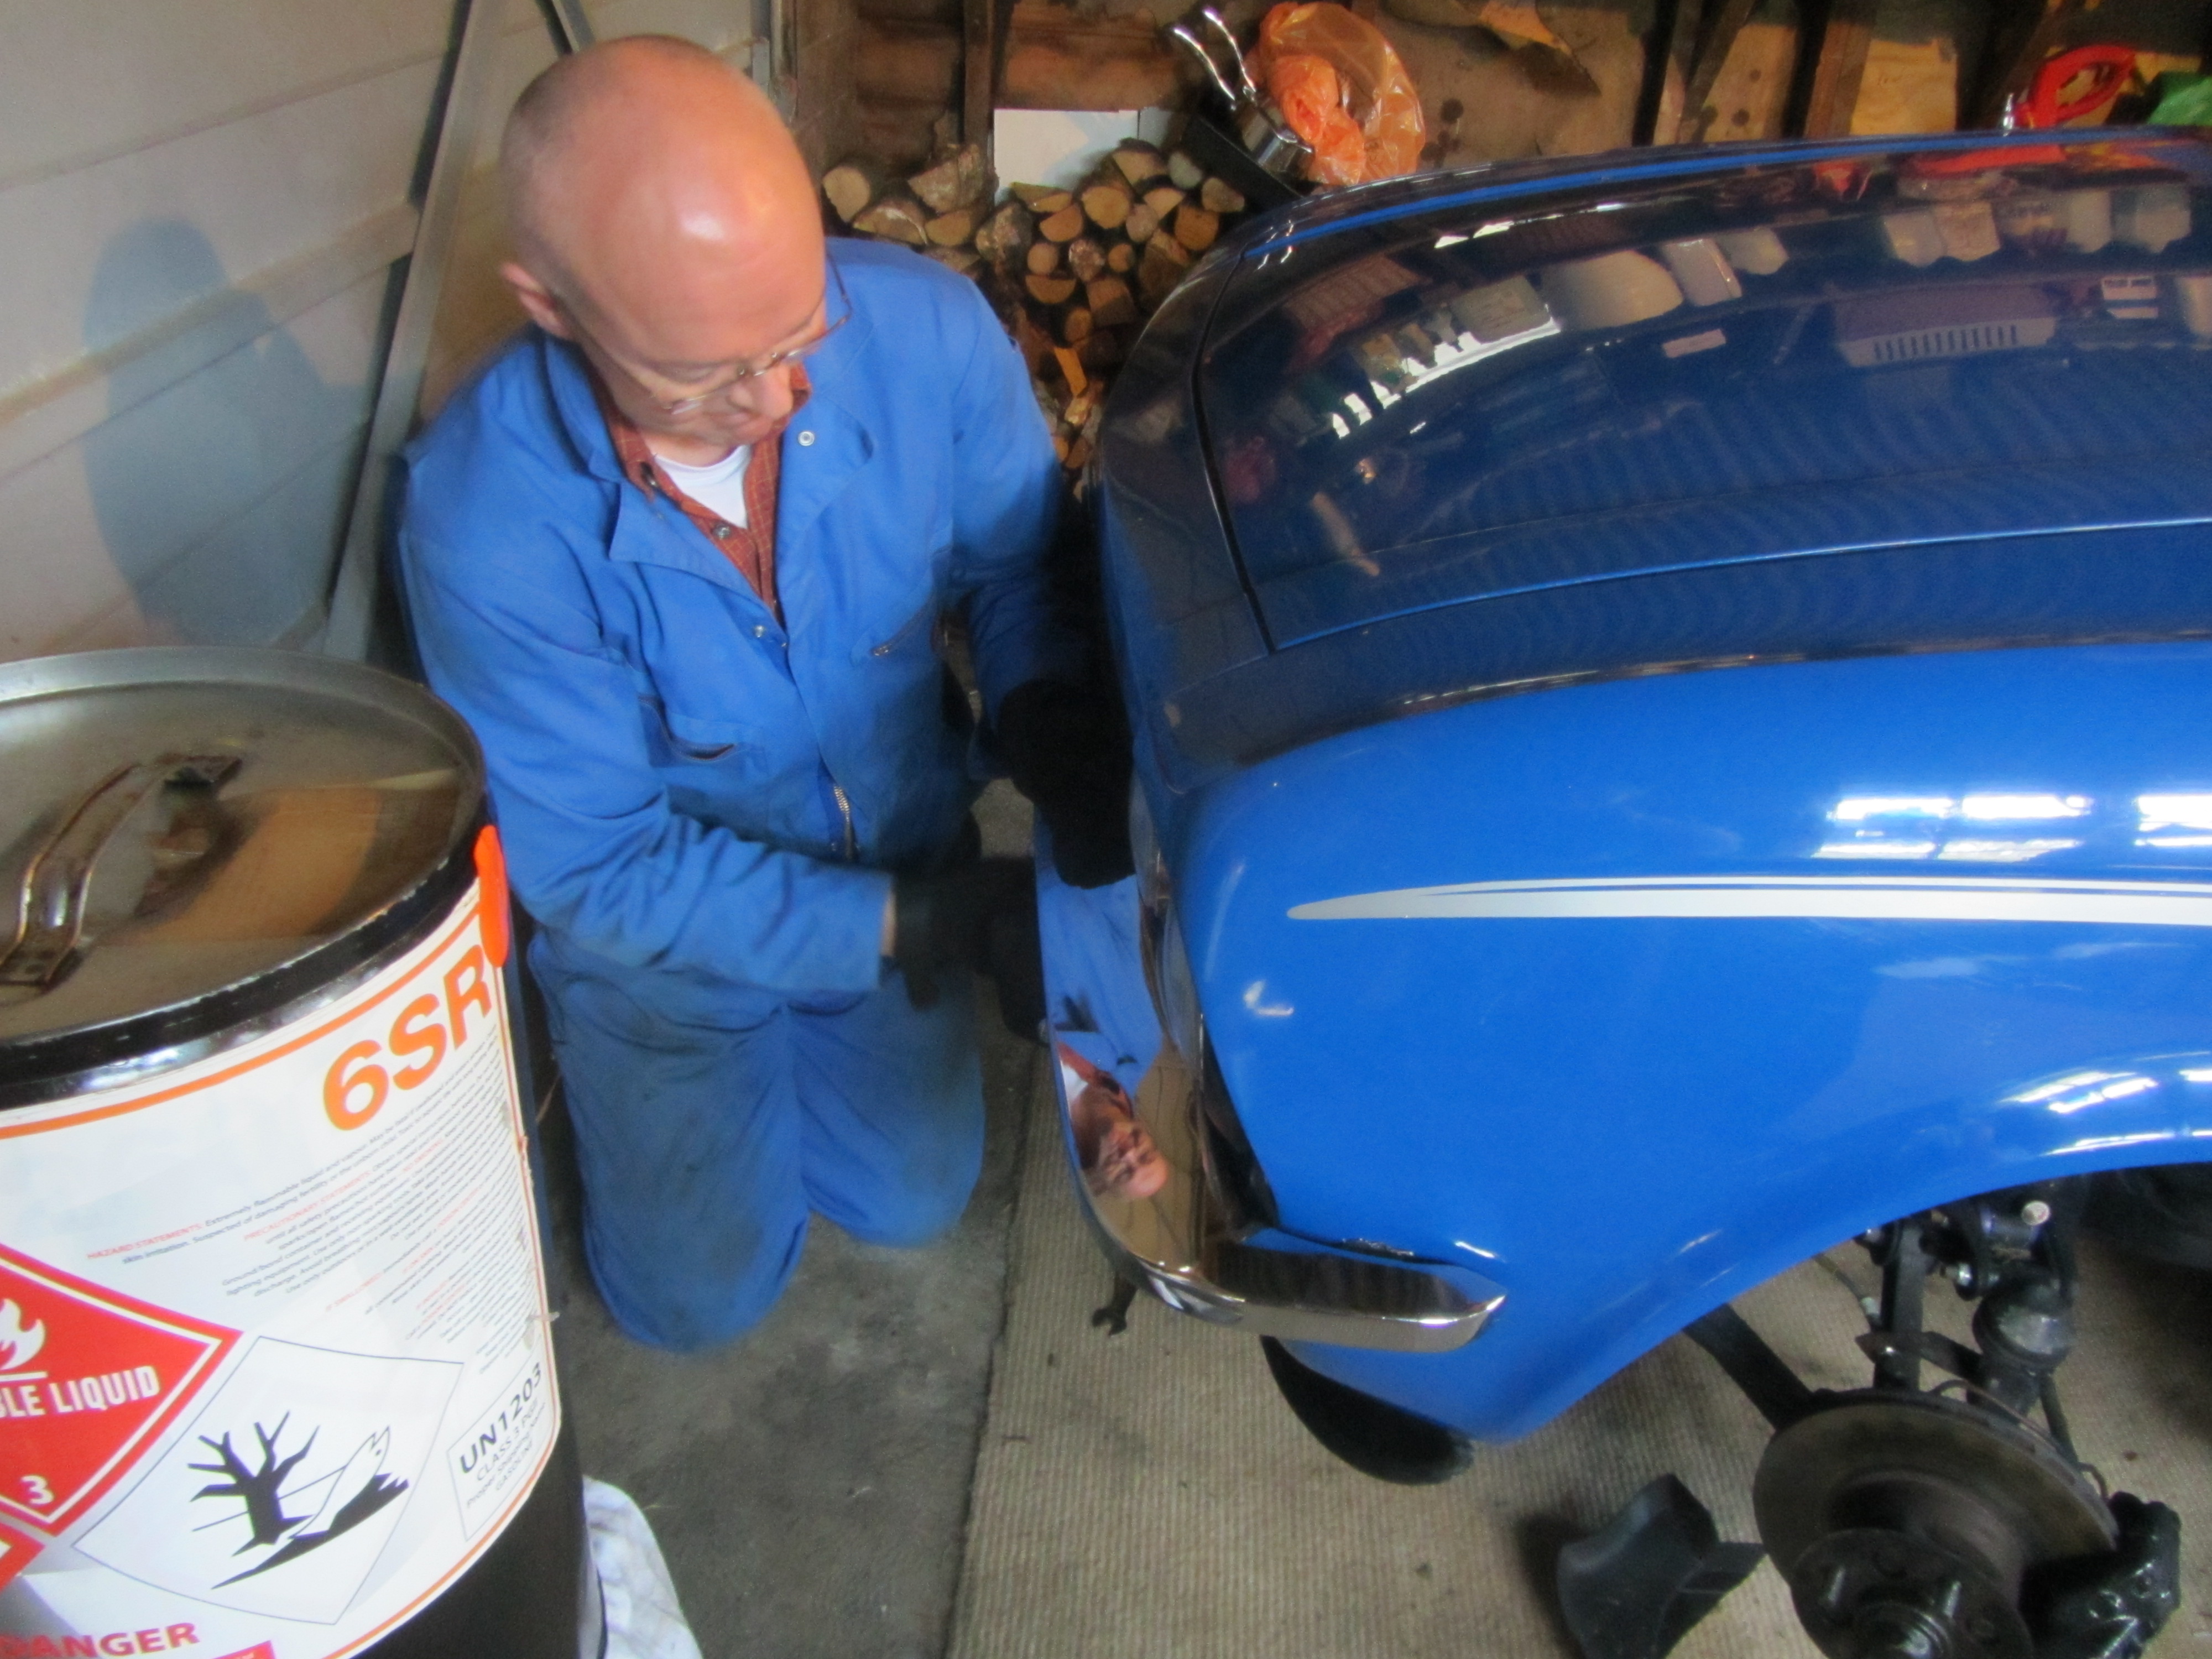
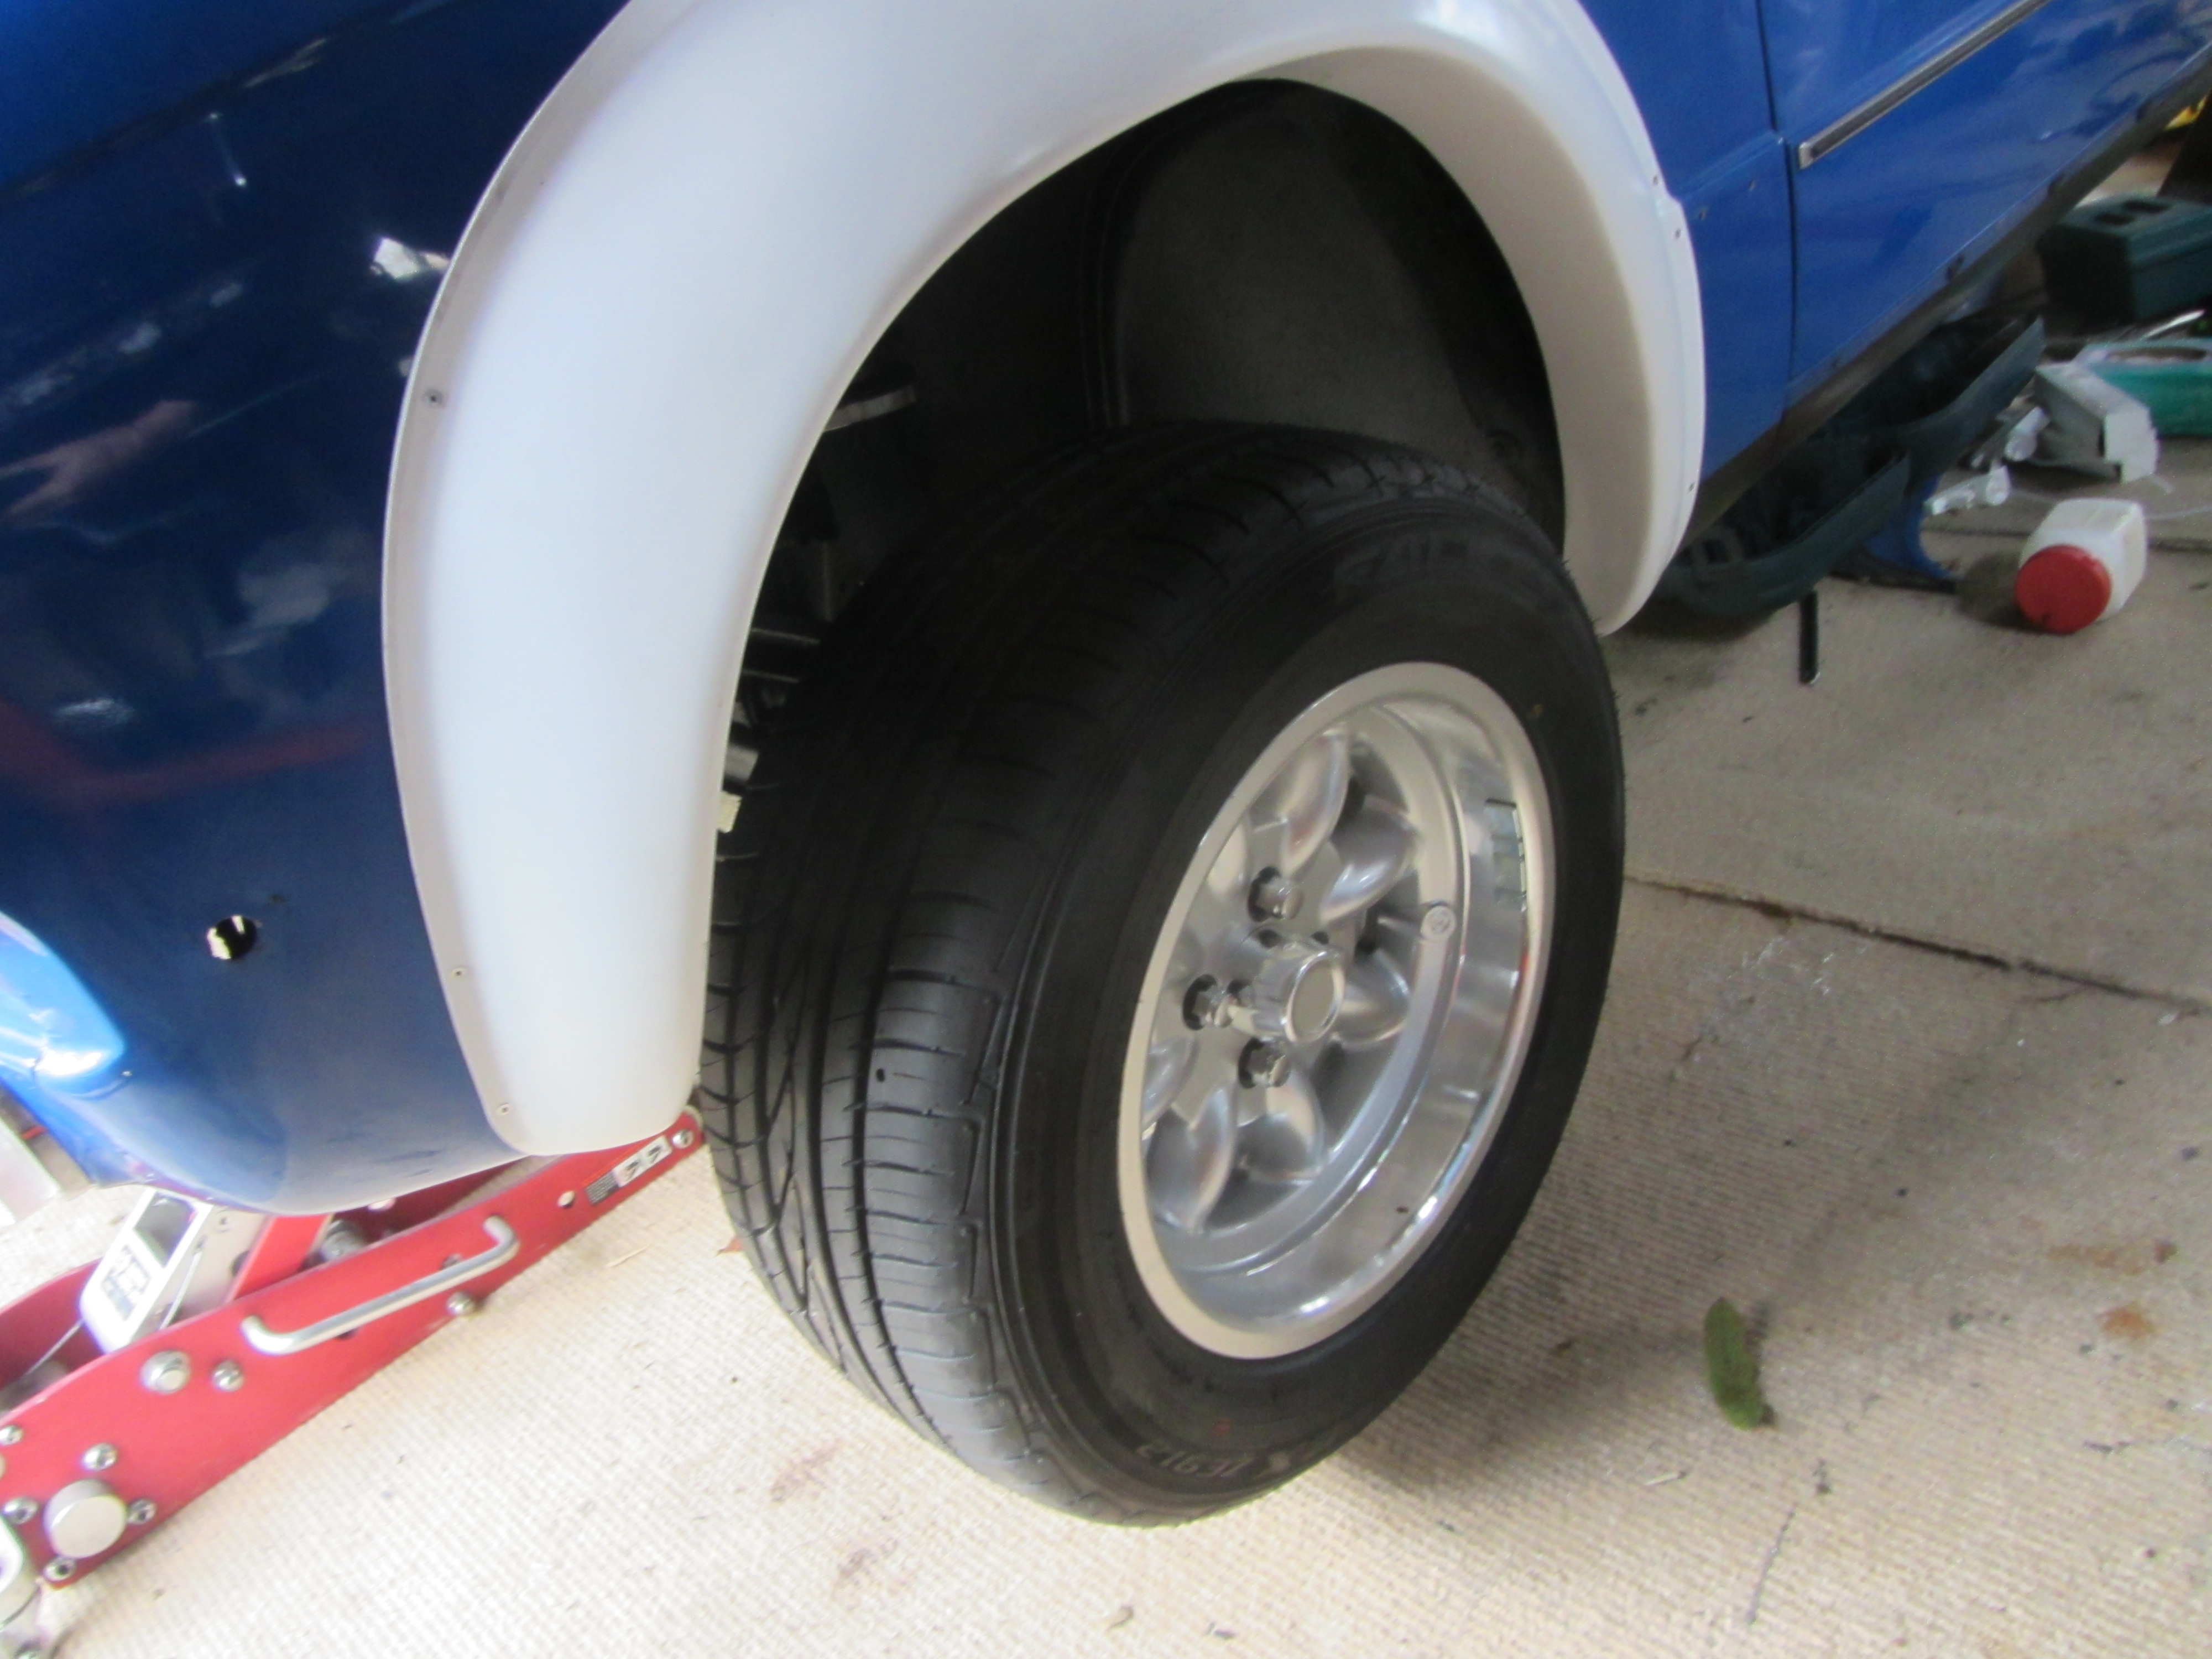
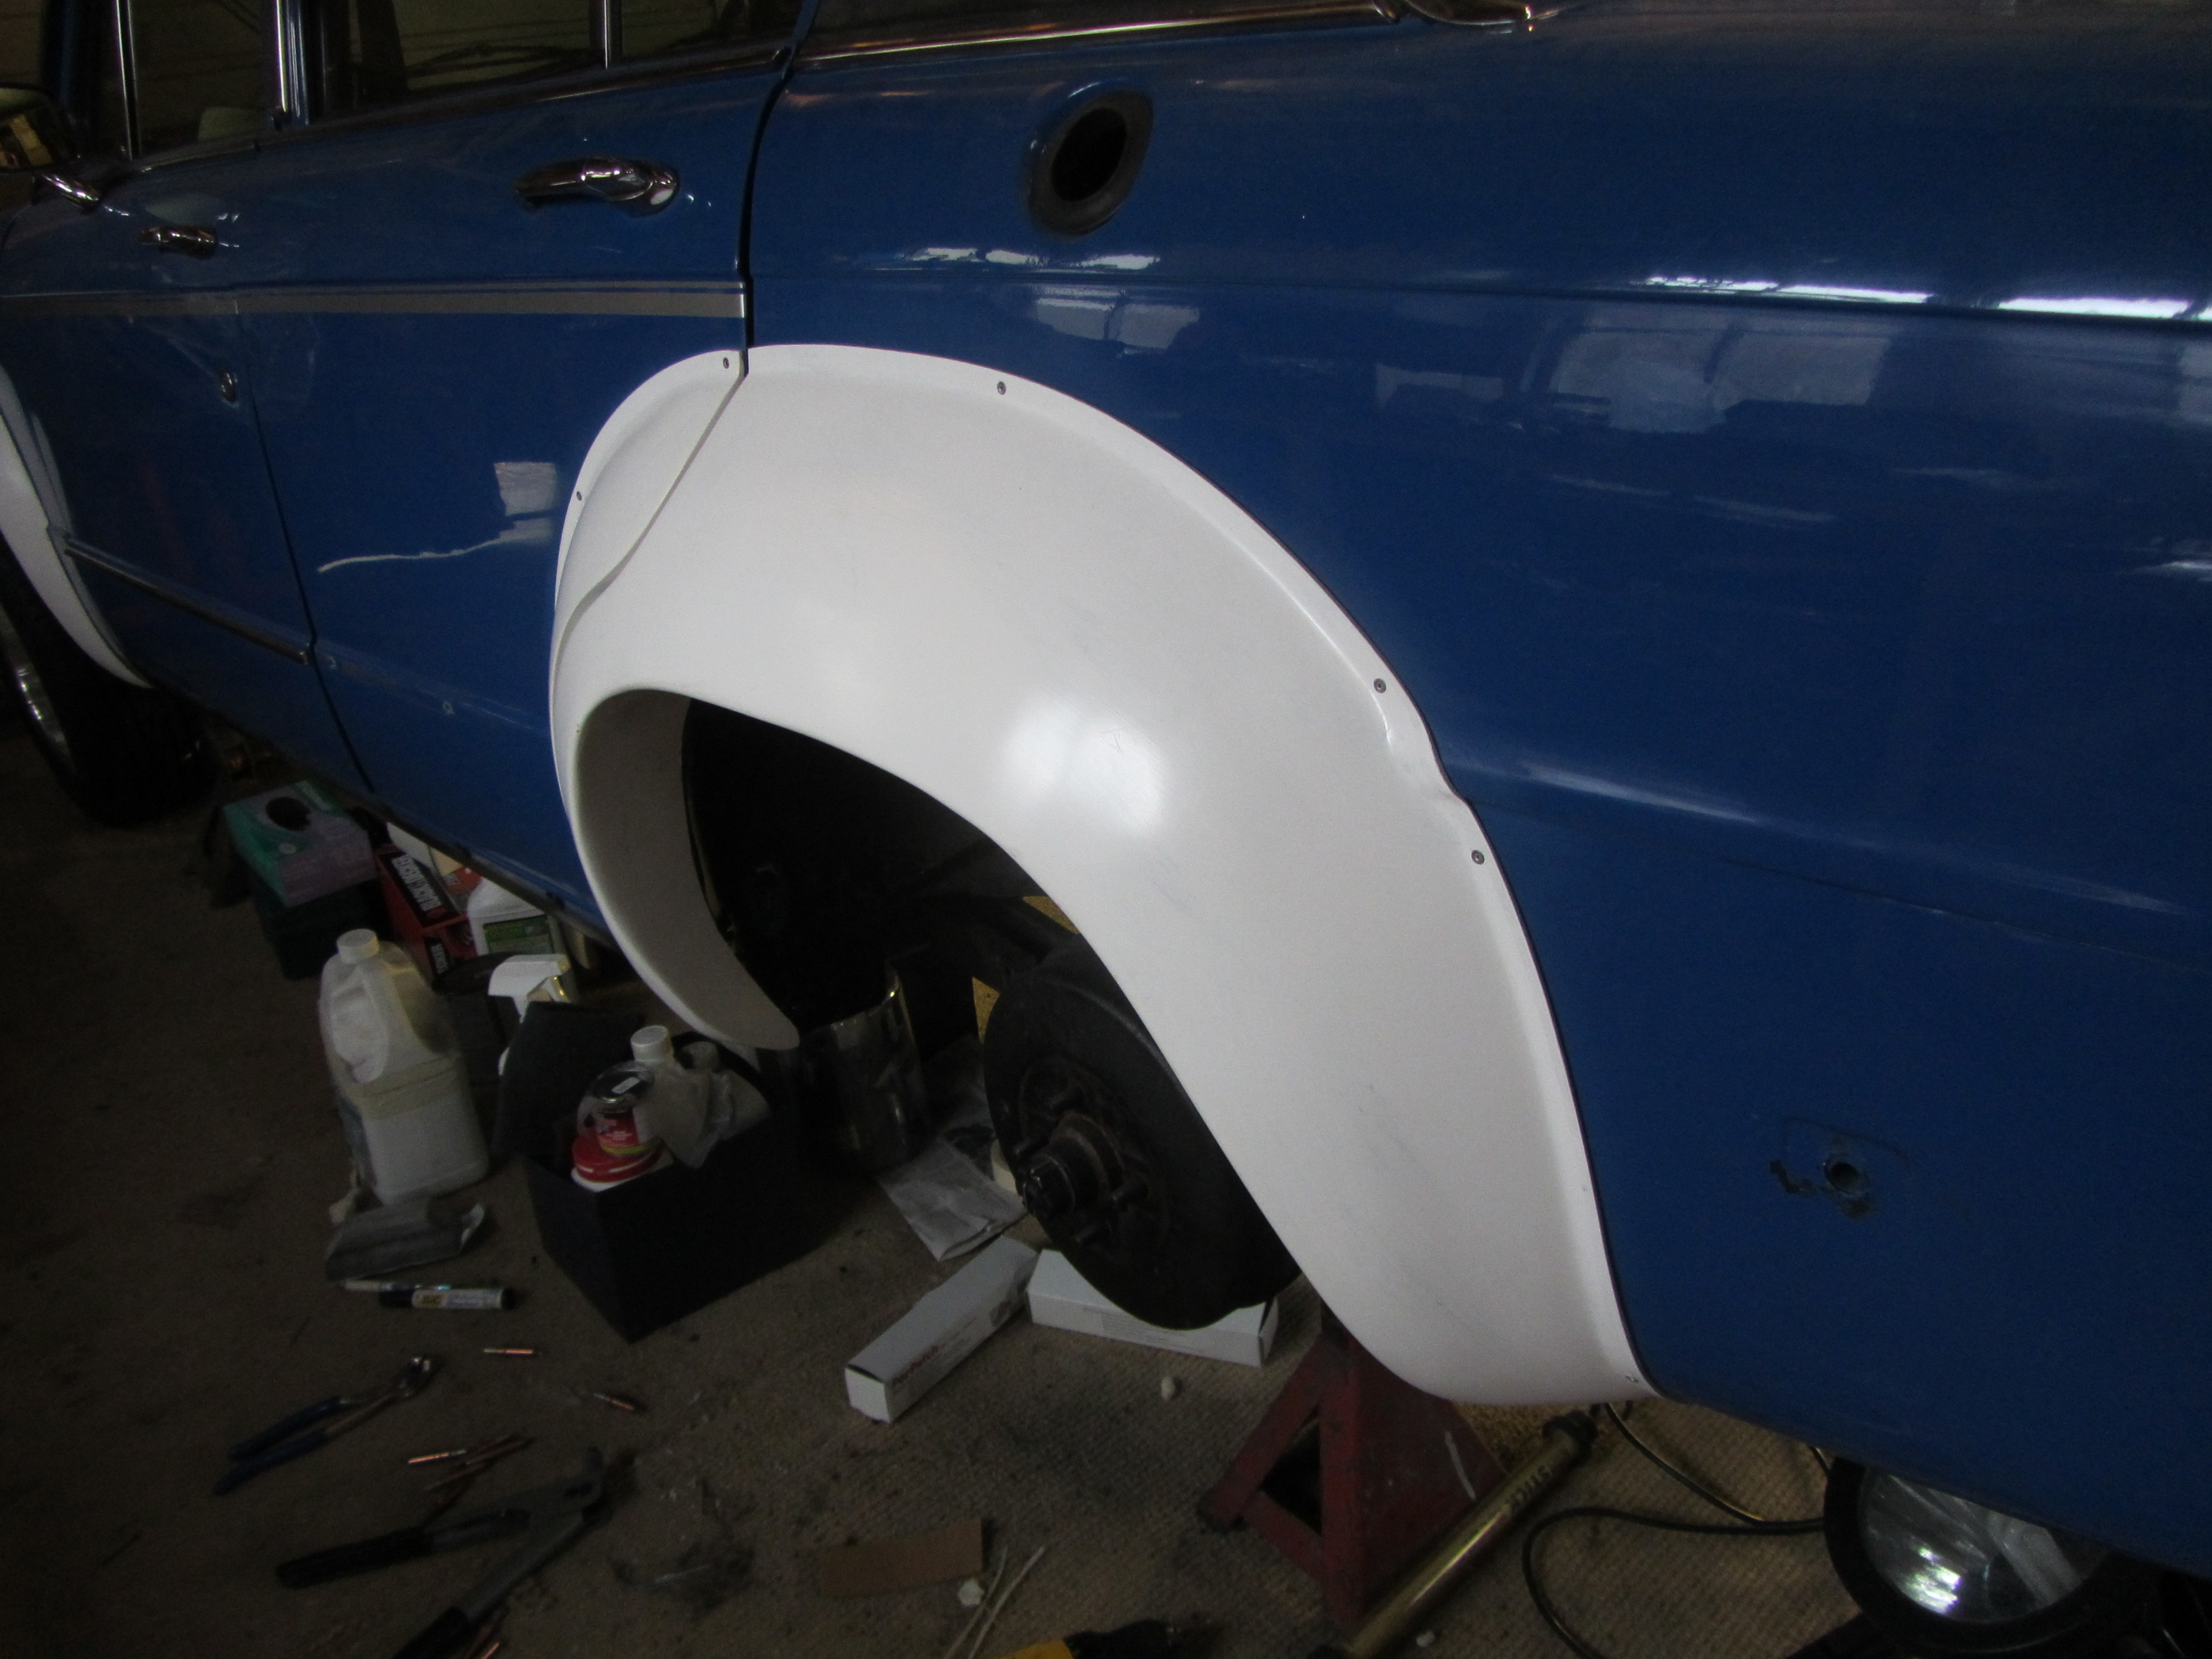
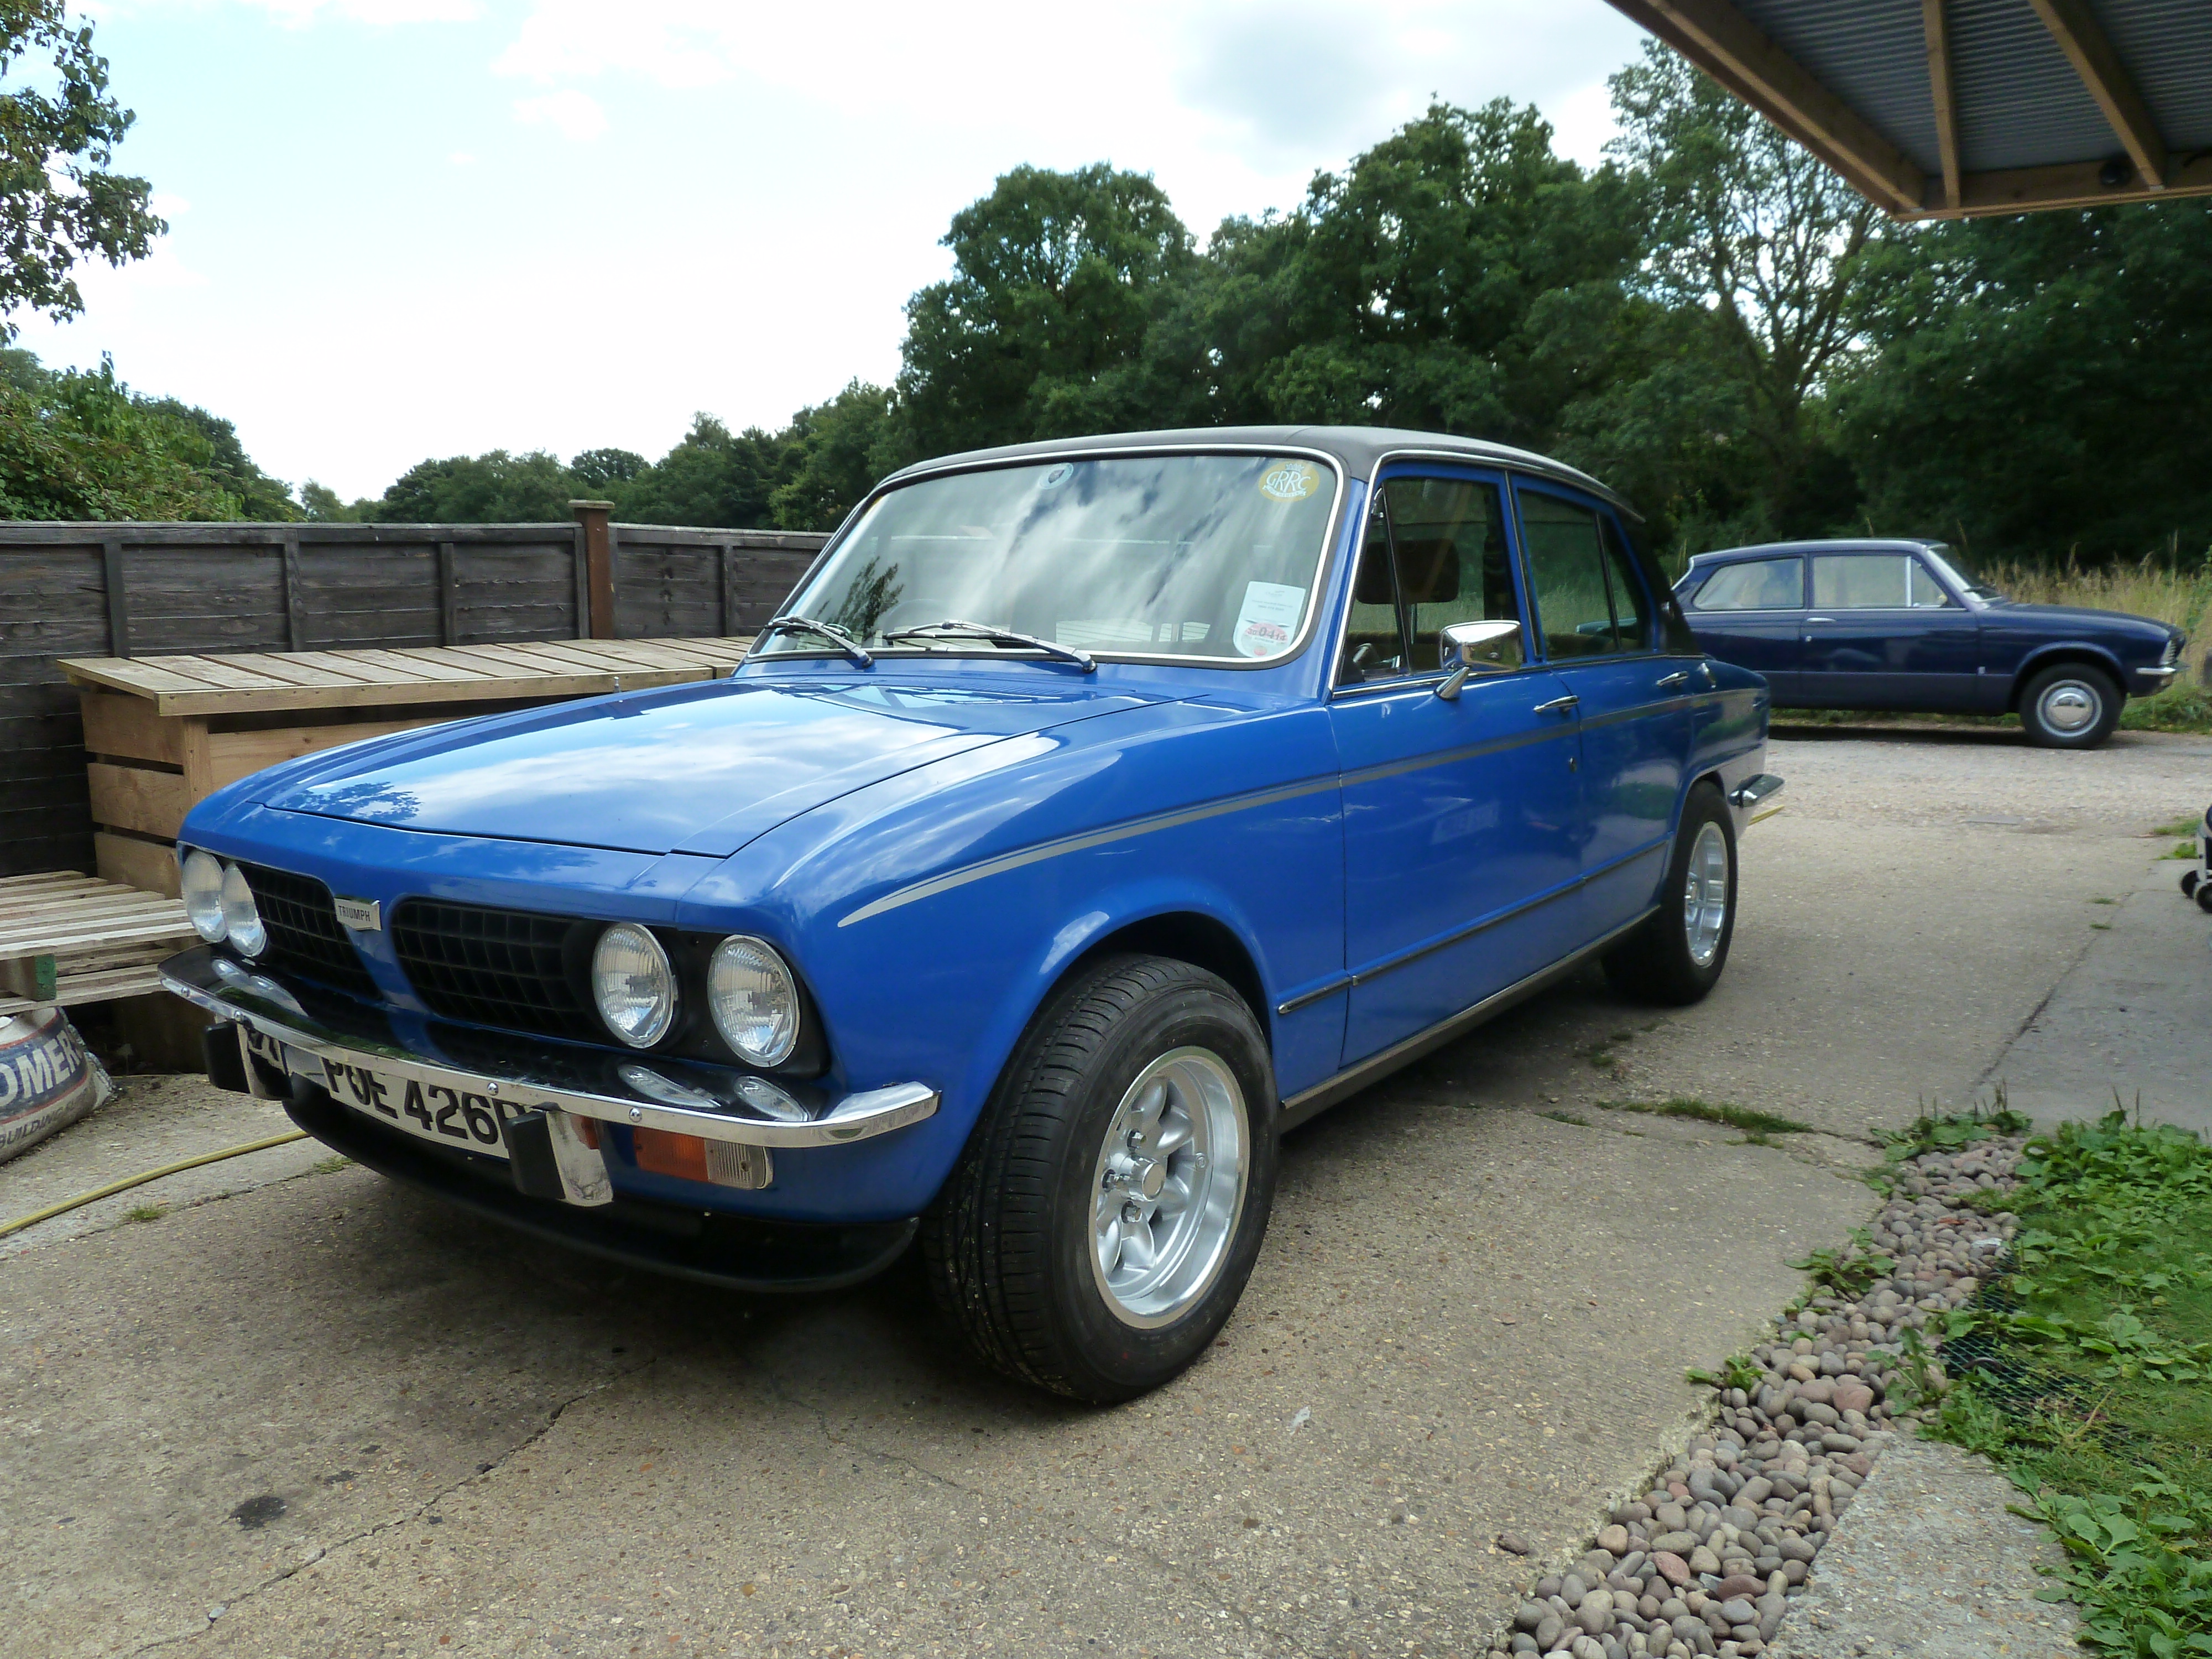
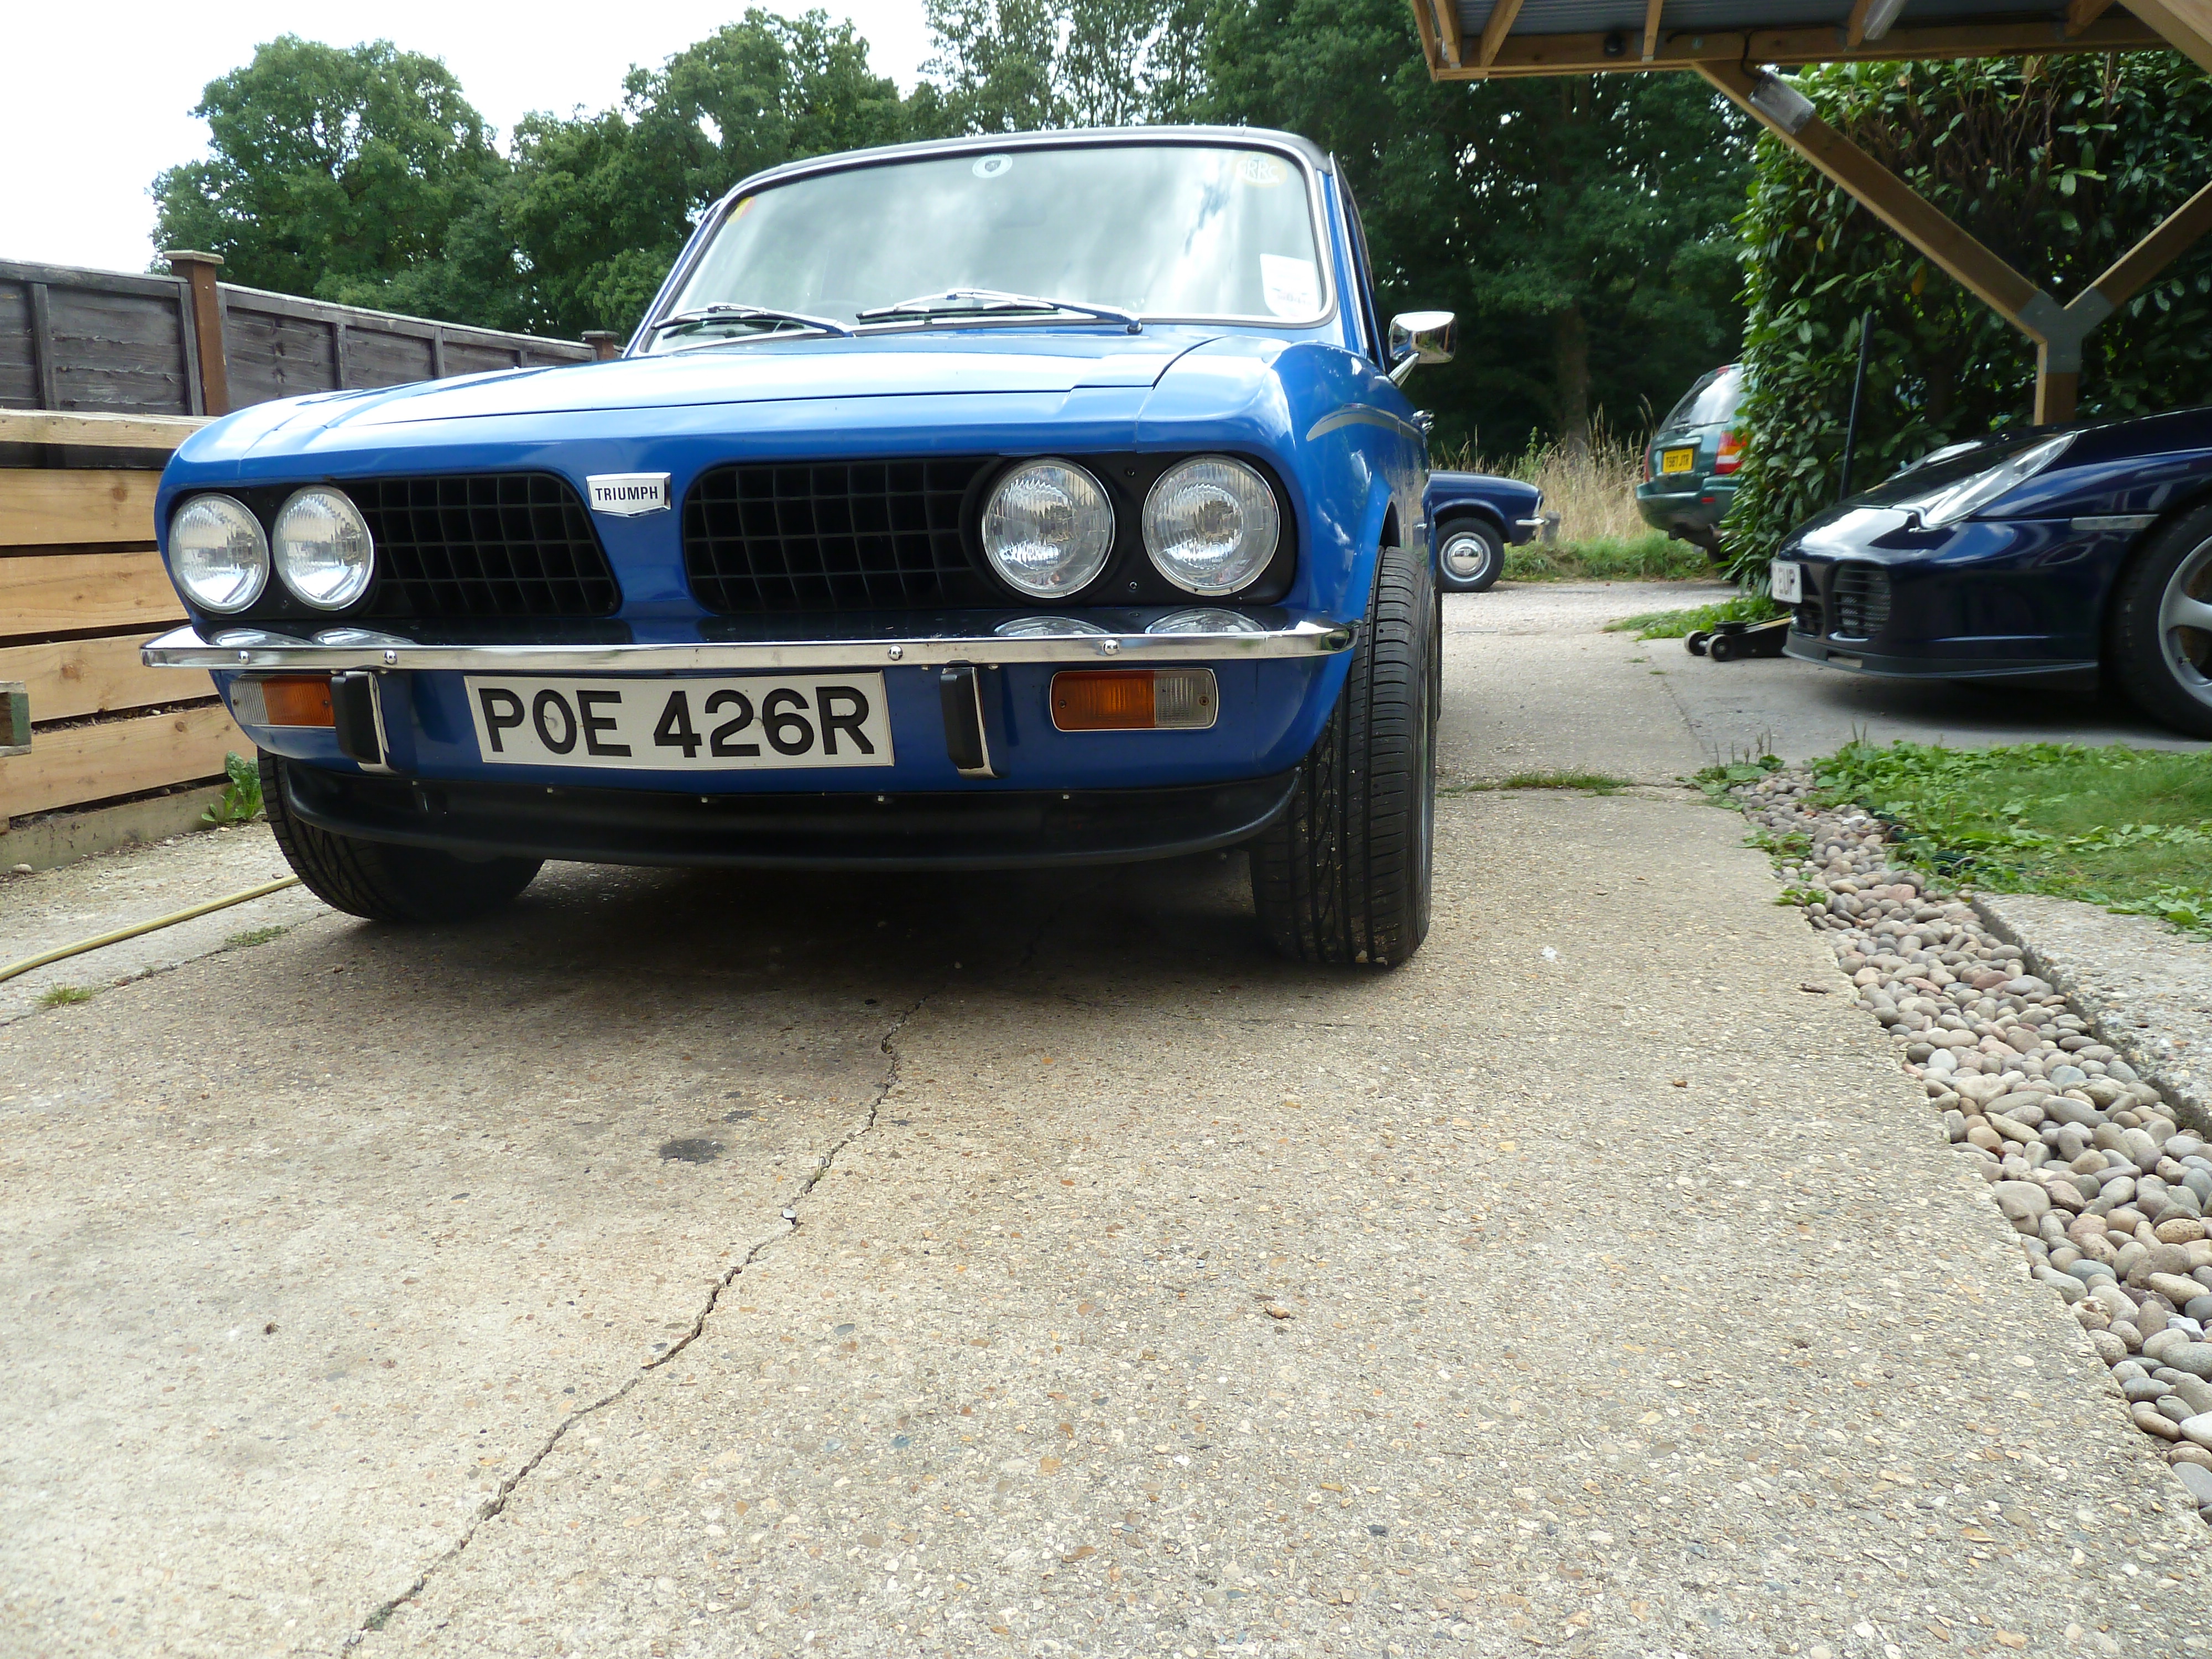
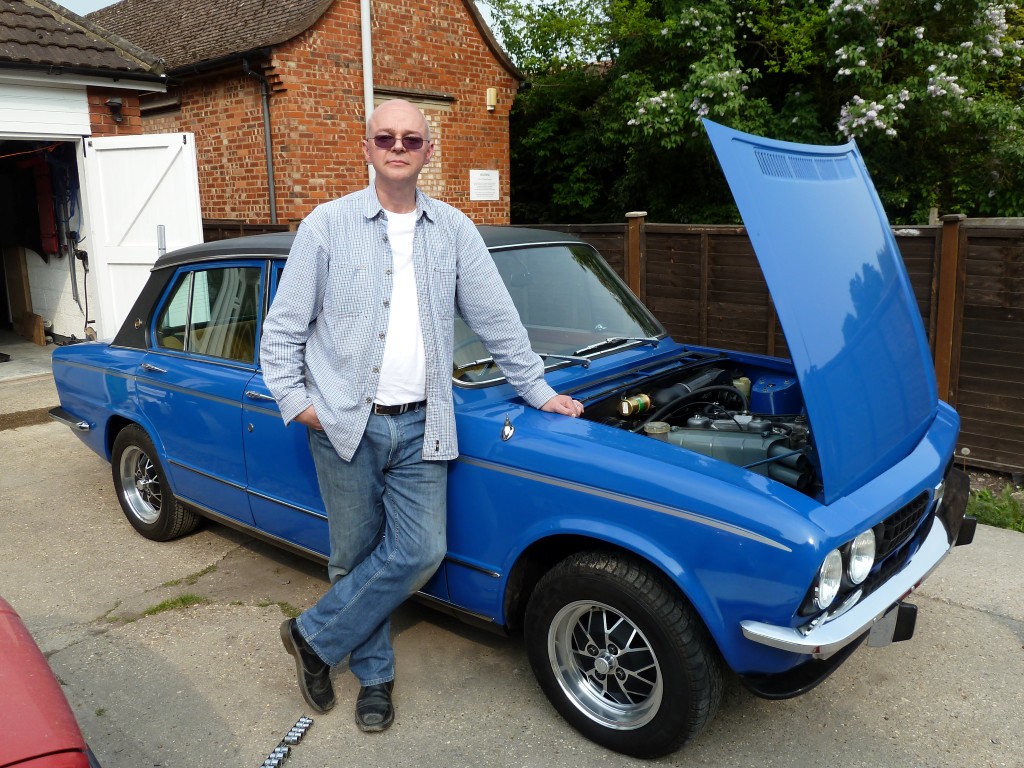
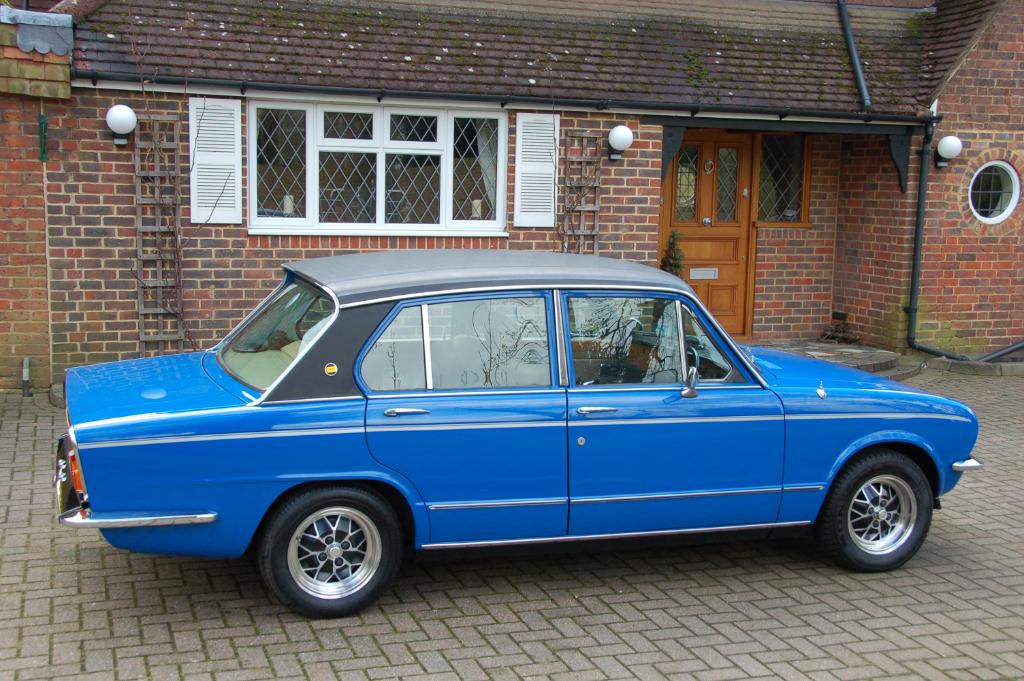
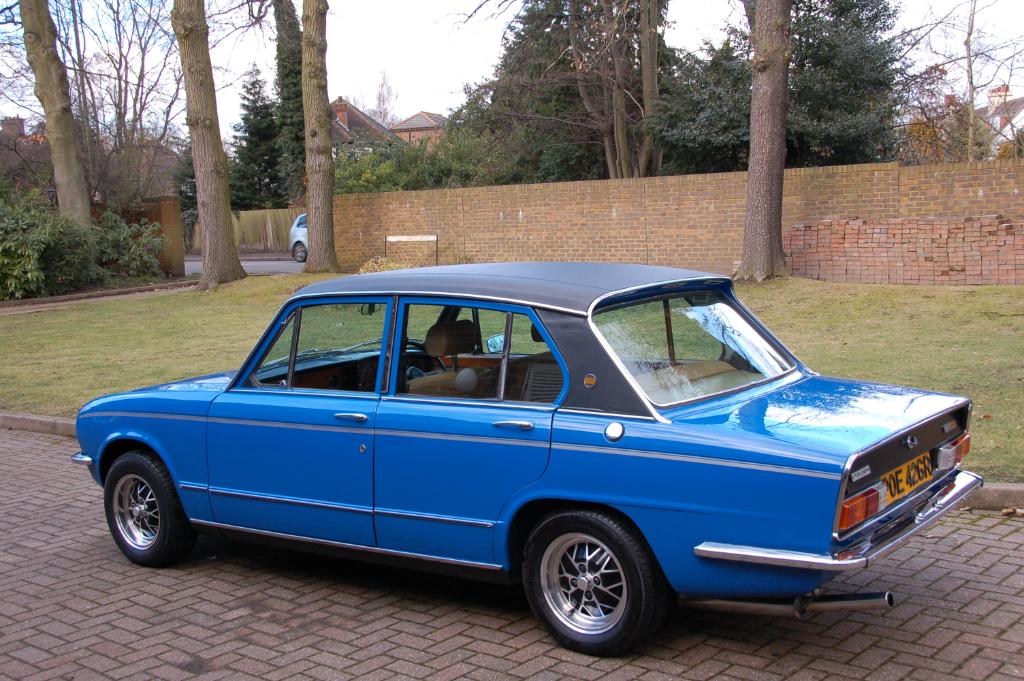
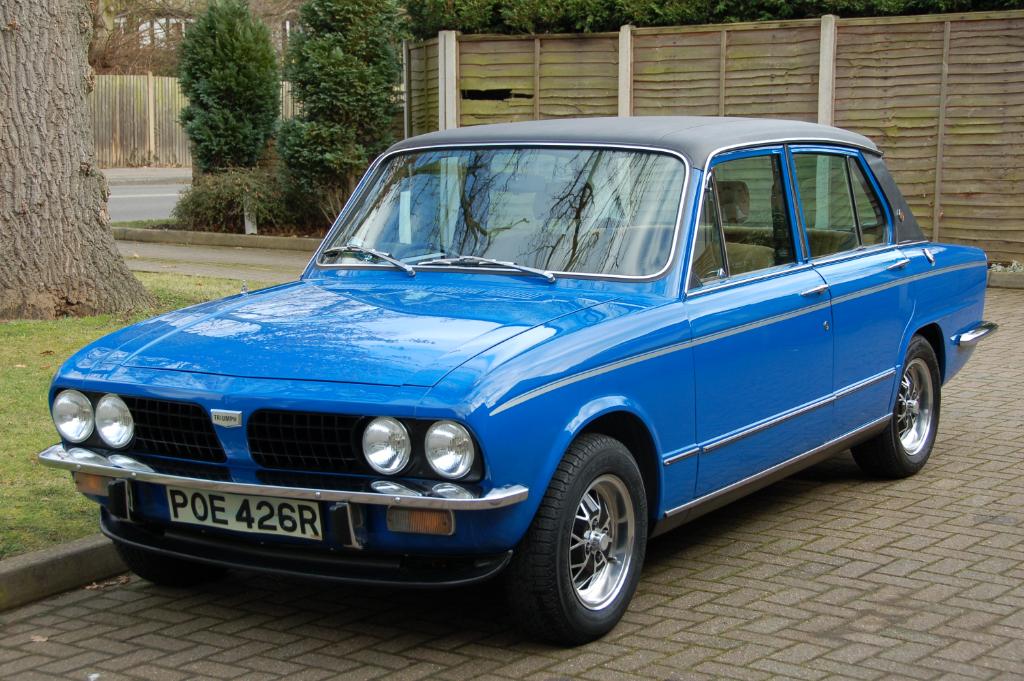
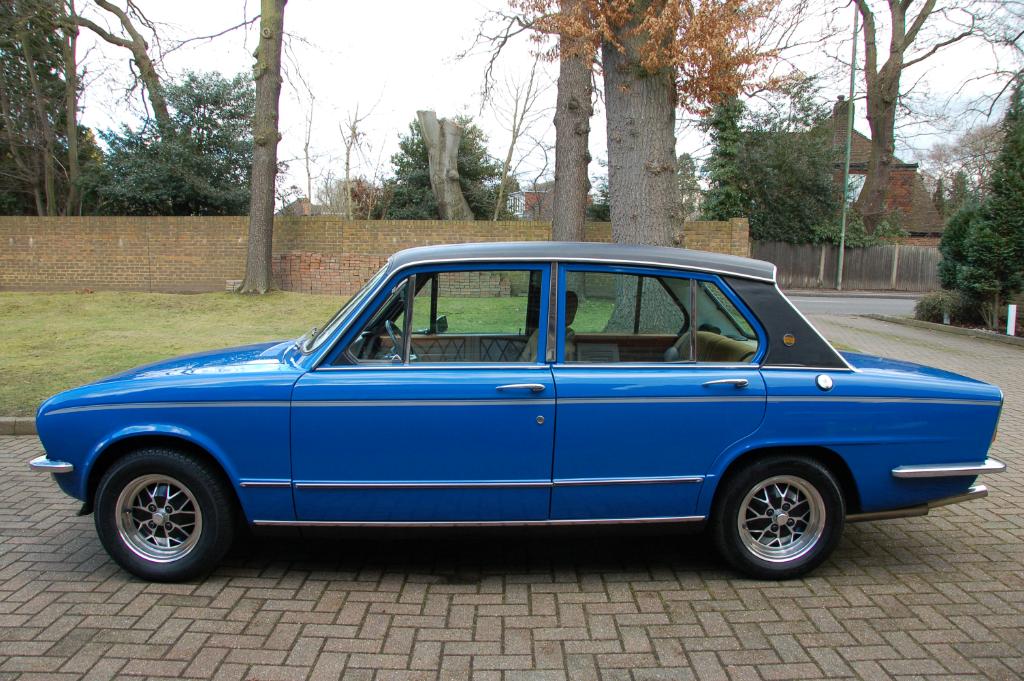
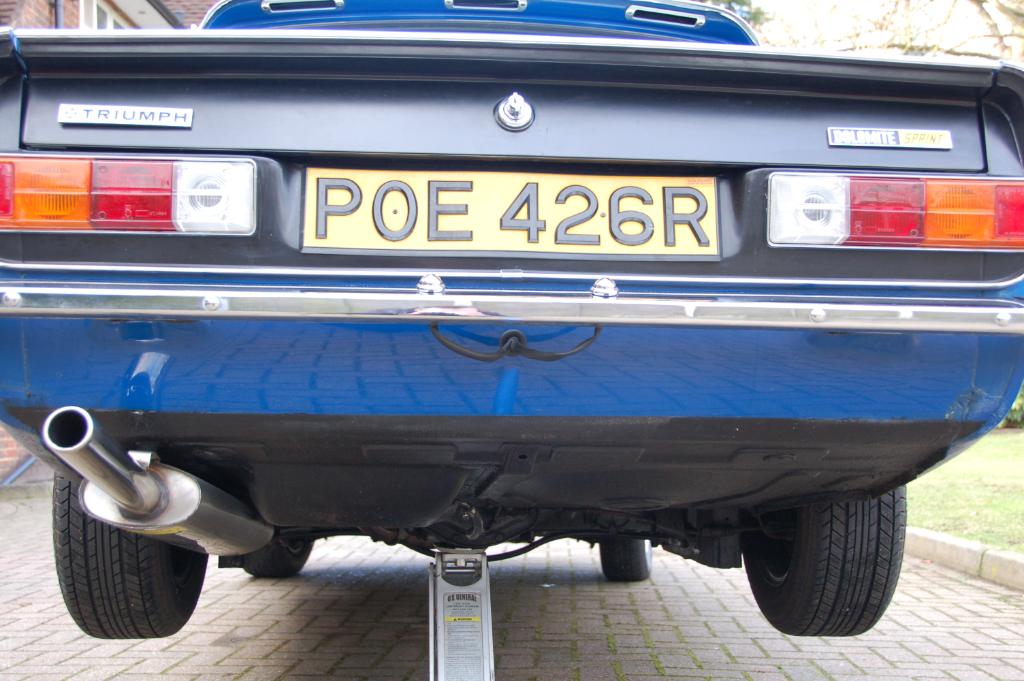
Our Dolomite Sprint. March 2014 Rob MacGregor of SprintSpeed has done a load of welding for me and now POE has some flared arches.
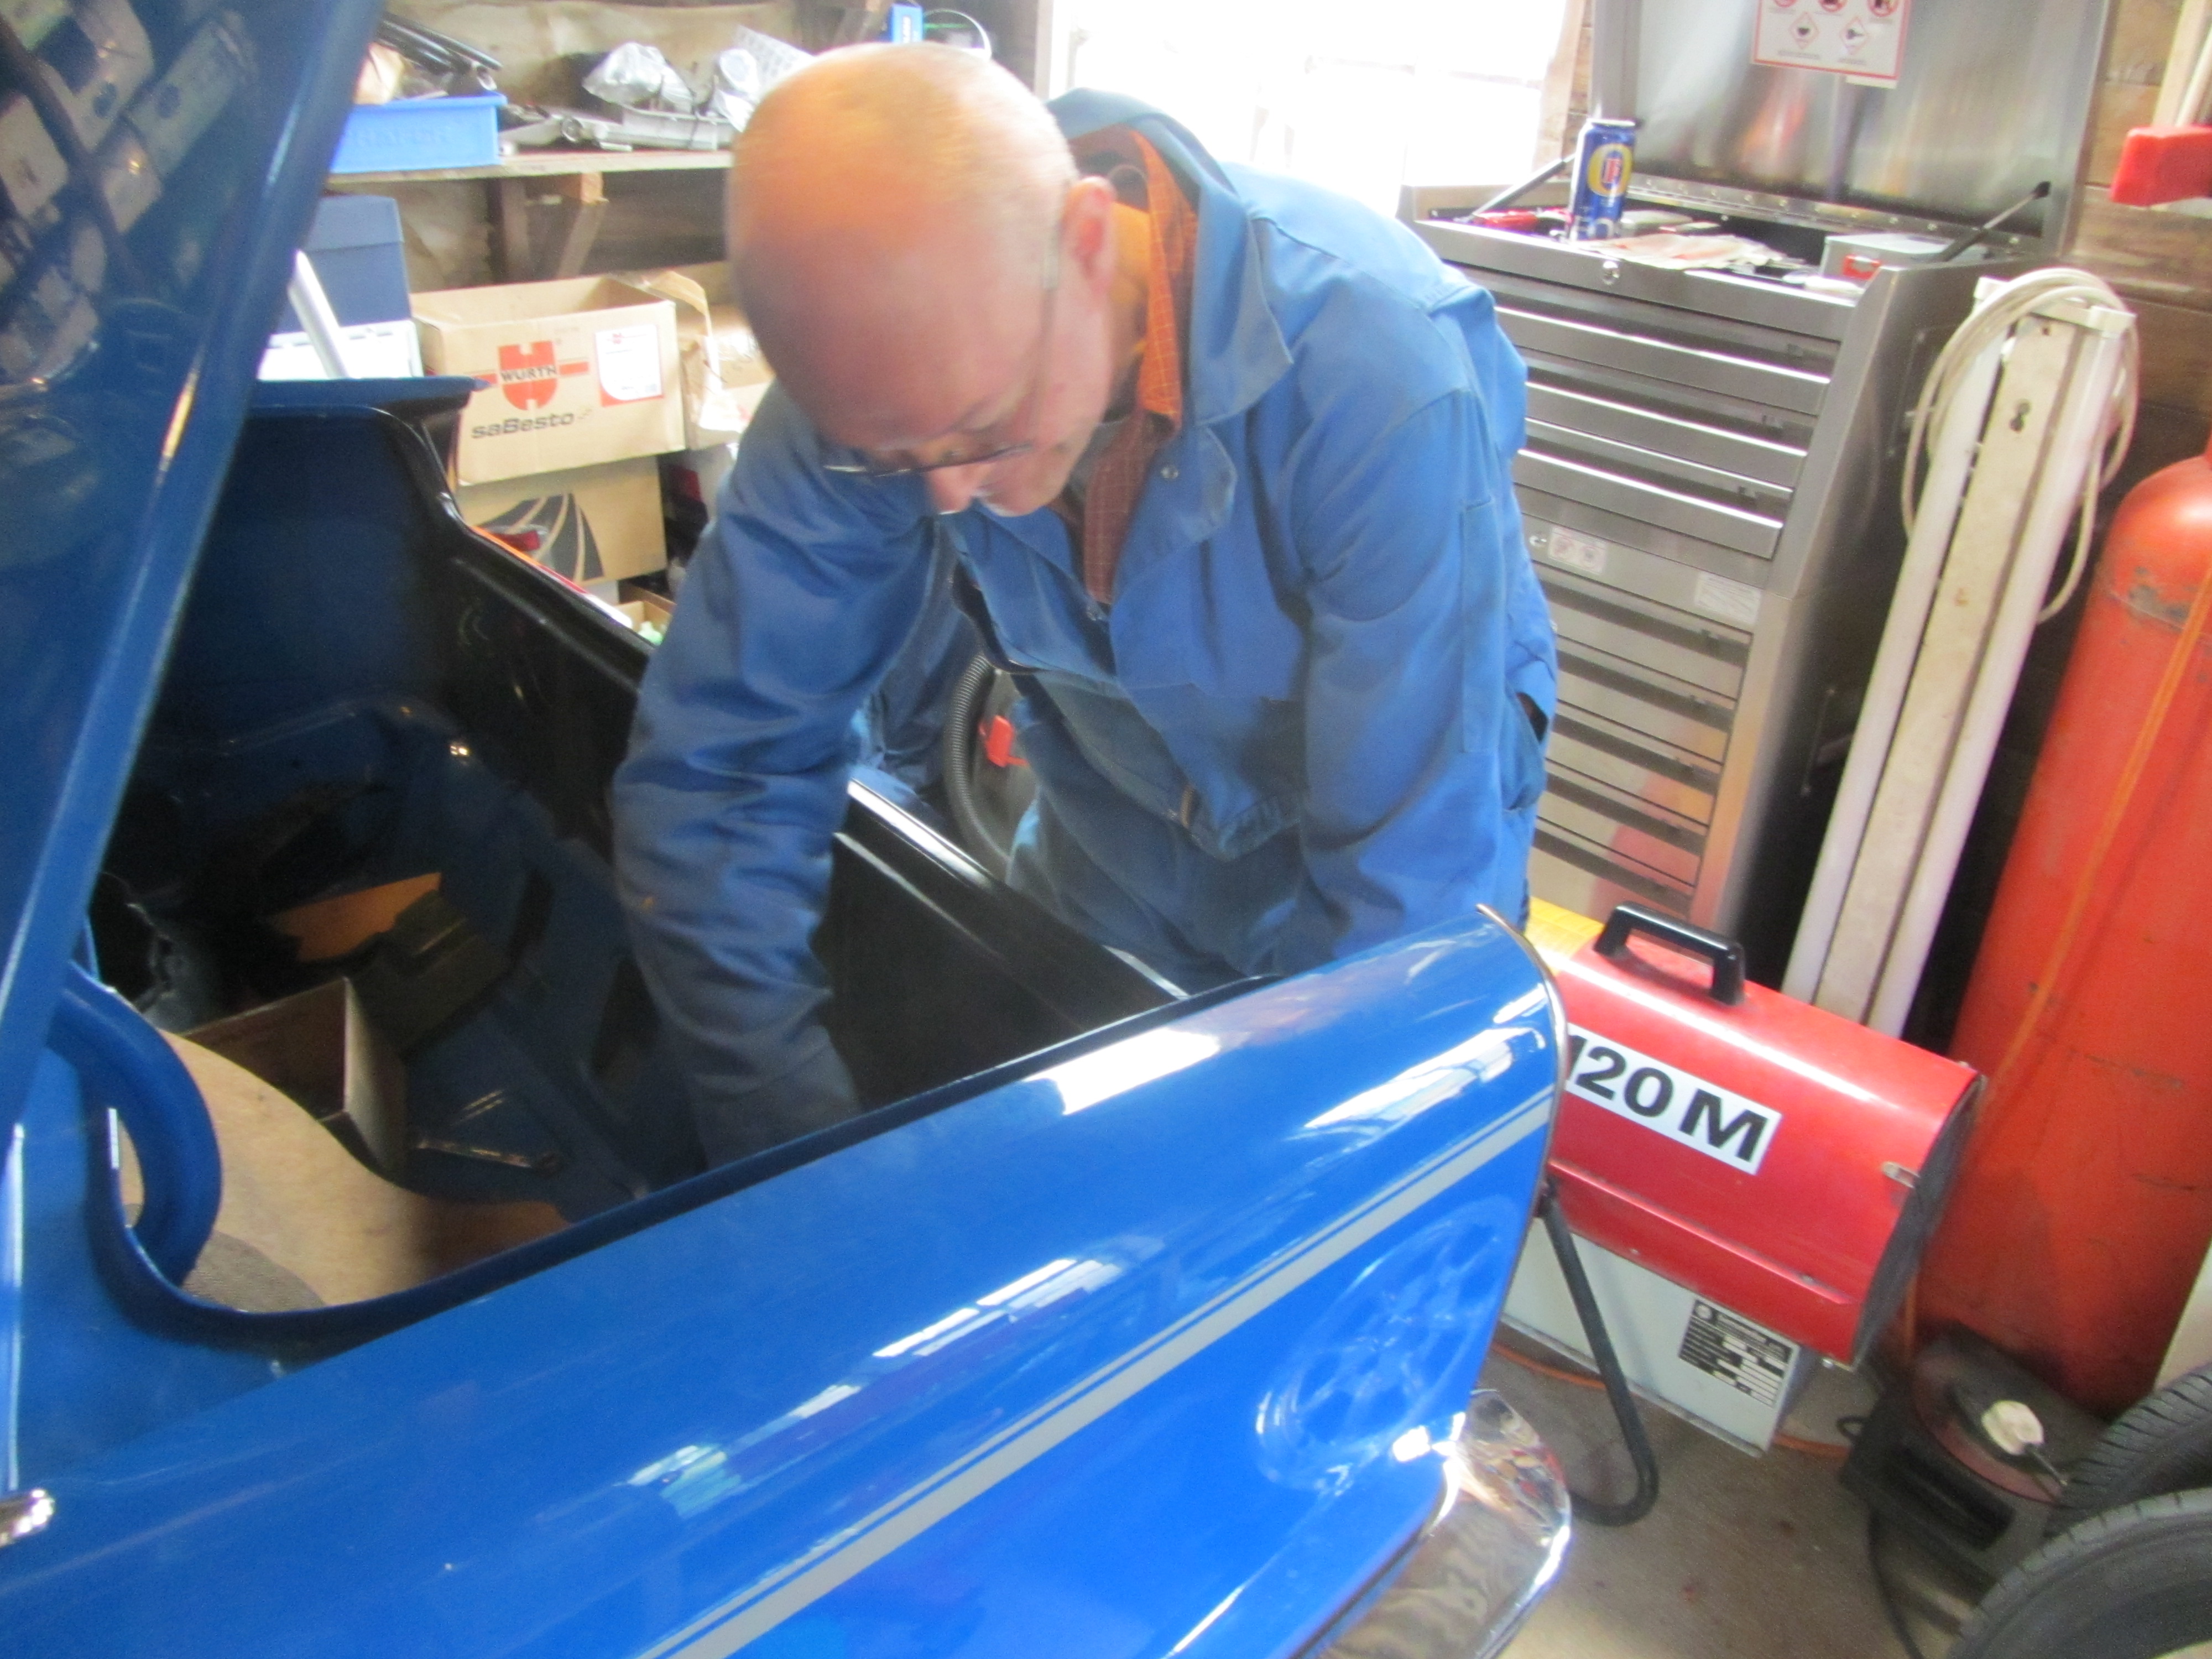
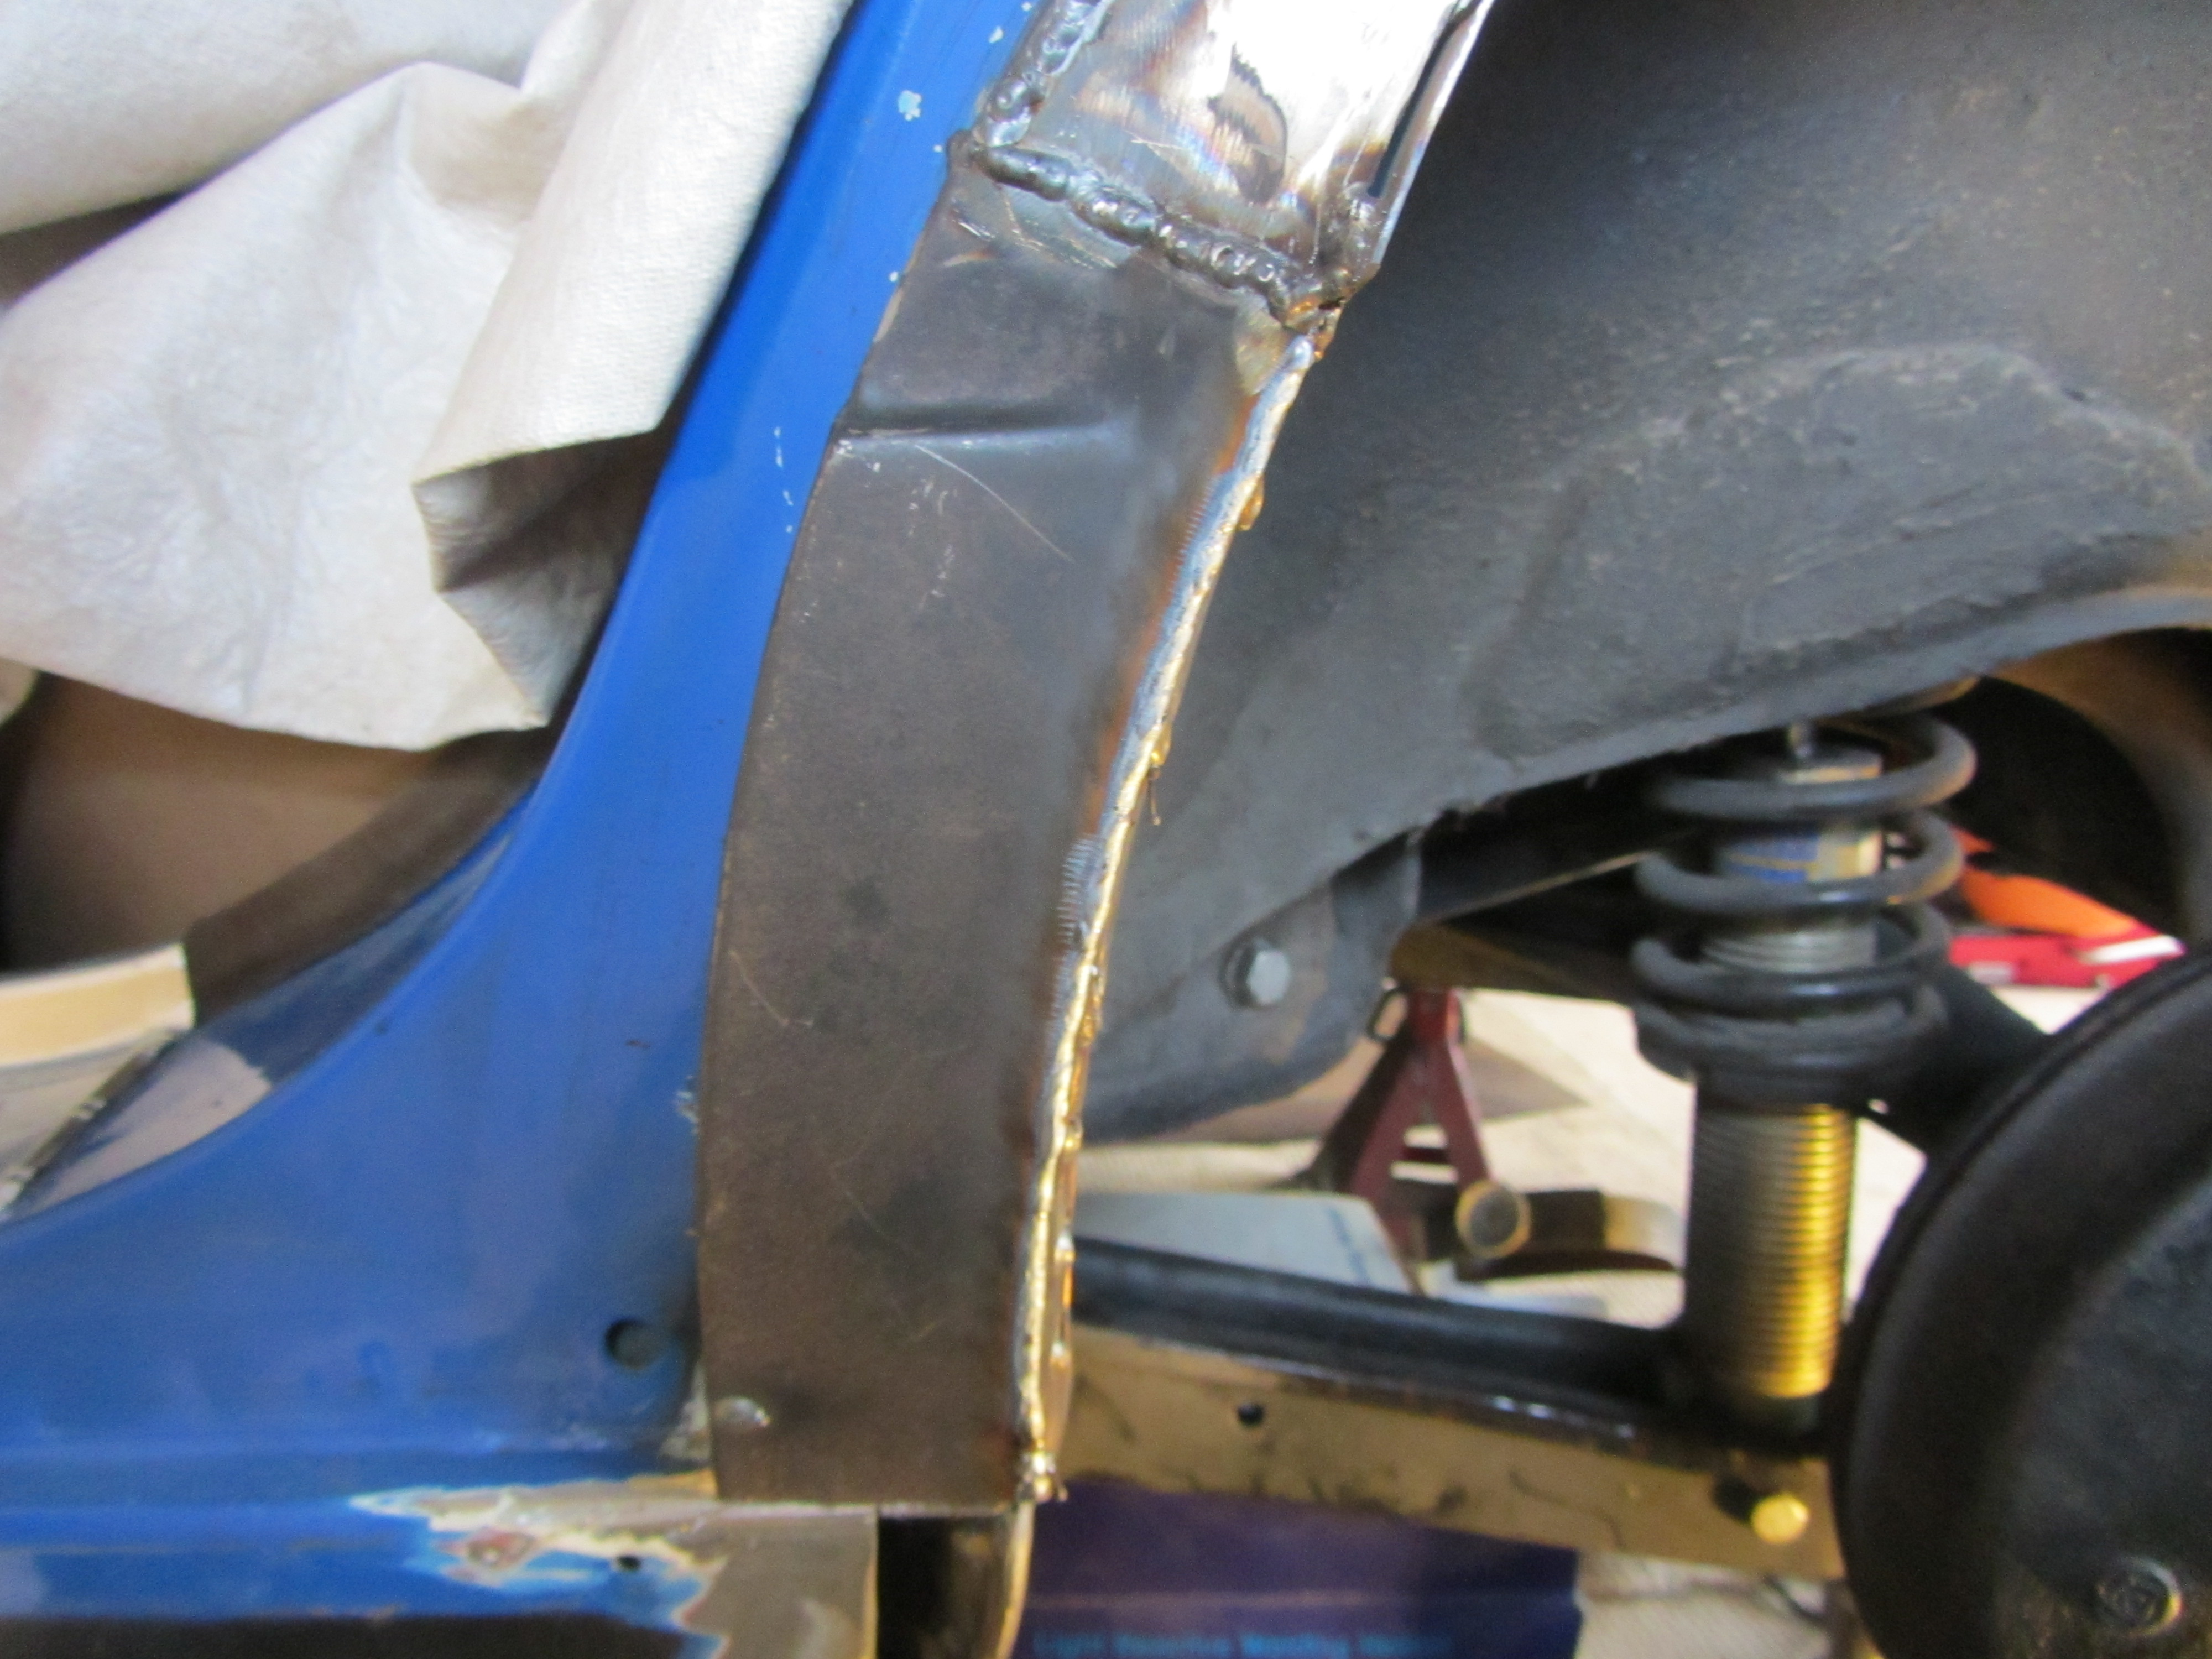
Rob began by making some angle section out of body steel, this will be used to close the outer wing and give a lip to weld a return onto the inner wing. Rob then marked where the outer arch needs to be cut. With the wing marked he cut a piece of cardboard as a template and used that to shape the 1" angle, the angle can then be offered up and spot welded to the outer arch.
Whilst Rob was doing the technical stuff I set about taking bits off.
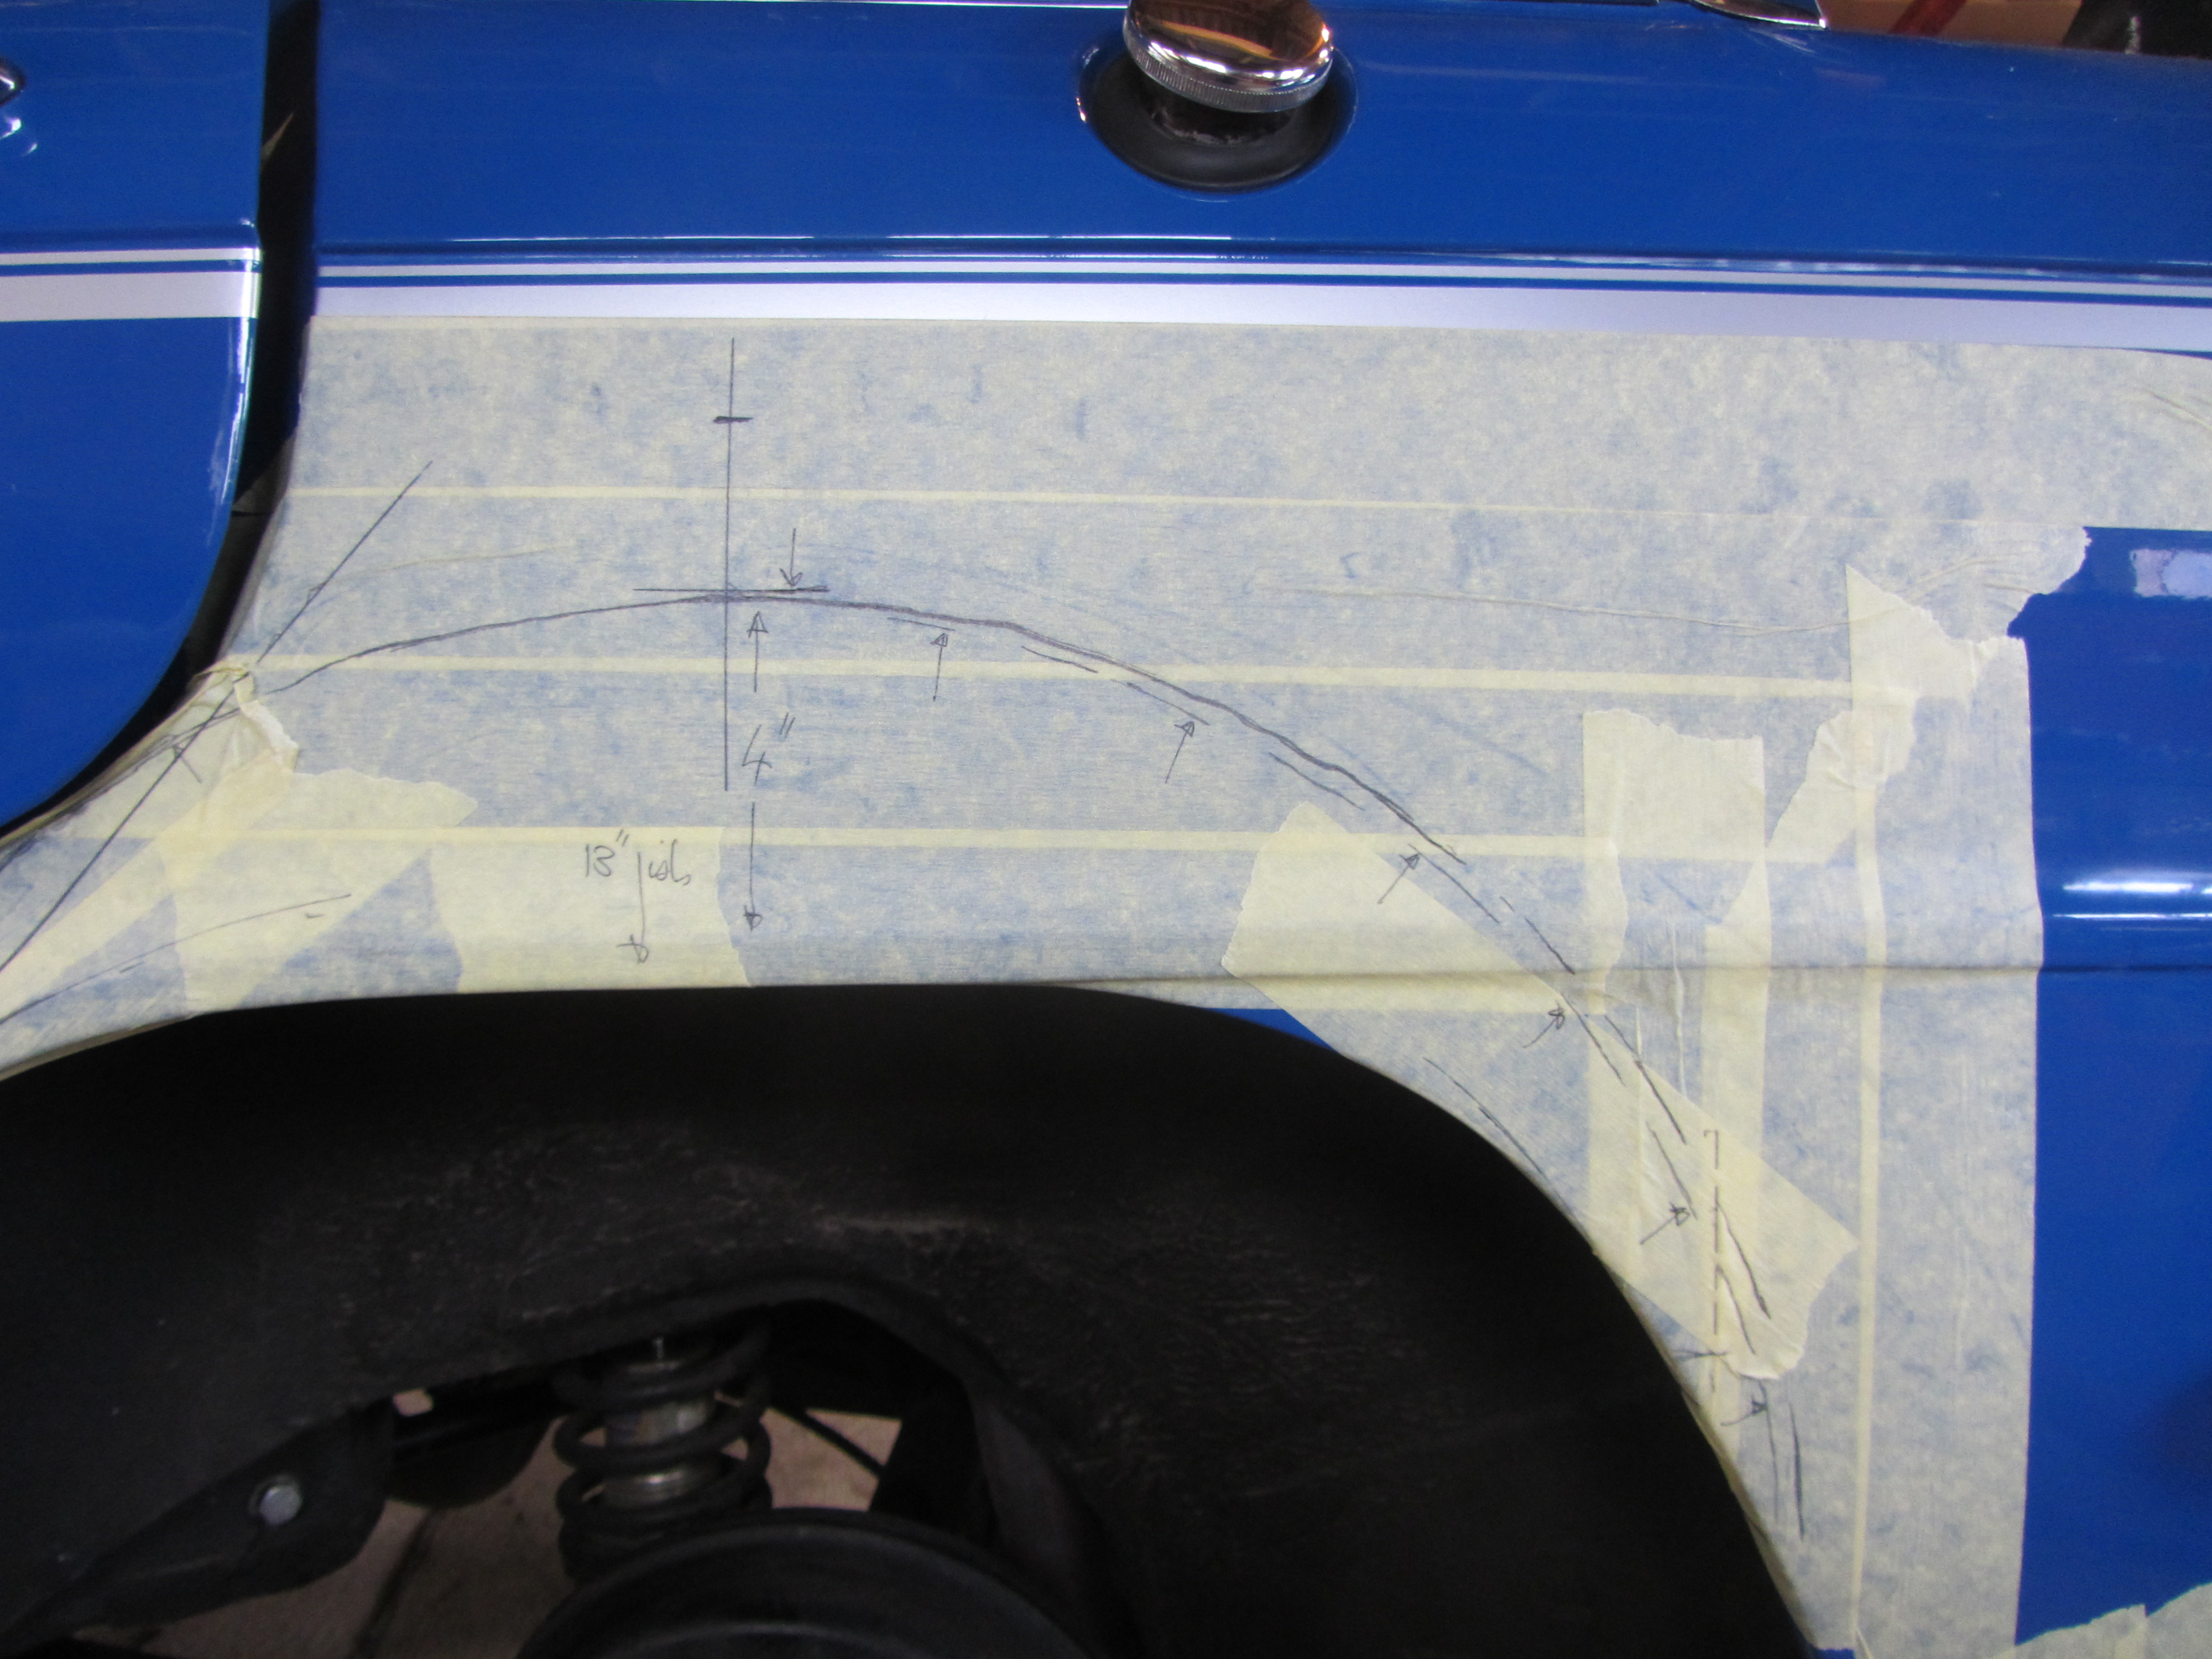
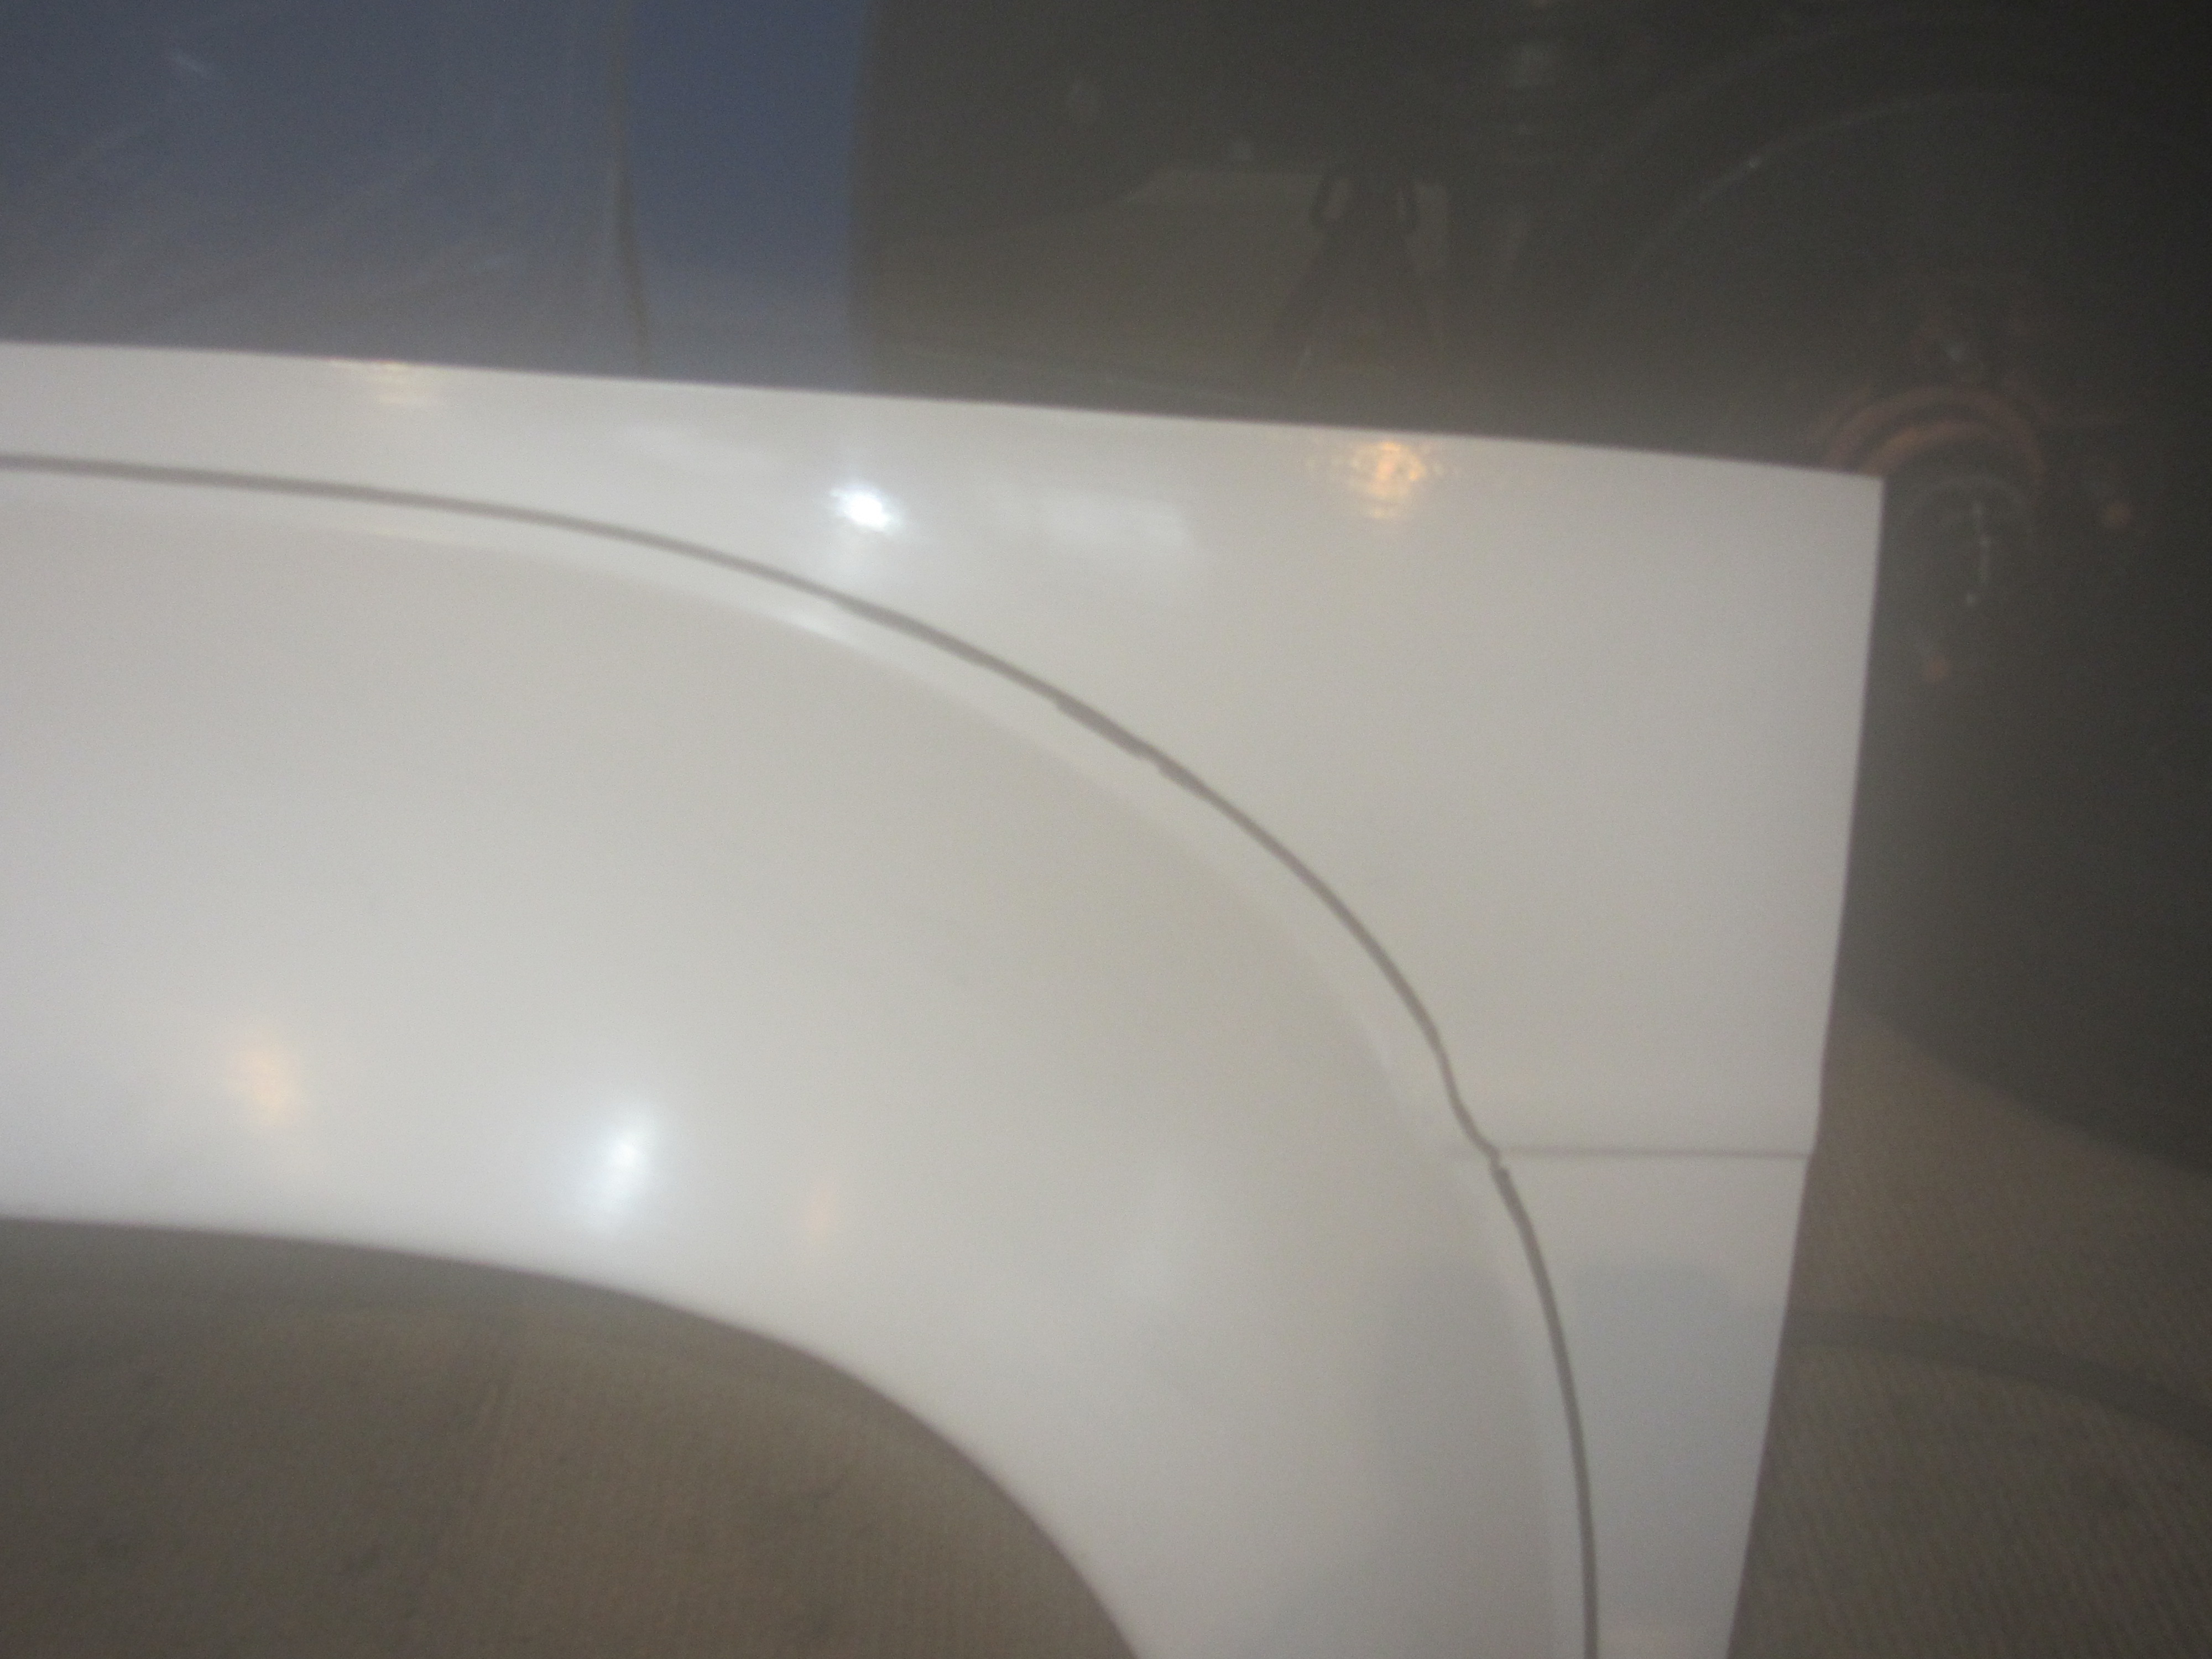
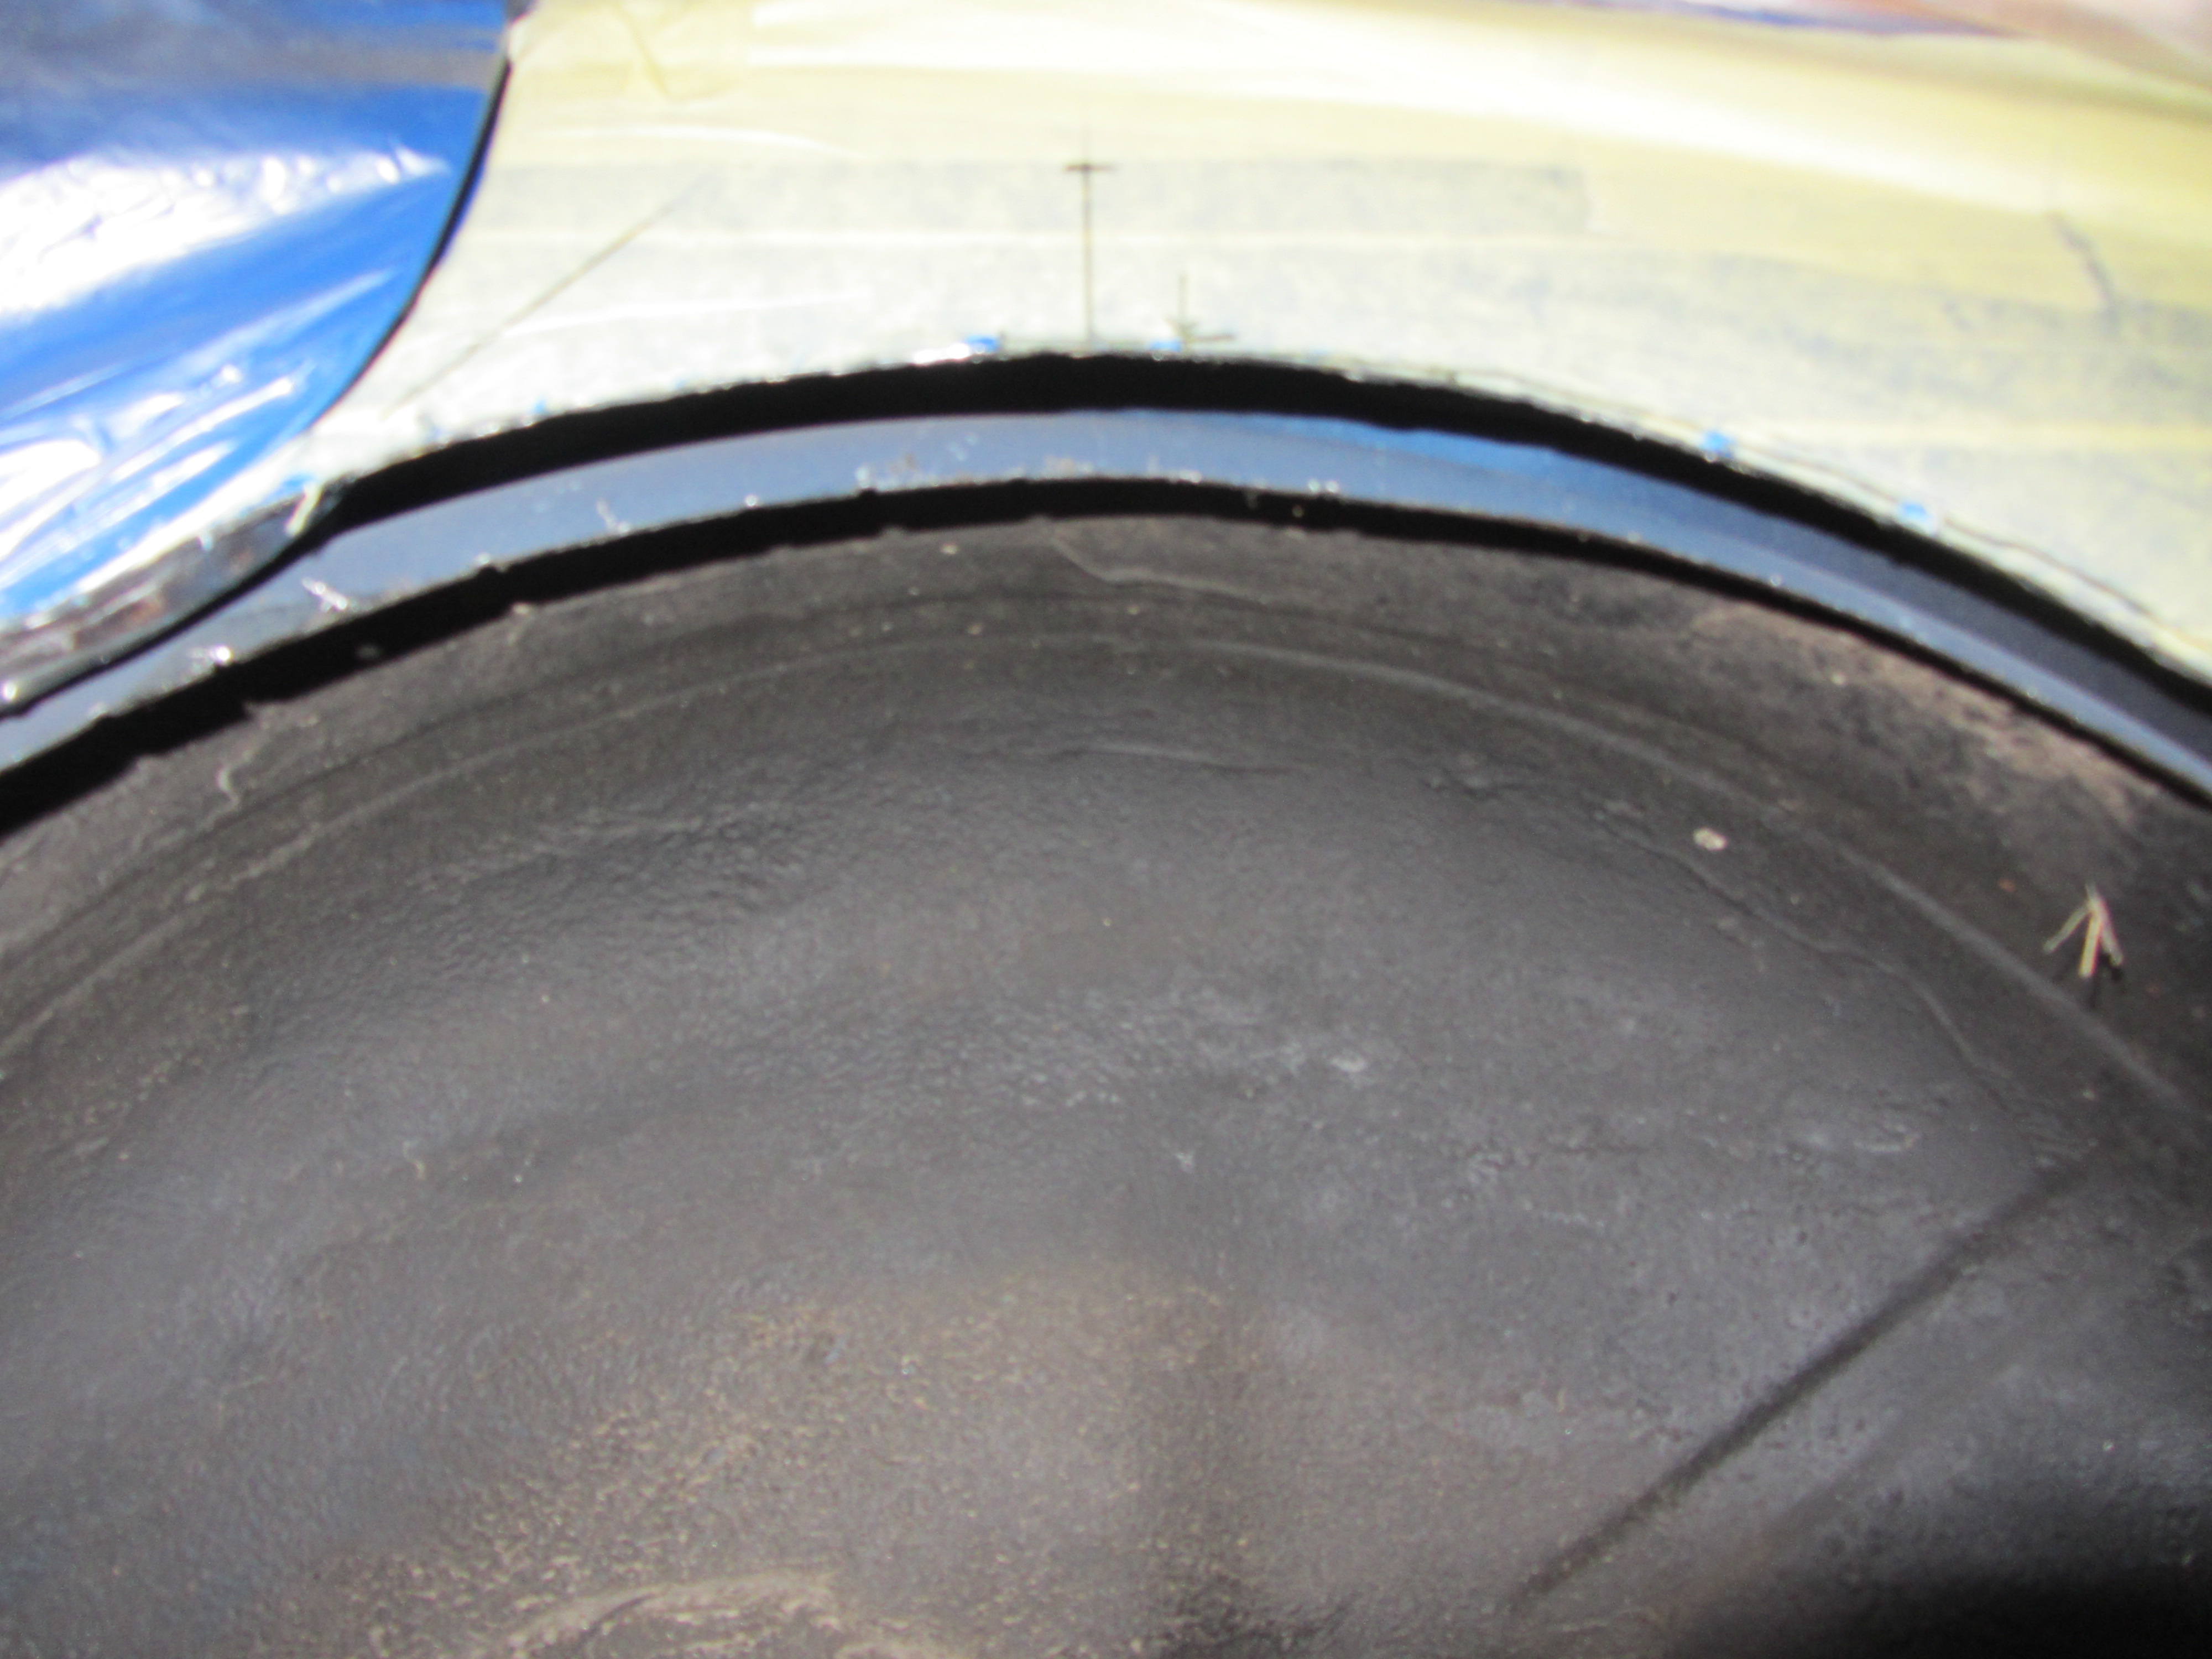
The SprintSpeed flared arches come with a large amount of material that you can cut down to size, here we've marked the bit to cut off using the advanced approach of running a marker pen around the arch a thumbs gap away.
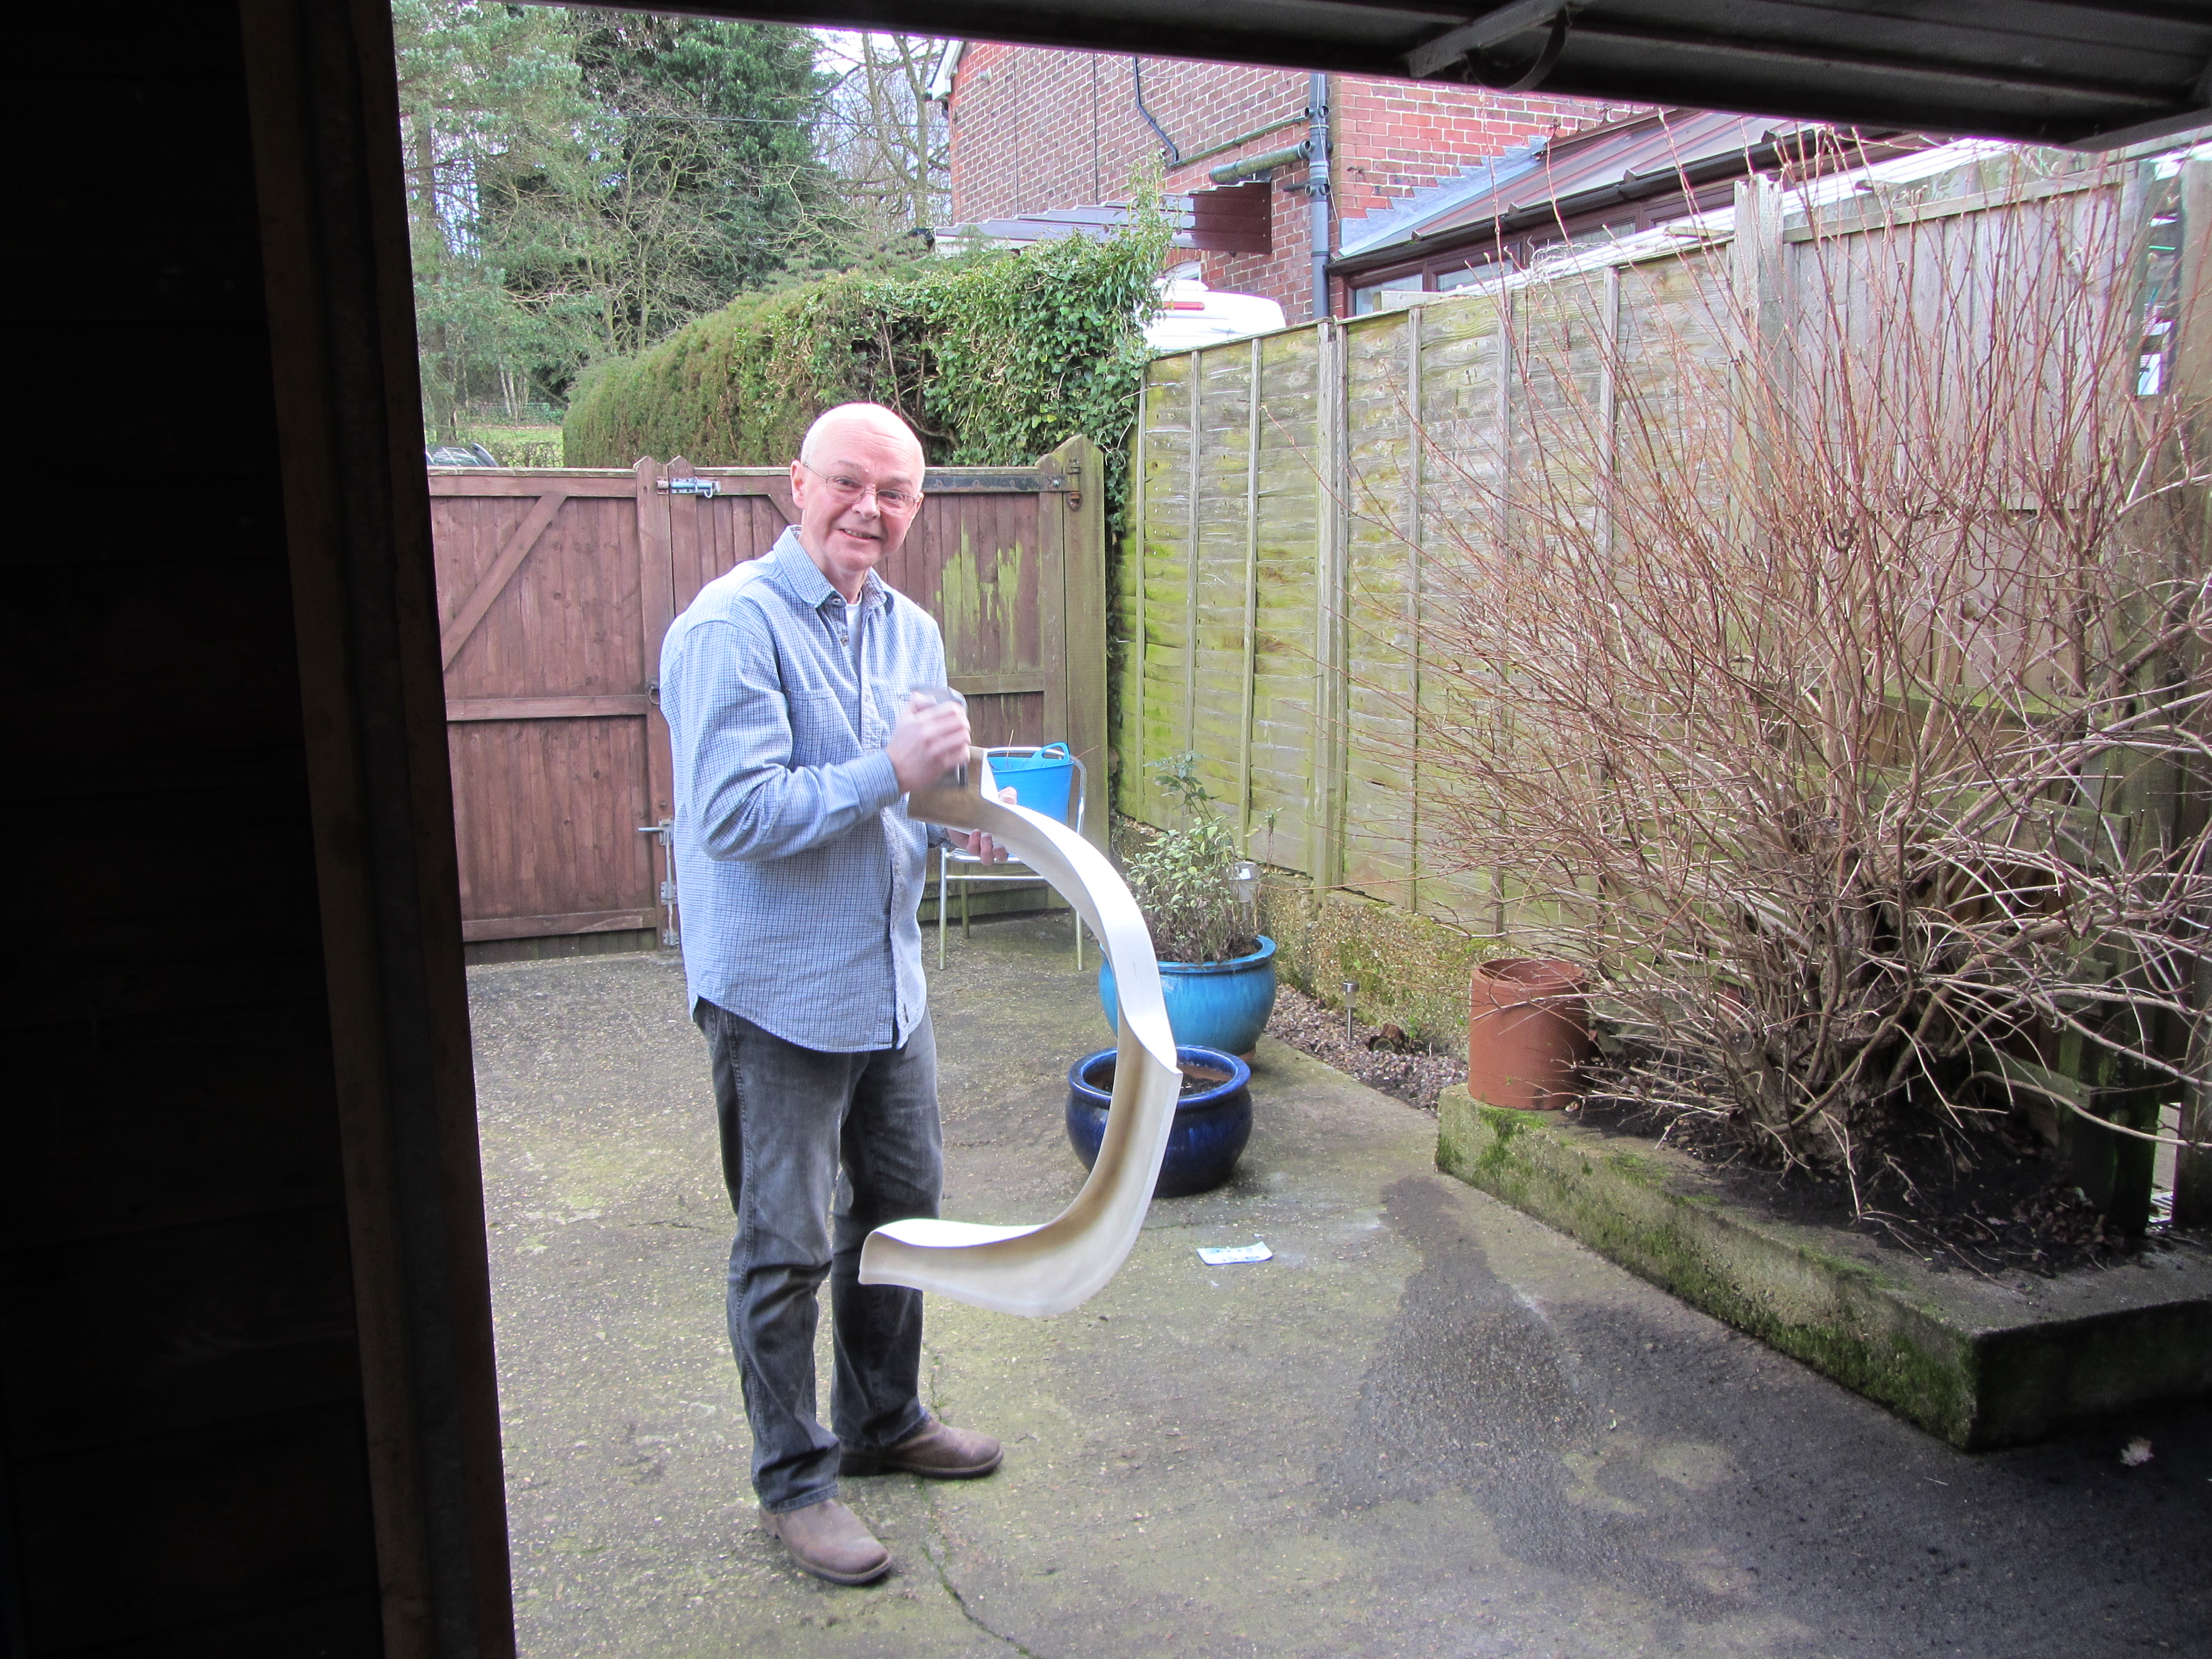
Once the arches are cut down it's time to make some mess; sand the edges so they are reasonably smooth, cue one bodger sent outside the garage to make some dust.
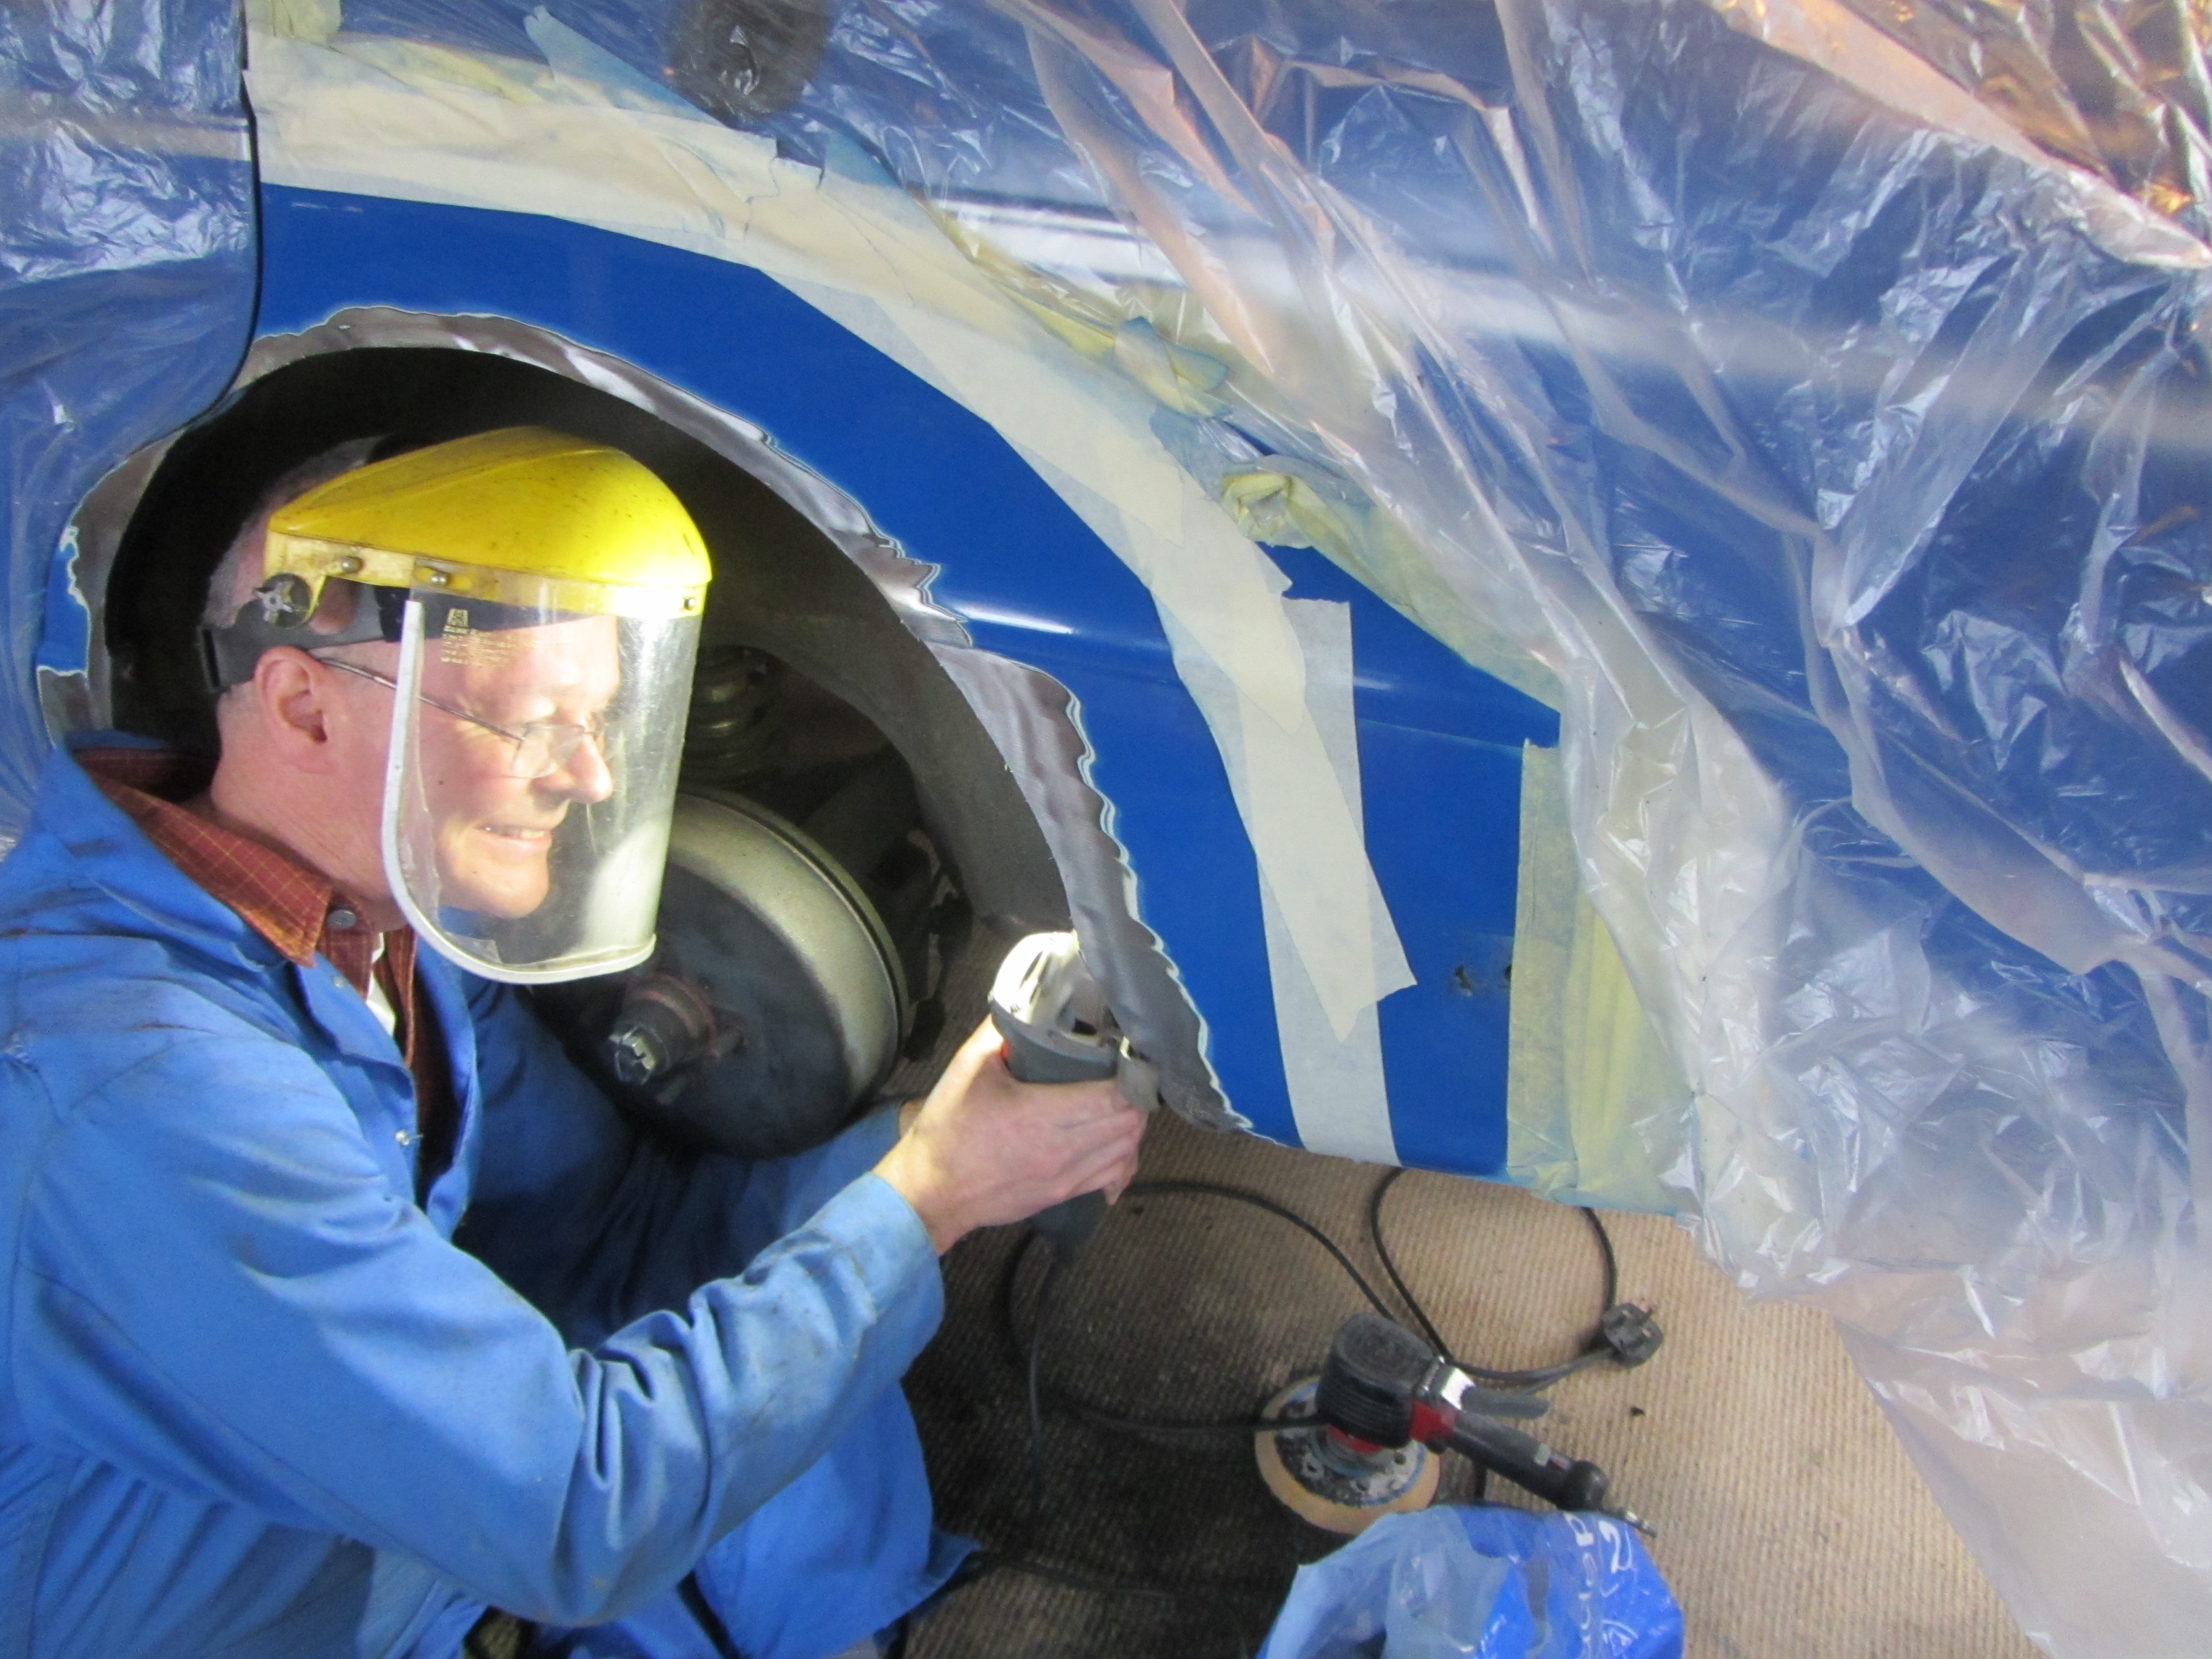
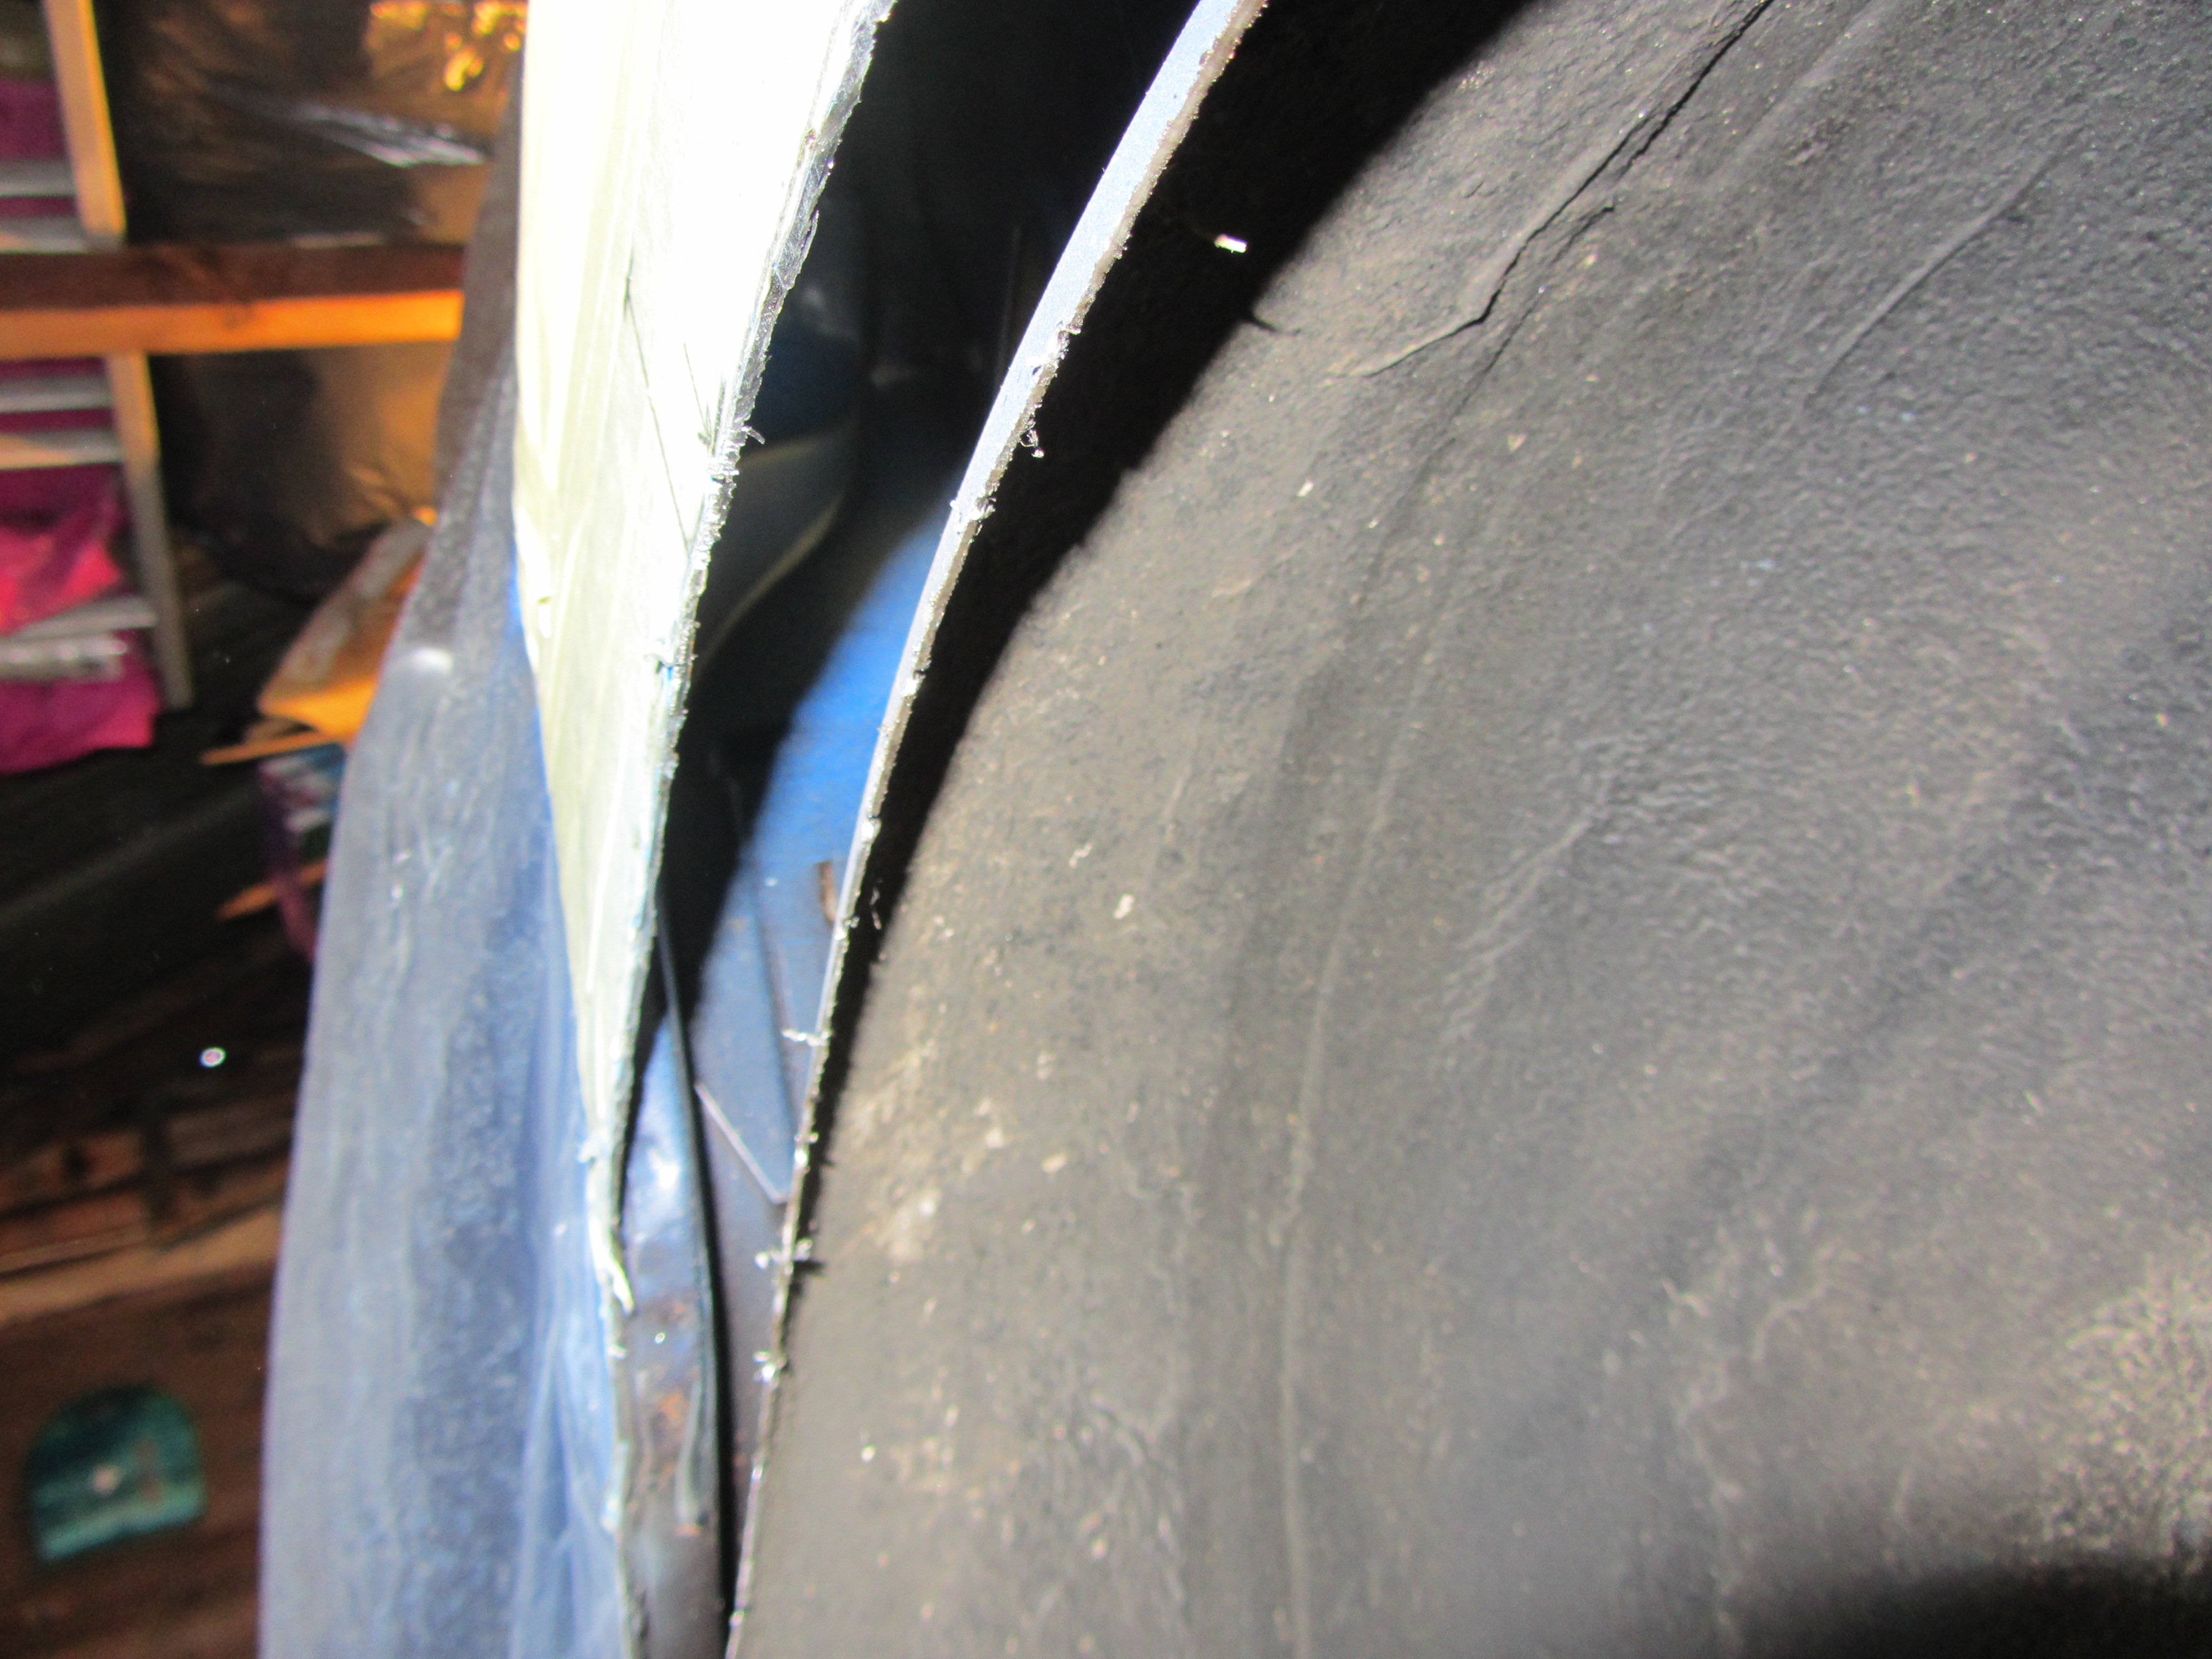
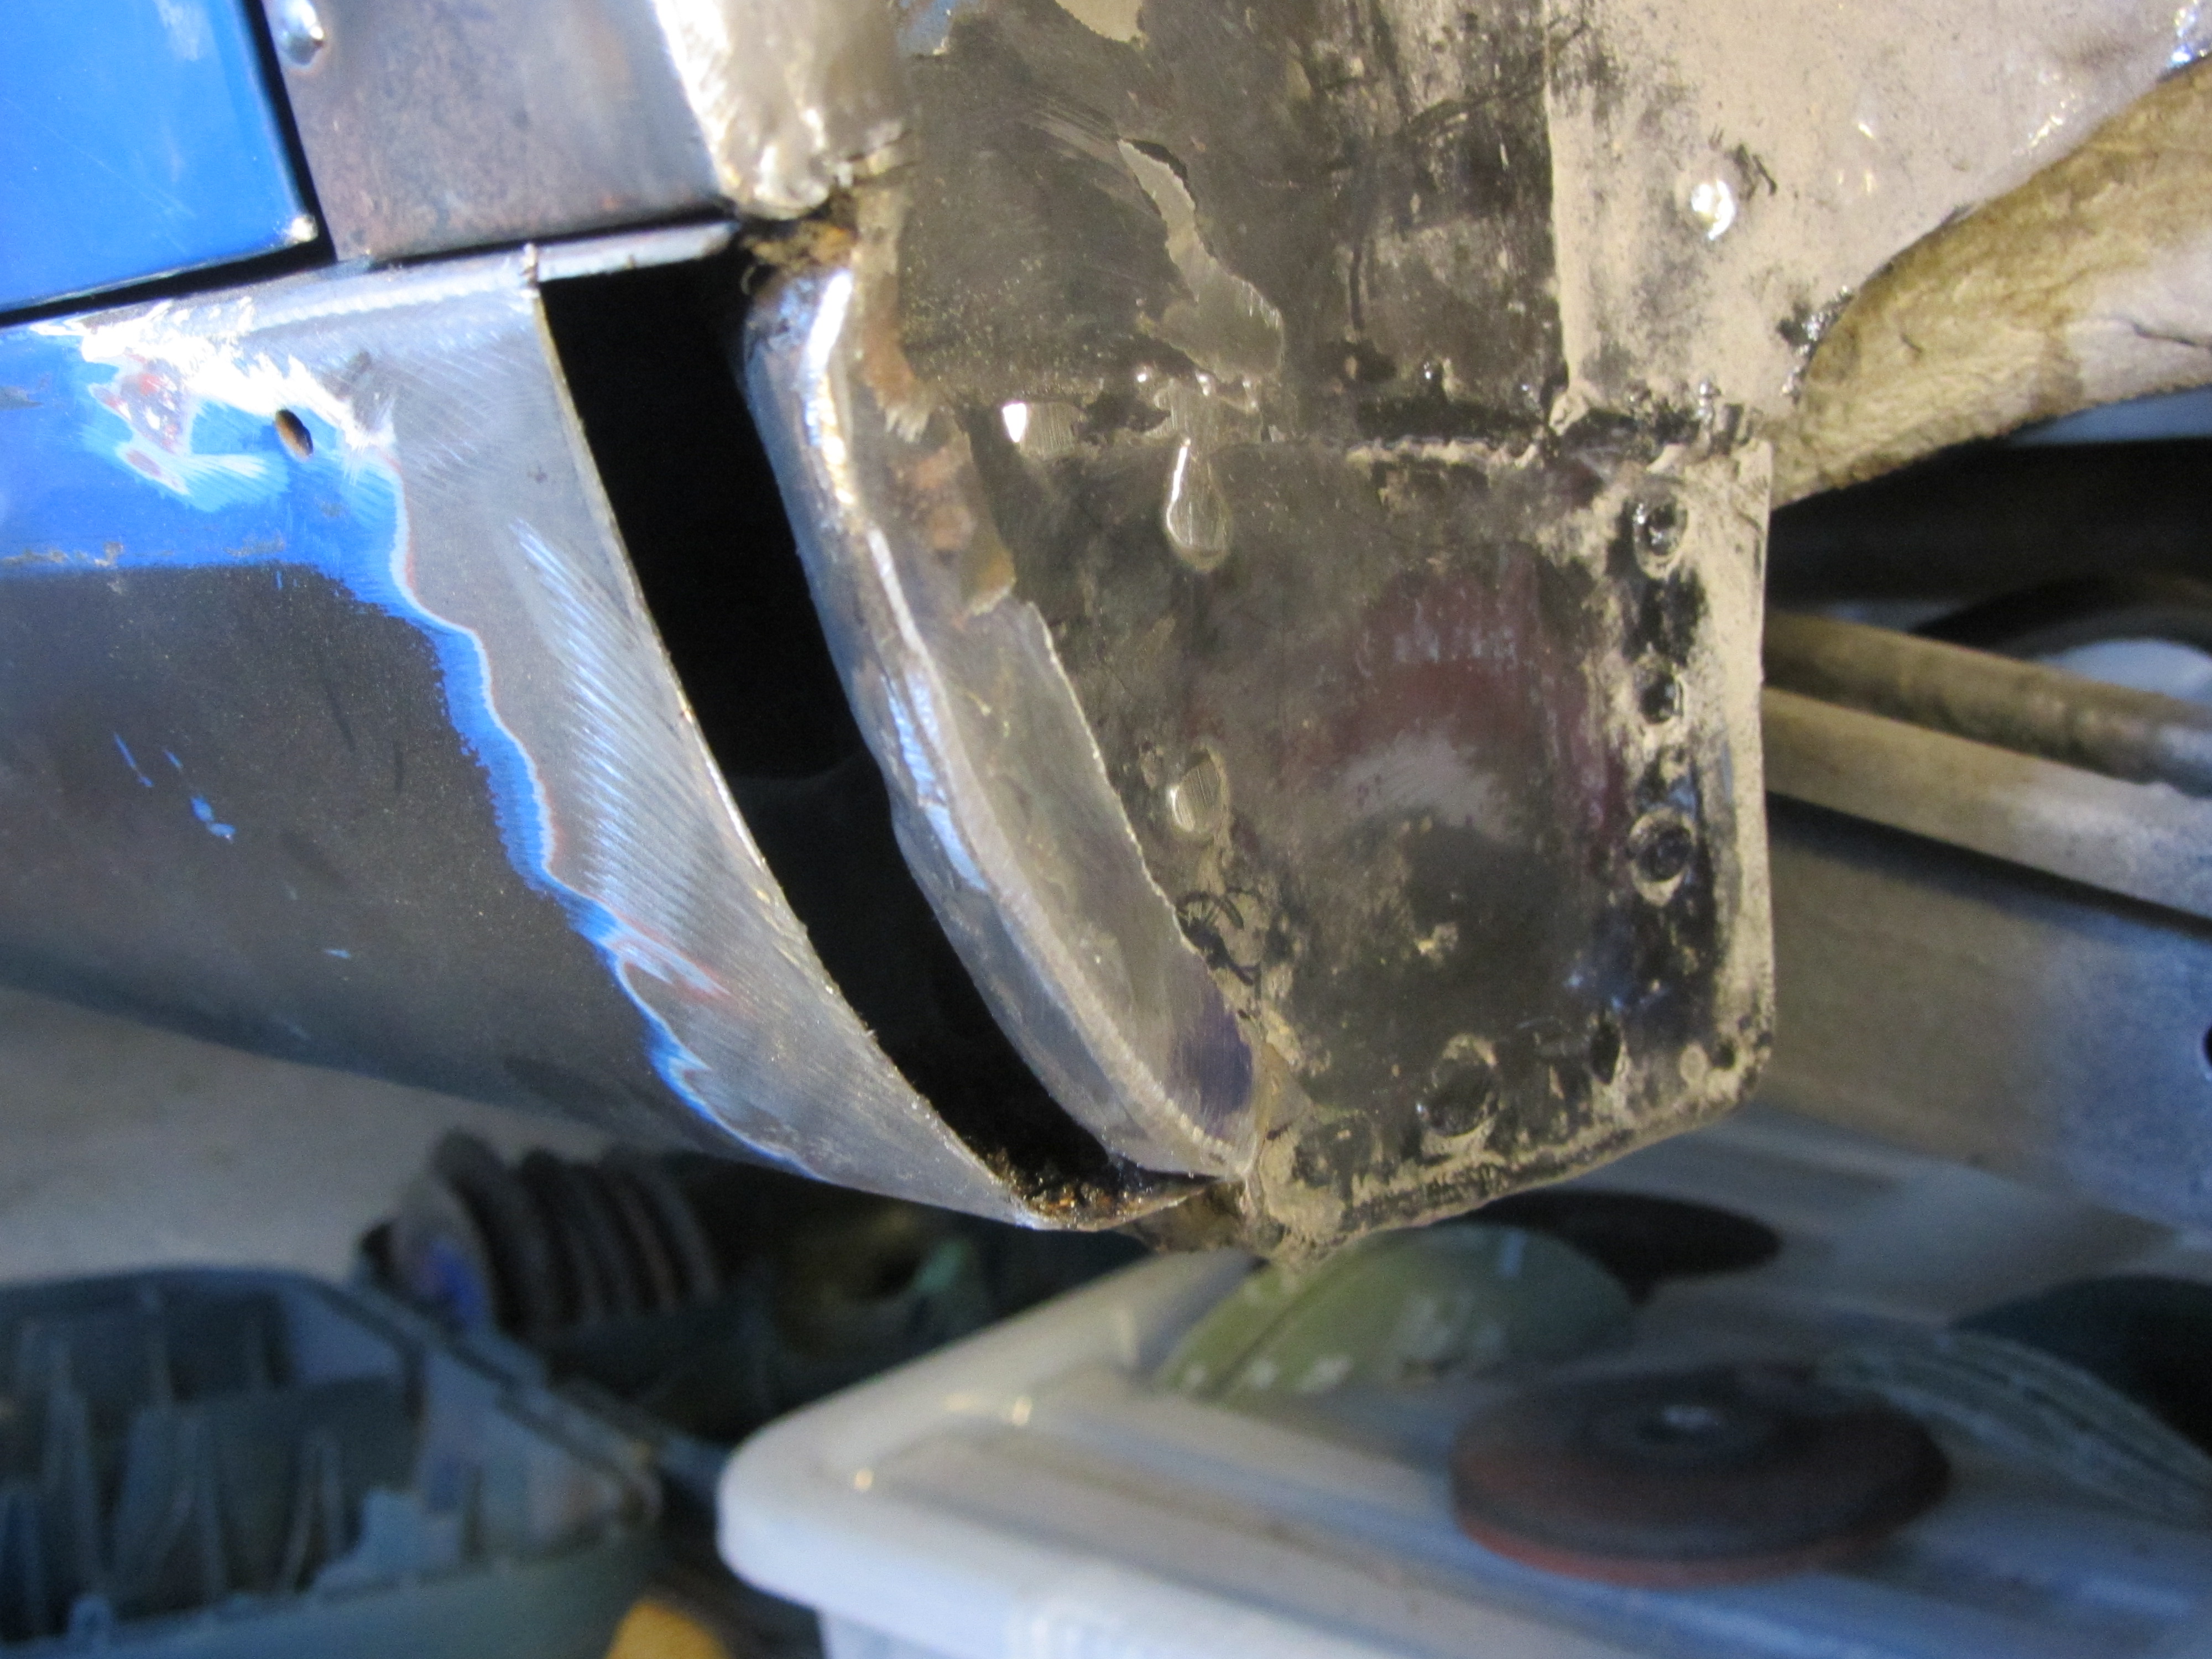
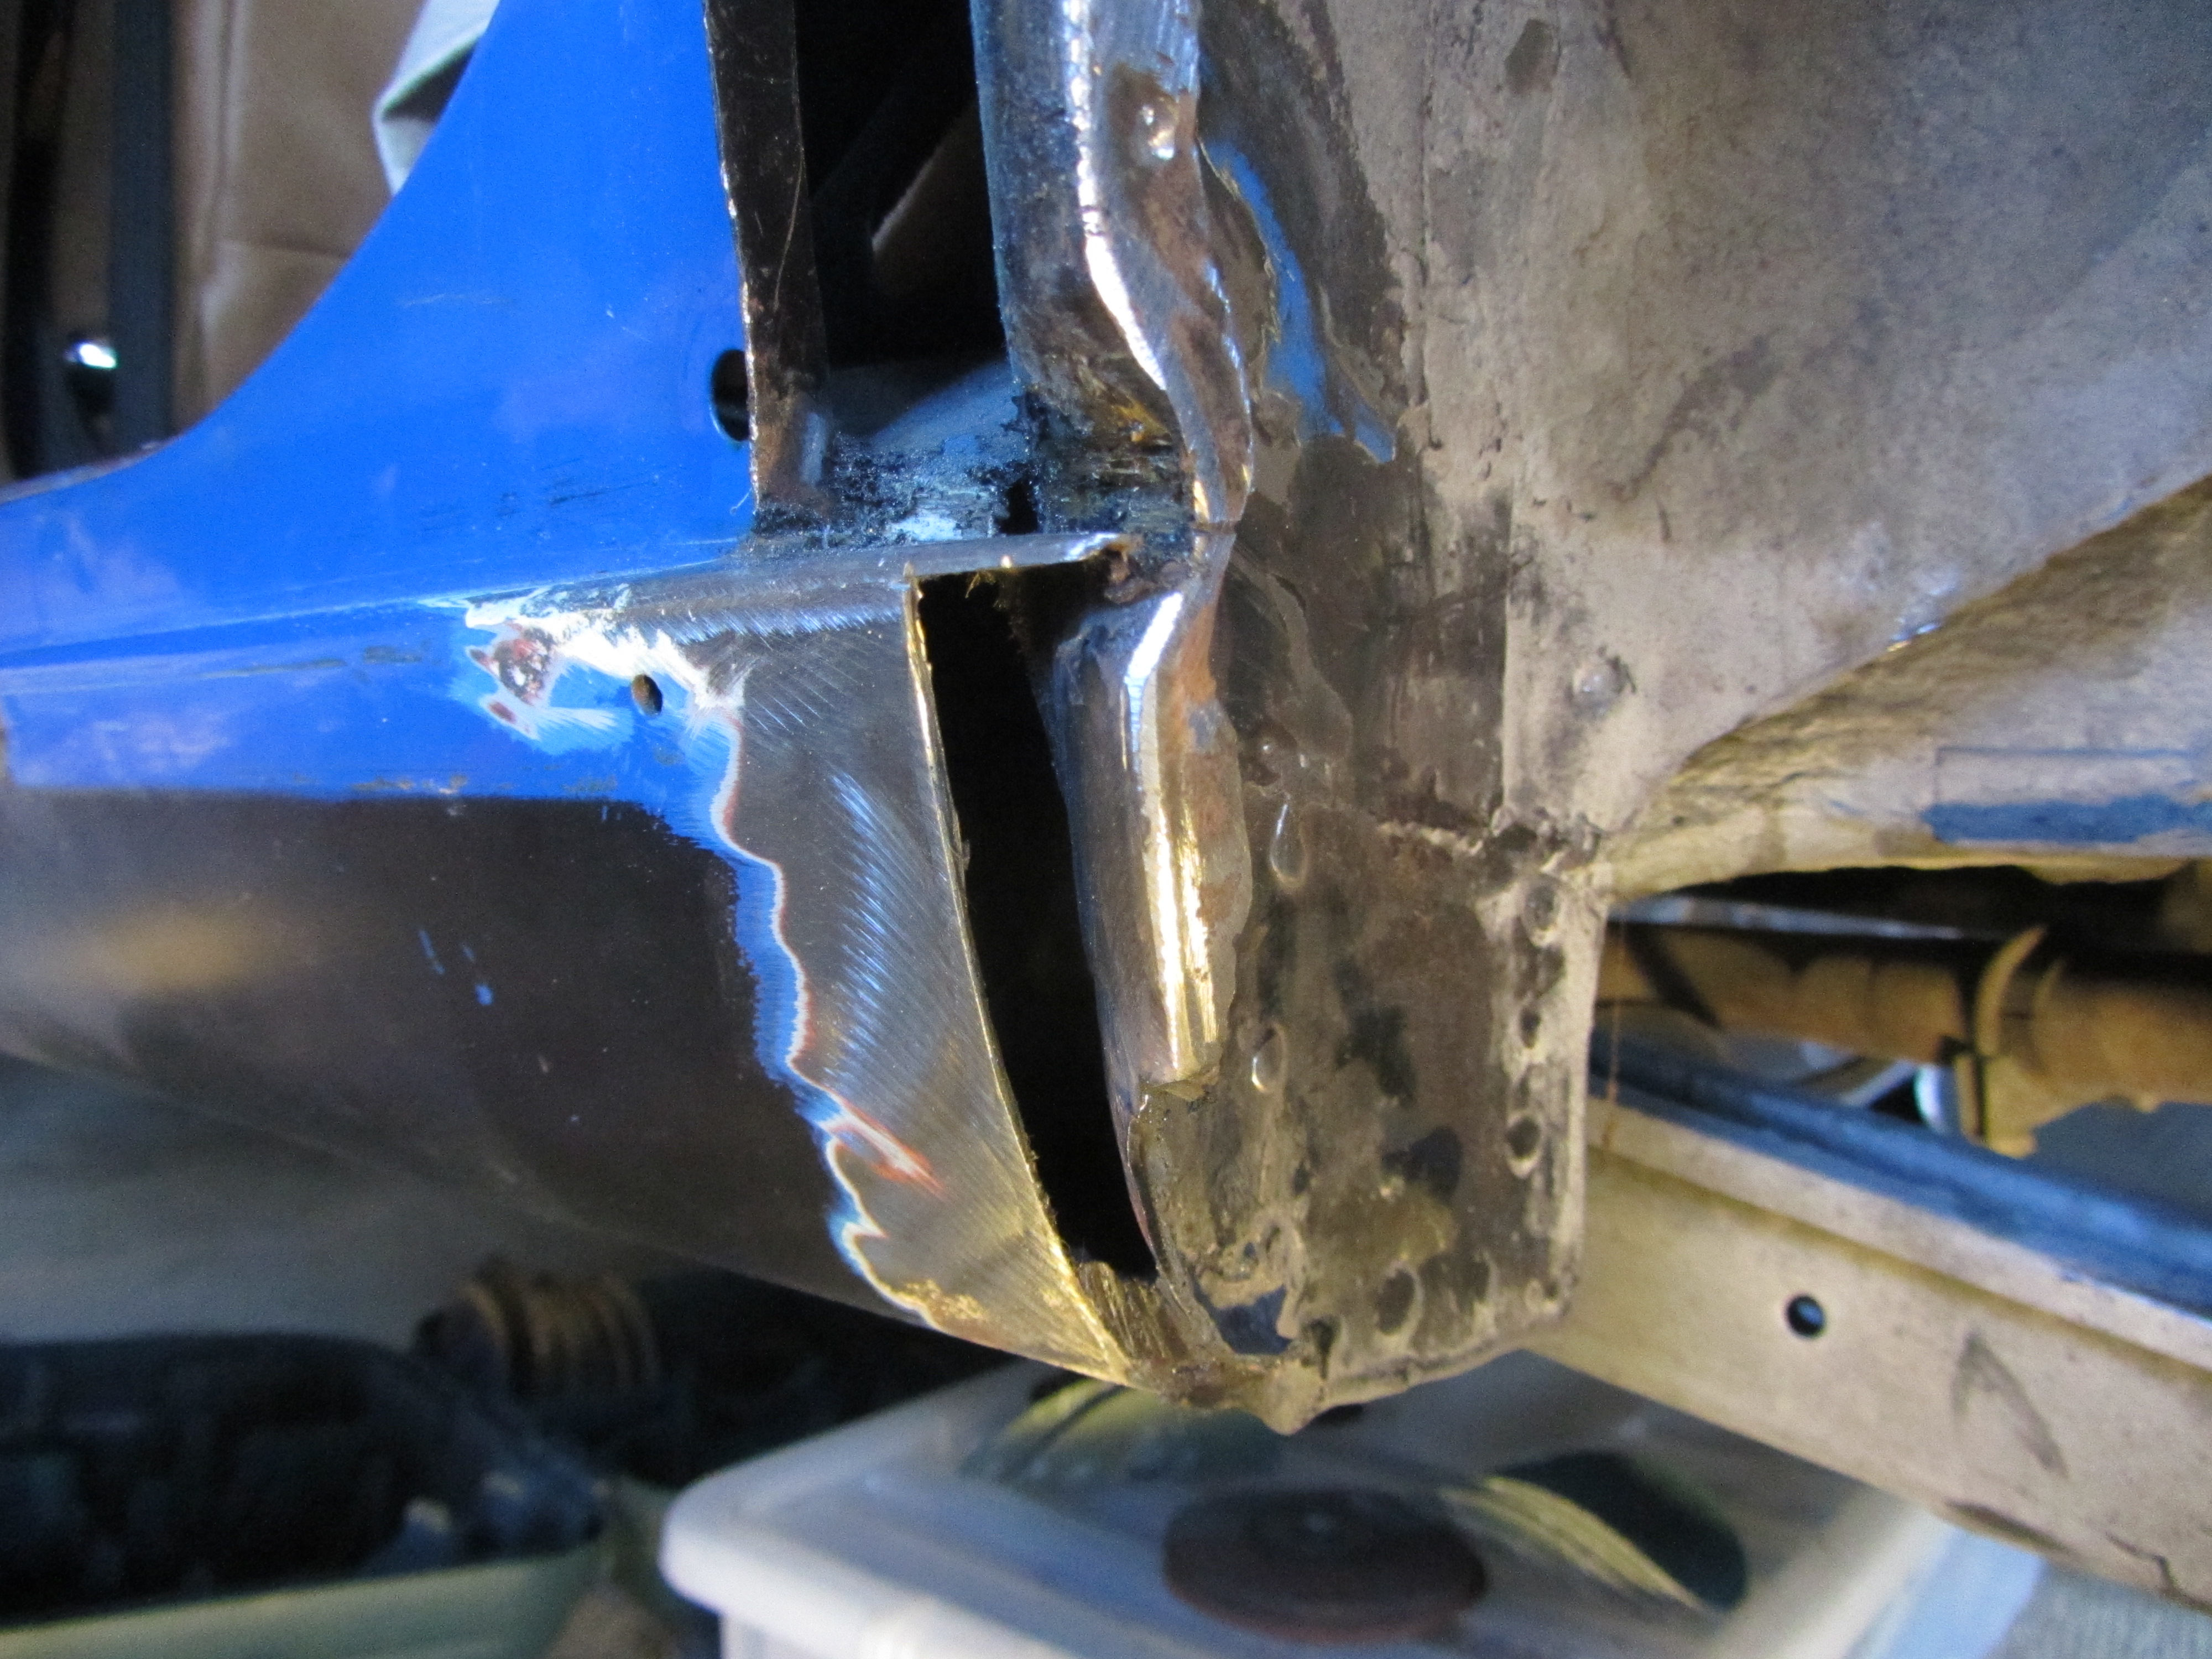
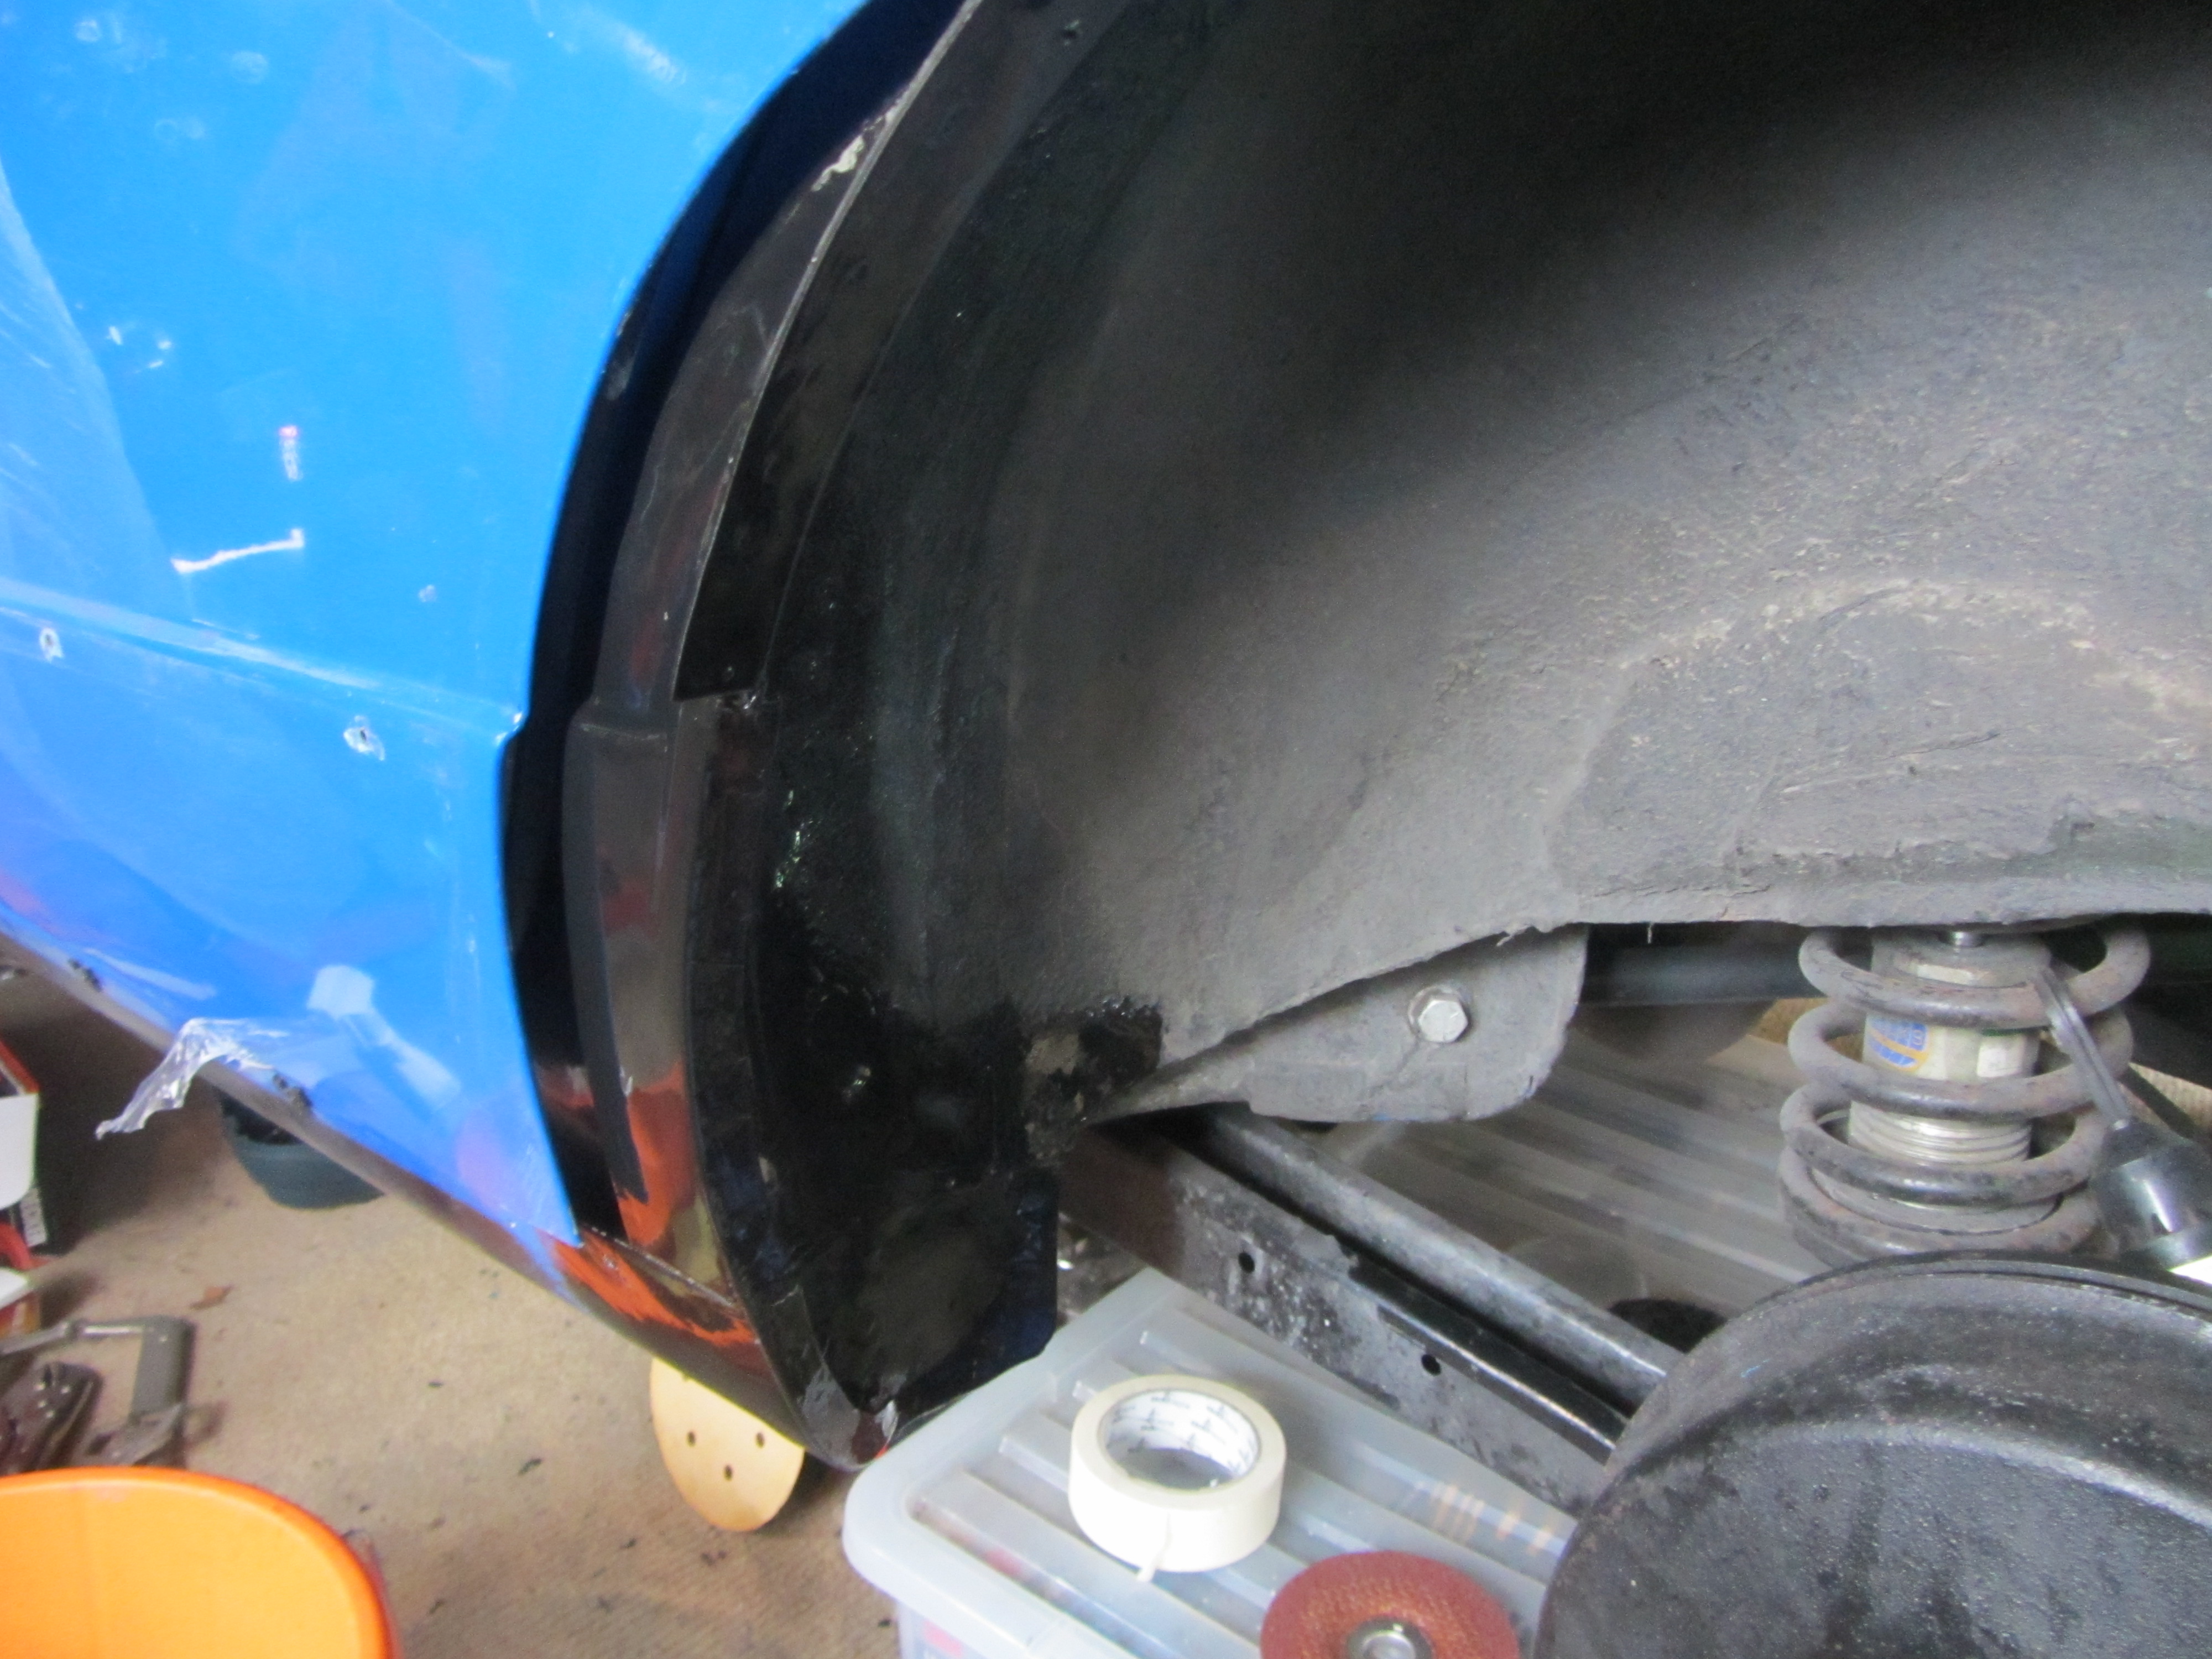
With the rear arches all marked up it' a simple matter of cutting the outer arch. As you can see POE had plenty of wax in the rear wings, the outer arch bits were just staring to go frilly so needed repairing. This is why I took the opportunity to put the flared arches on. Oh, and I really like the look :)
And with the outer arch out of the way I drill though the inner arch and then join the dots to cut out the inner arch.
Both the inner and outer metalwork that has been cut out from one side.
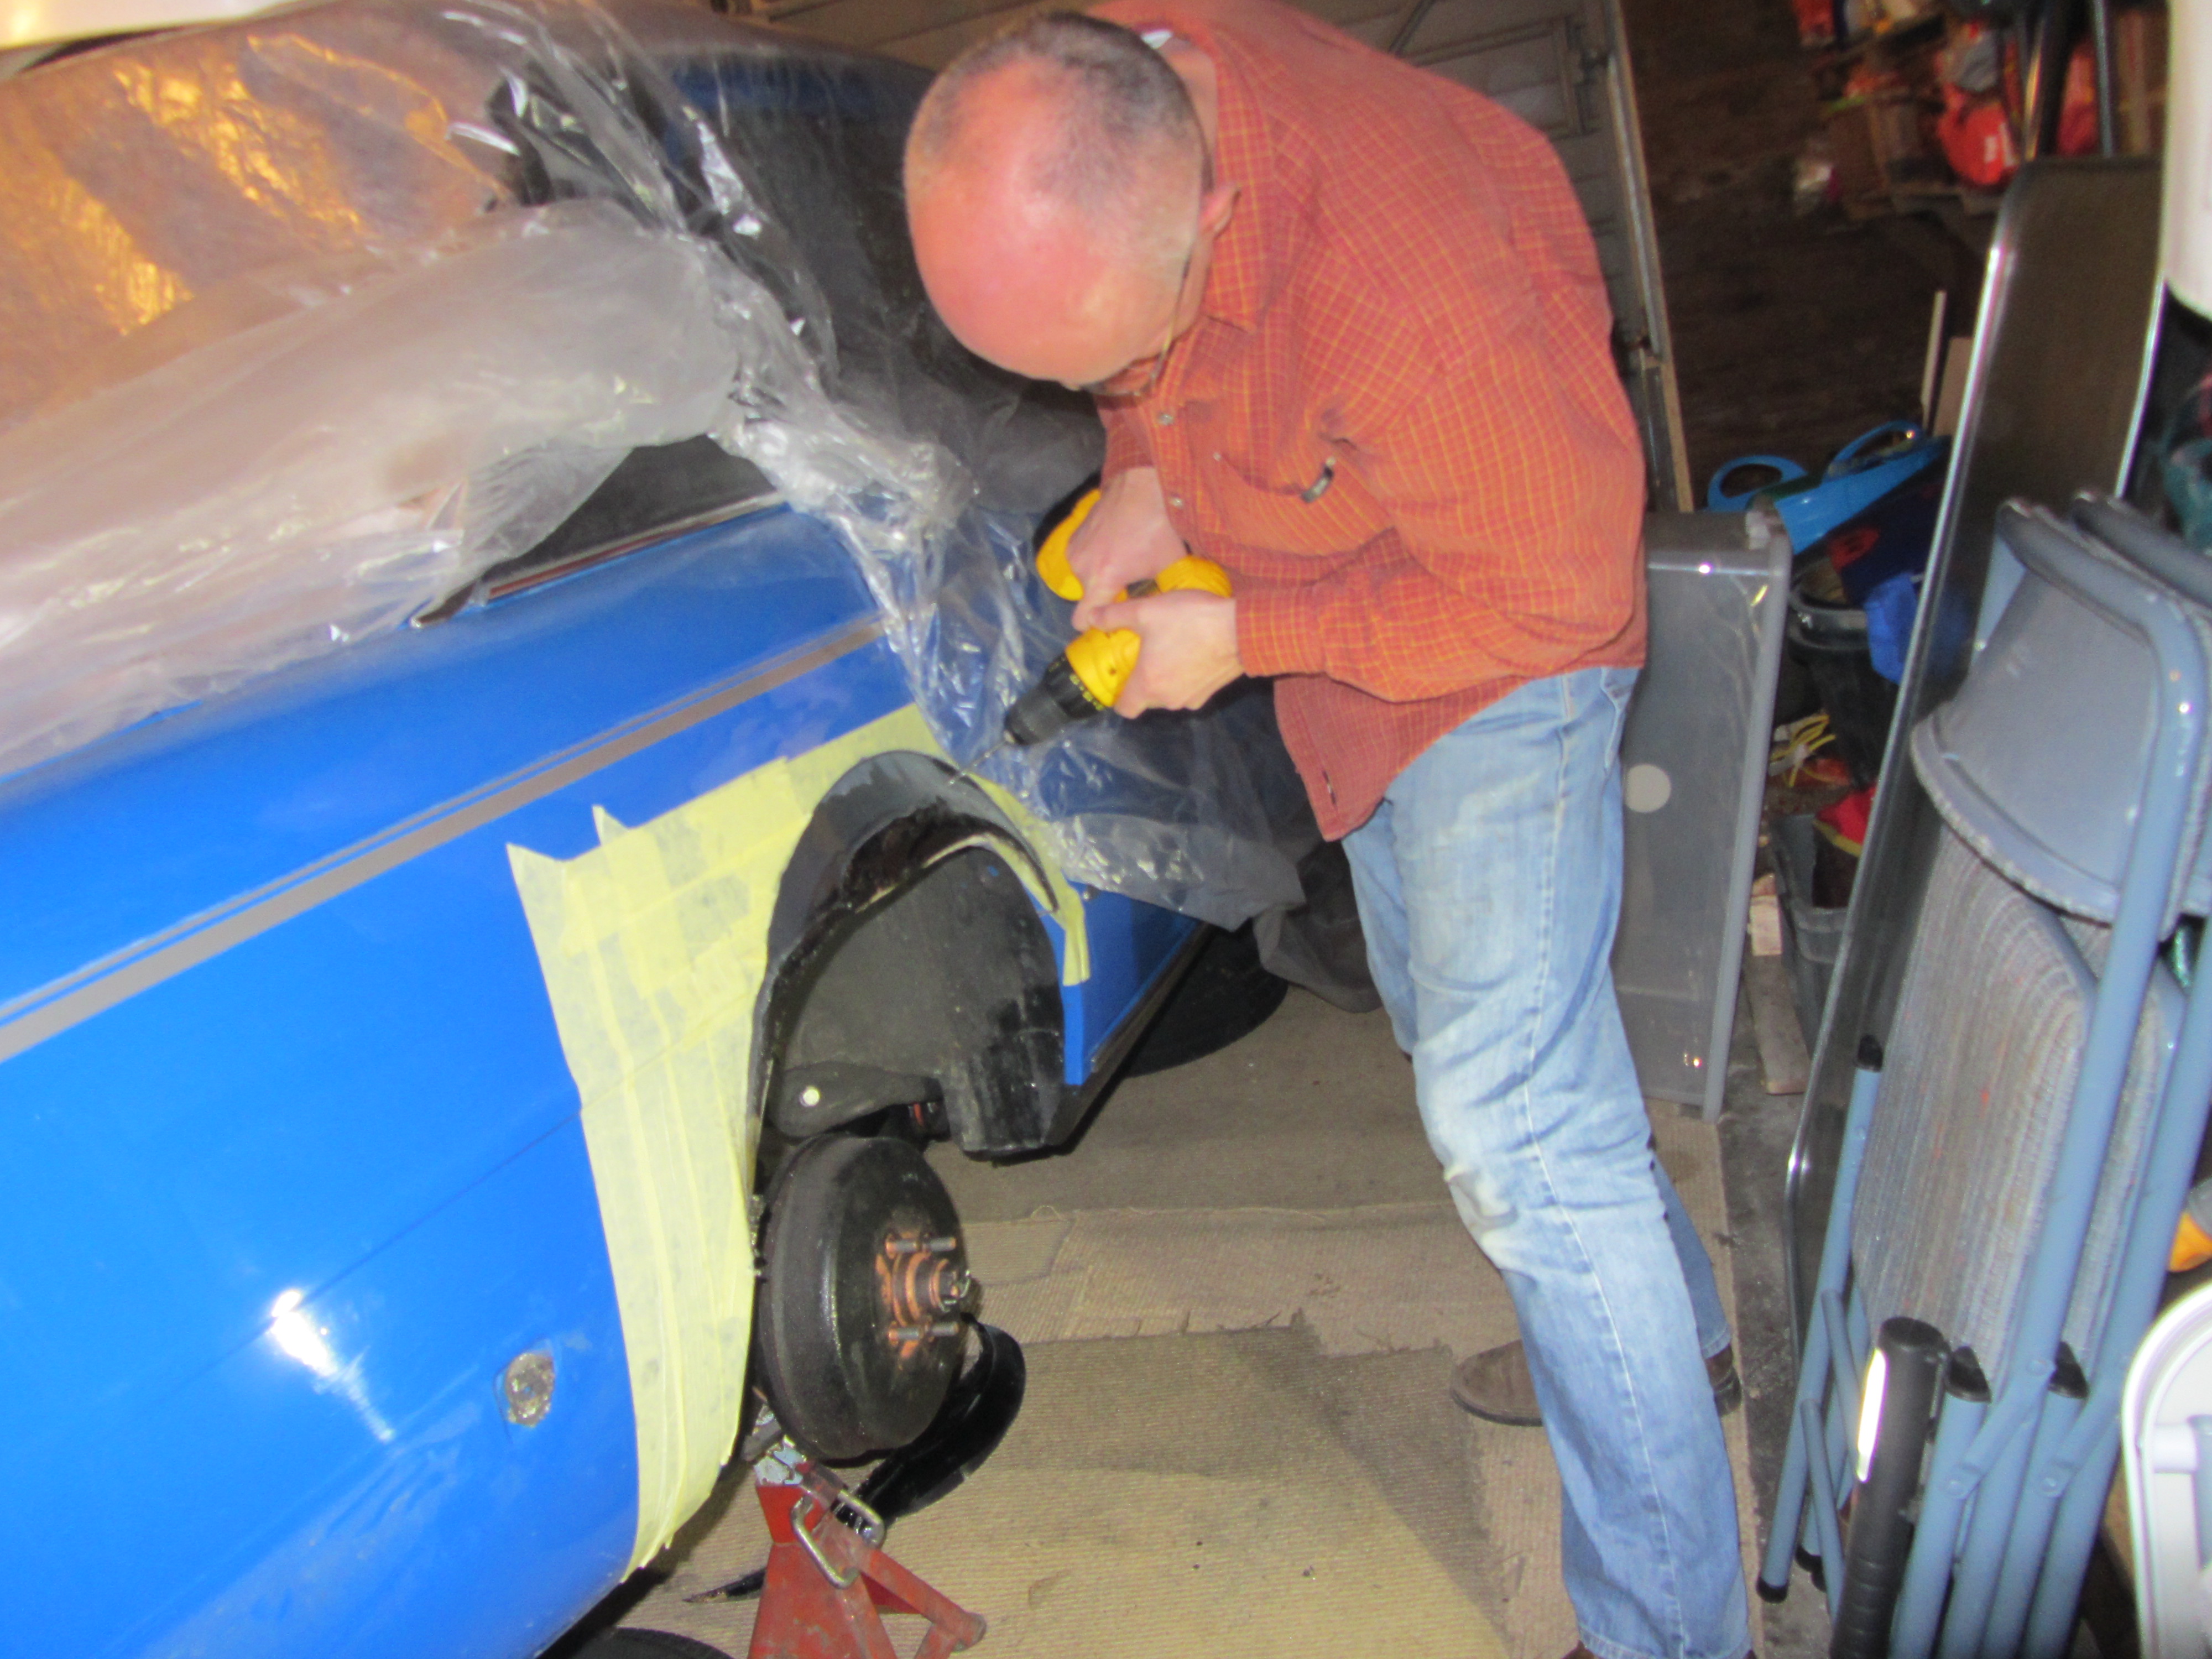
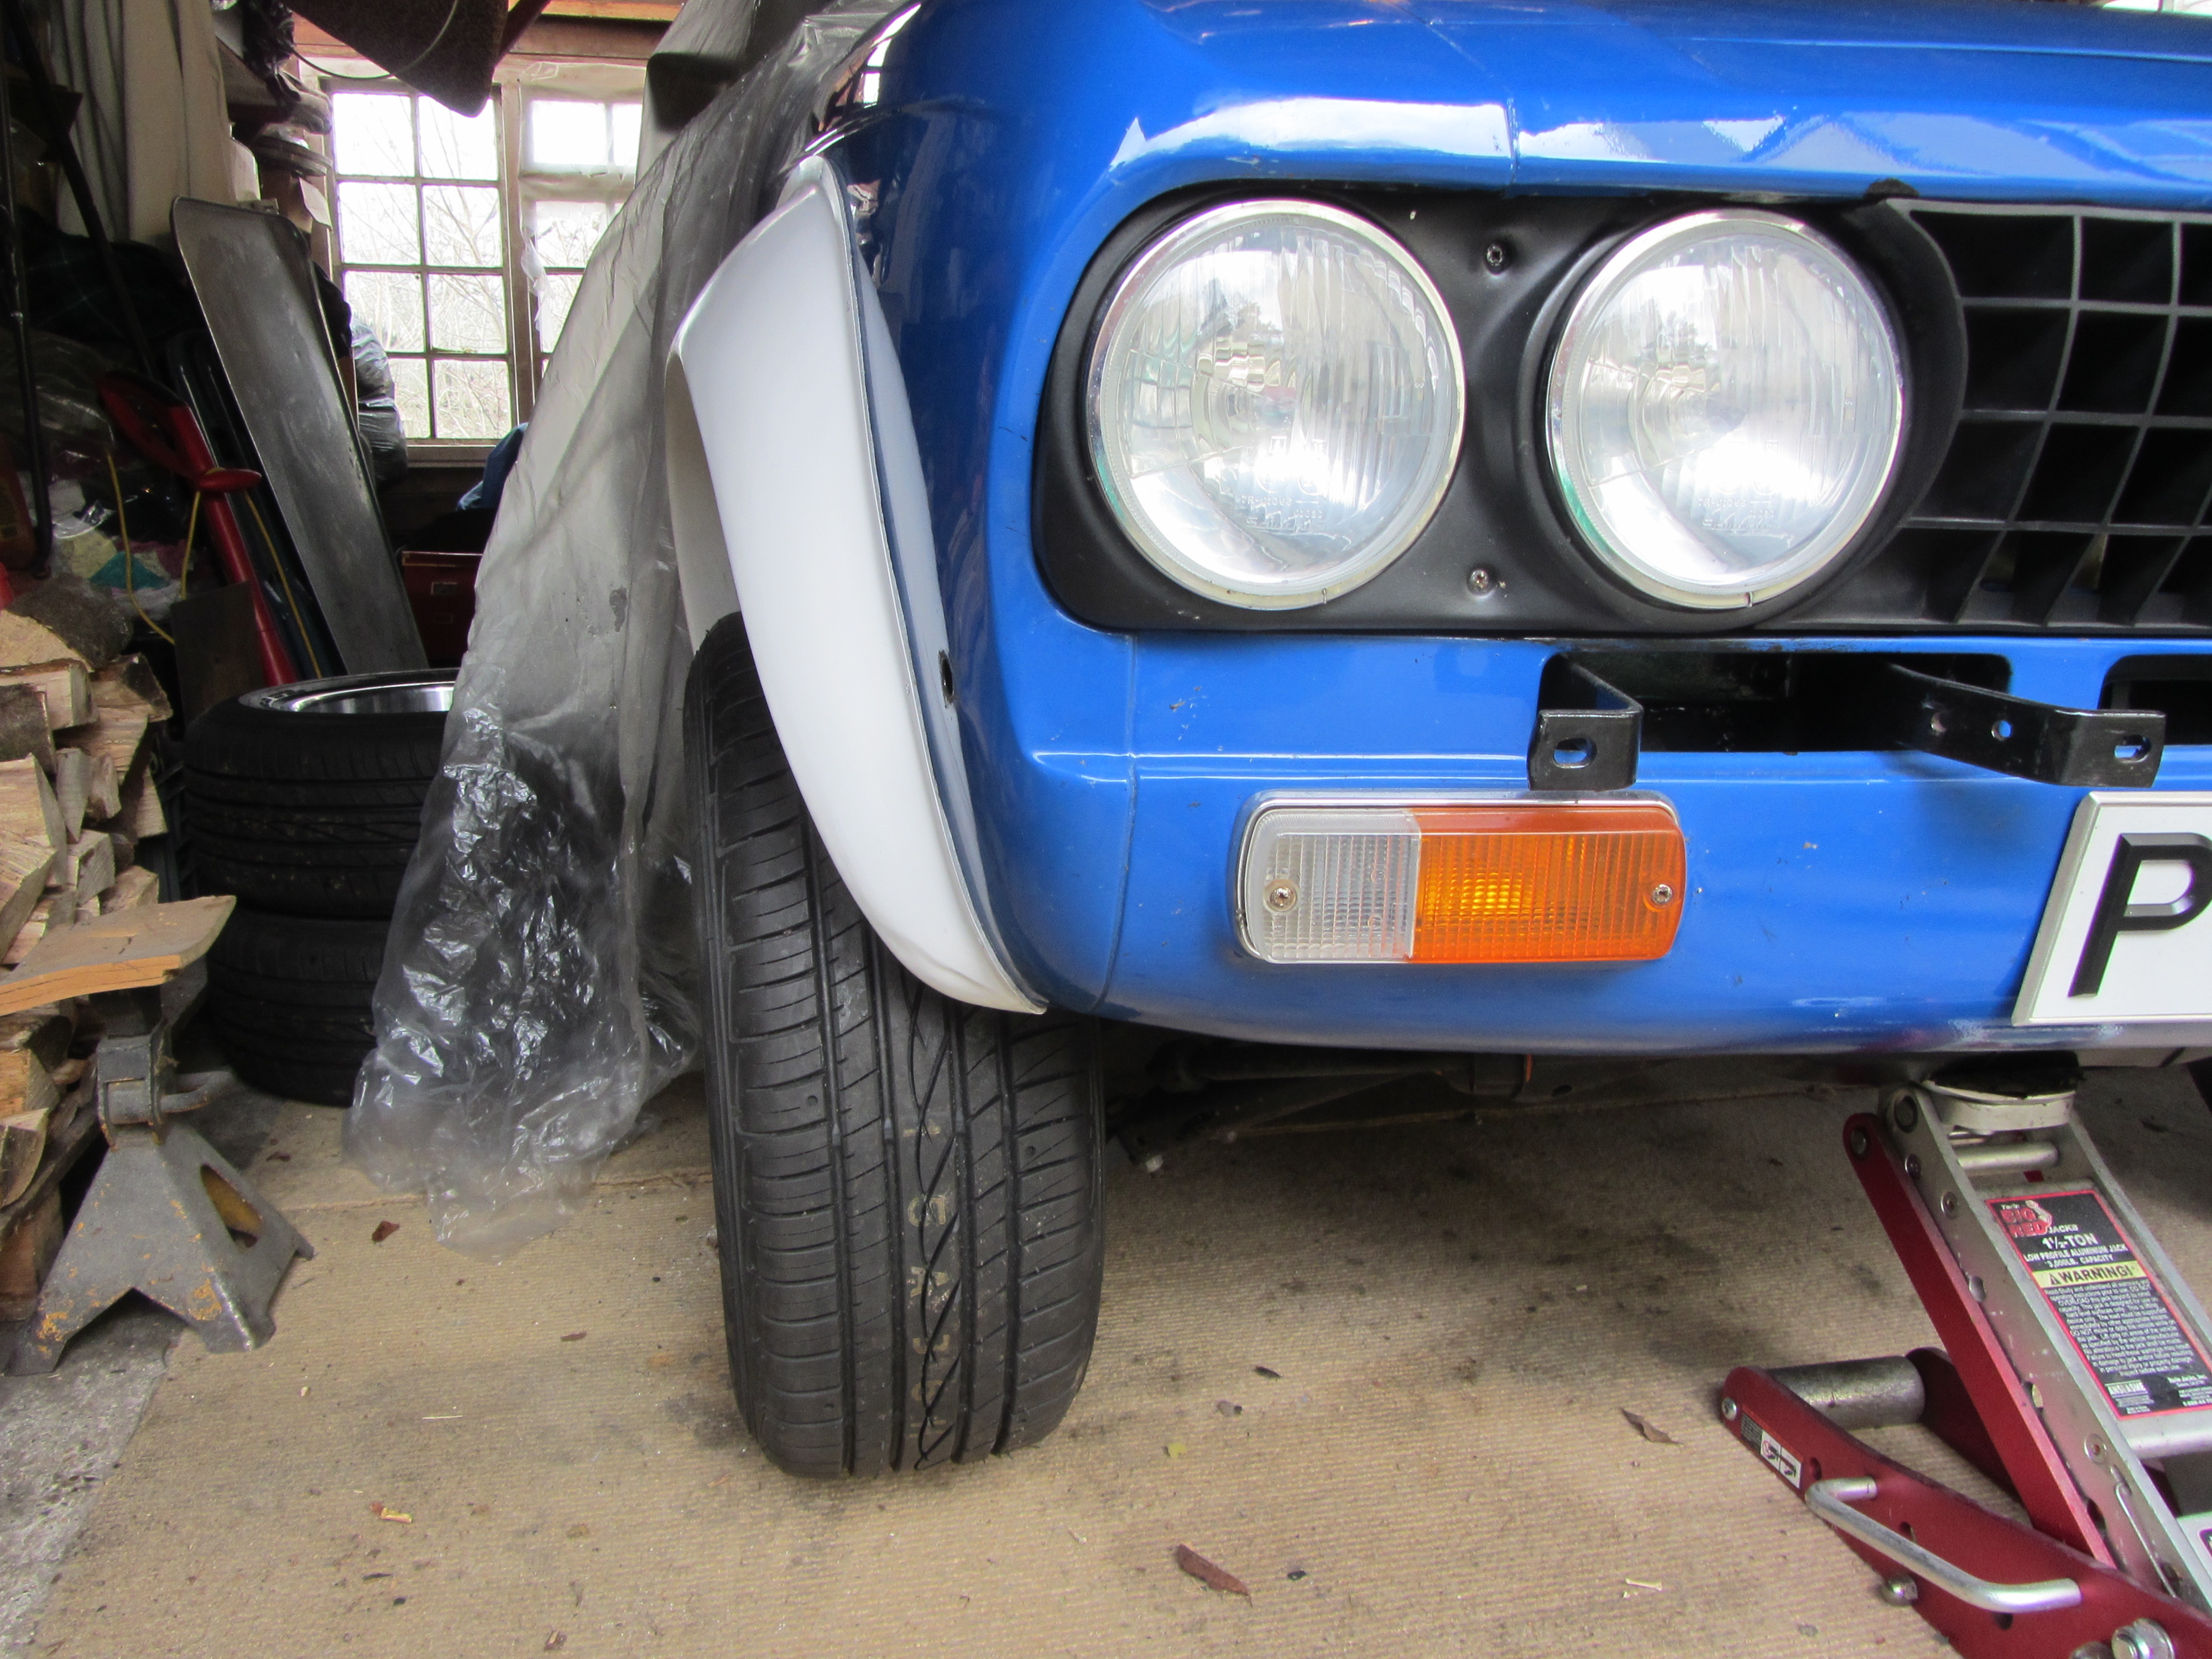
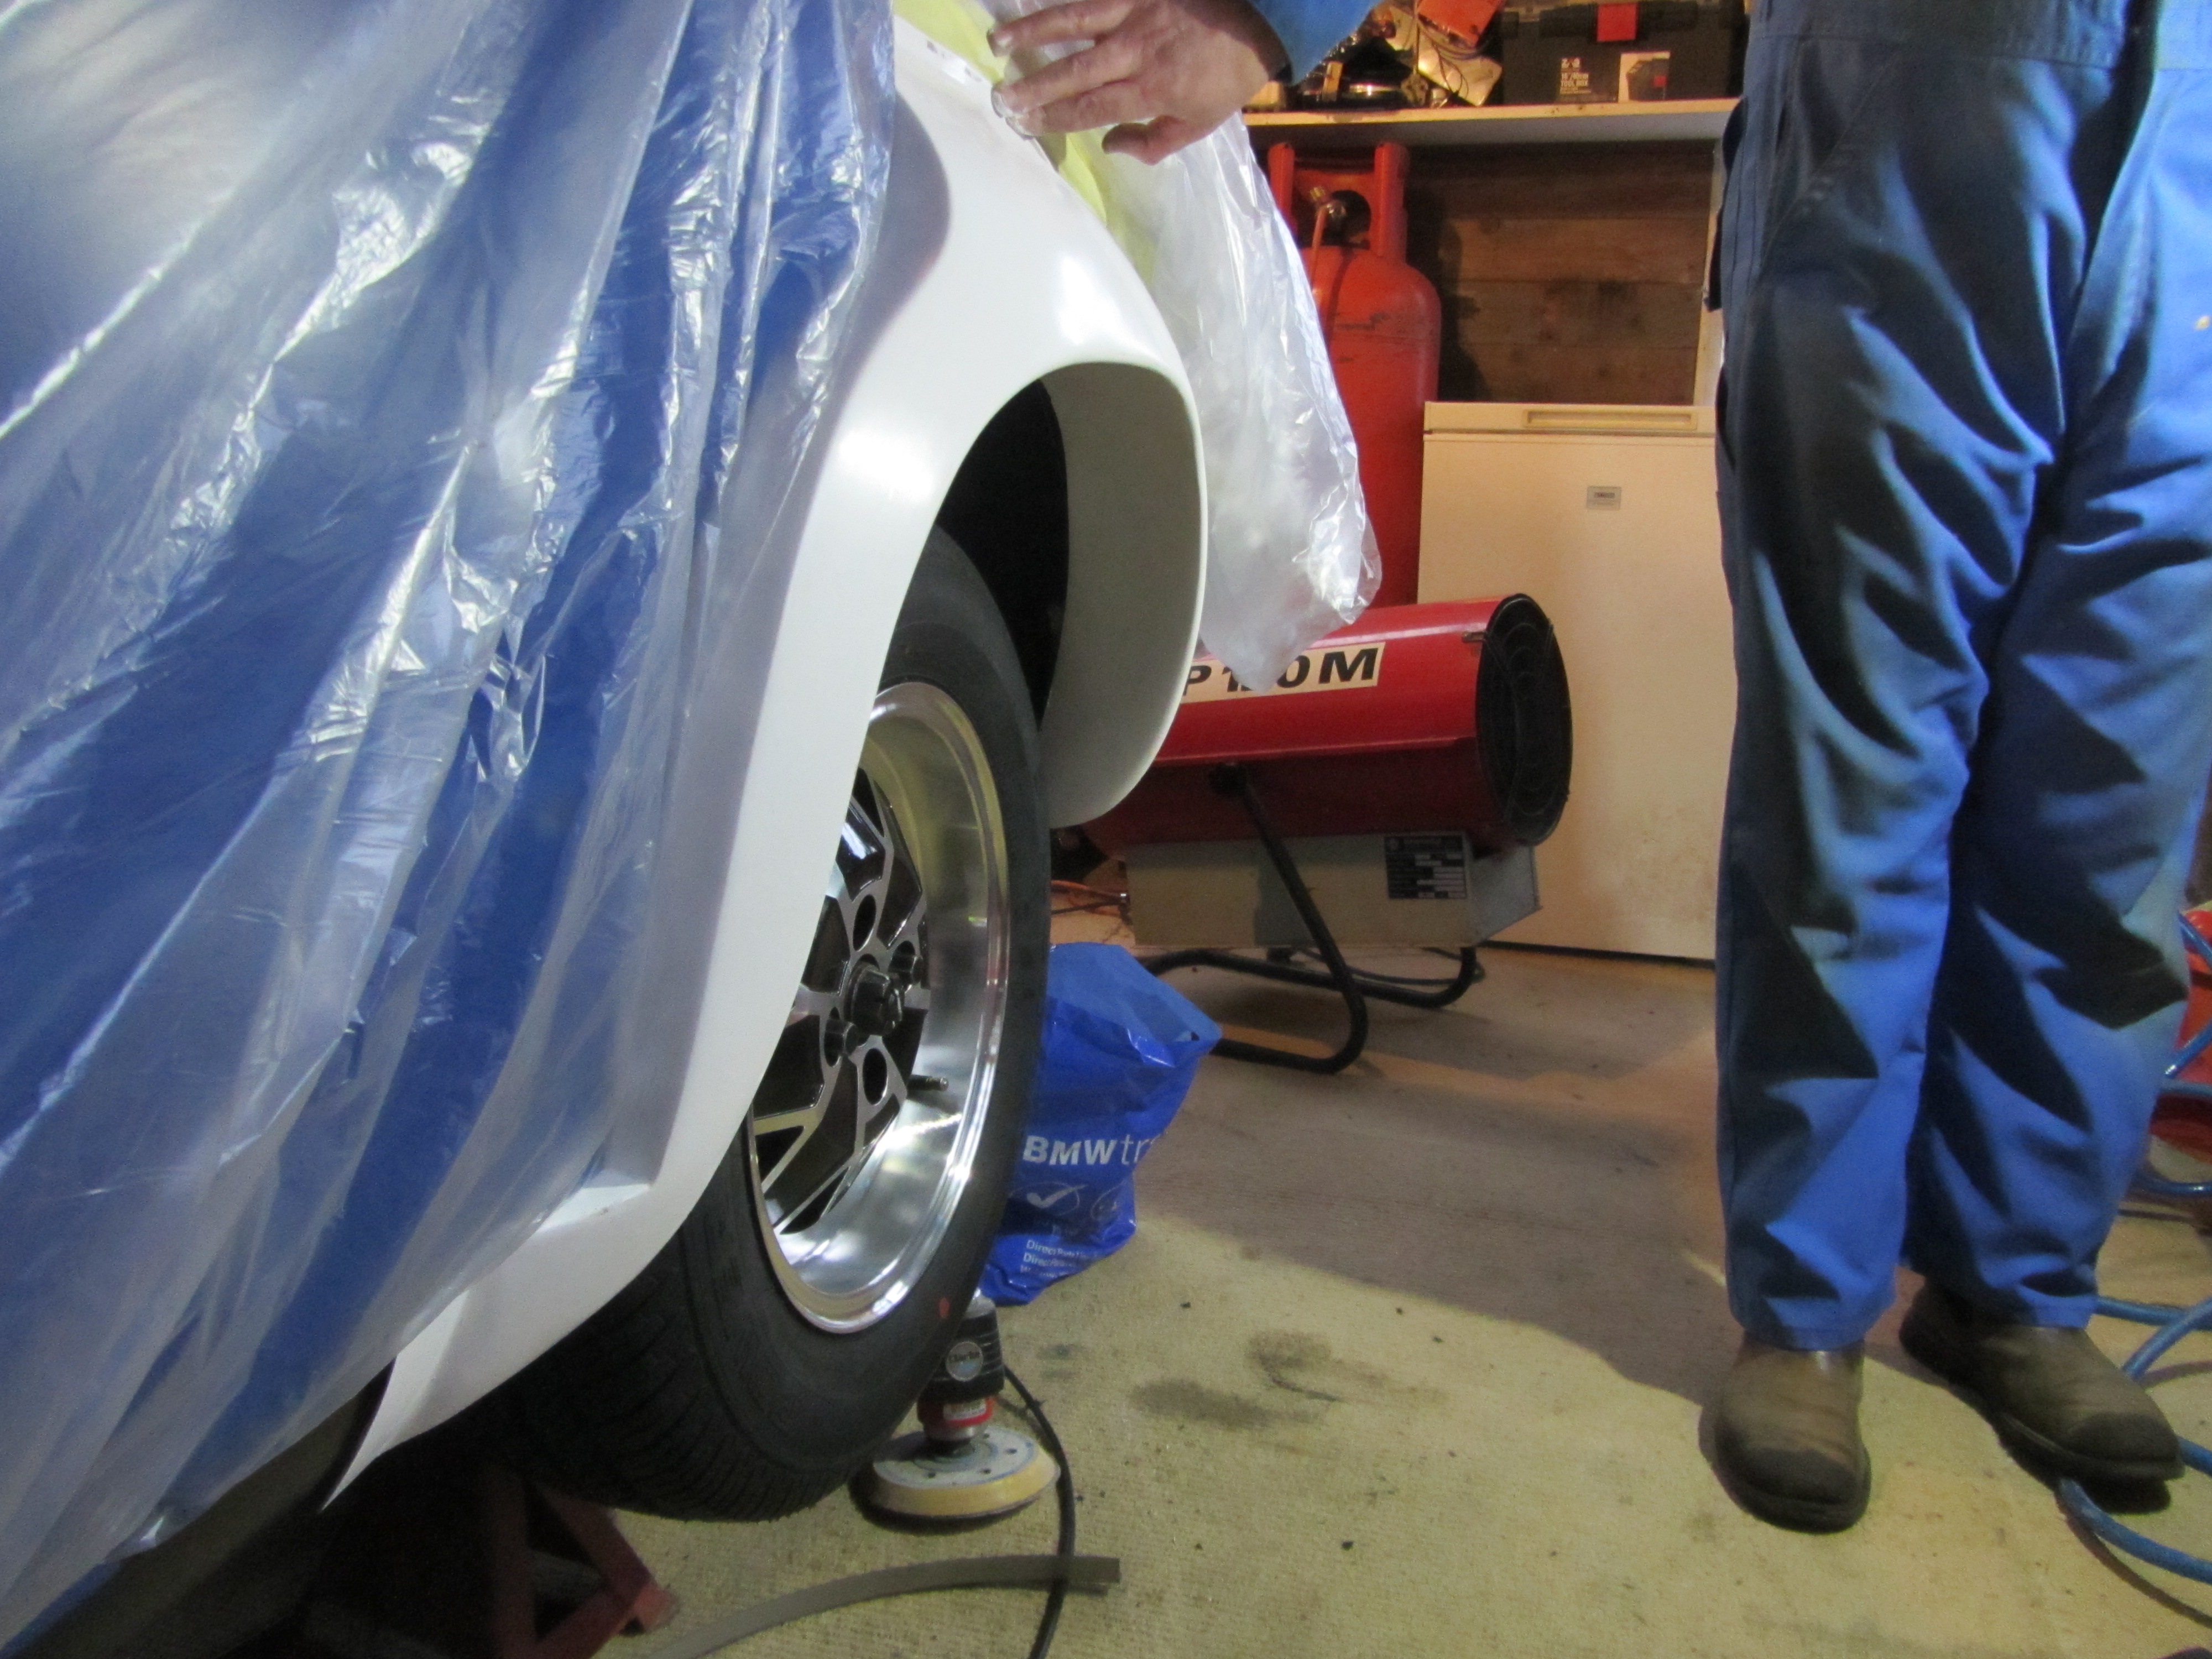
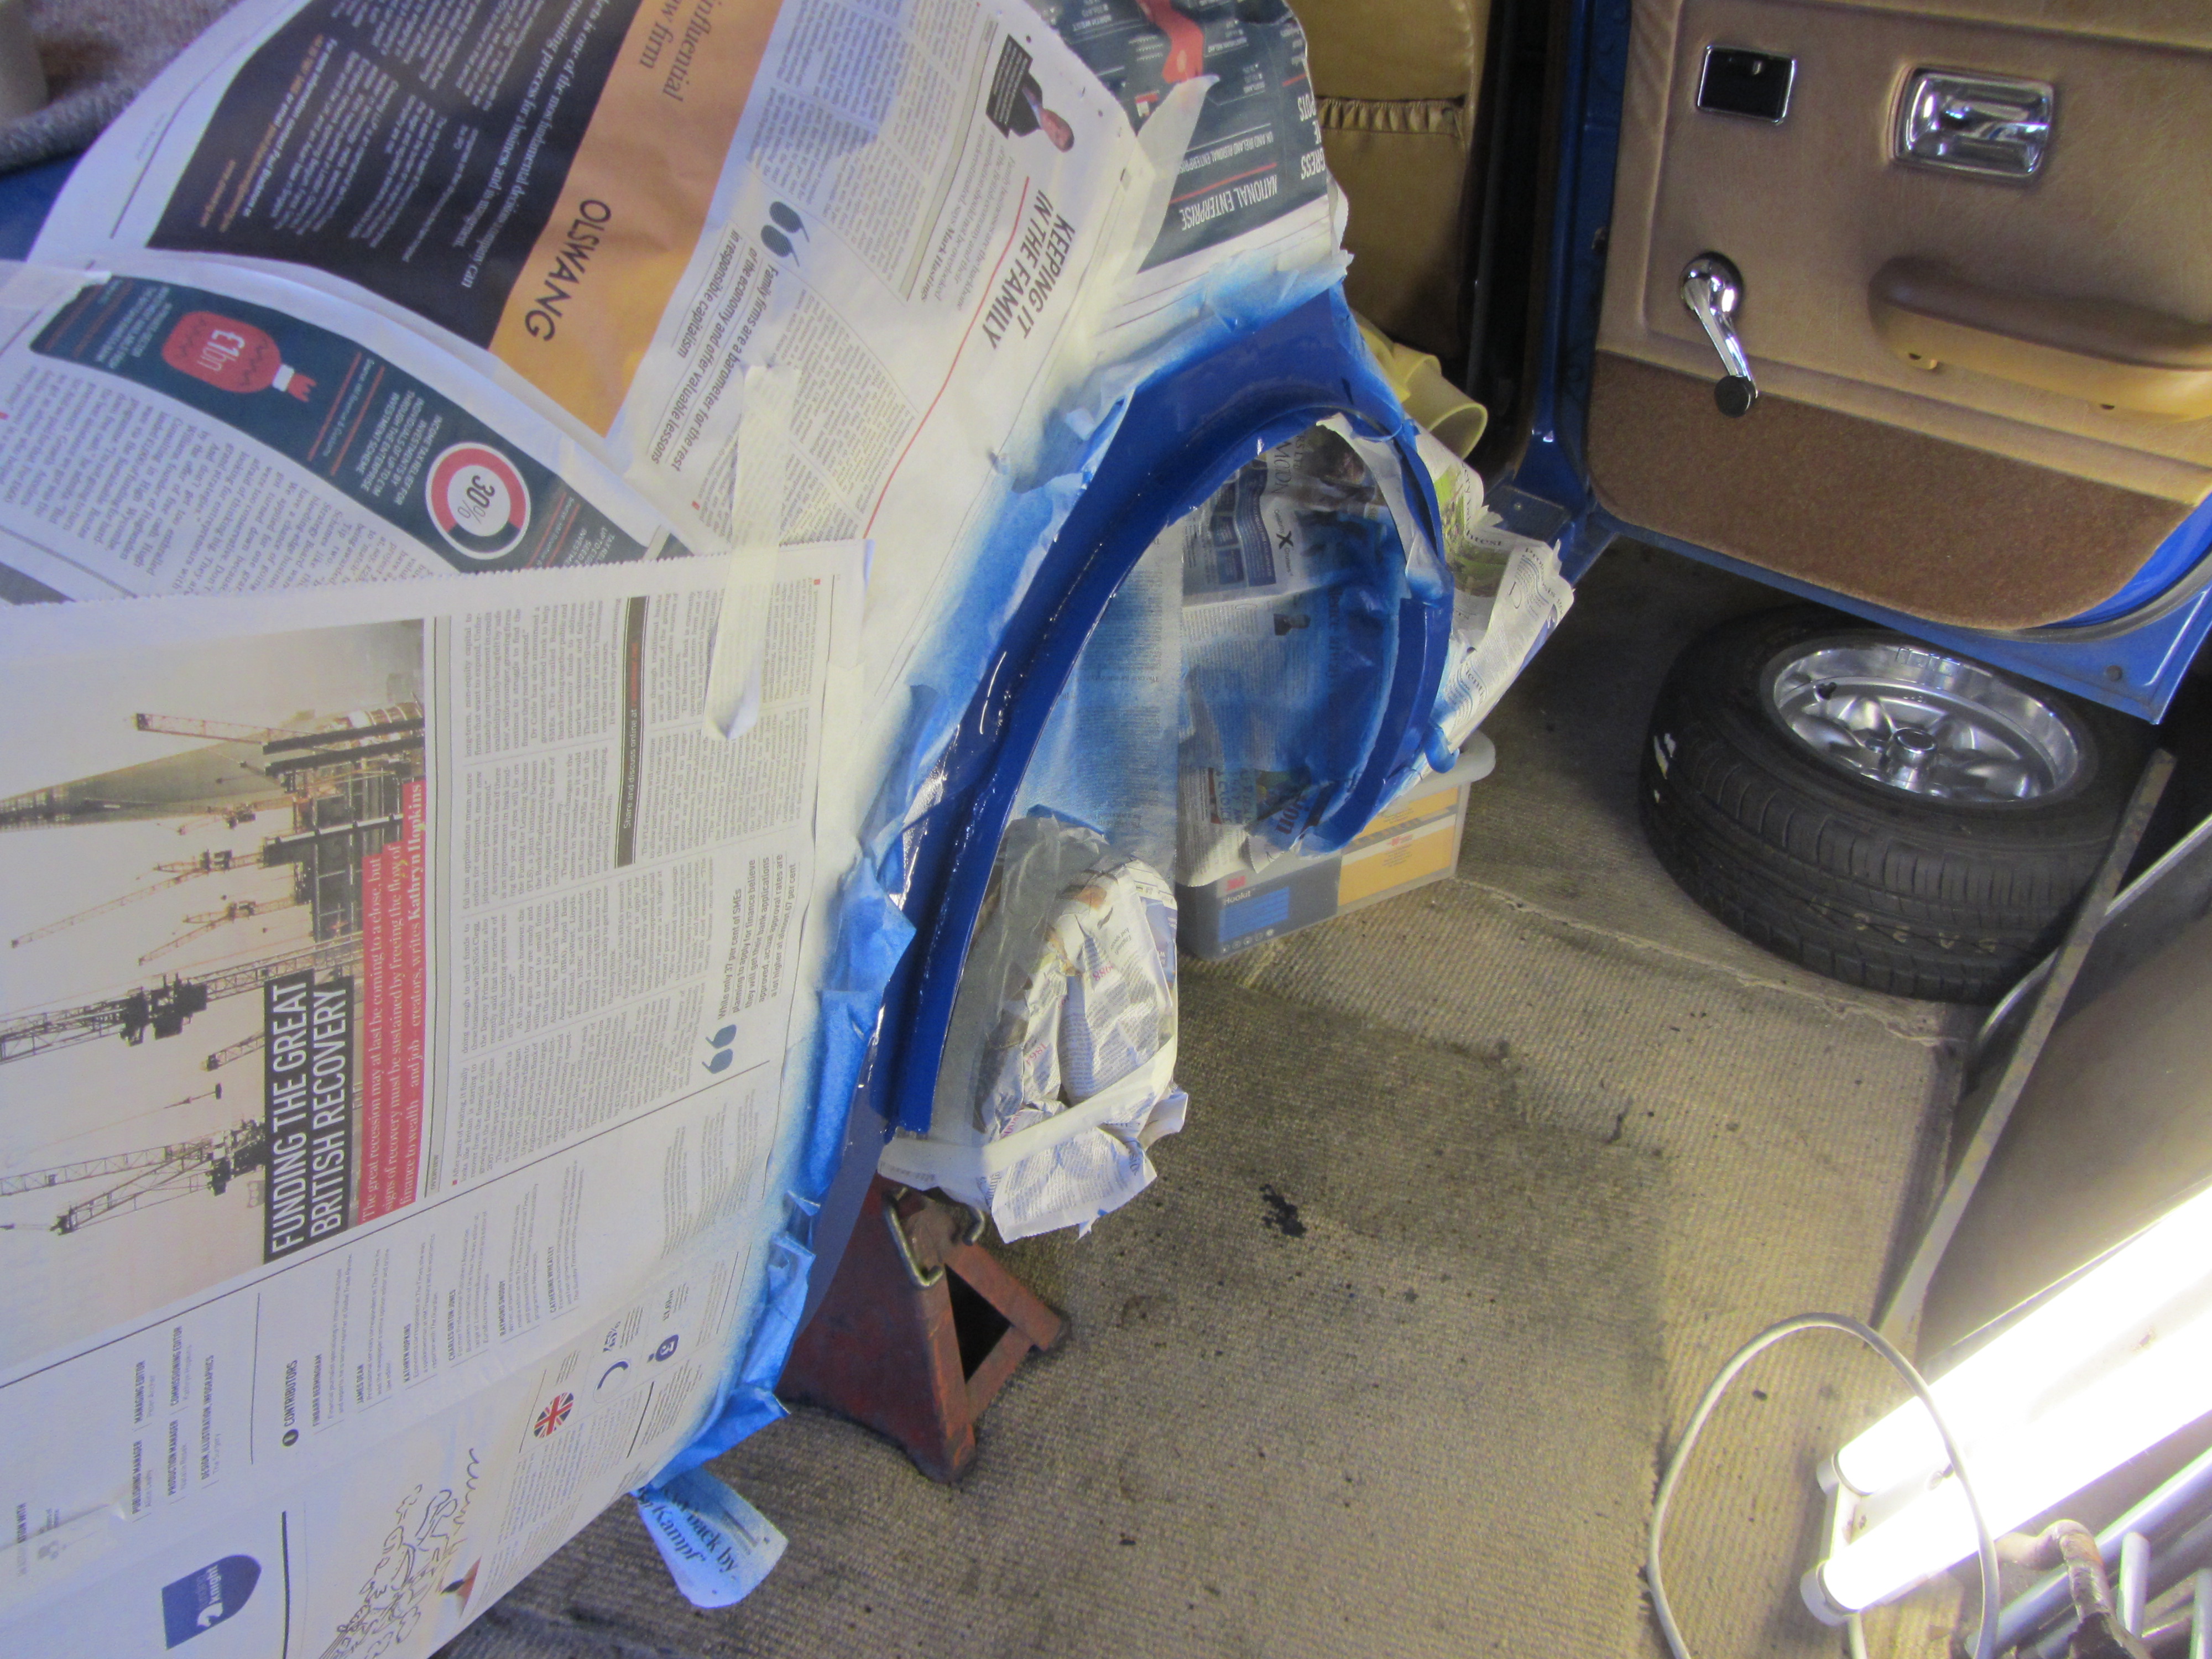
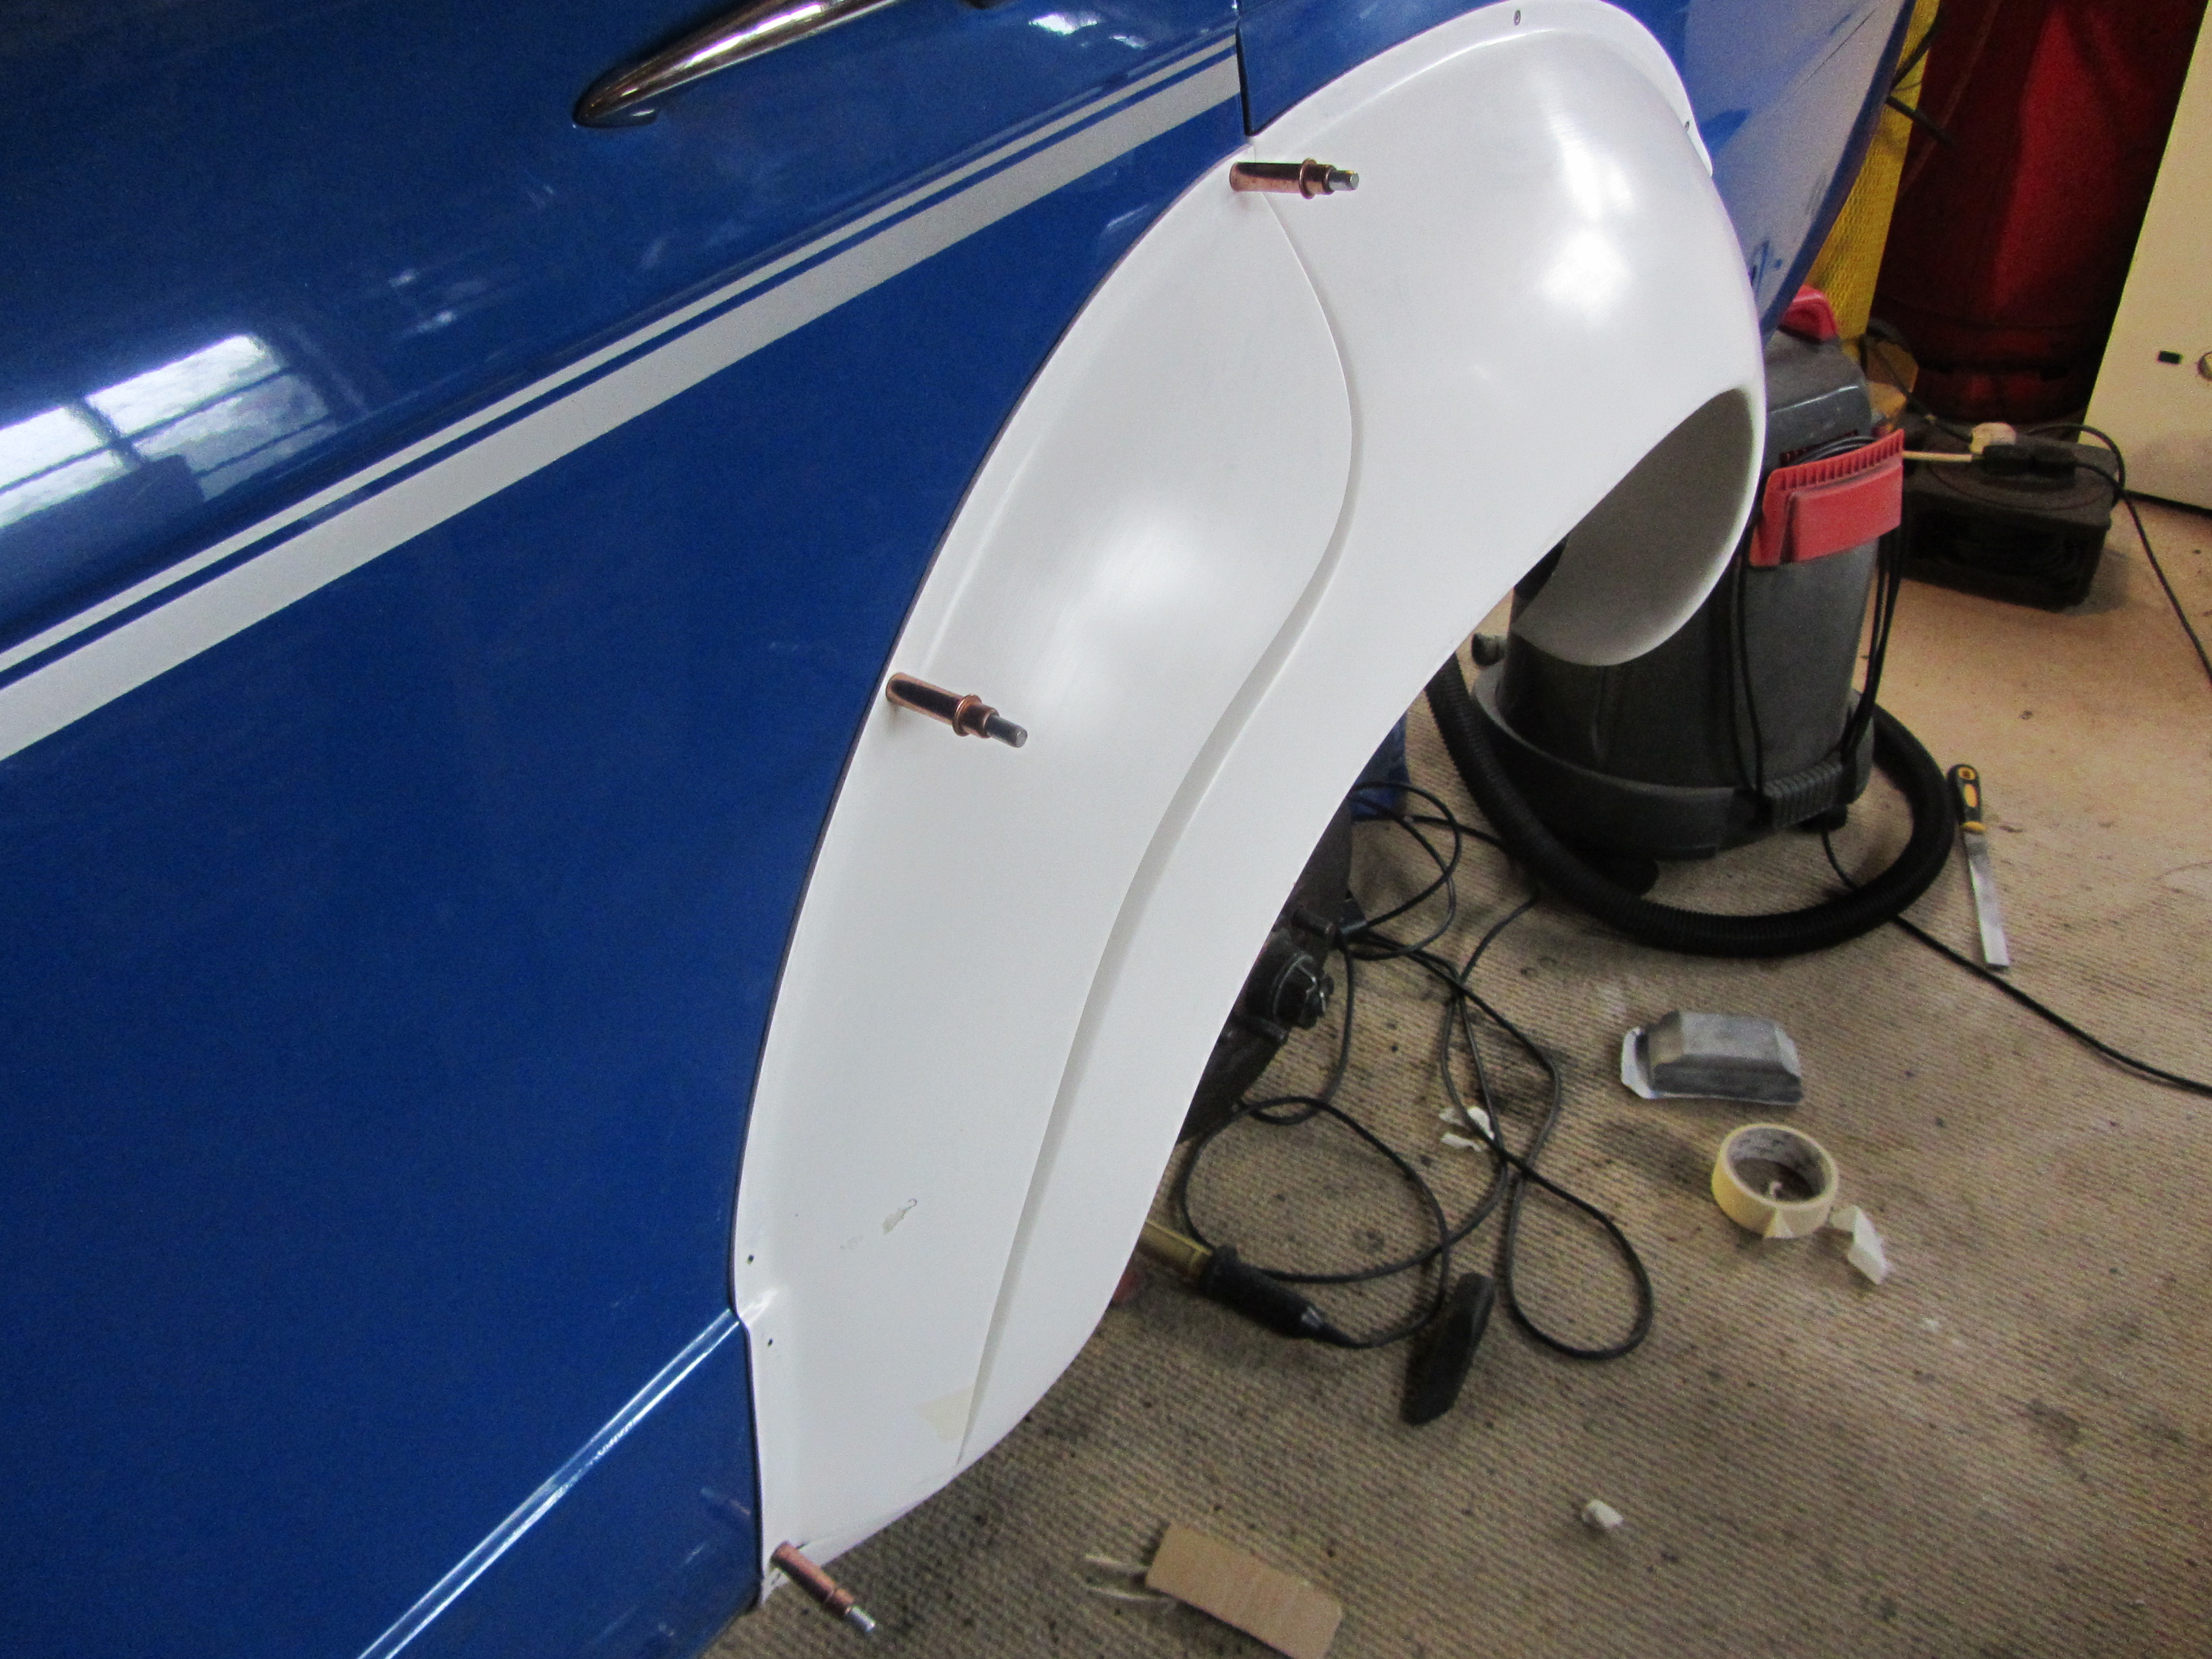
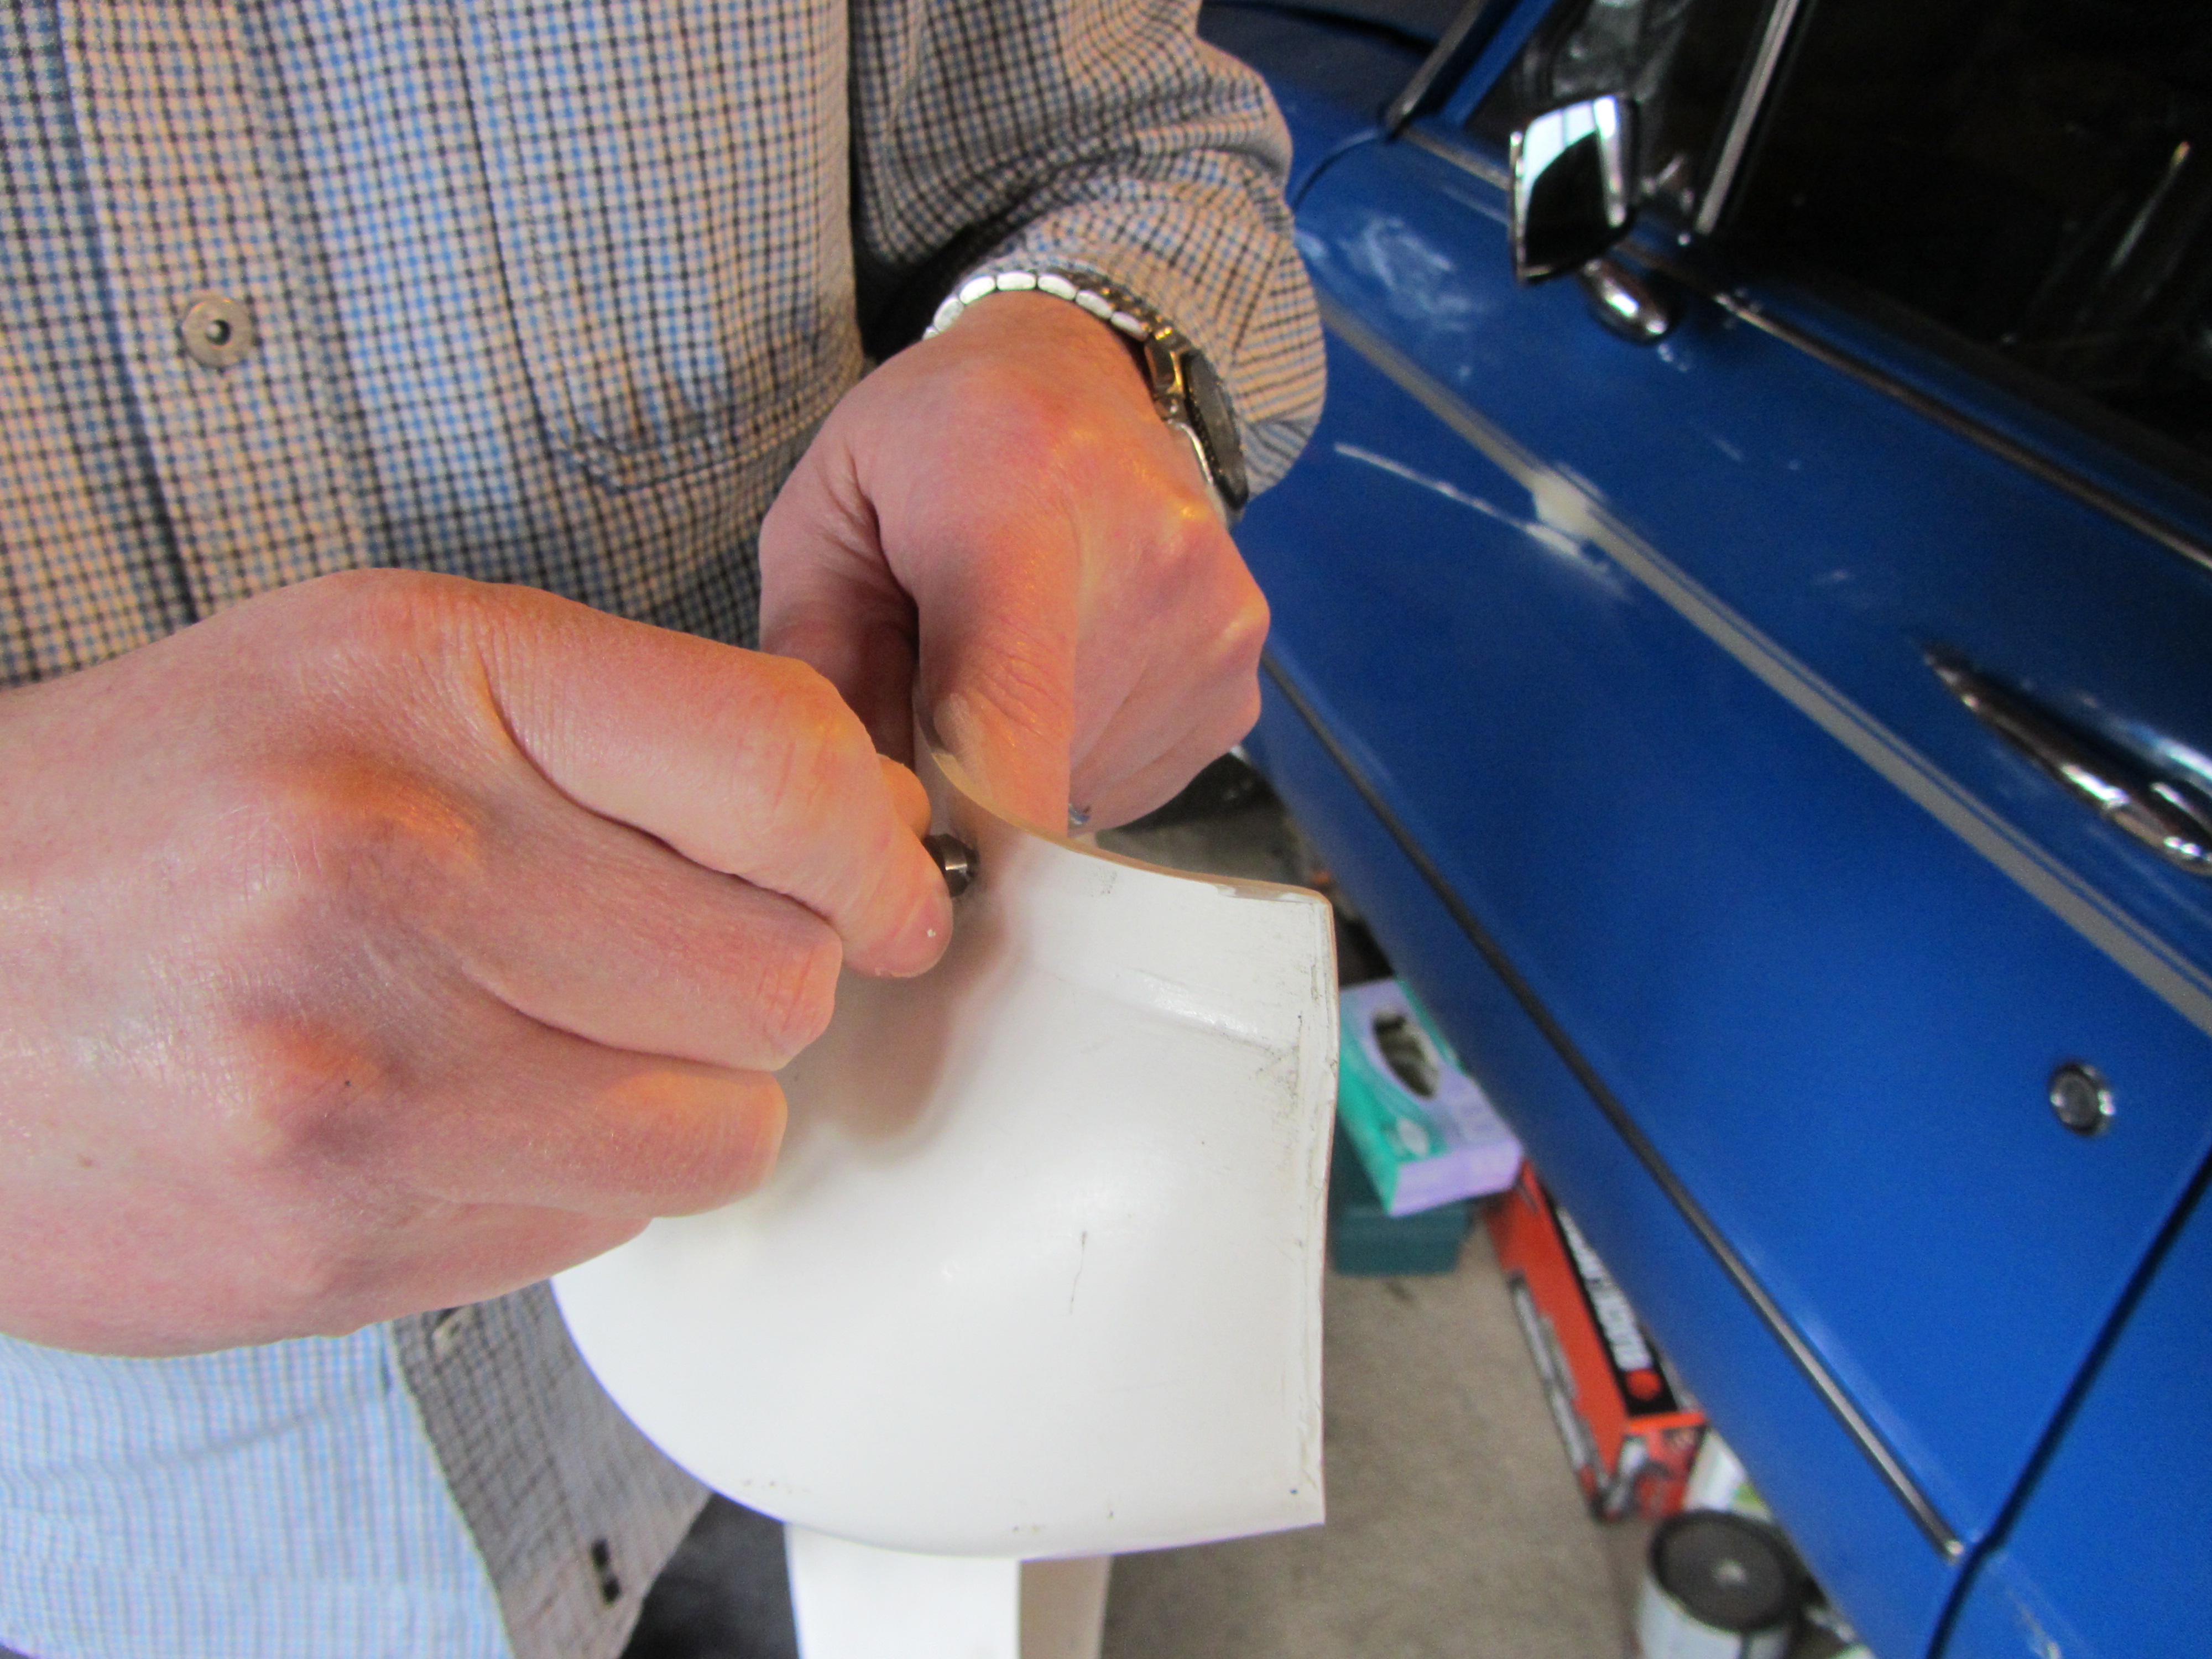
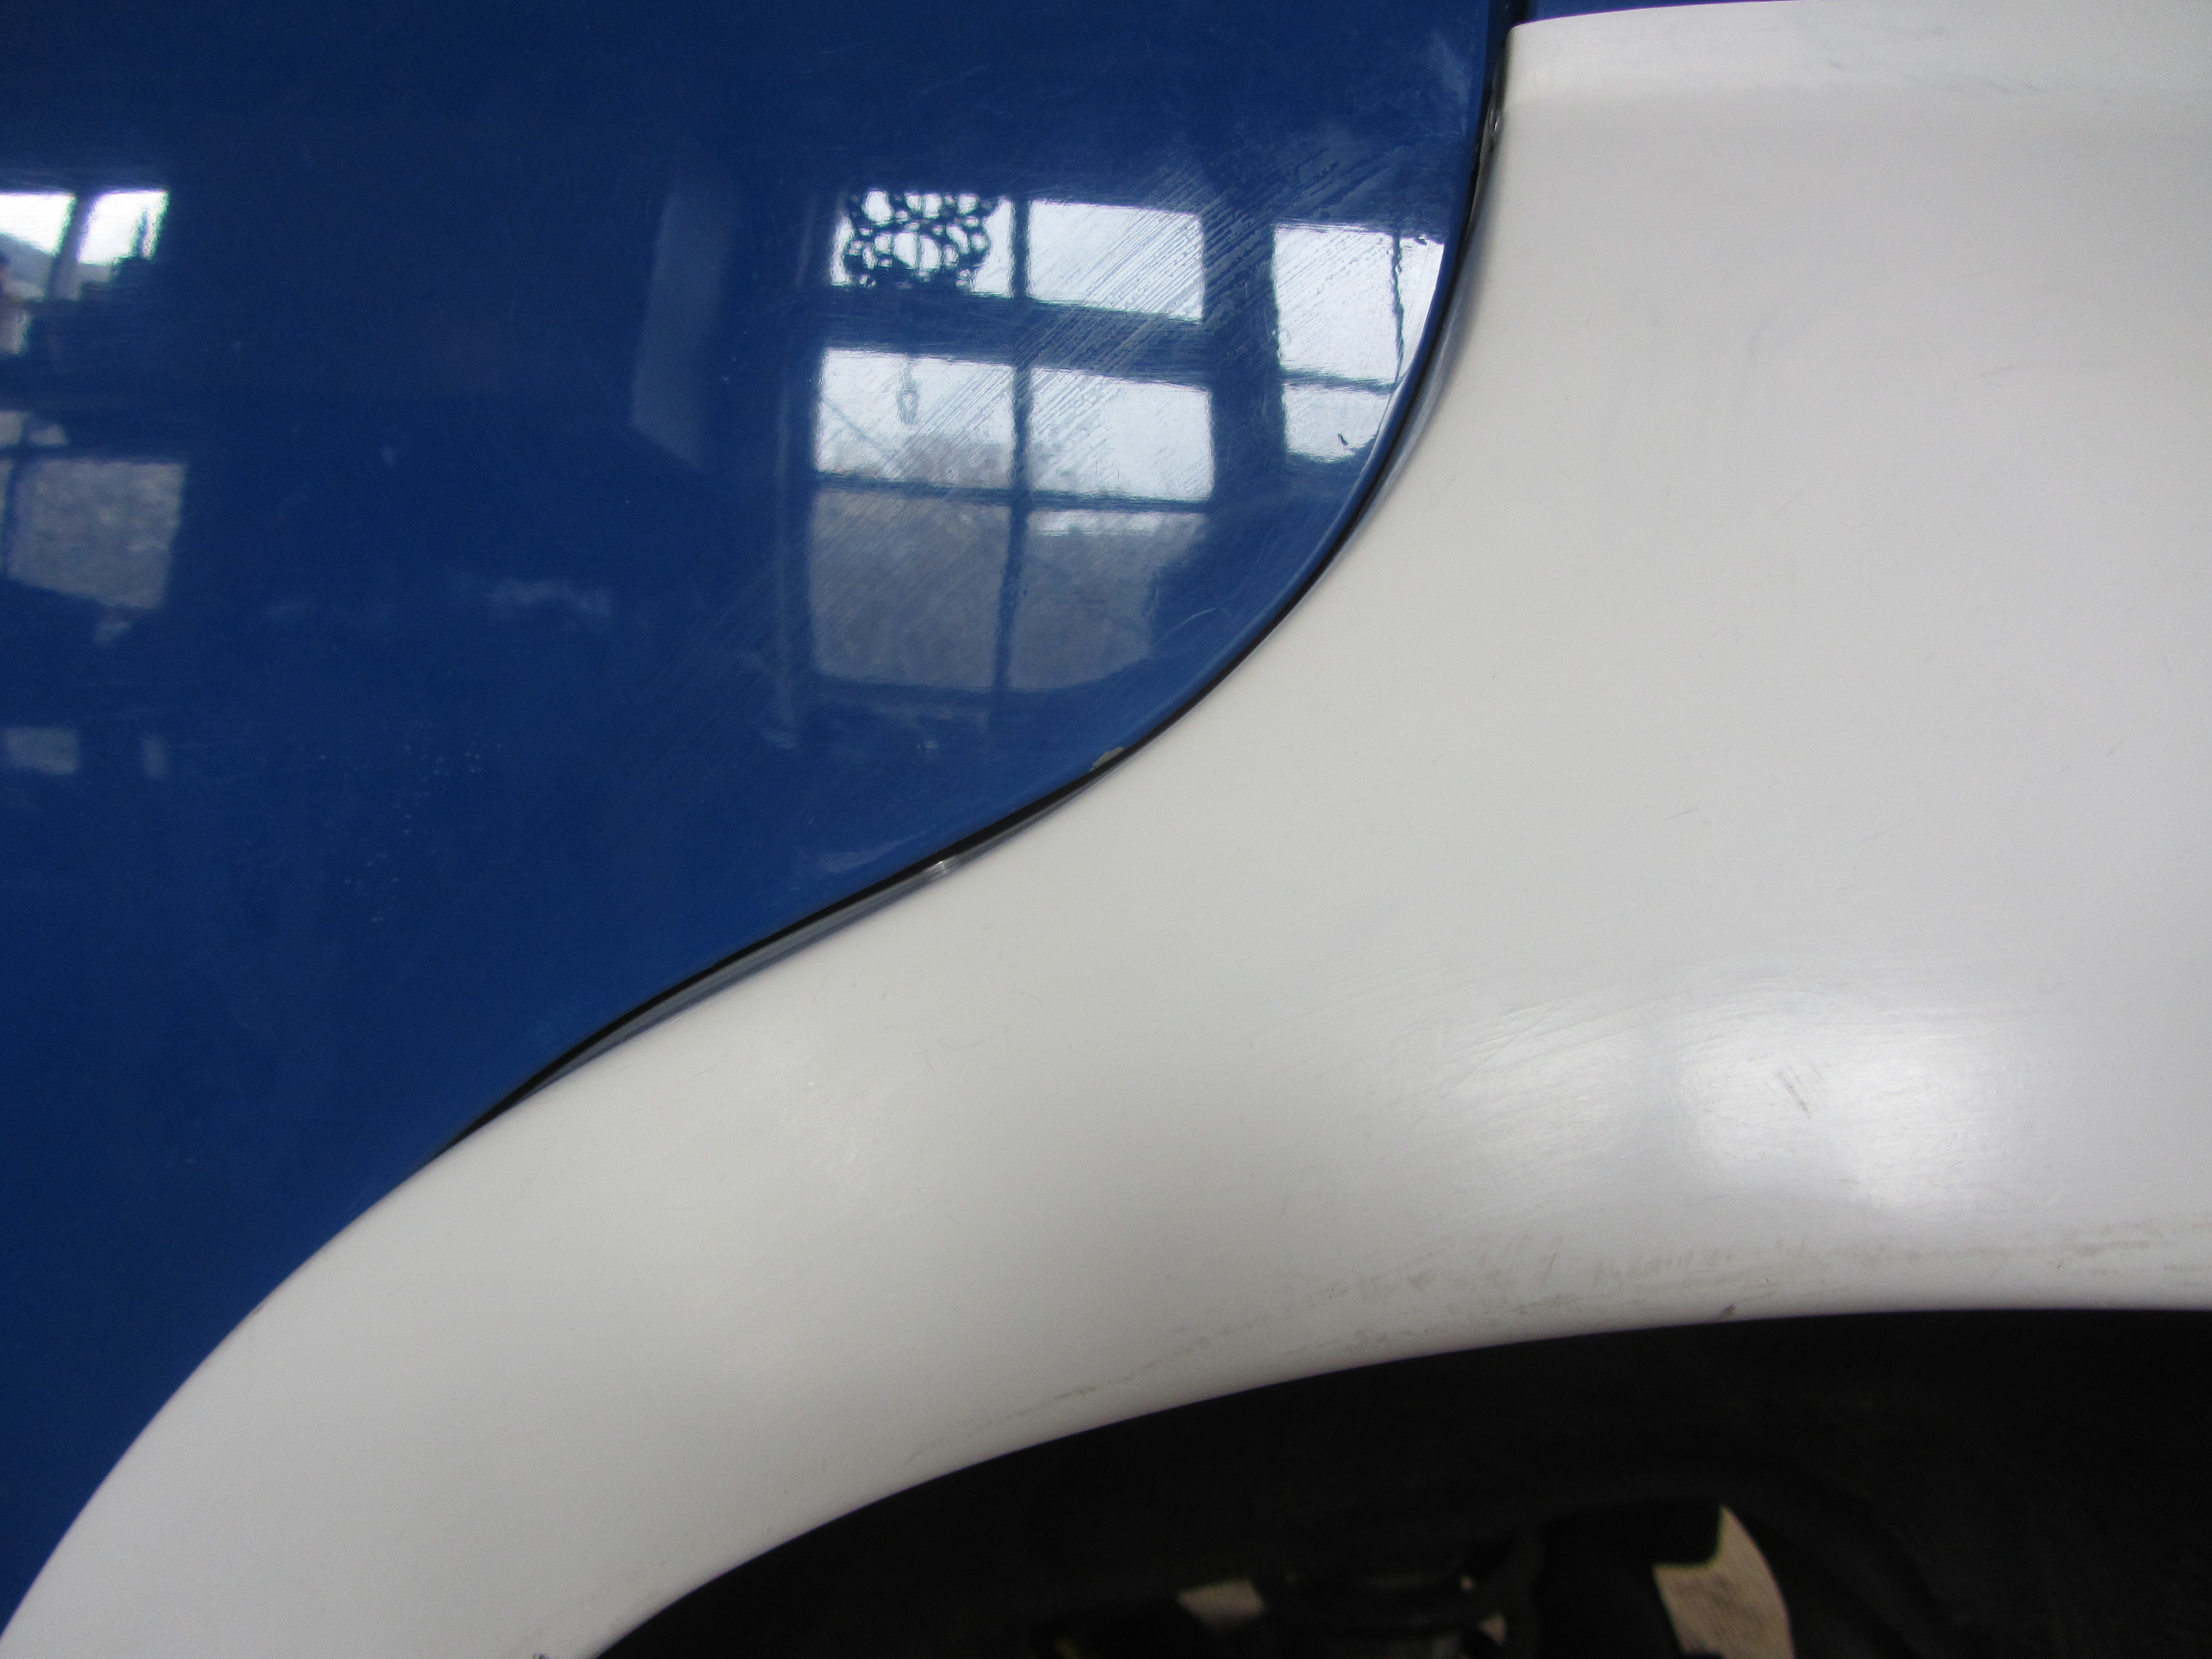
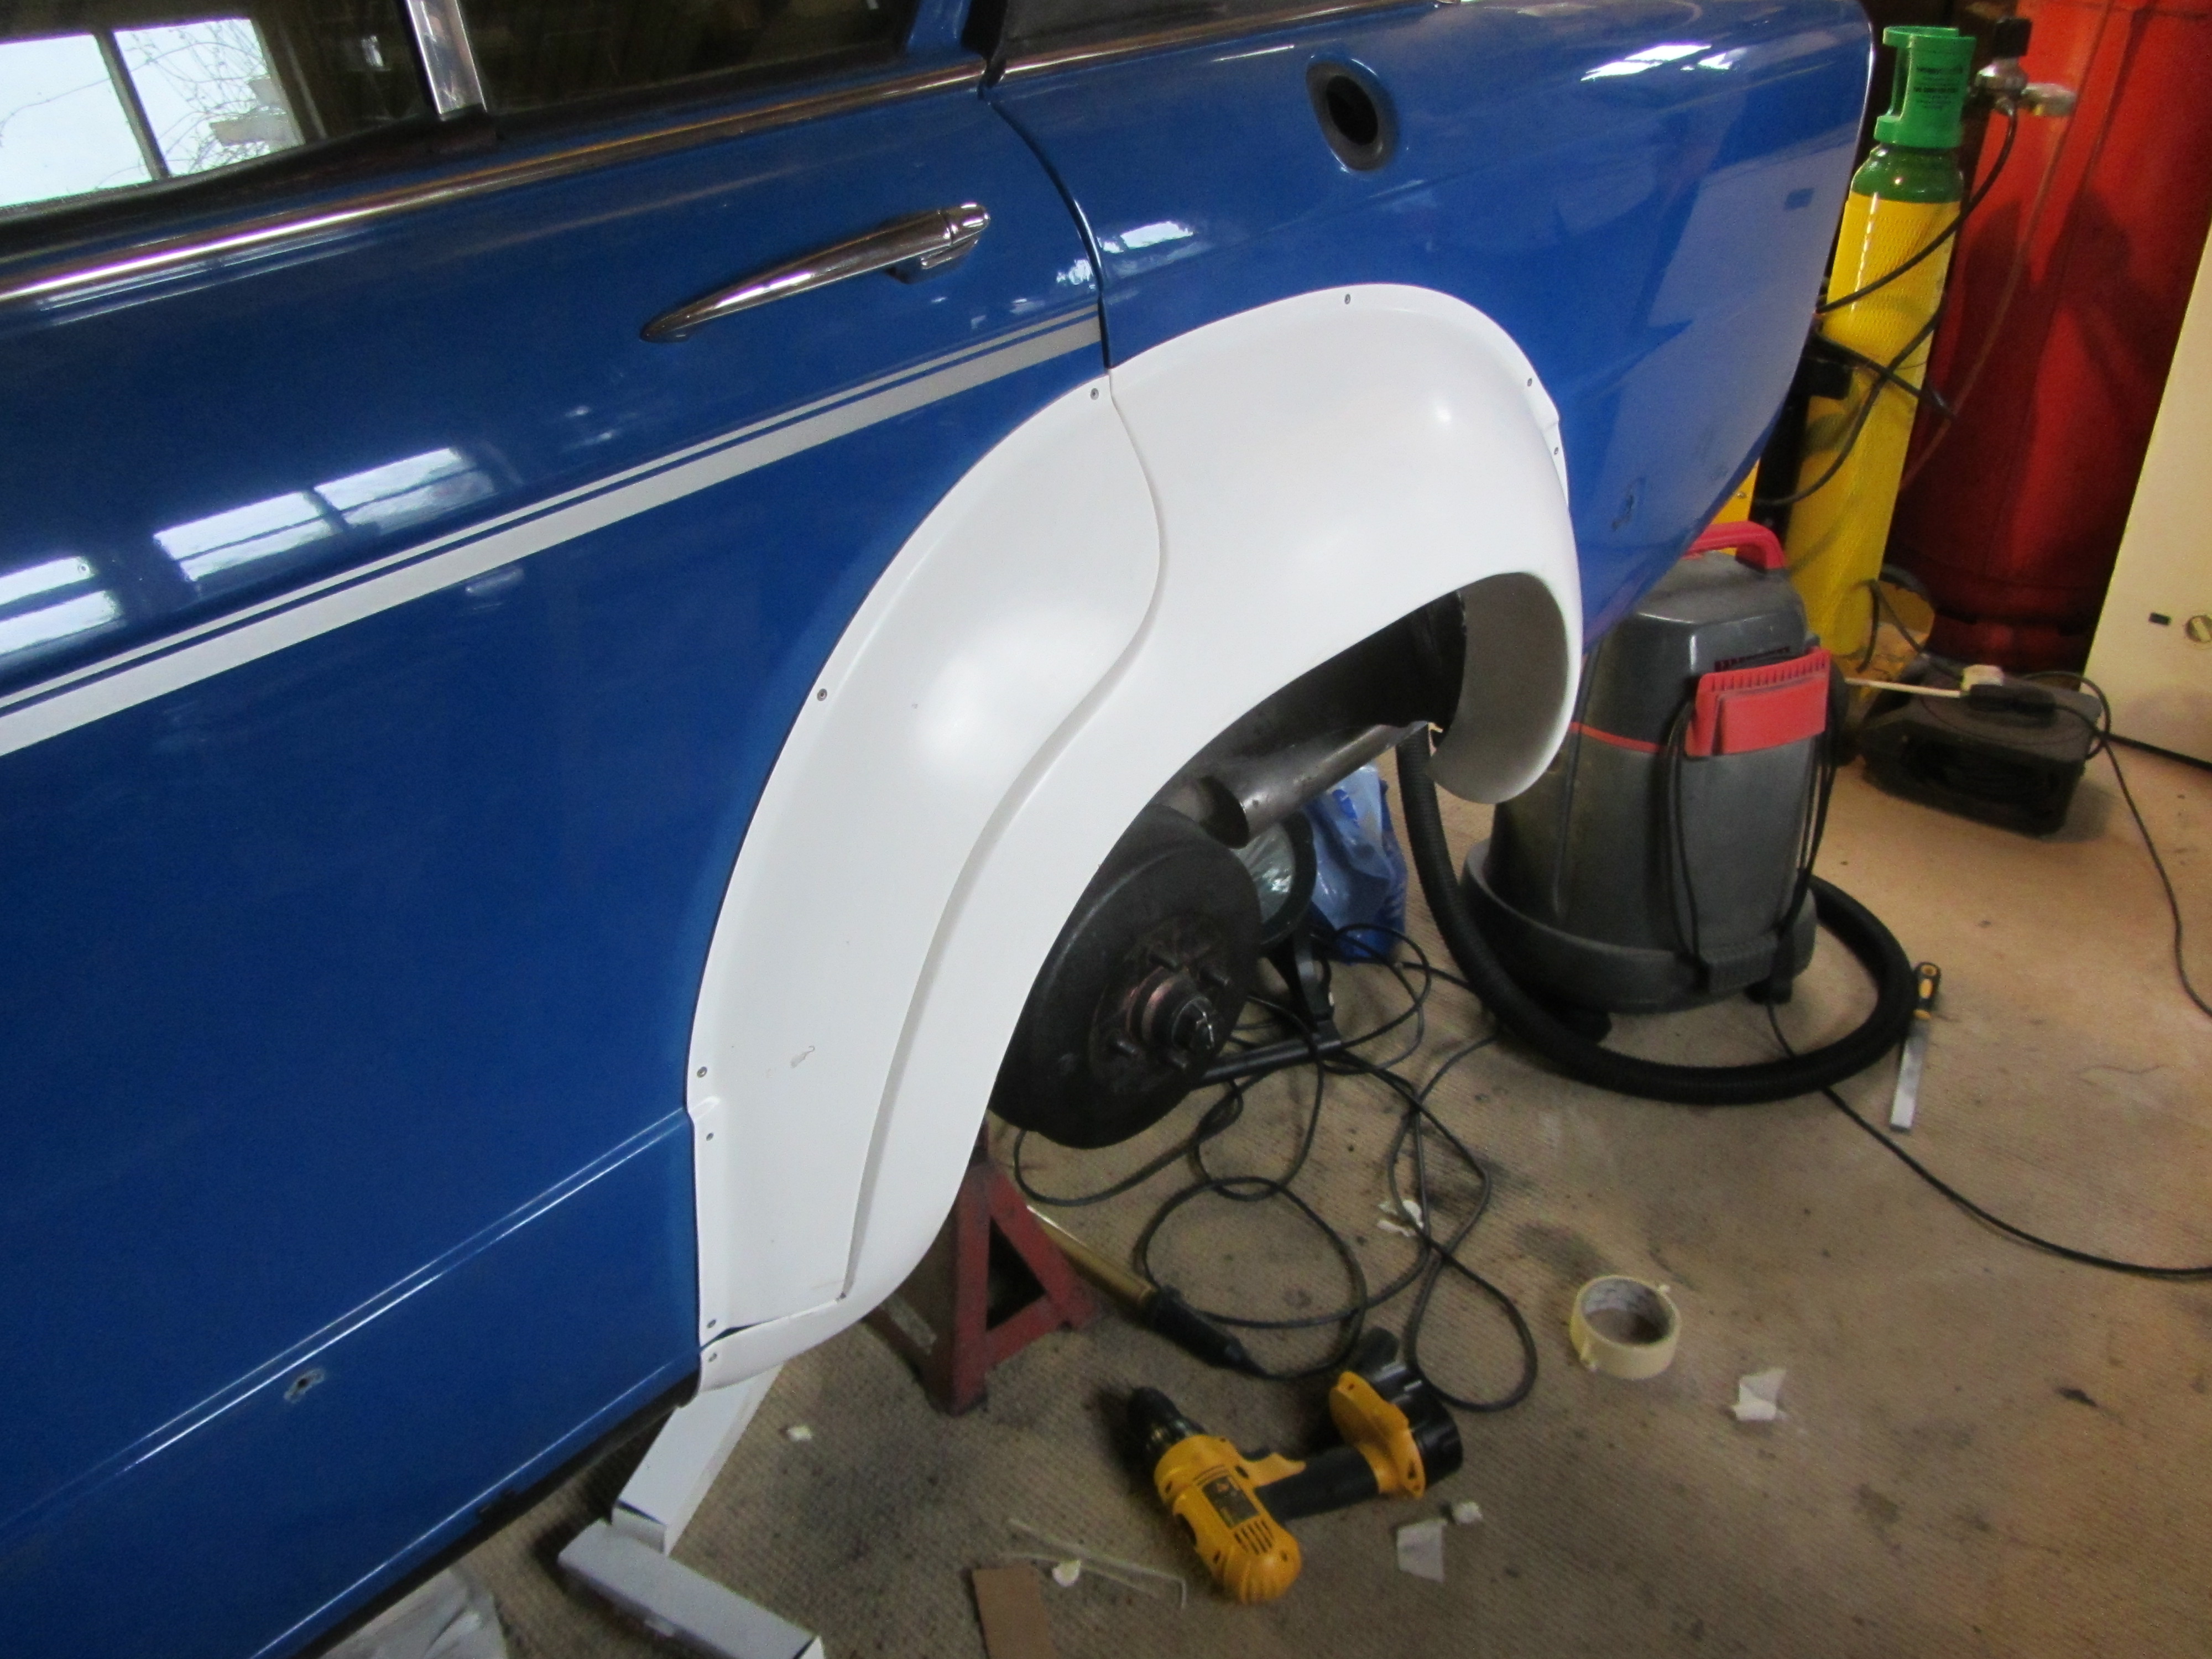
The front flares are simply stuck and pop riveted onto the front wings, these didn't get cut. We offered the arch up and using a marker pen, mark the wing. I then keyed inside the mark with a very fine pad and used an ultra fine pad outside the mark, this gives the sikaflex something to key onto. So whatever colour I paint the arches I can simply flat up to the arch and repolish.
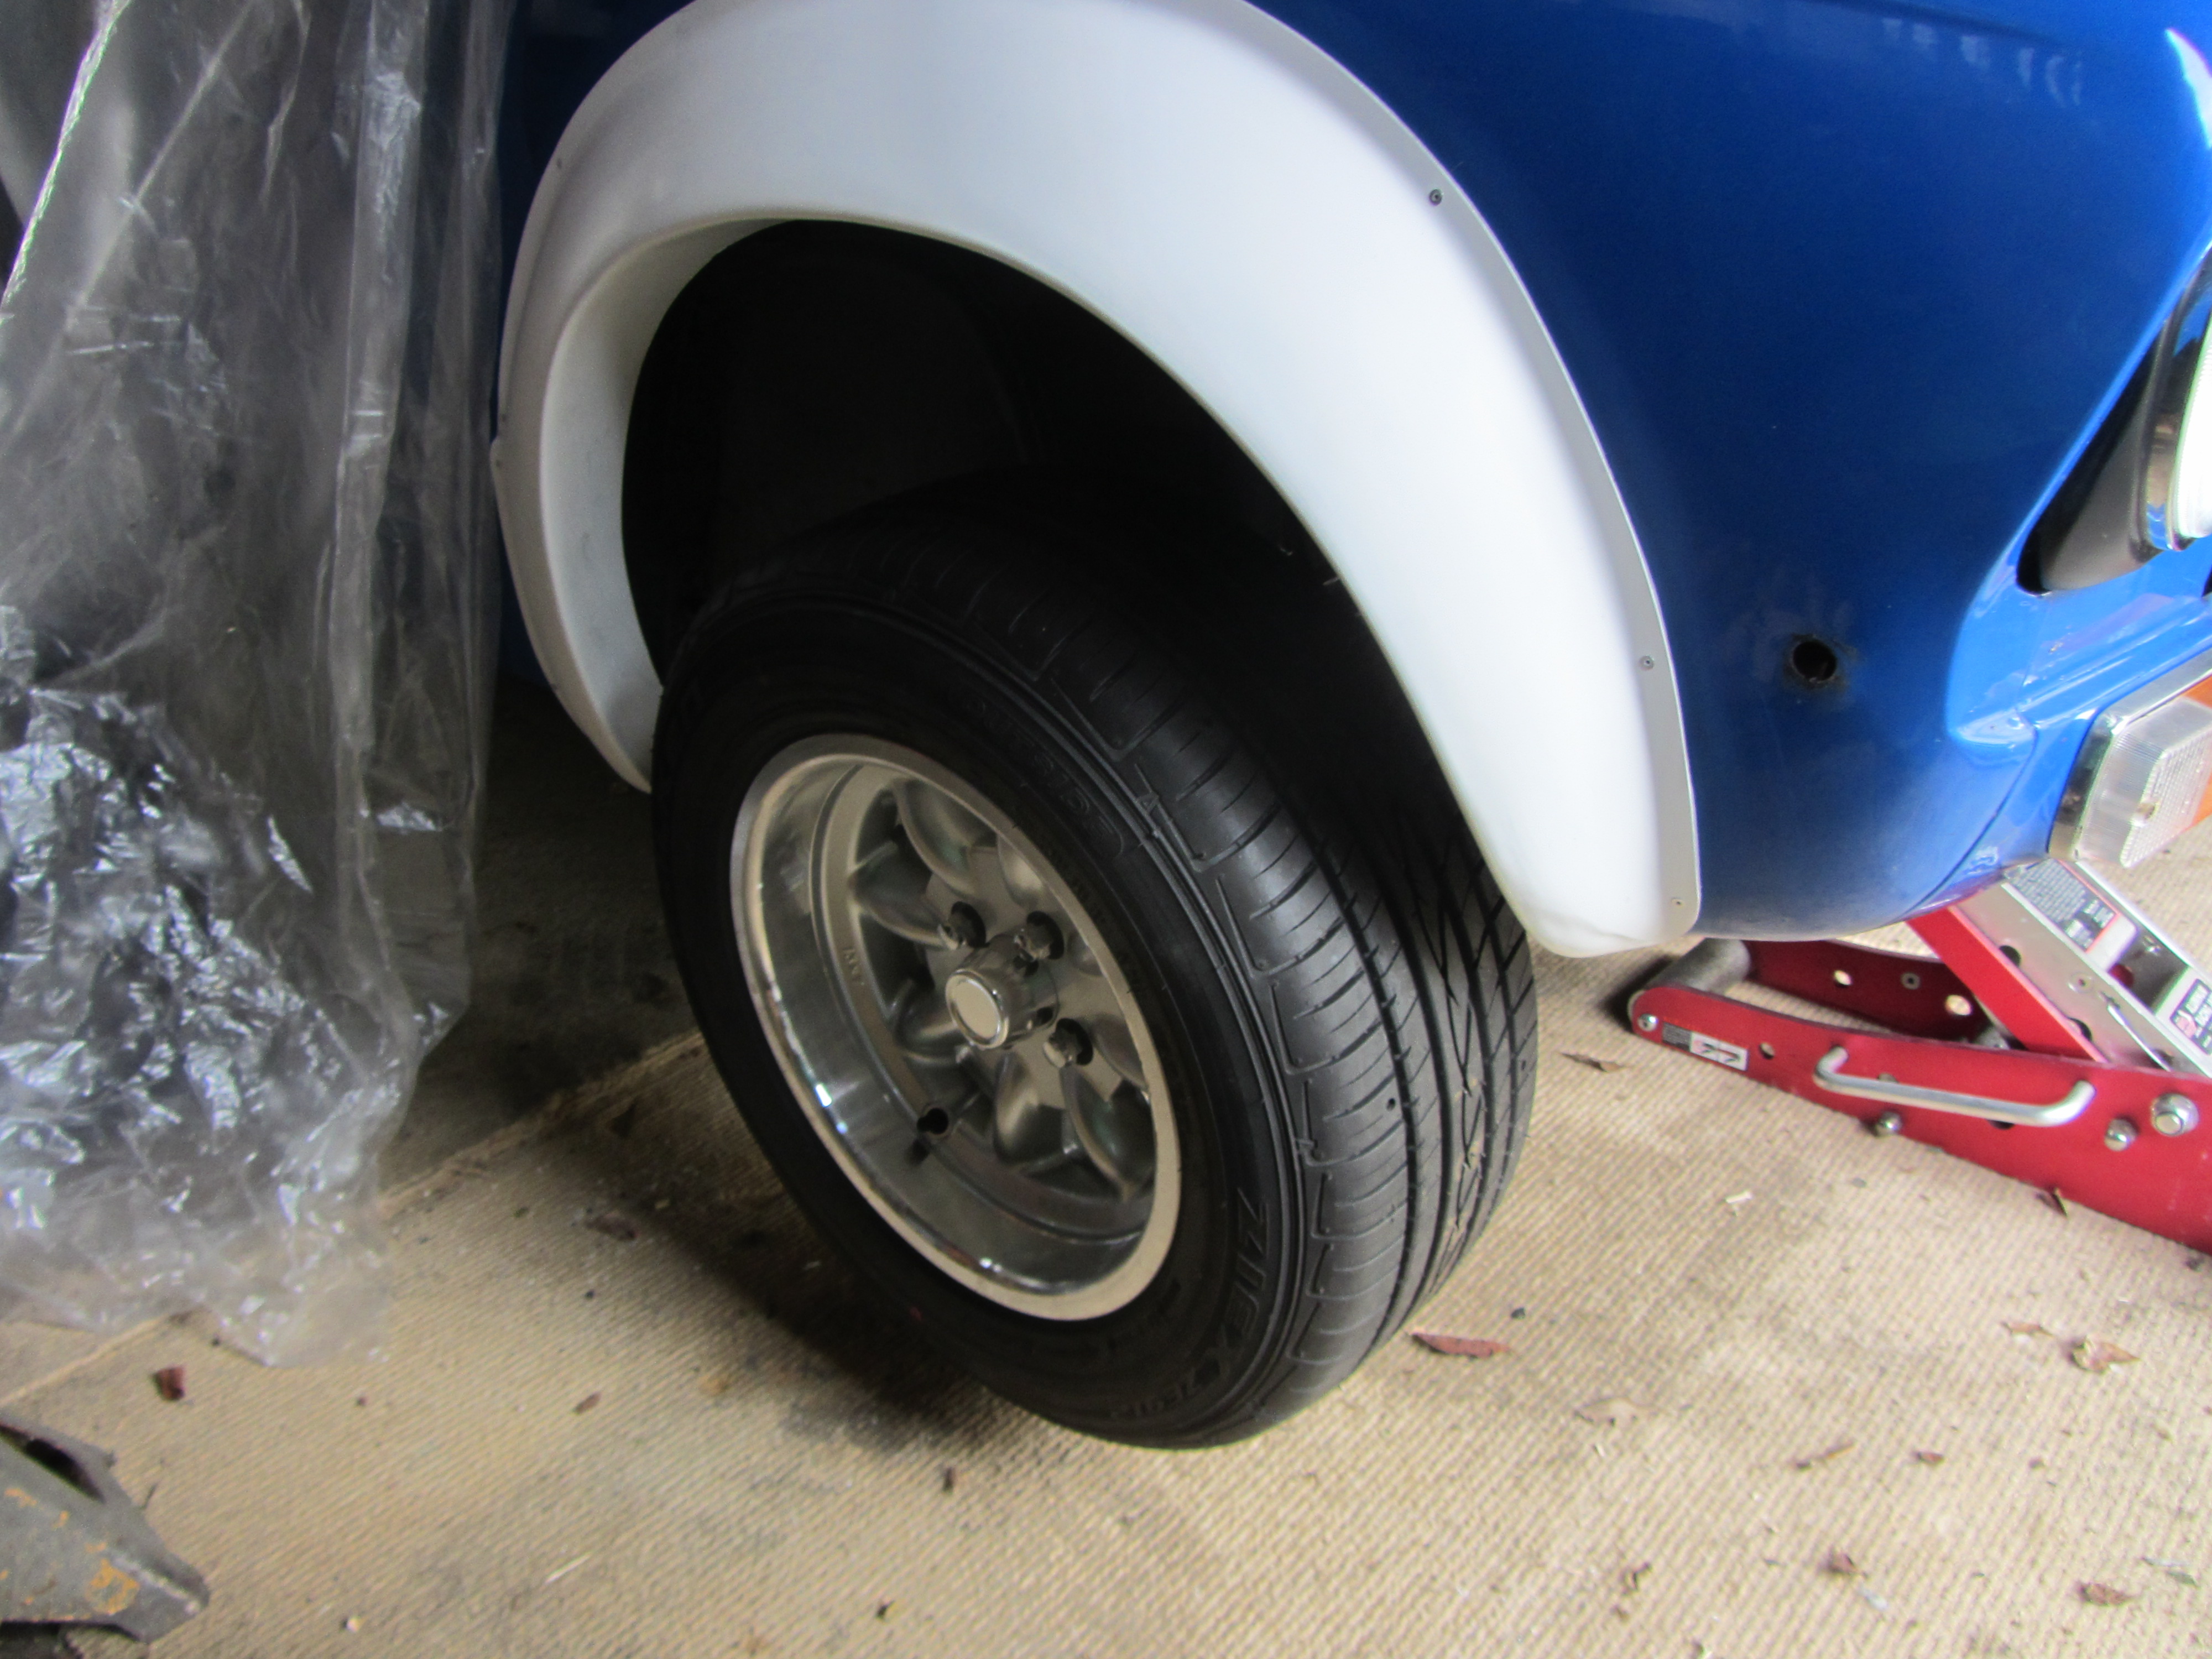
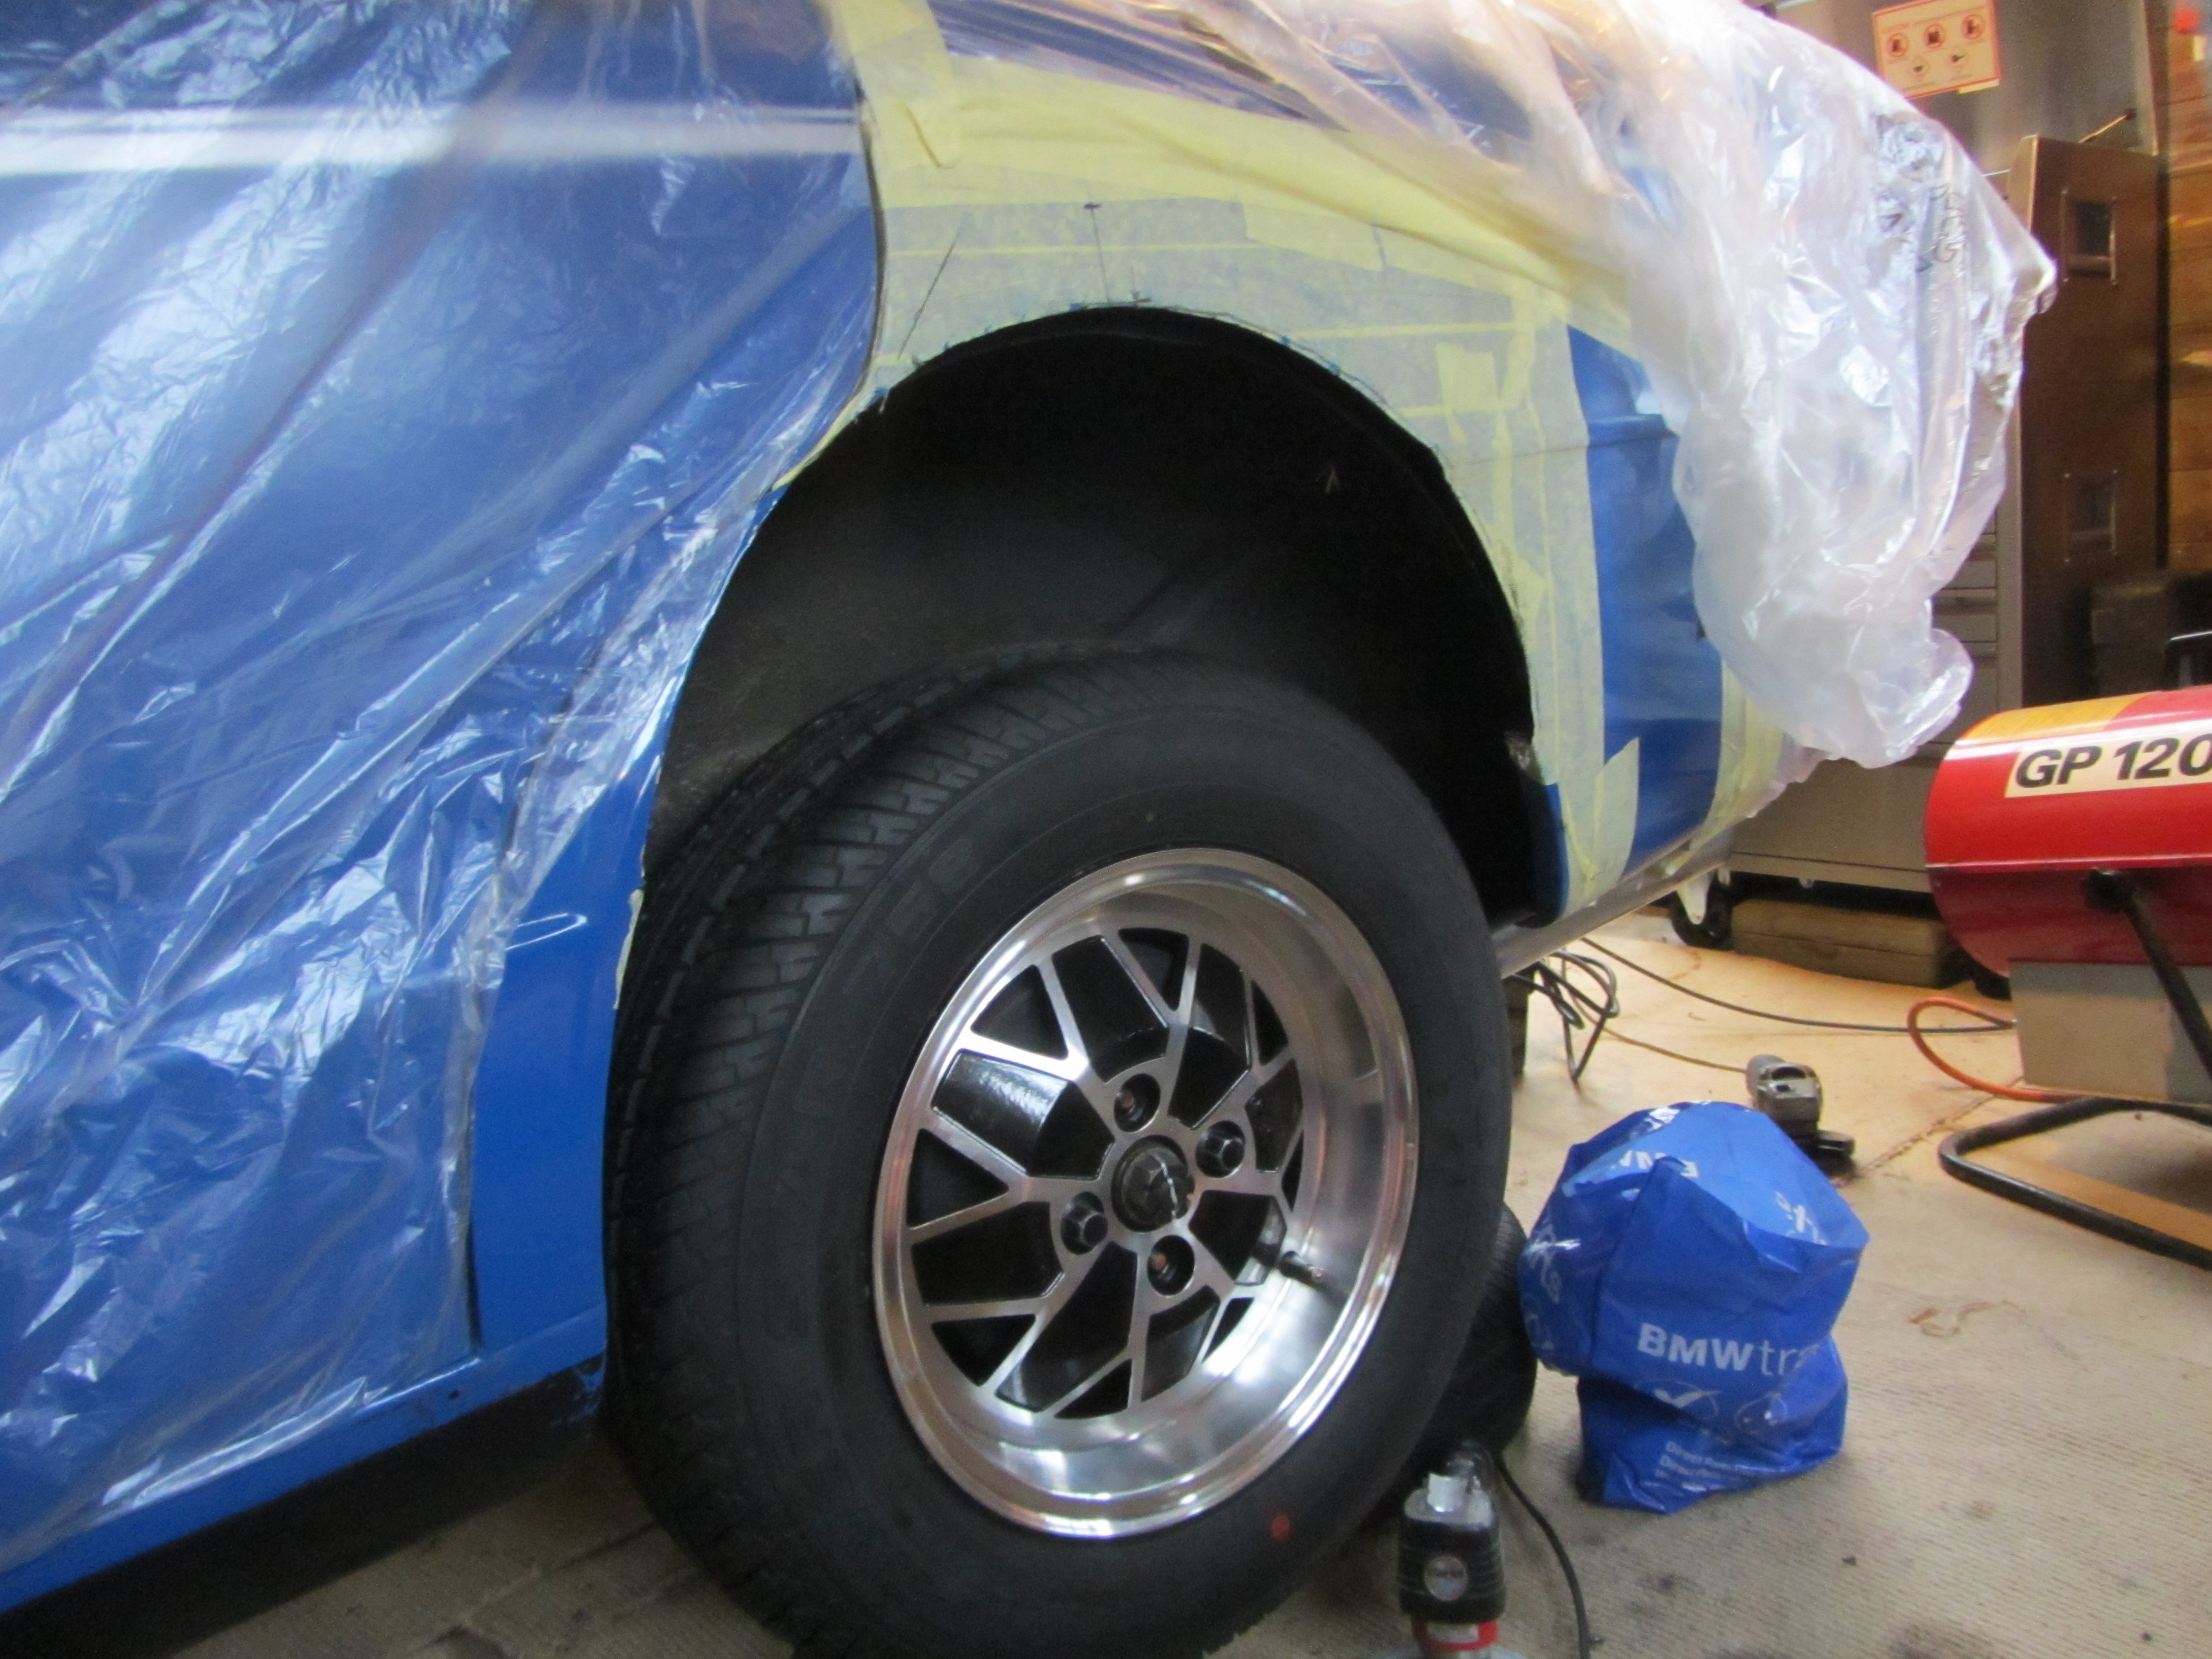
One chap asked Rob what standard Sprint wheels would look like with flared arches, this gives you an idea. You'll need some huge spacers. This was the time I thought the 7x13's were not going to be big enough. We had a bit of a measure up and thought about spacers. Then I ordered some 9x13's from Minilite.
With the metal cut out, I set to and clean up the inner arch back to bare metal so Rob has something to weld on to. If there is anything I'm good at, that's making a mess, here I cover myself and most of Rob's garage in old underseal. Look at that face, there's a man happy as a pig in...you get the idea.
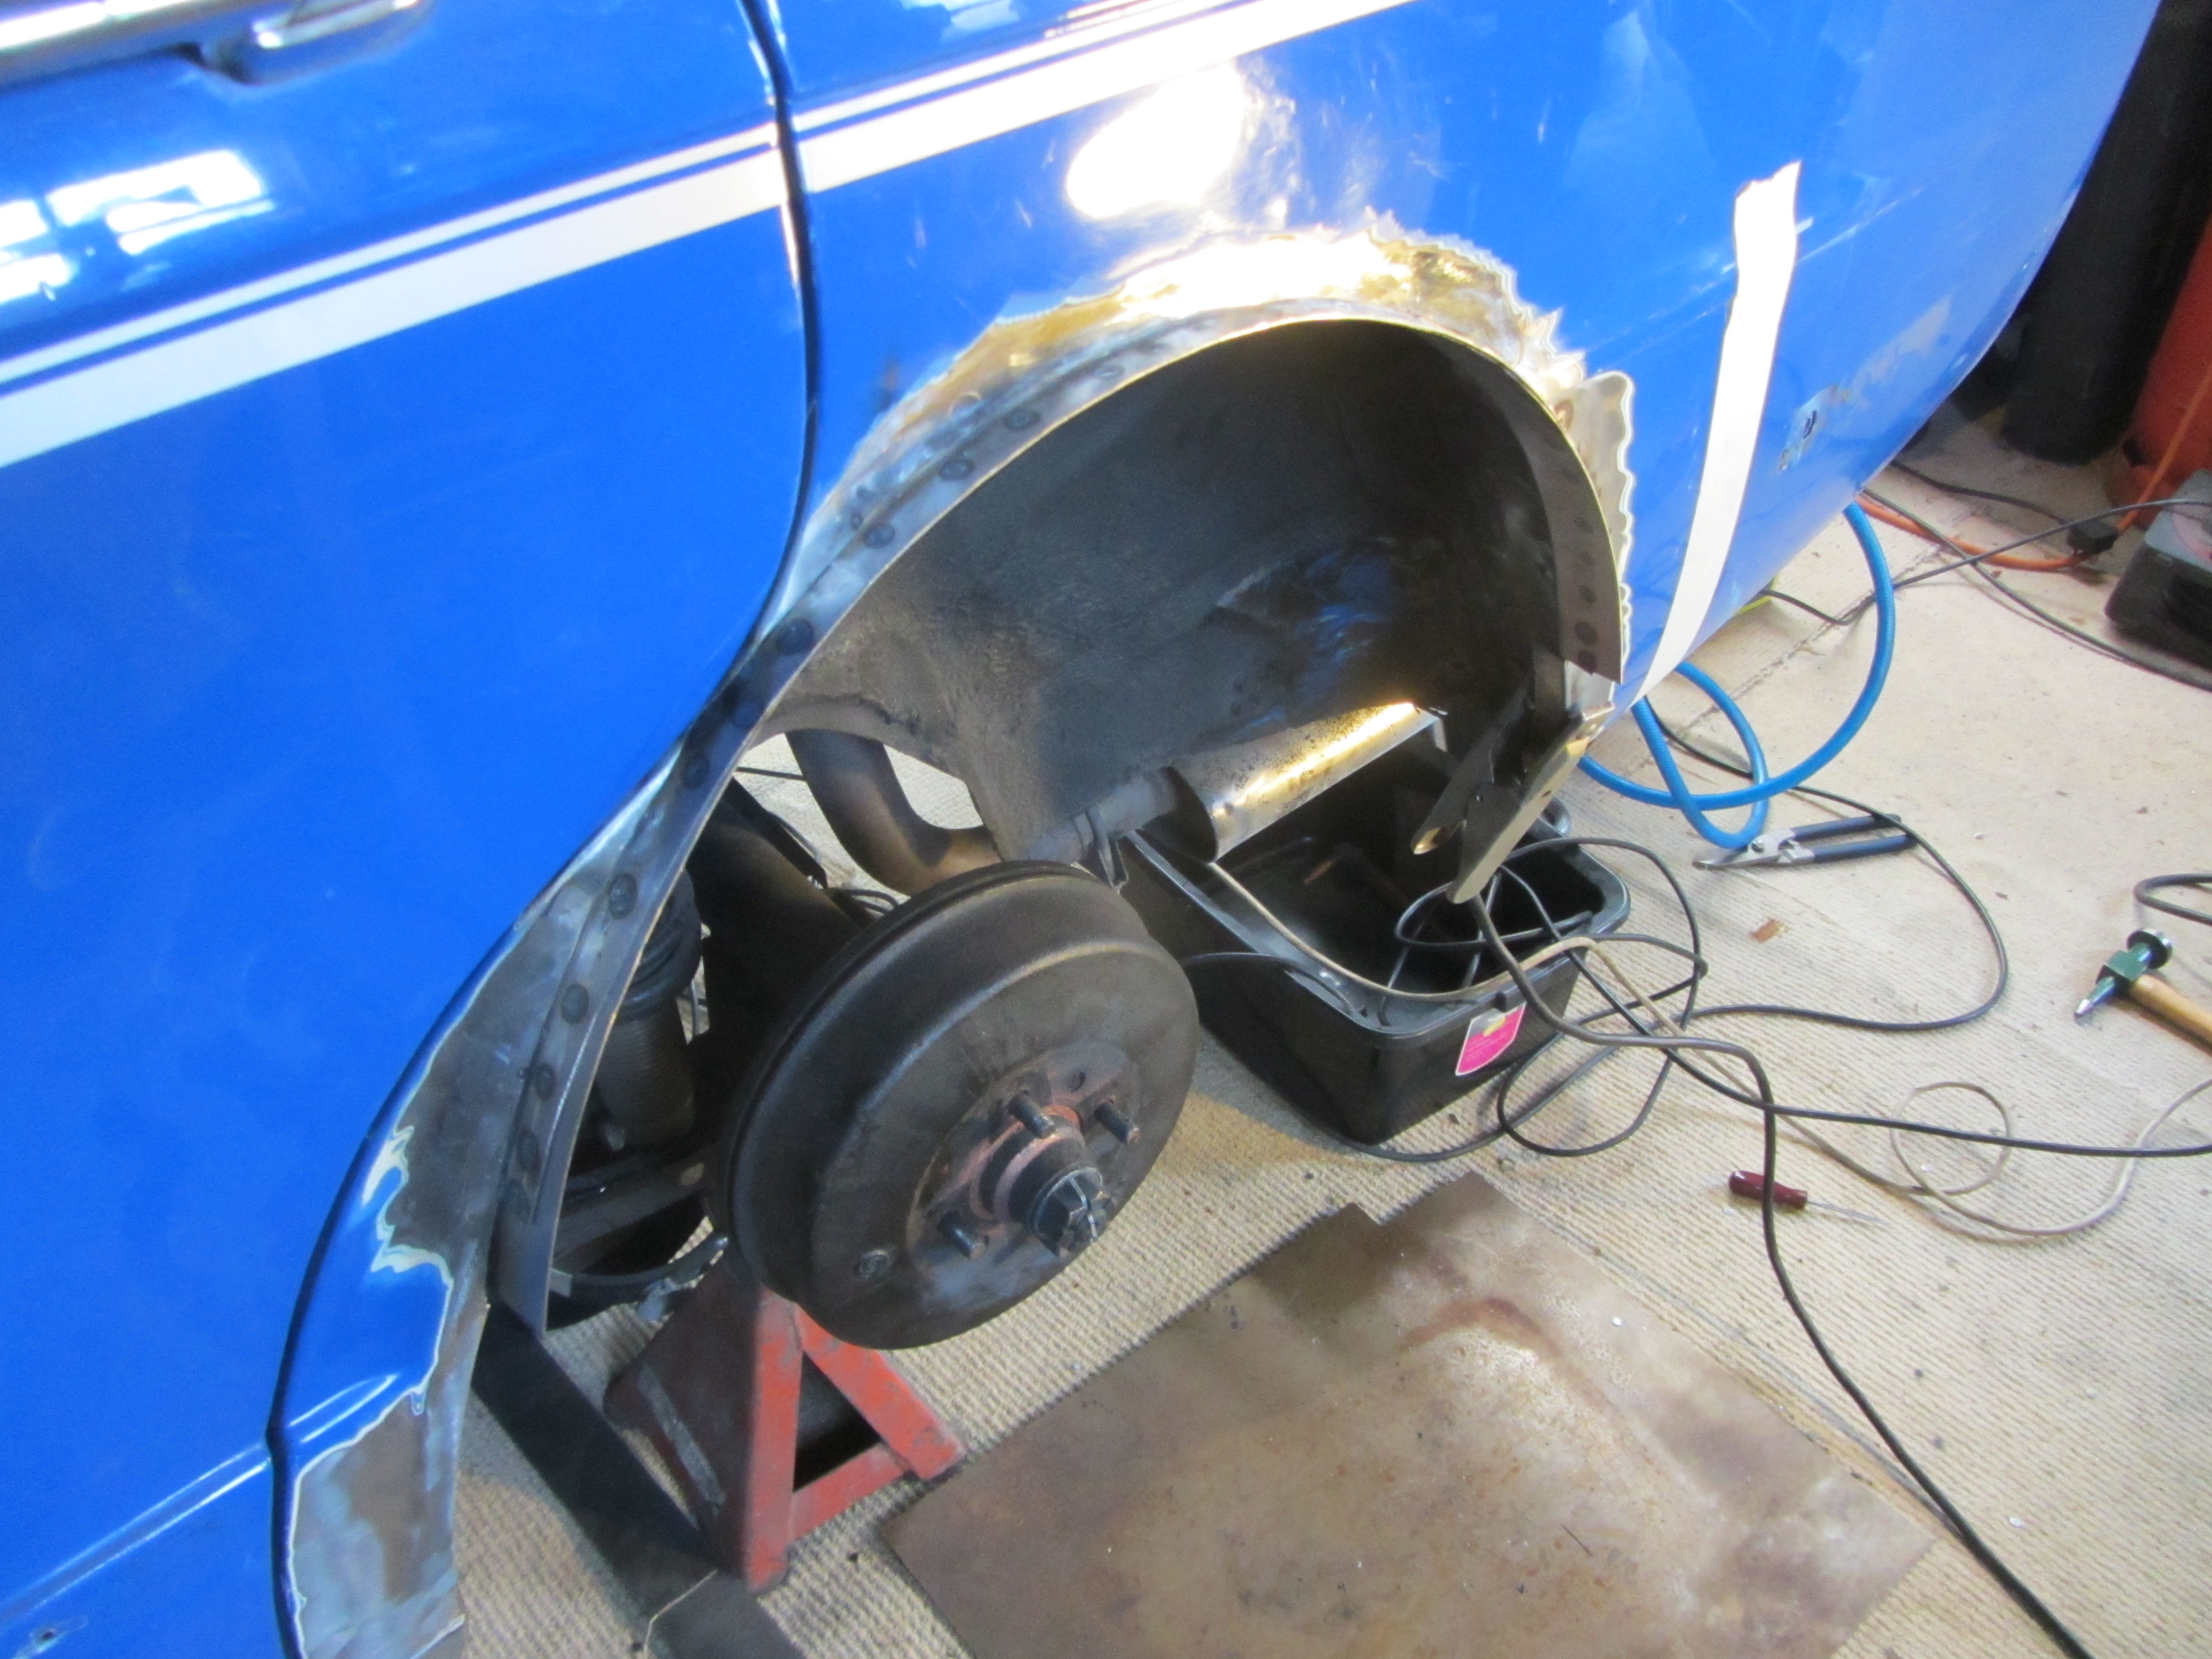
Both sides inner and outer arches cut out. There's no turning back now. This is a good time to reflect upon all the grief POE has caused me and sit there happy in the knowledge that we've cut loads of good metal out. And a little bit of not so good rusty metal.
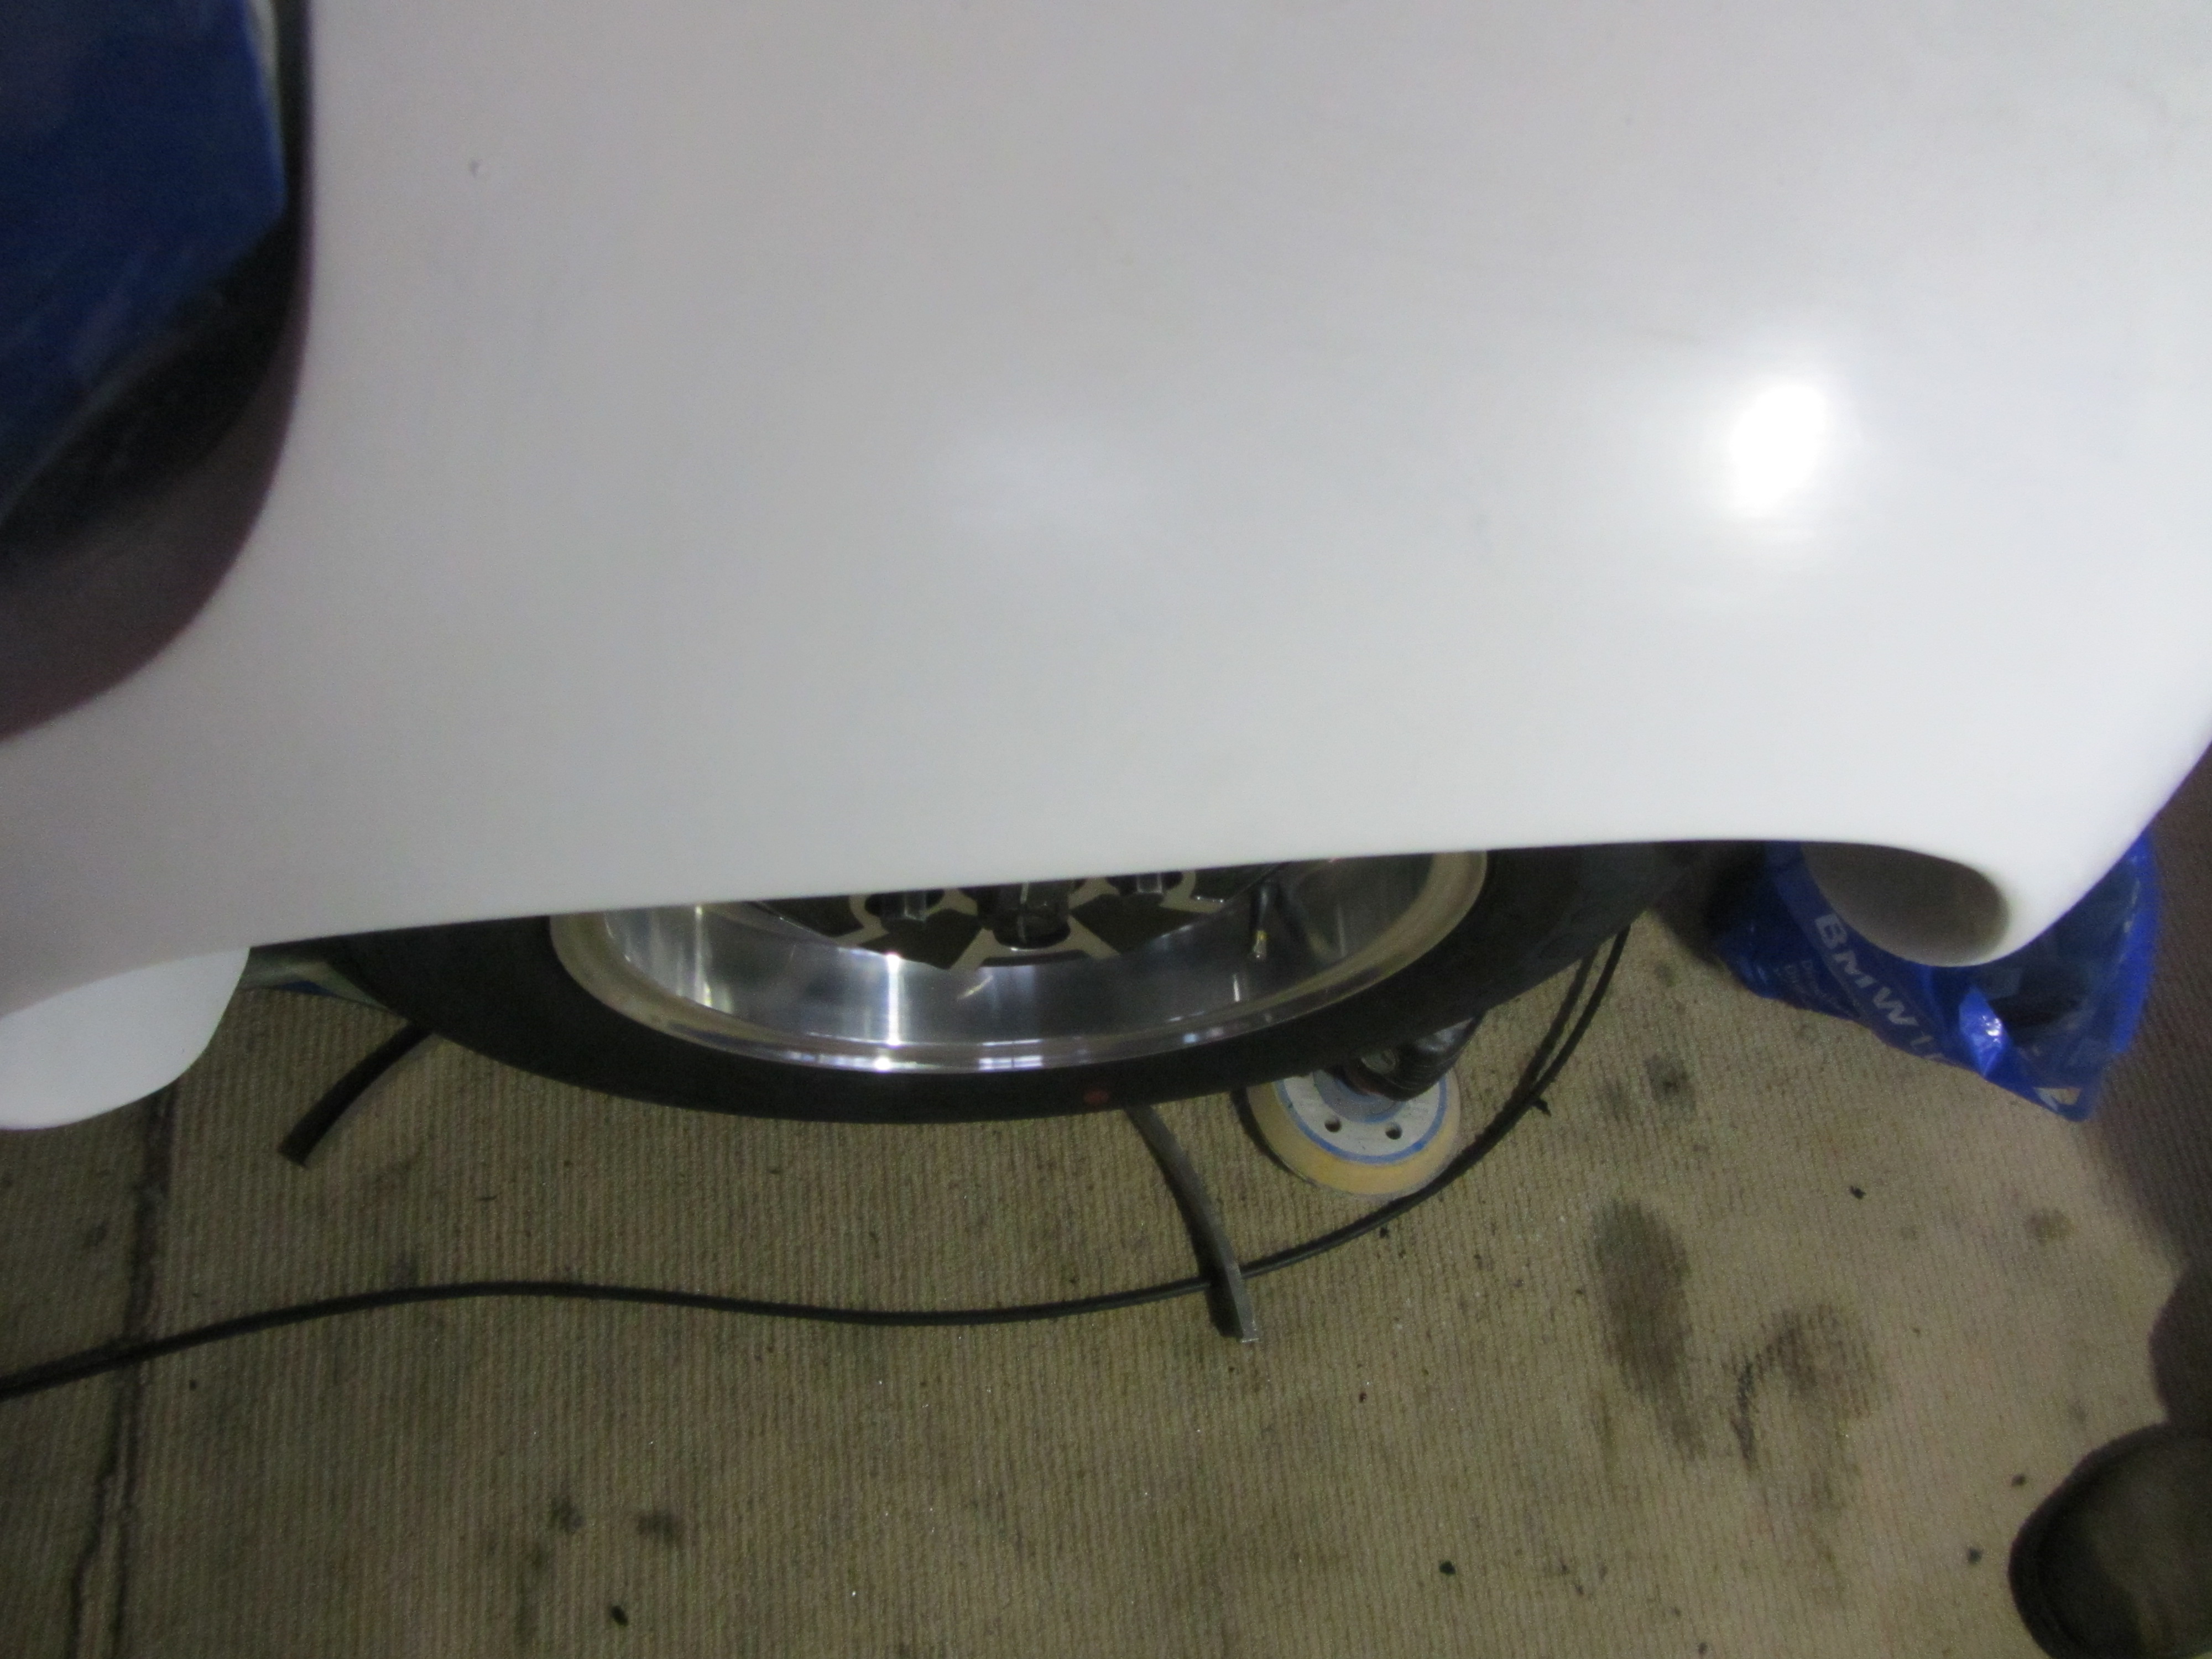
With some big holes in the rear arches will there be enough room for my 9x13's to fit? - Yeah, should be.
Cleaning up some of the mess I'd made when removing the underseal. That's a vacuum cleaner in my hand, not something I'm too familiar with Caroline would say. You'll note that rather than clean up Rob's garage, I've done the important thing and cleaned up some of POE.
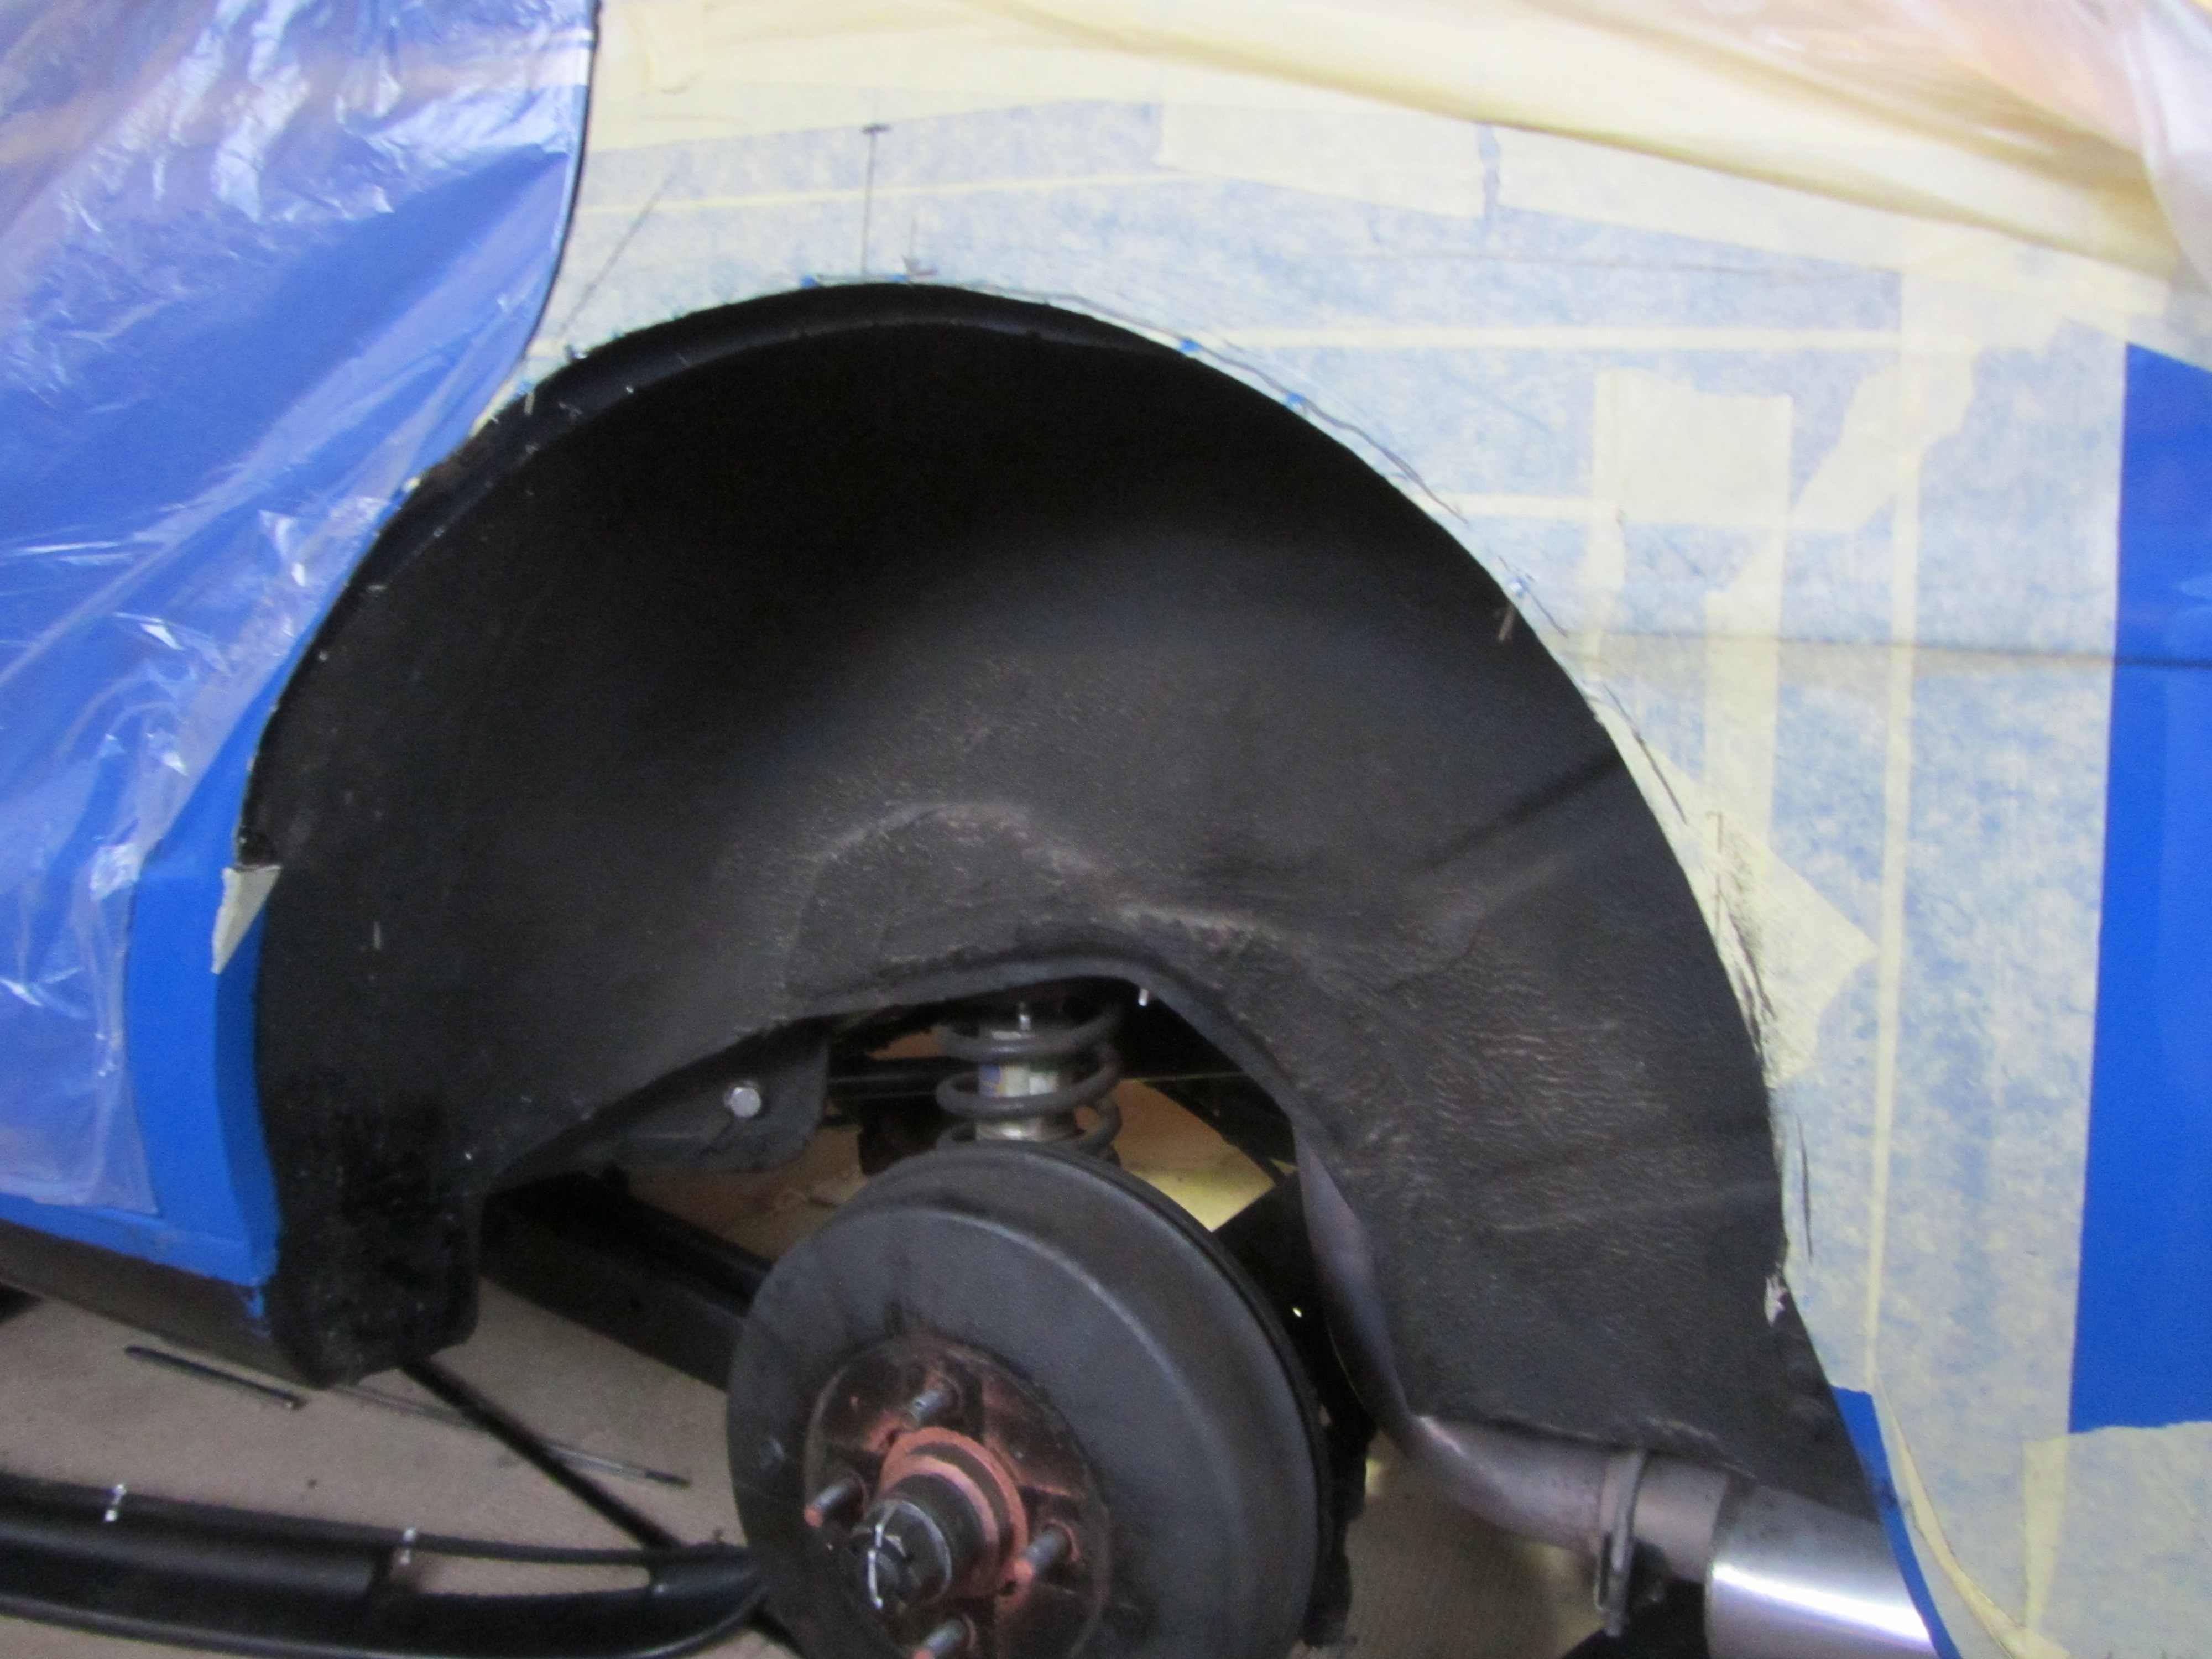
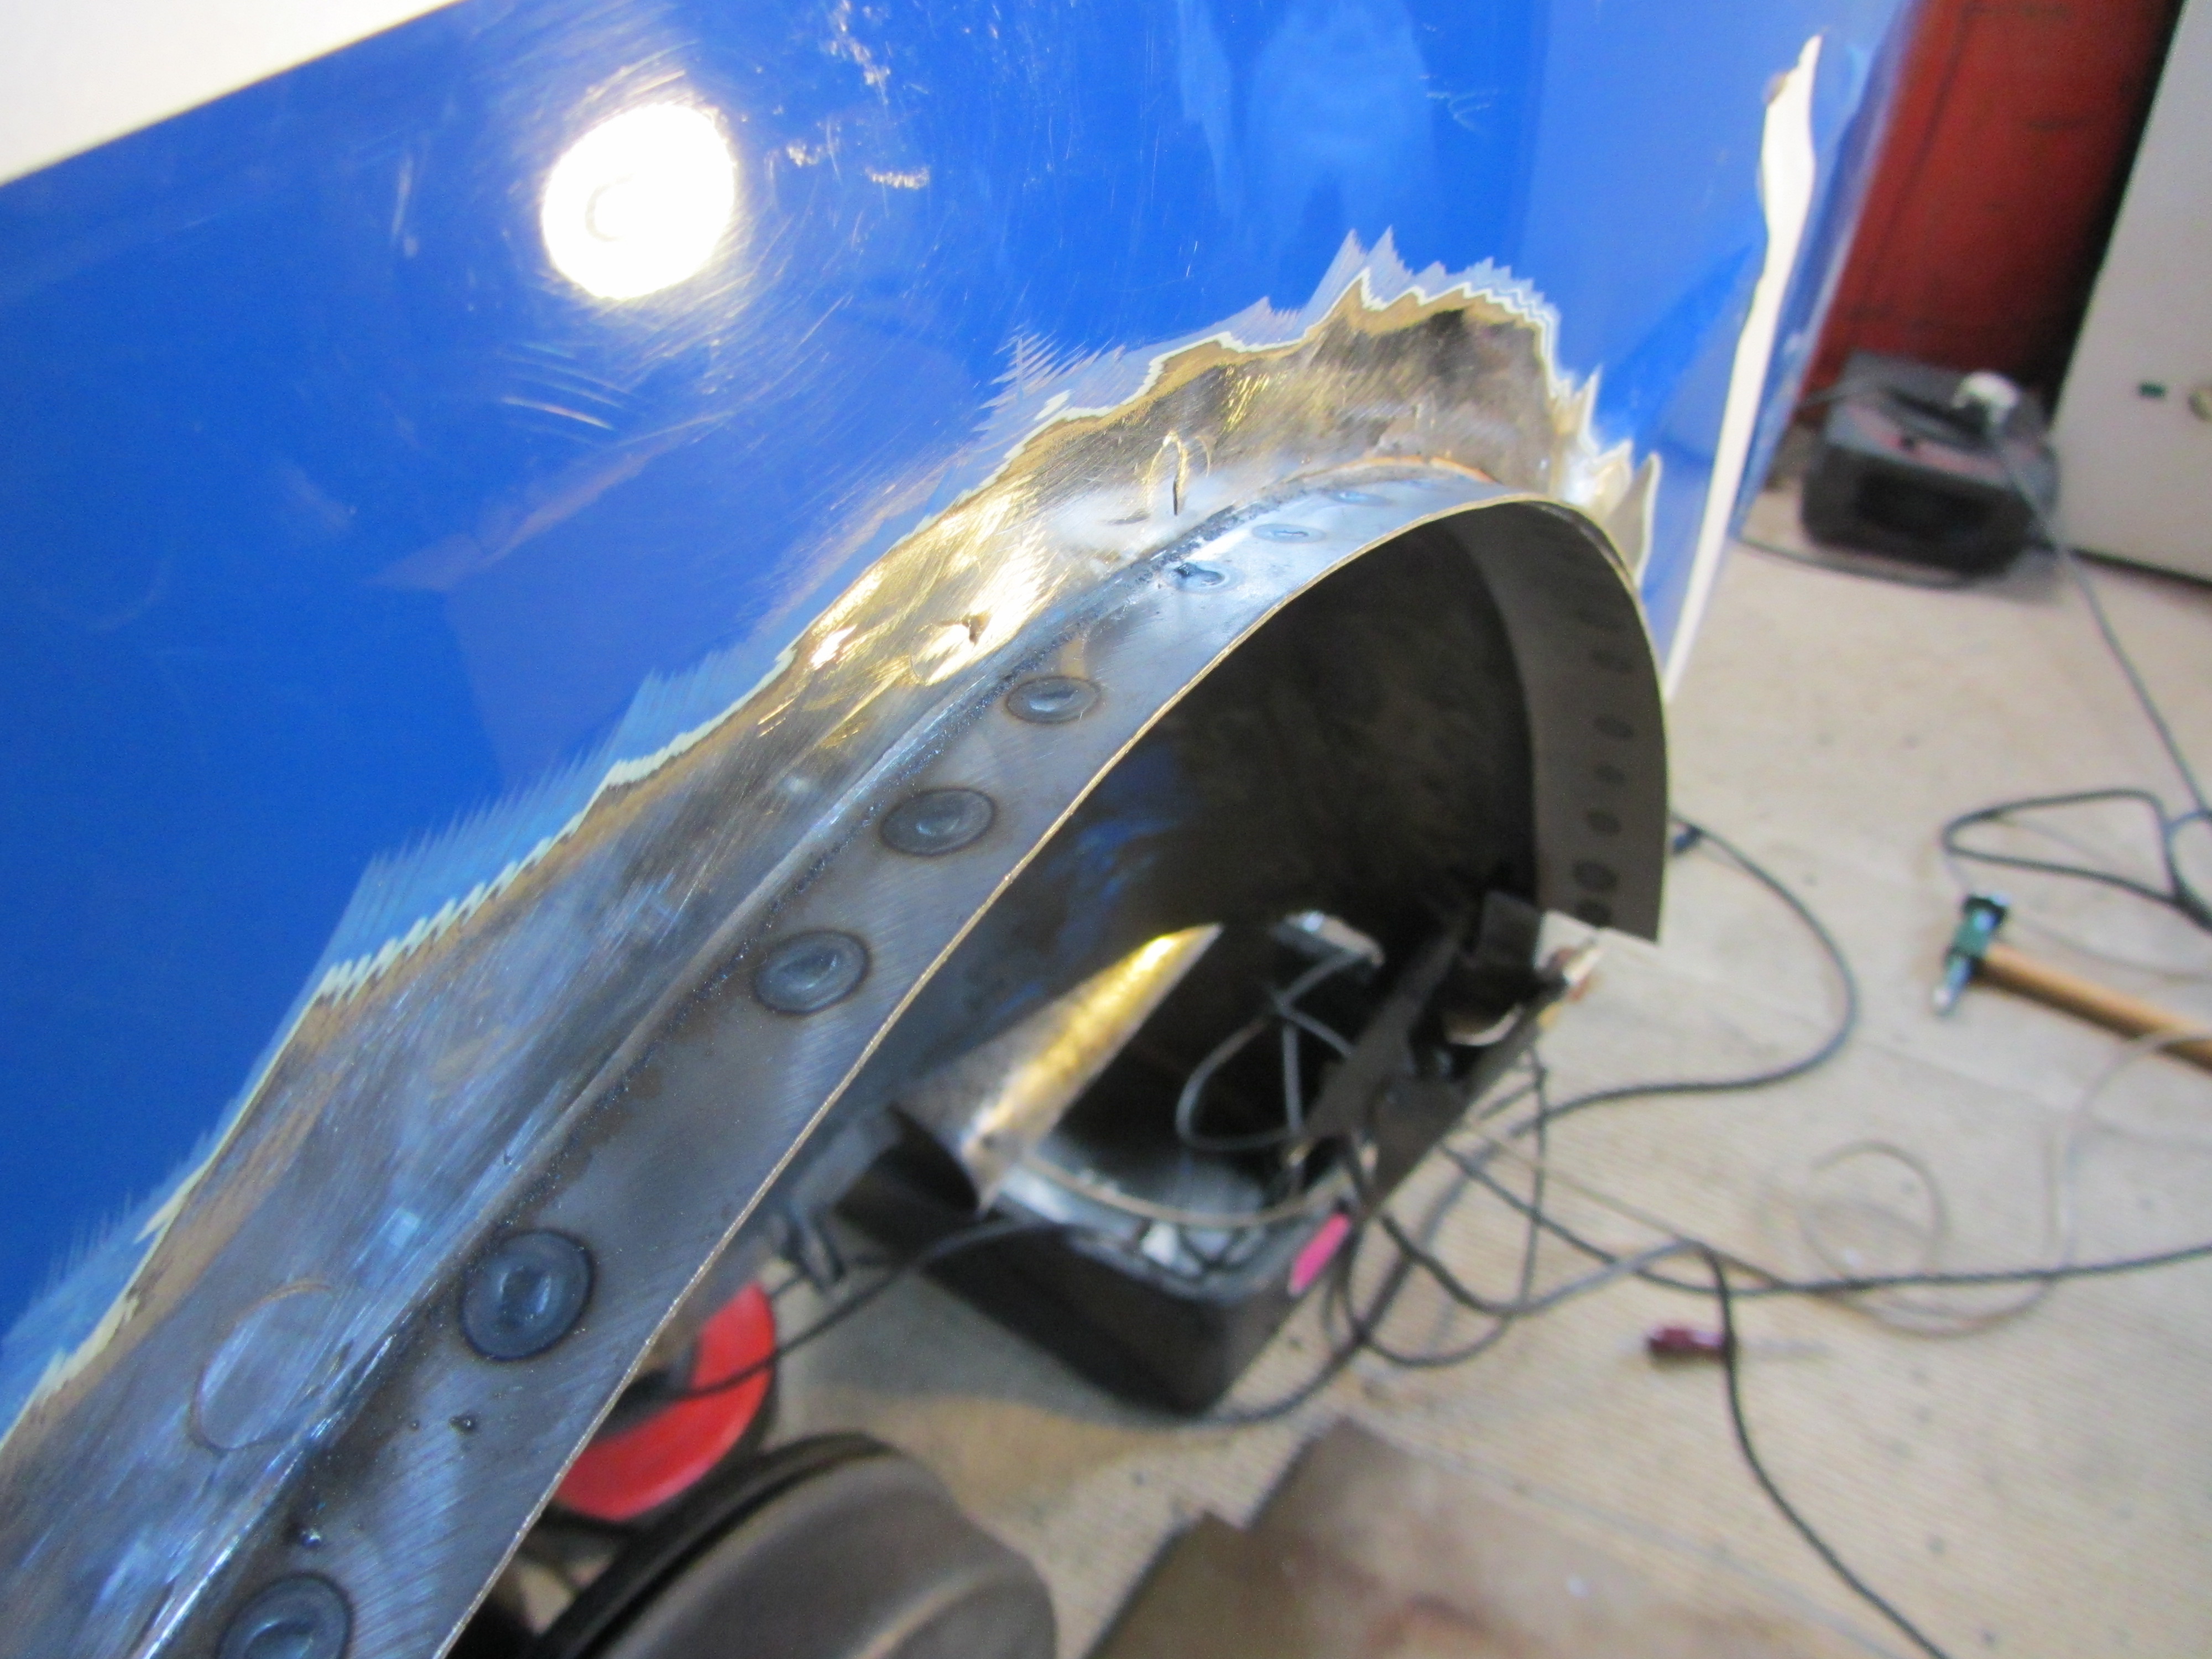
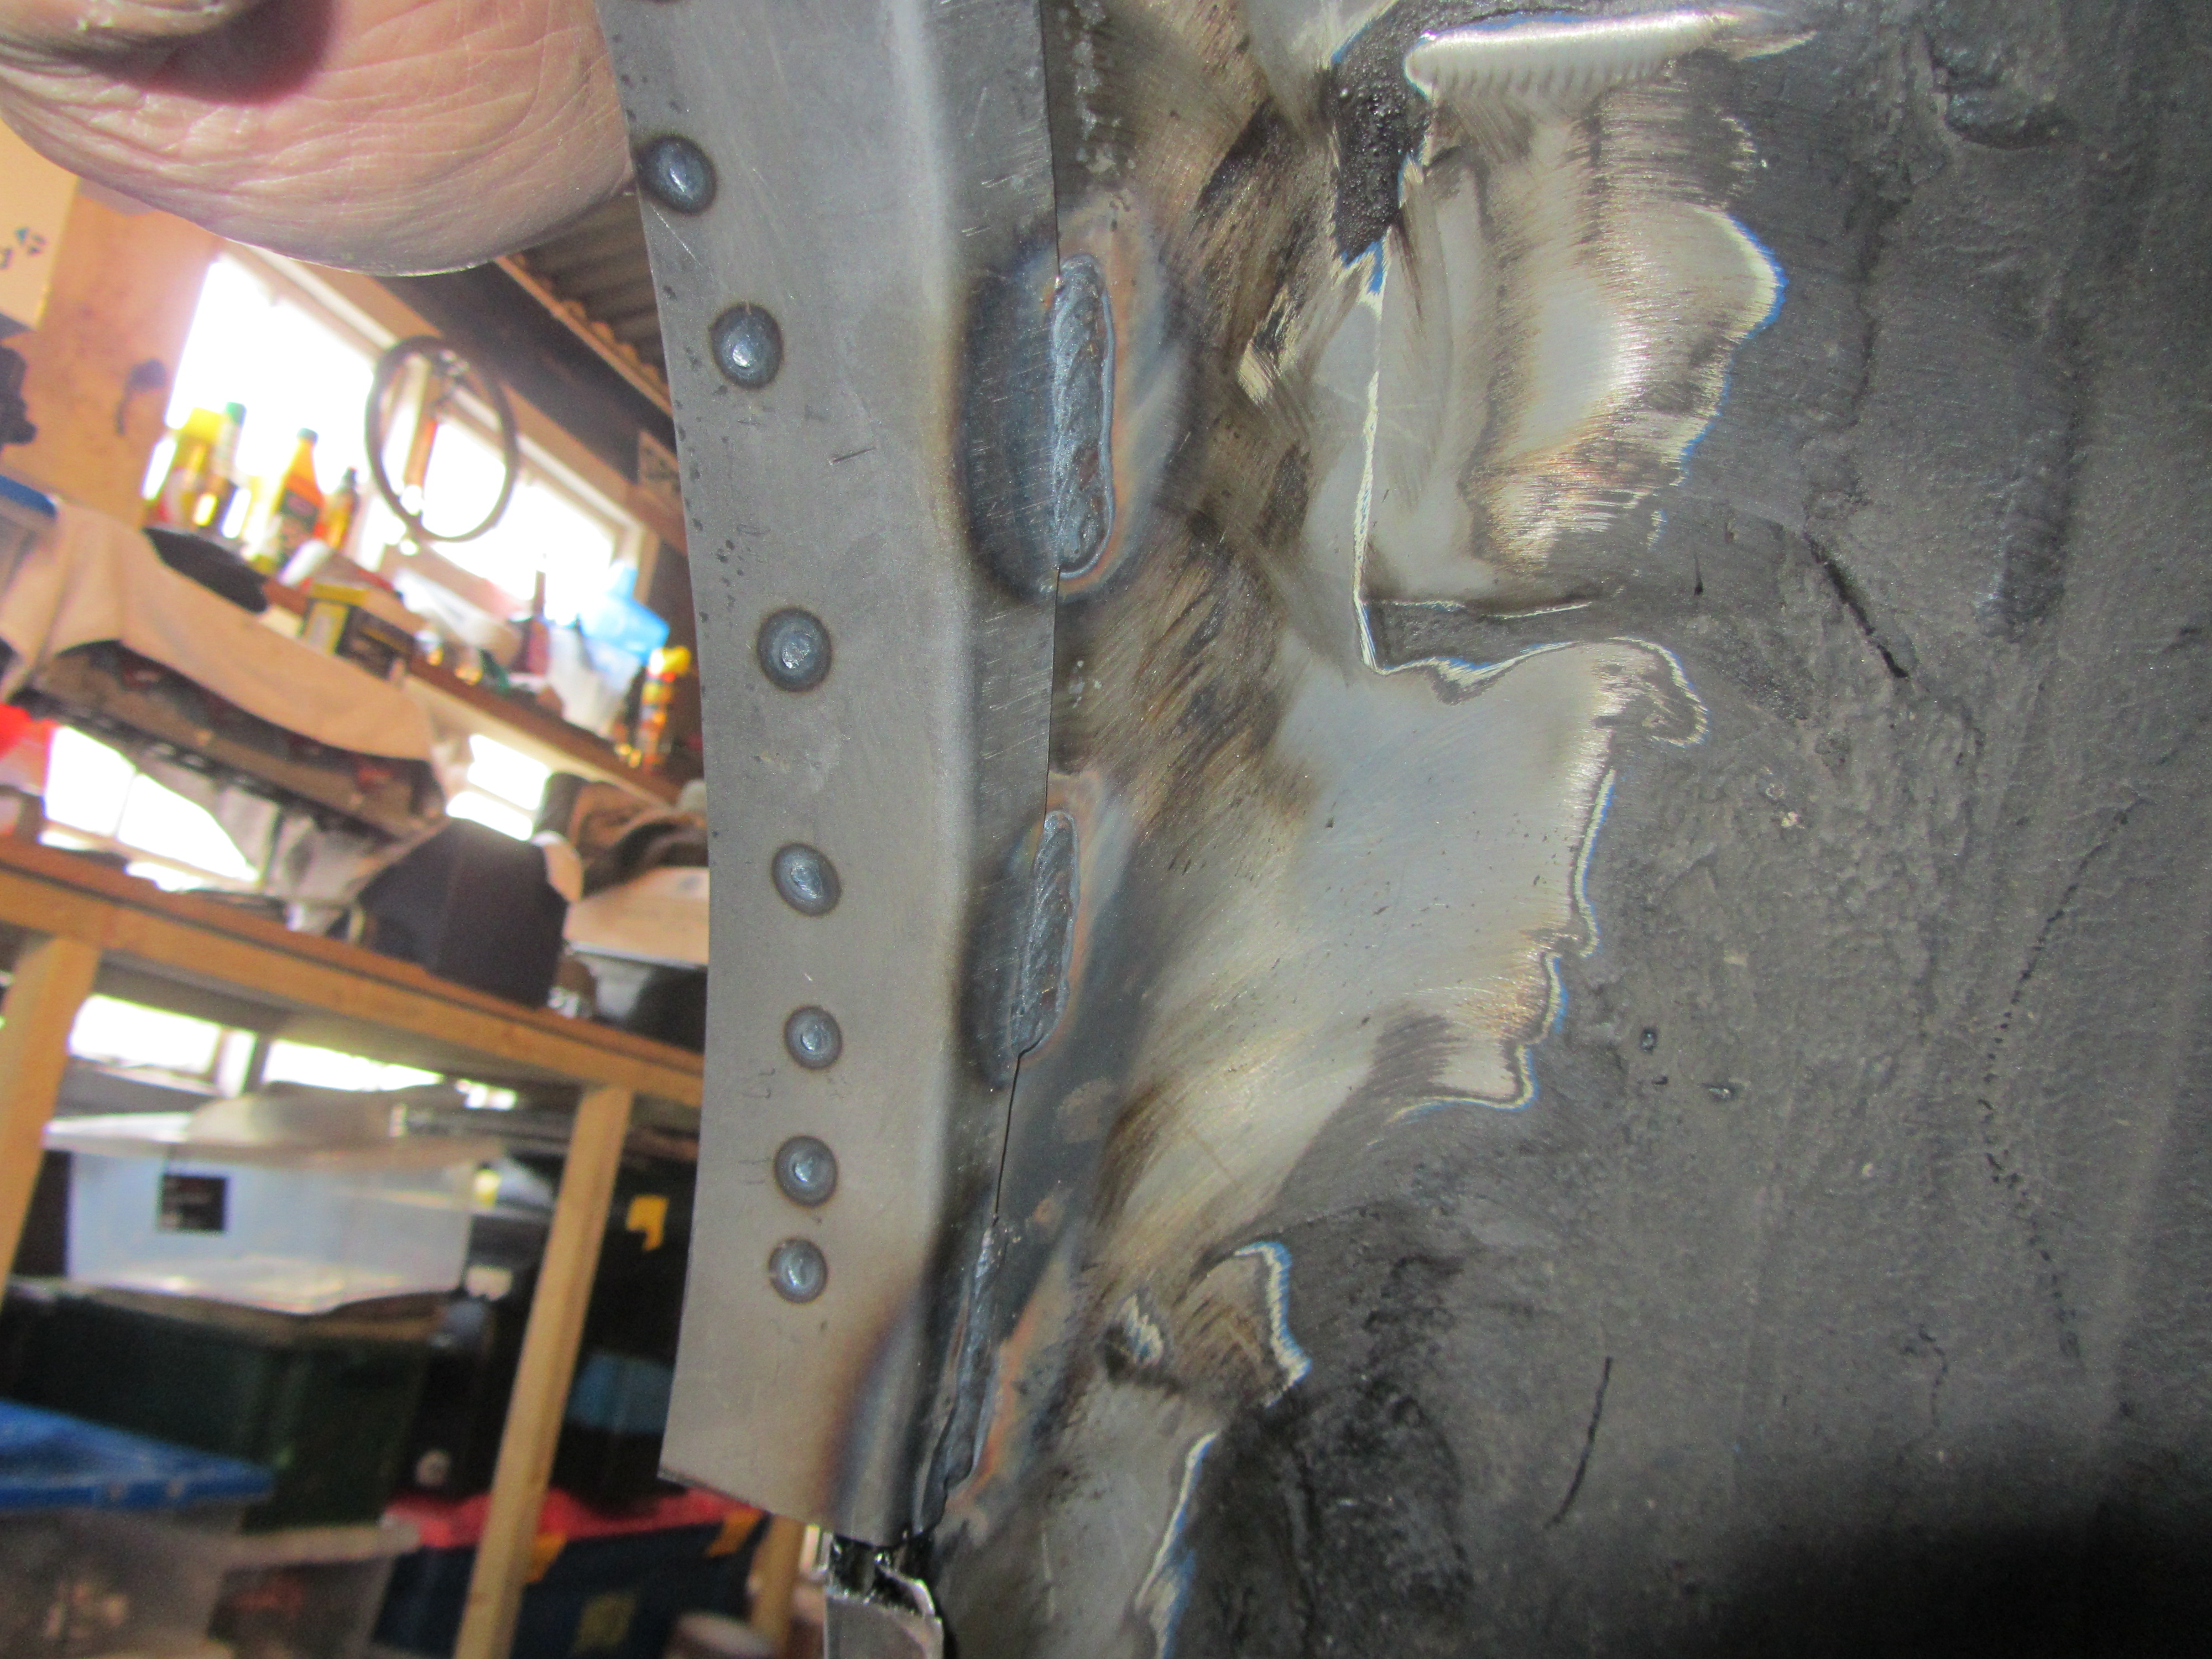
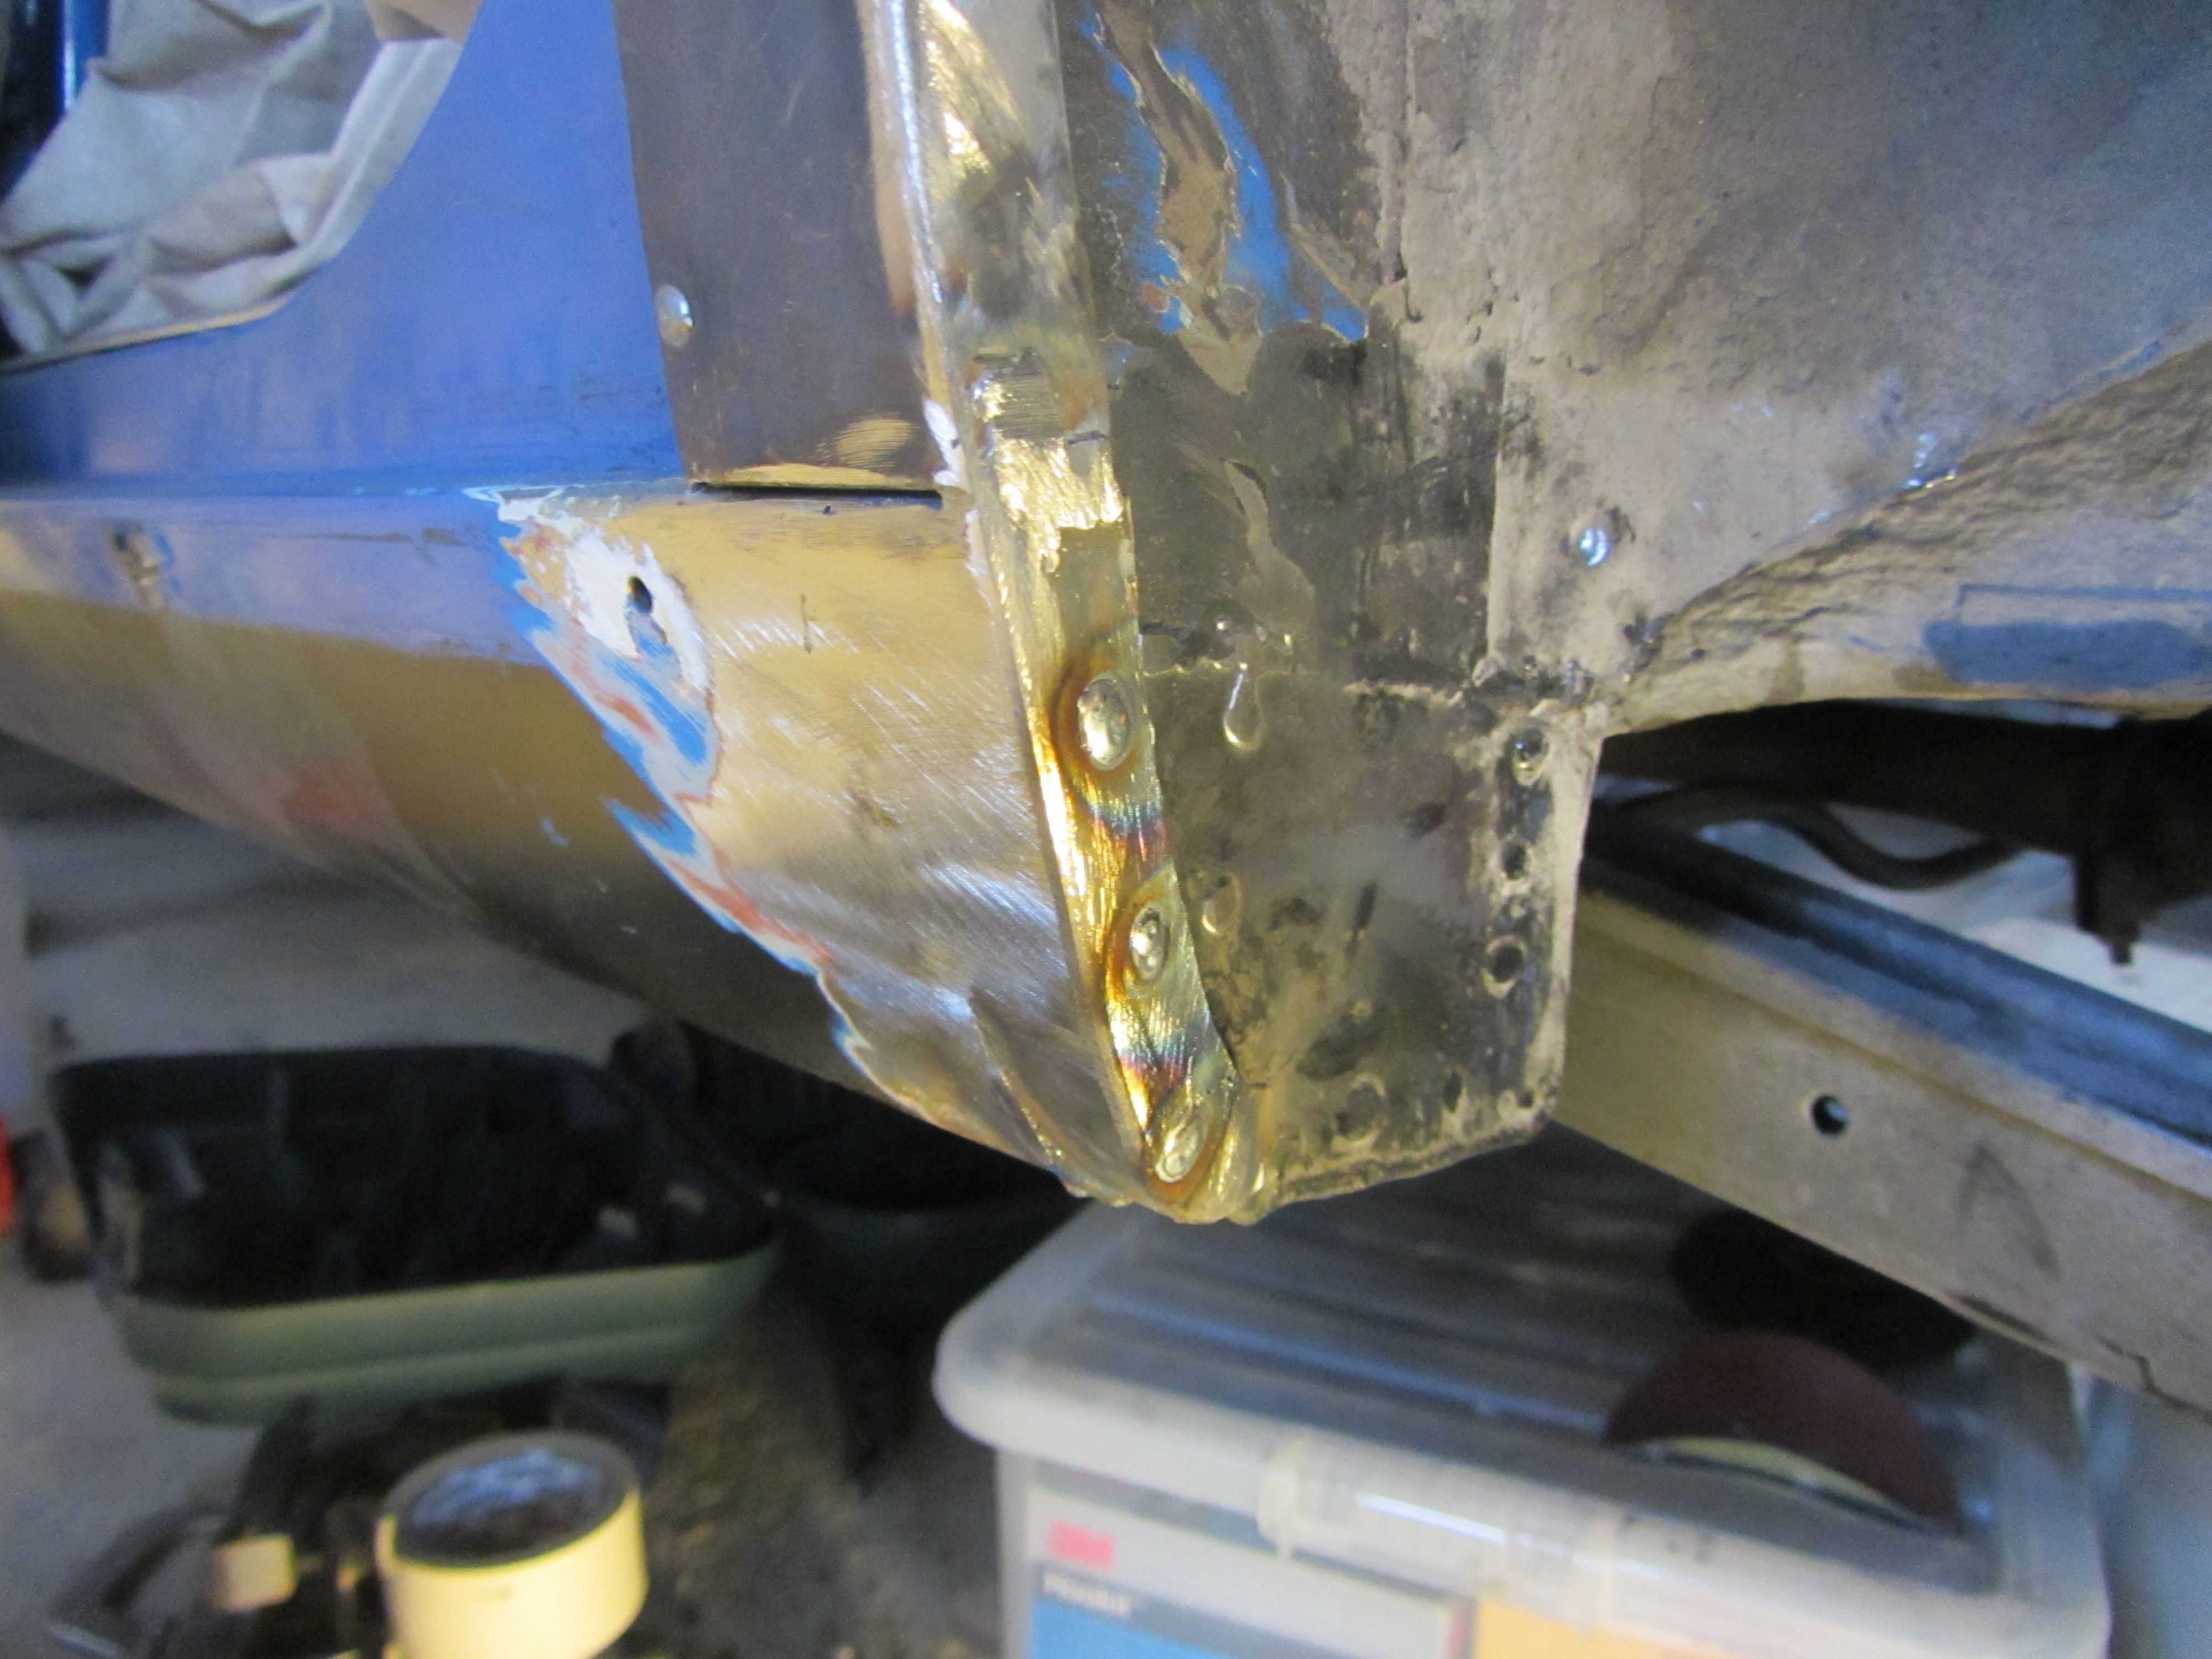
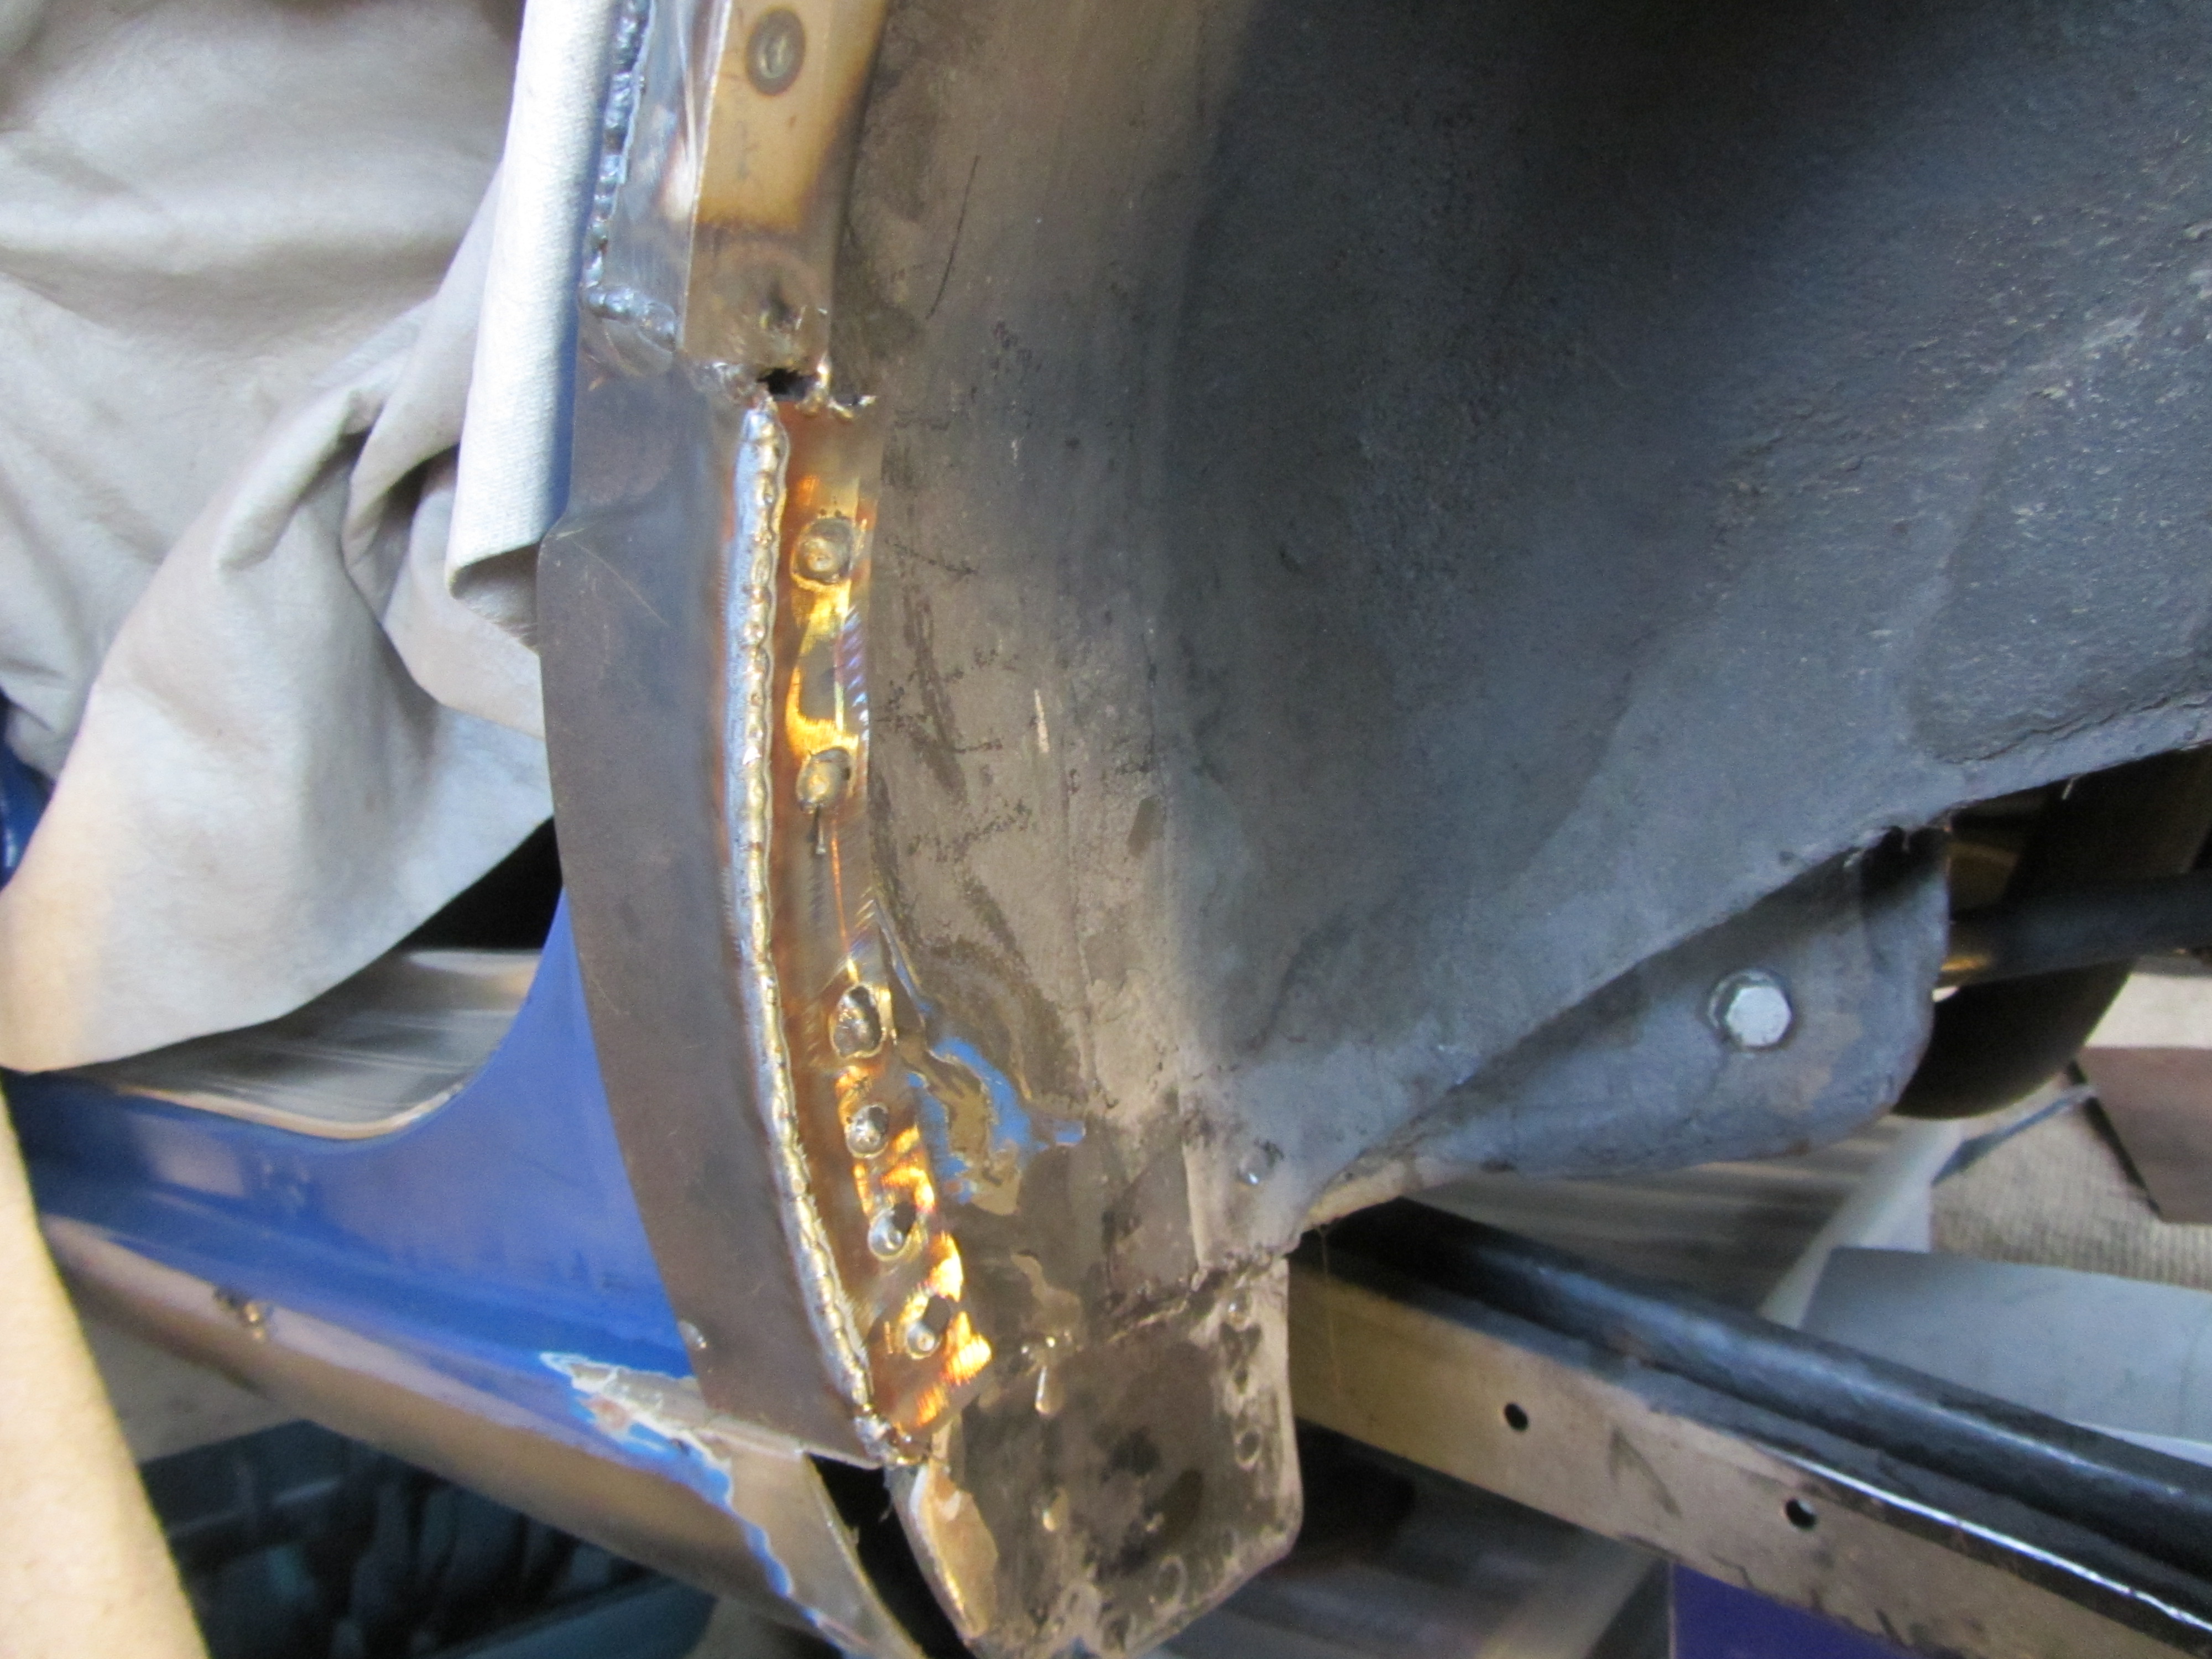
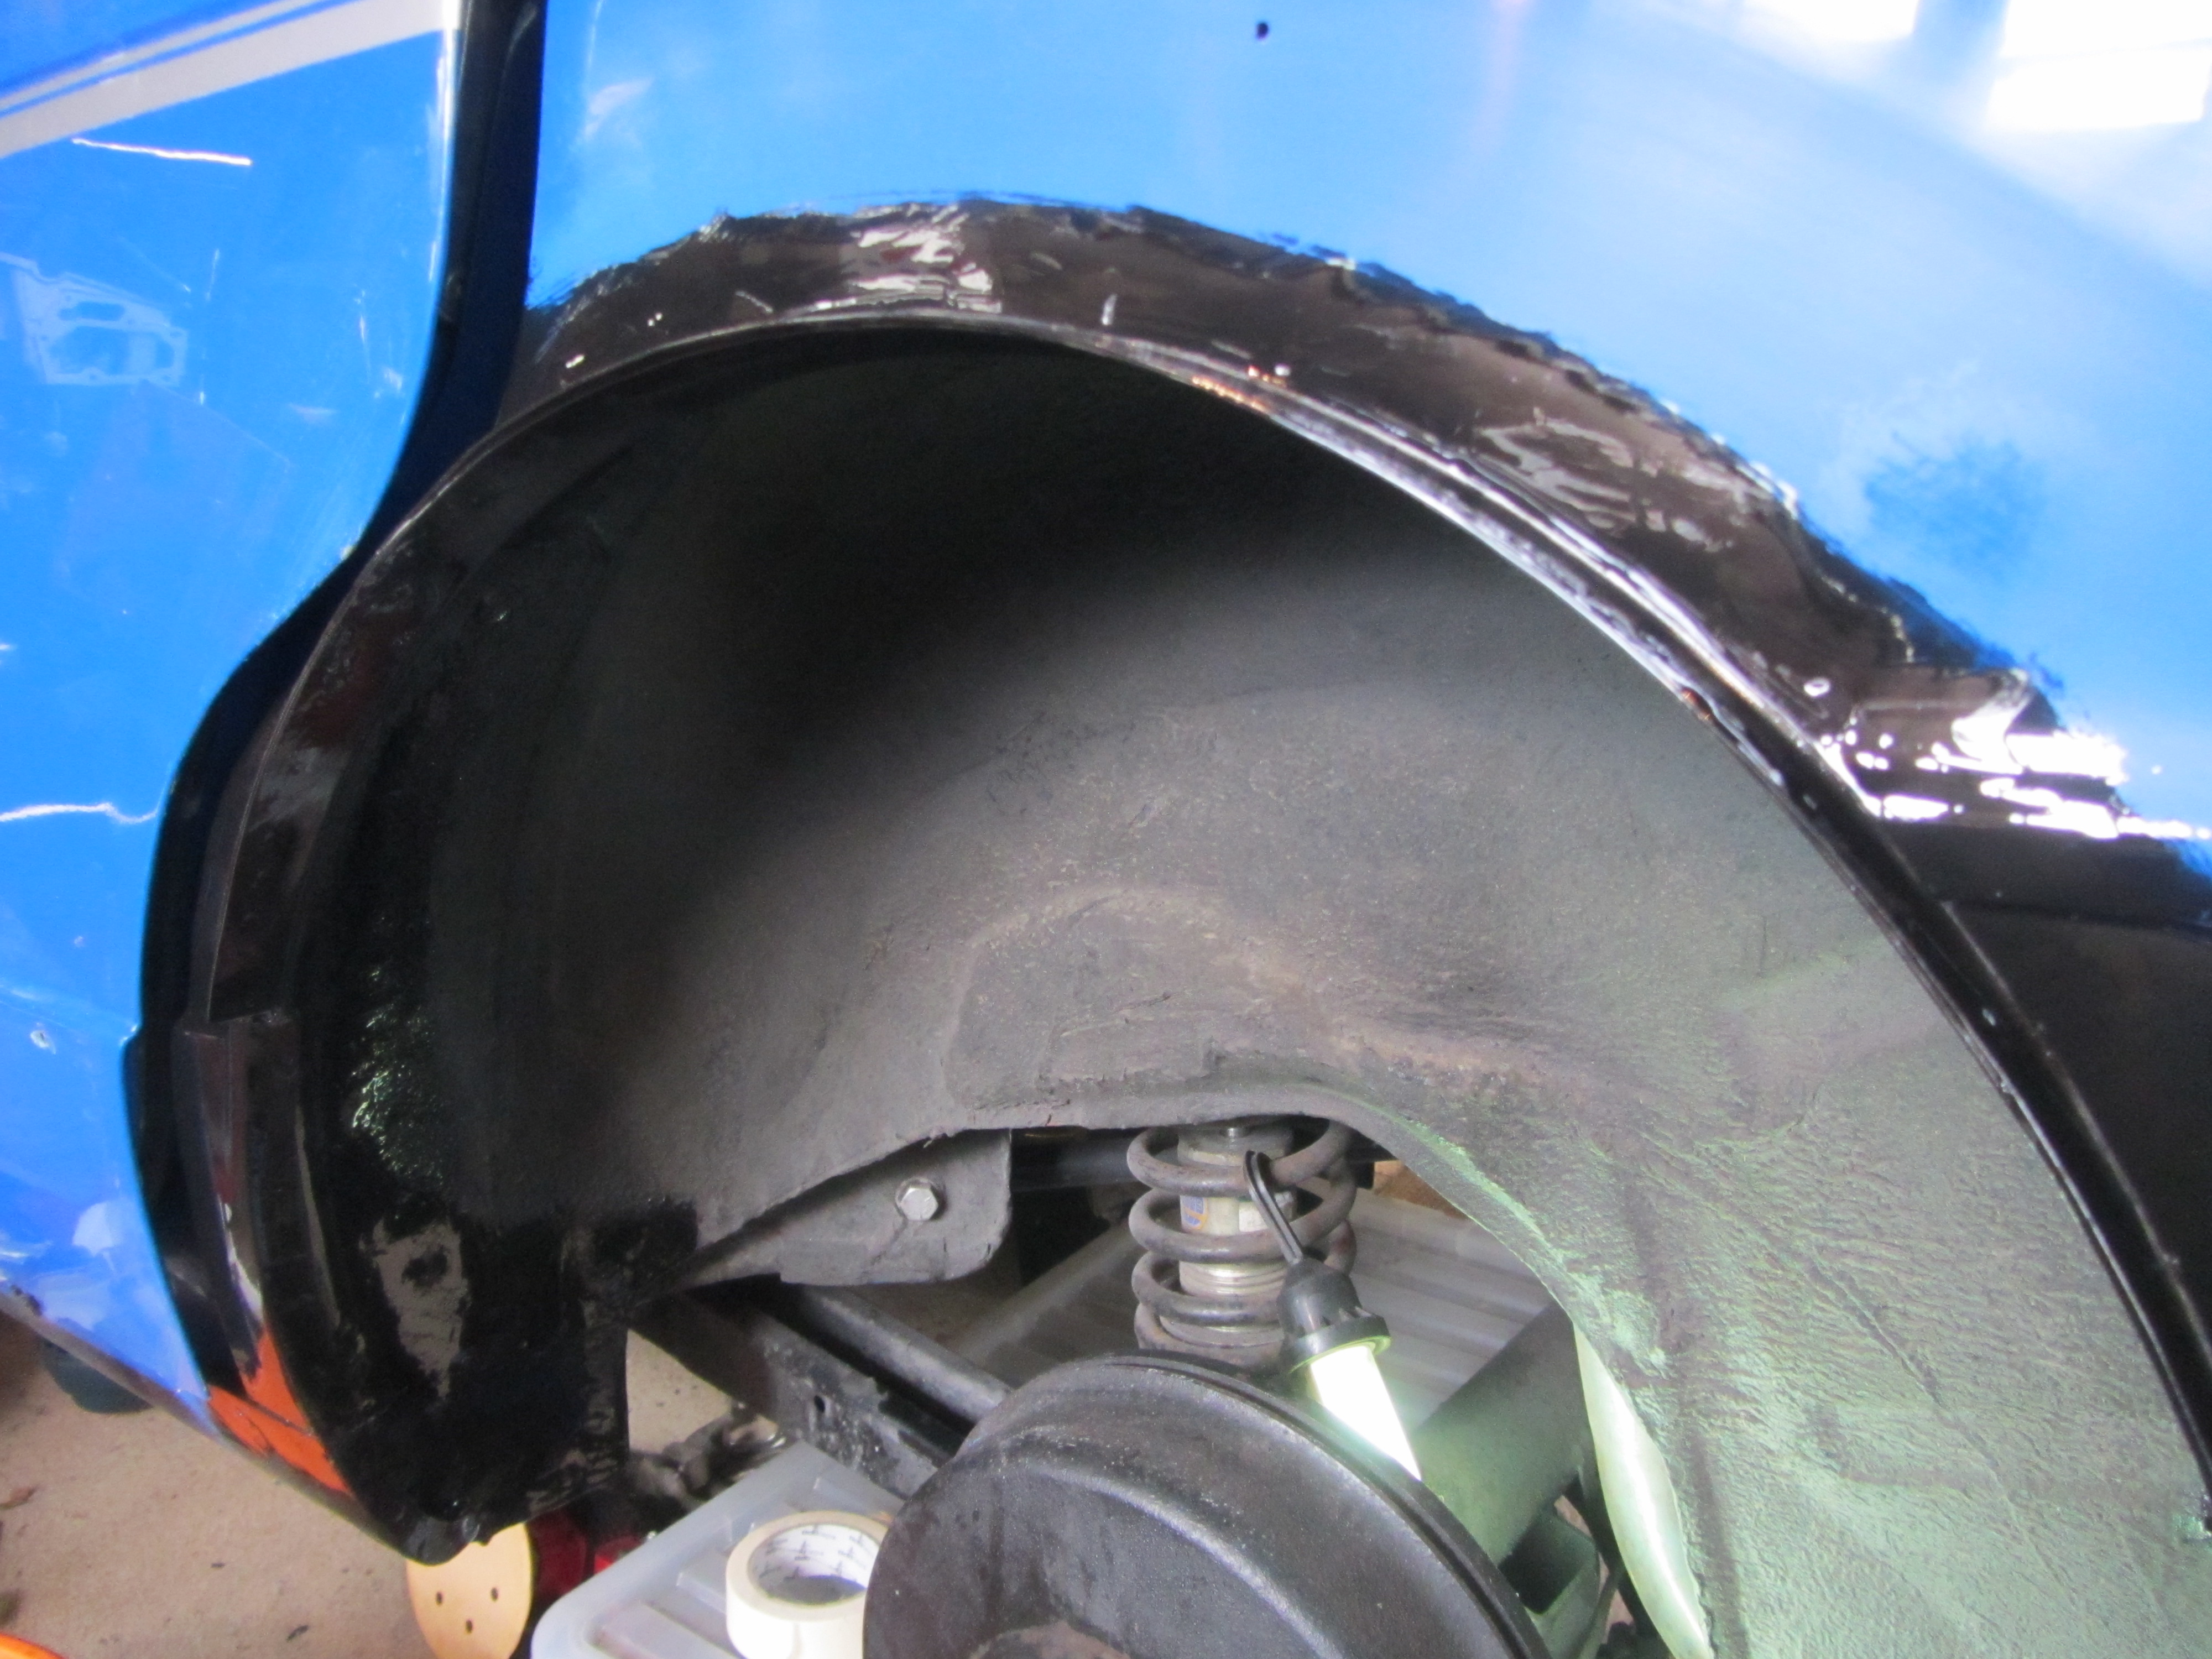
The outer lip (the 1" (ish) angle than Rob made) has been spot welded to the outer arch and an inner closing panel has been made. The inner closing panel is then spot welded to the angle, tapped up onto the inner arch and welded to that. The rear arches are now back solid.
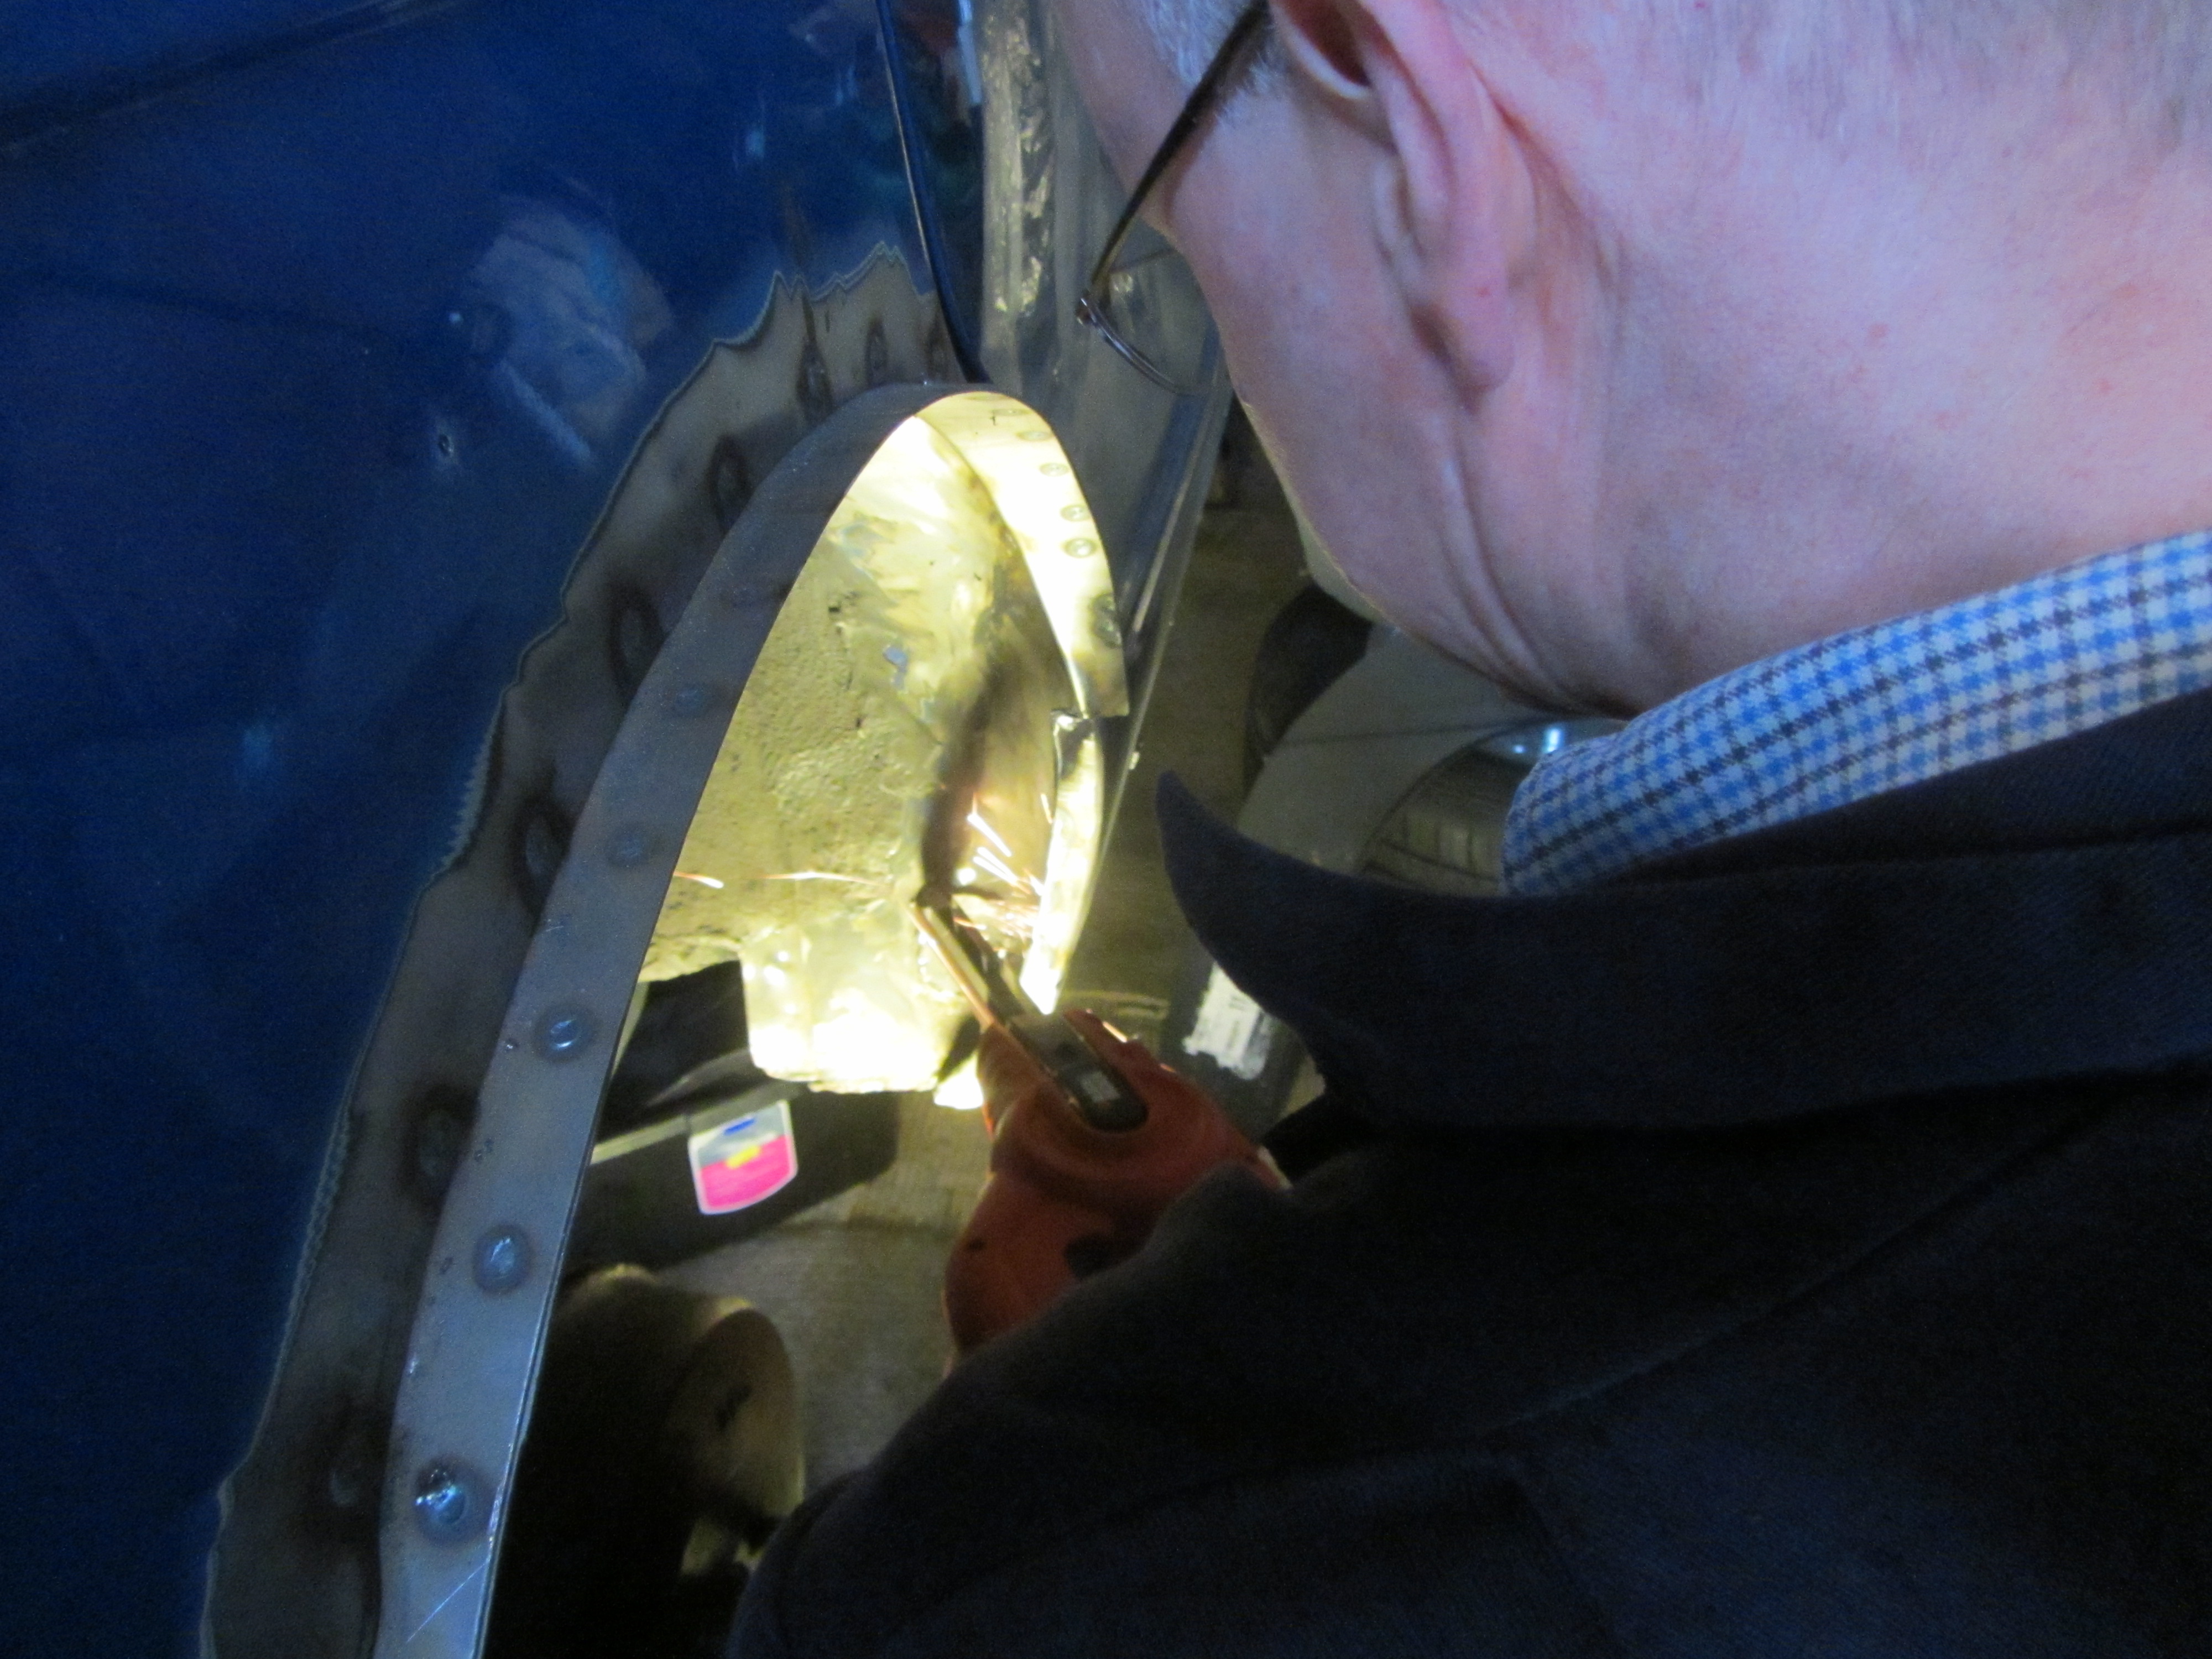
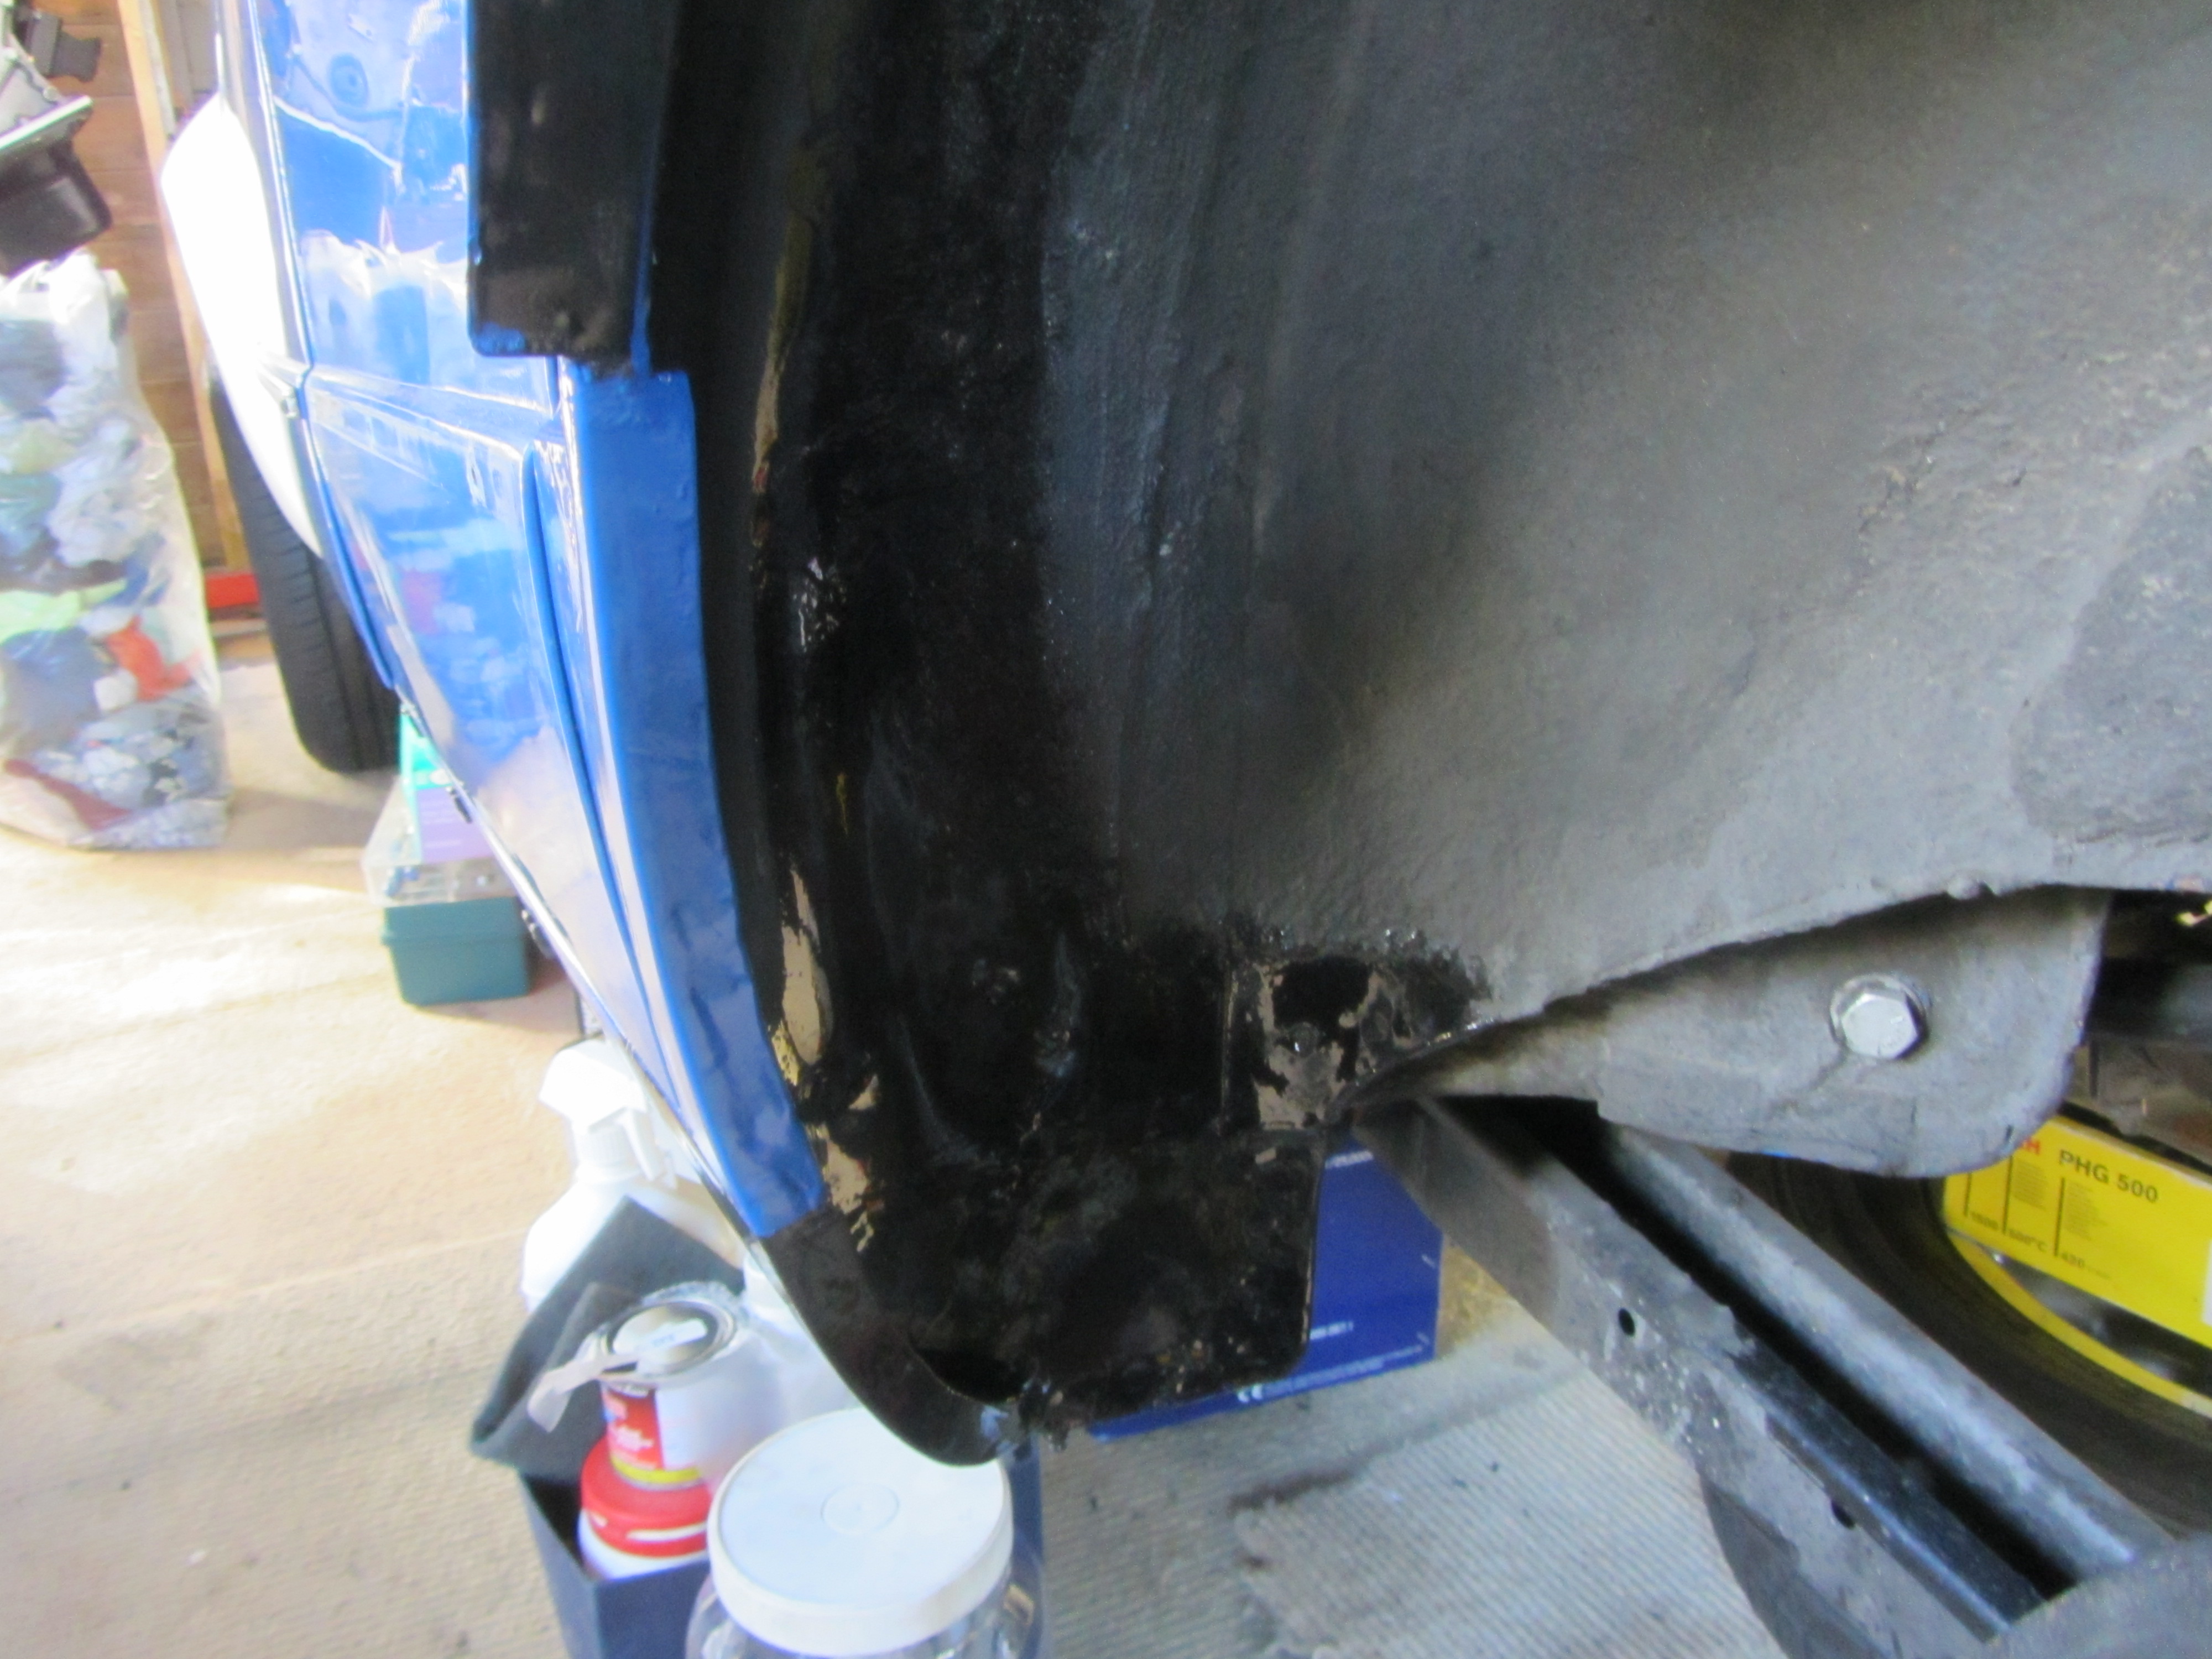
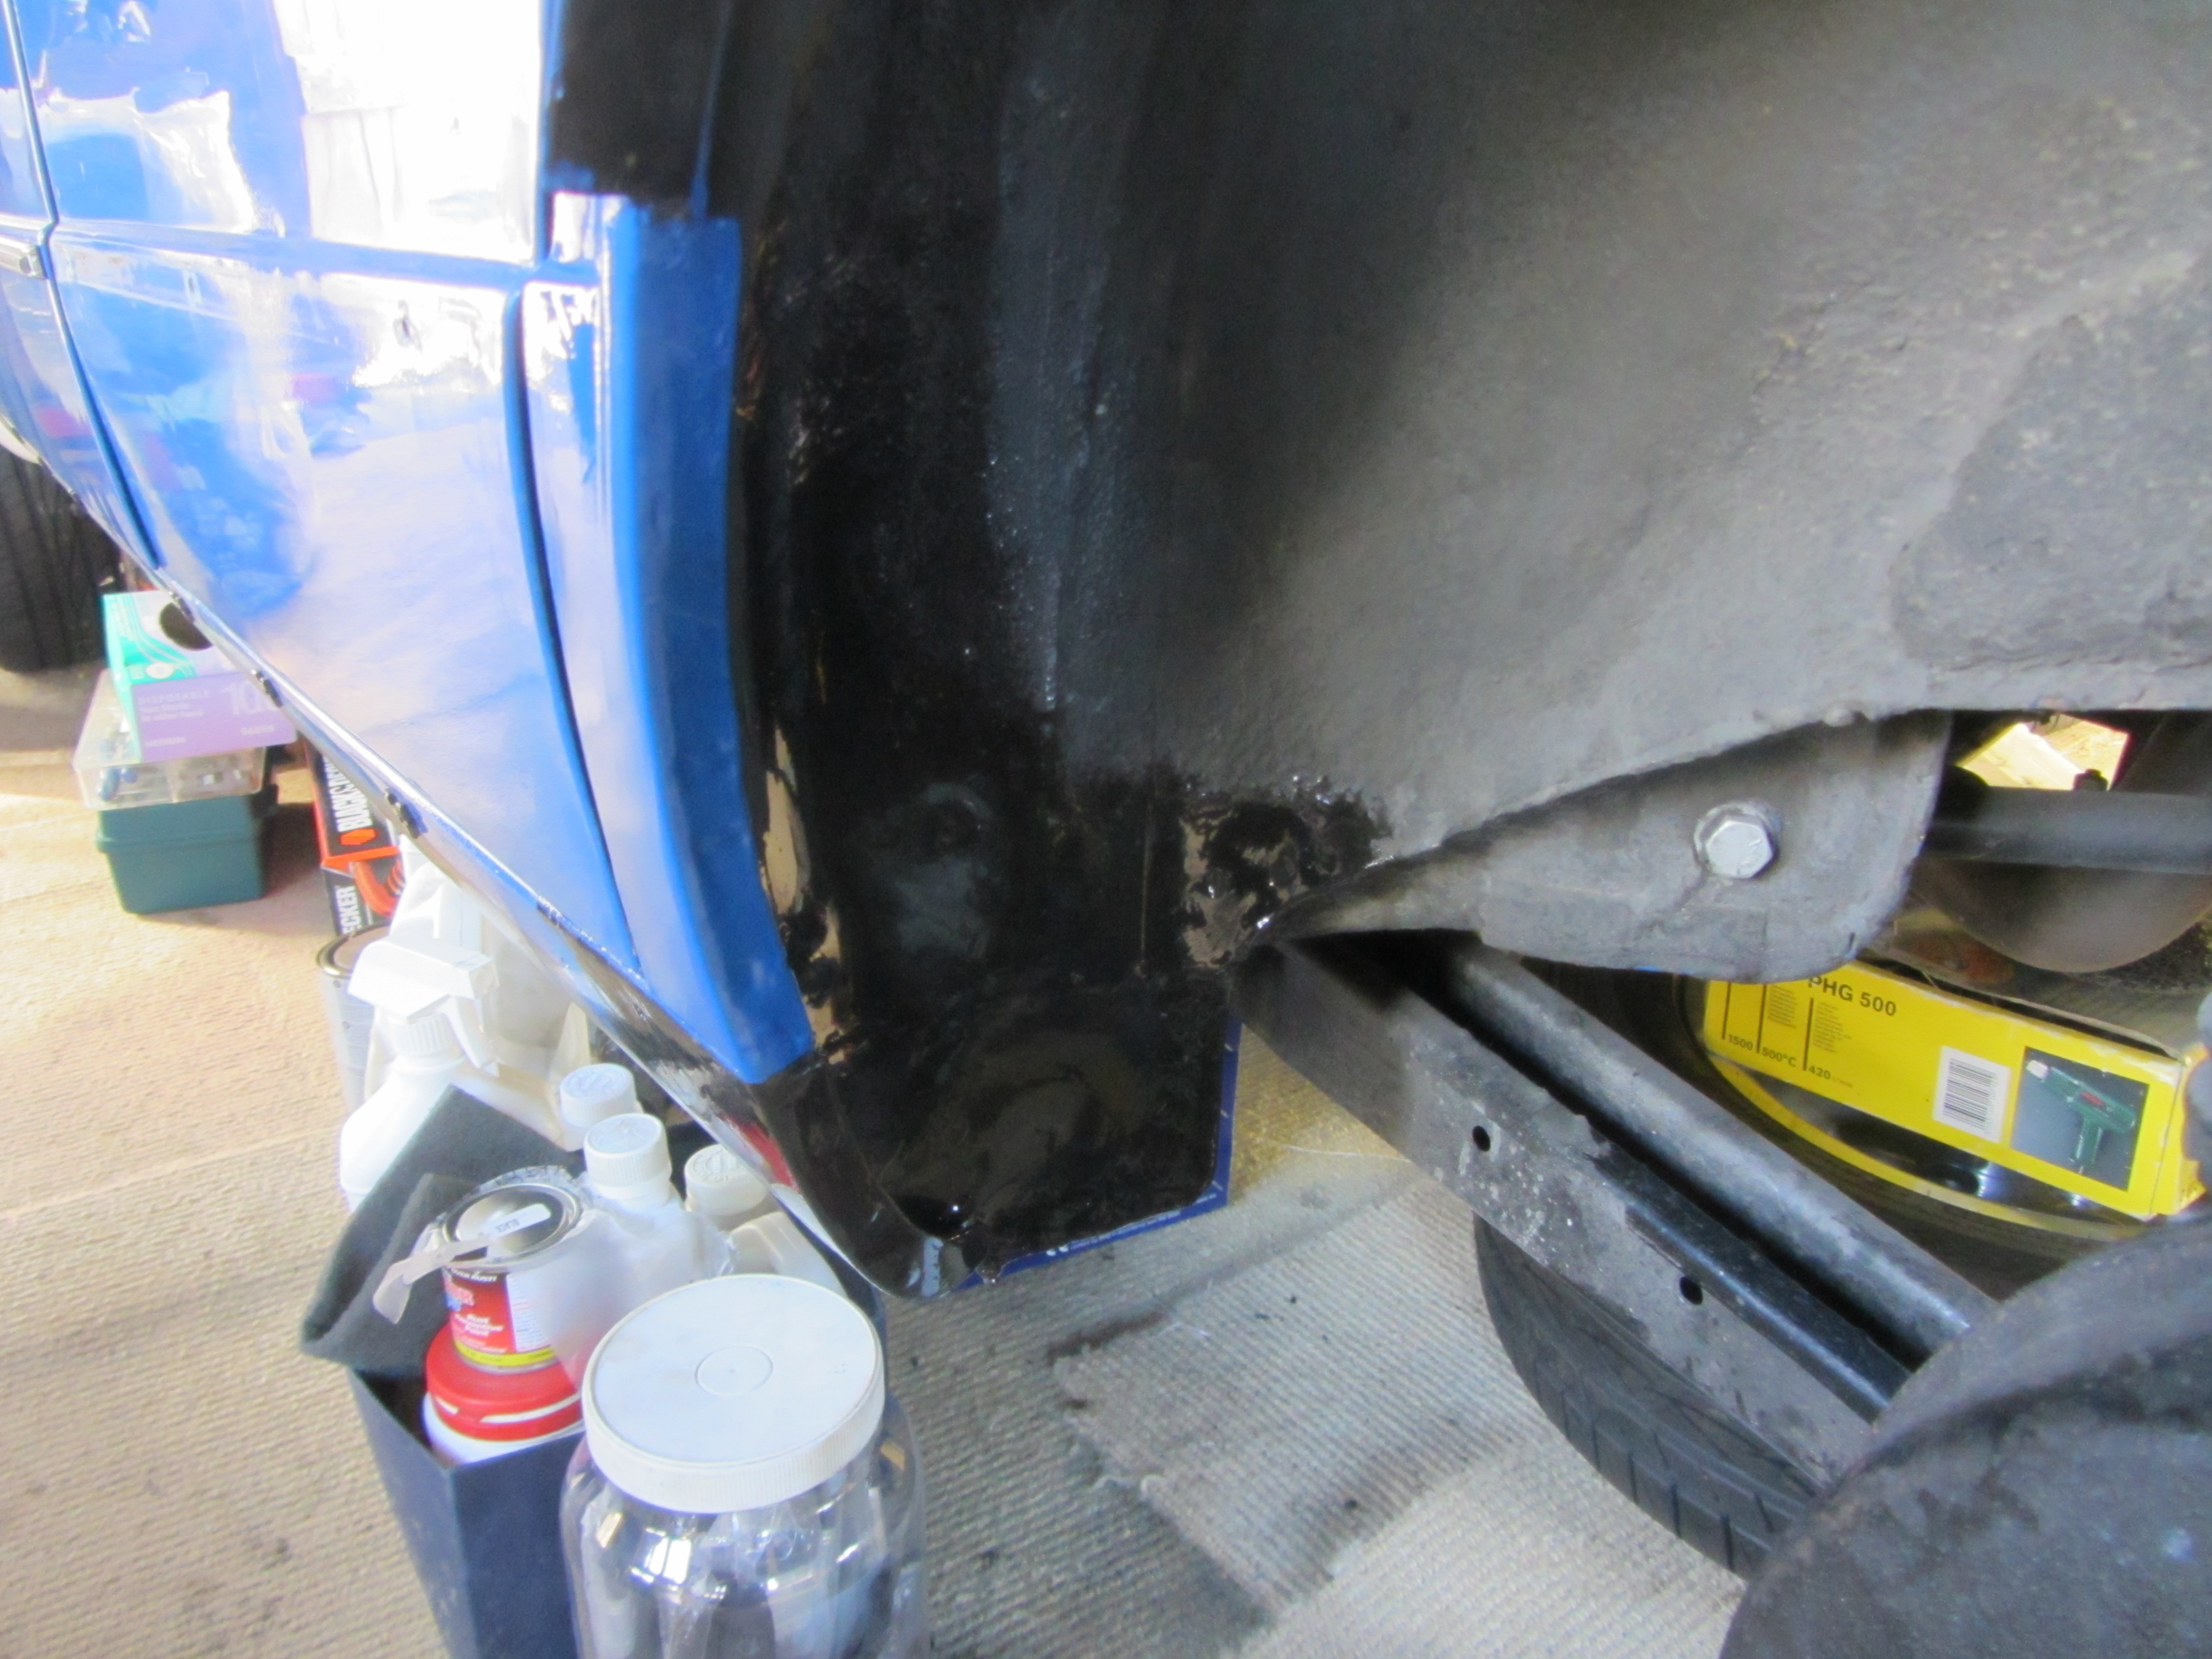
The end of the NS sill was a bit frilly, so Rob cut that out and made a new section on the car, two pieces were made up on the car and welded together, once finished you'd never know it had been repaired. Rob did similar to the OS and fixed the opposite (rearmost) edge of both sides as well. It was a pleasure watching Rob make up the small sections and weld then in. Fabricating on the car as he progressed. It's amazing how much you can learn from a professional, I'd have spent ages making up small panels and sticking them on, Rob used larger pieces, tacked and shaped them as he went and then cut them down using the fine disc cutter. I could have watched Rob working for hours....ok, I did watch Rob for hours :) In between making some mess.
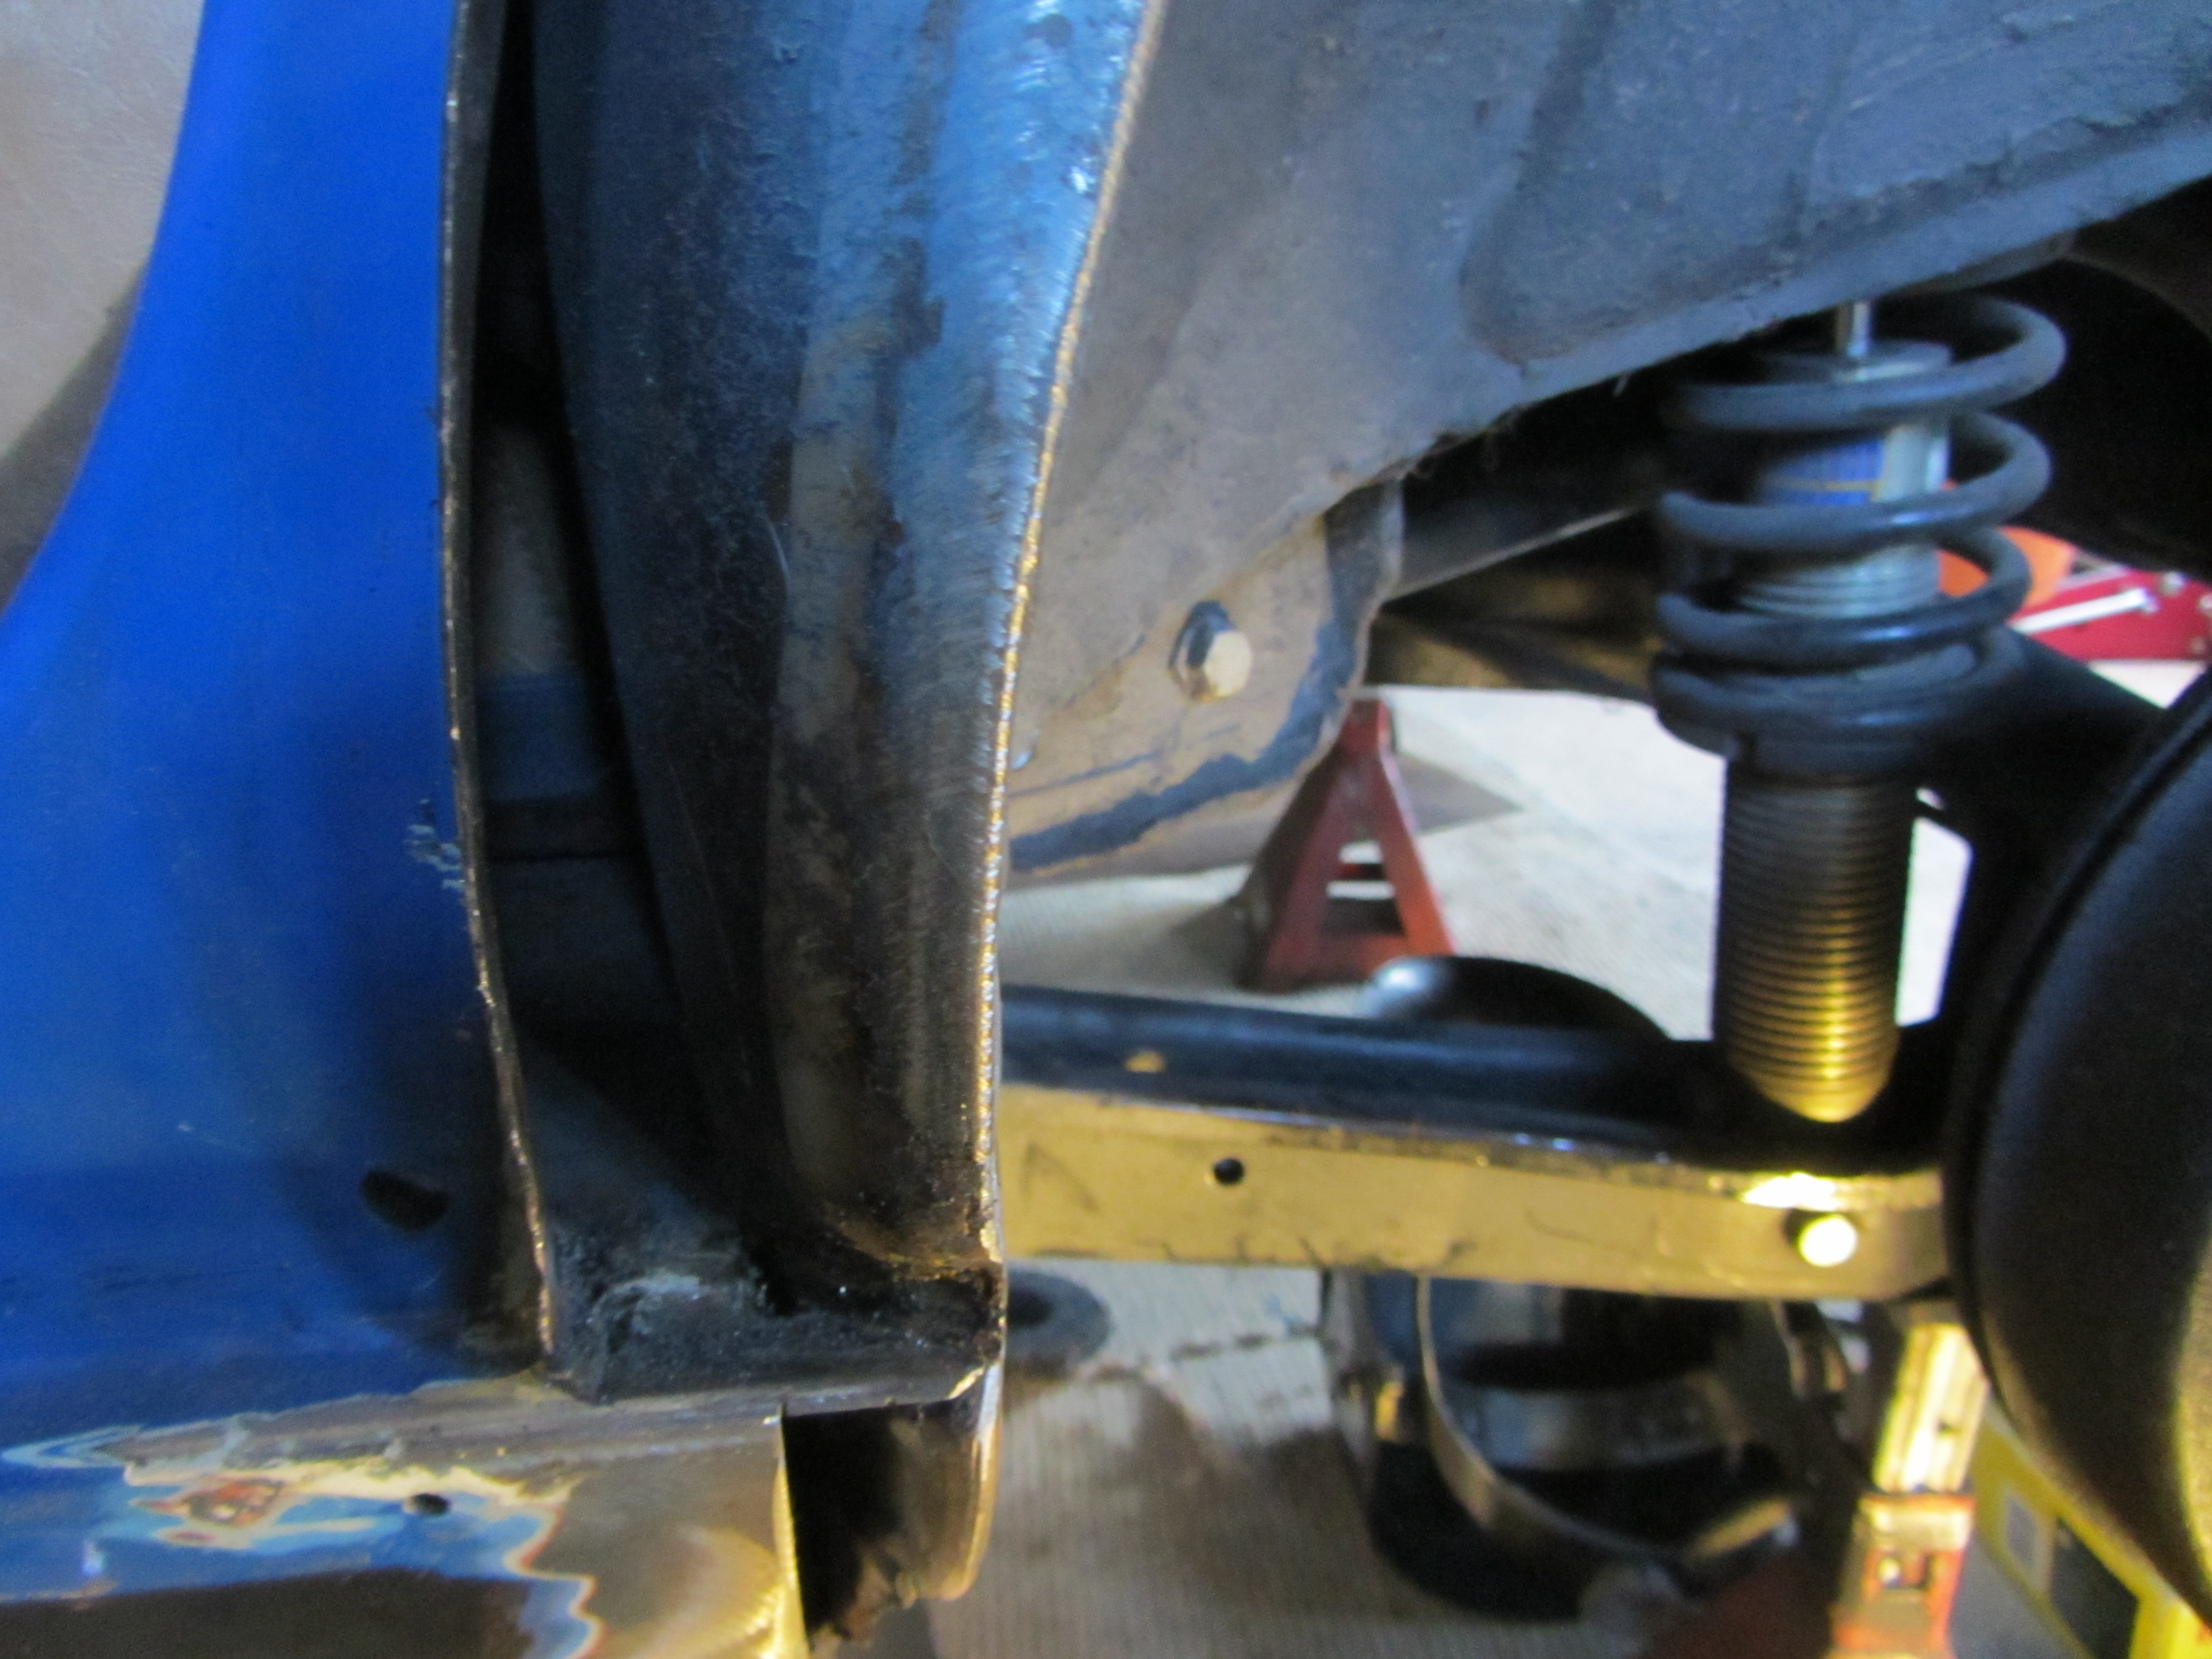
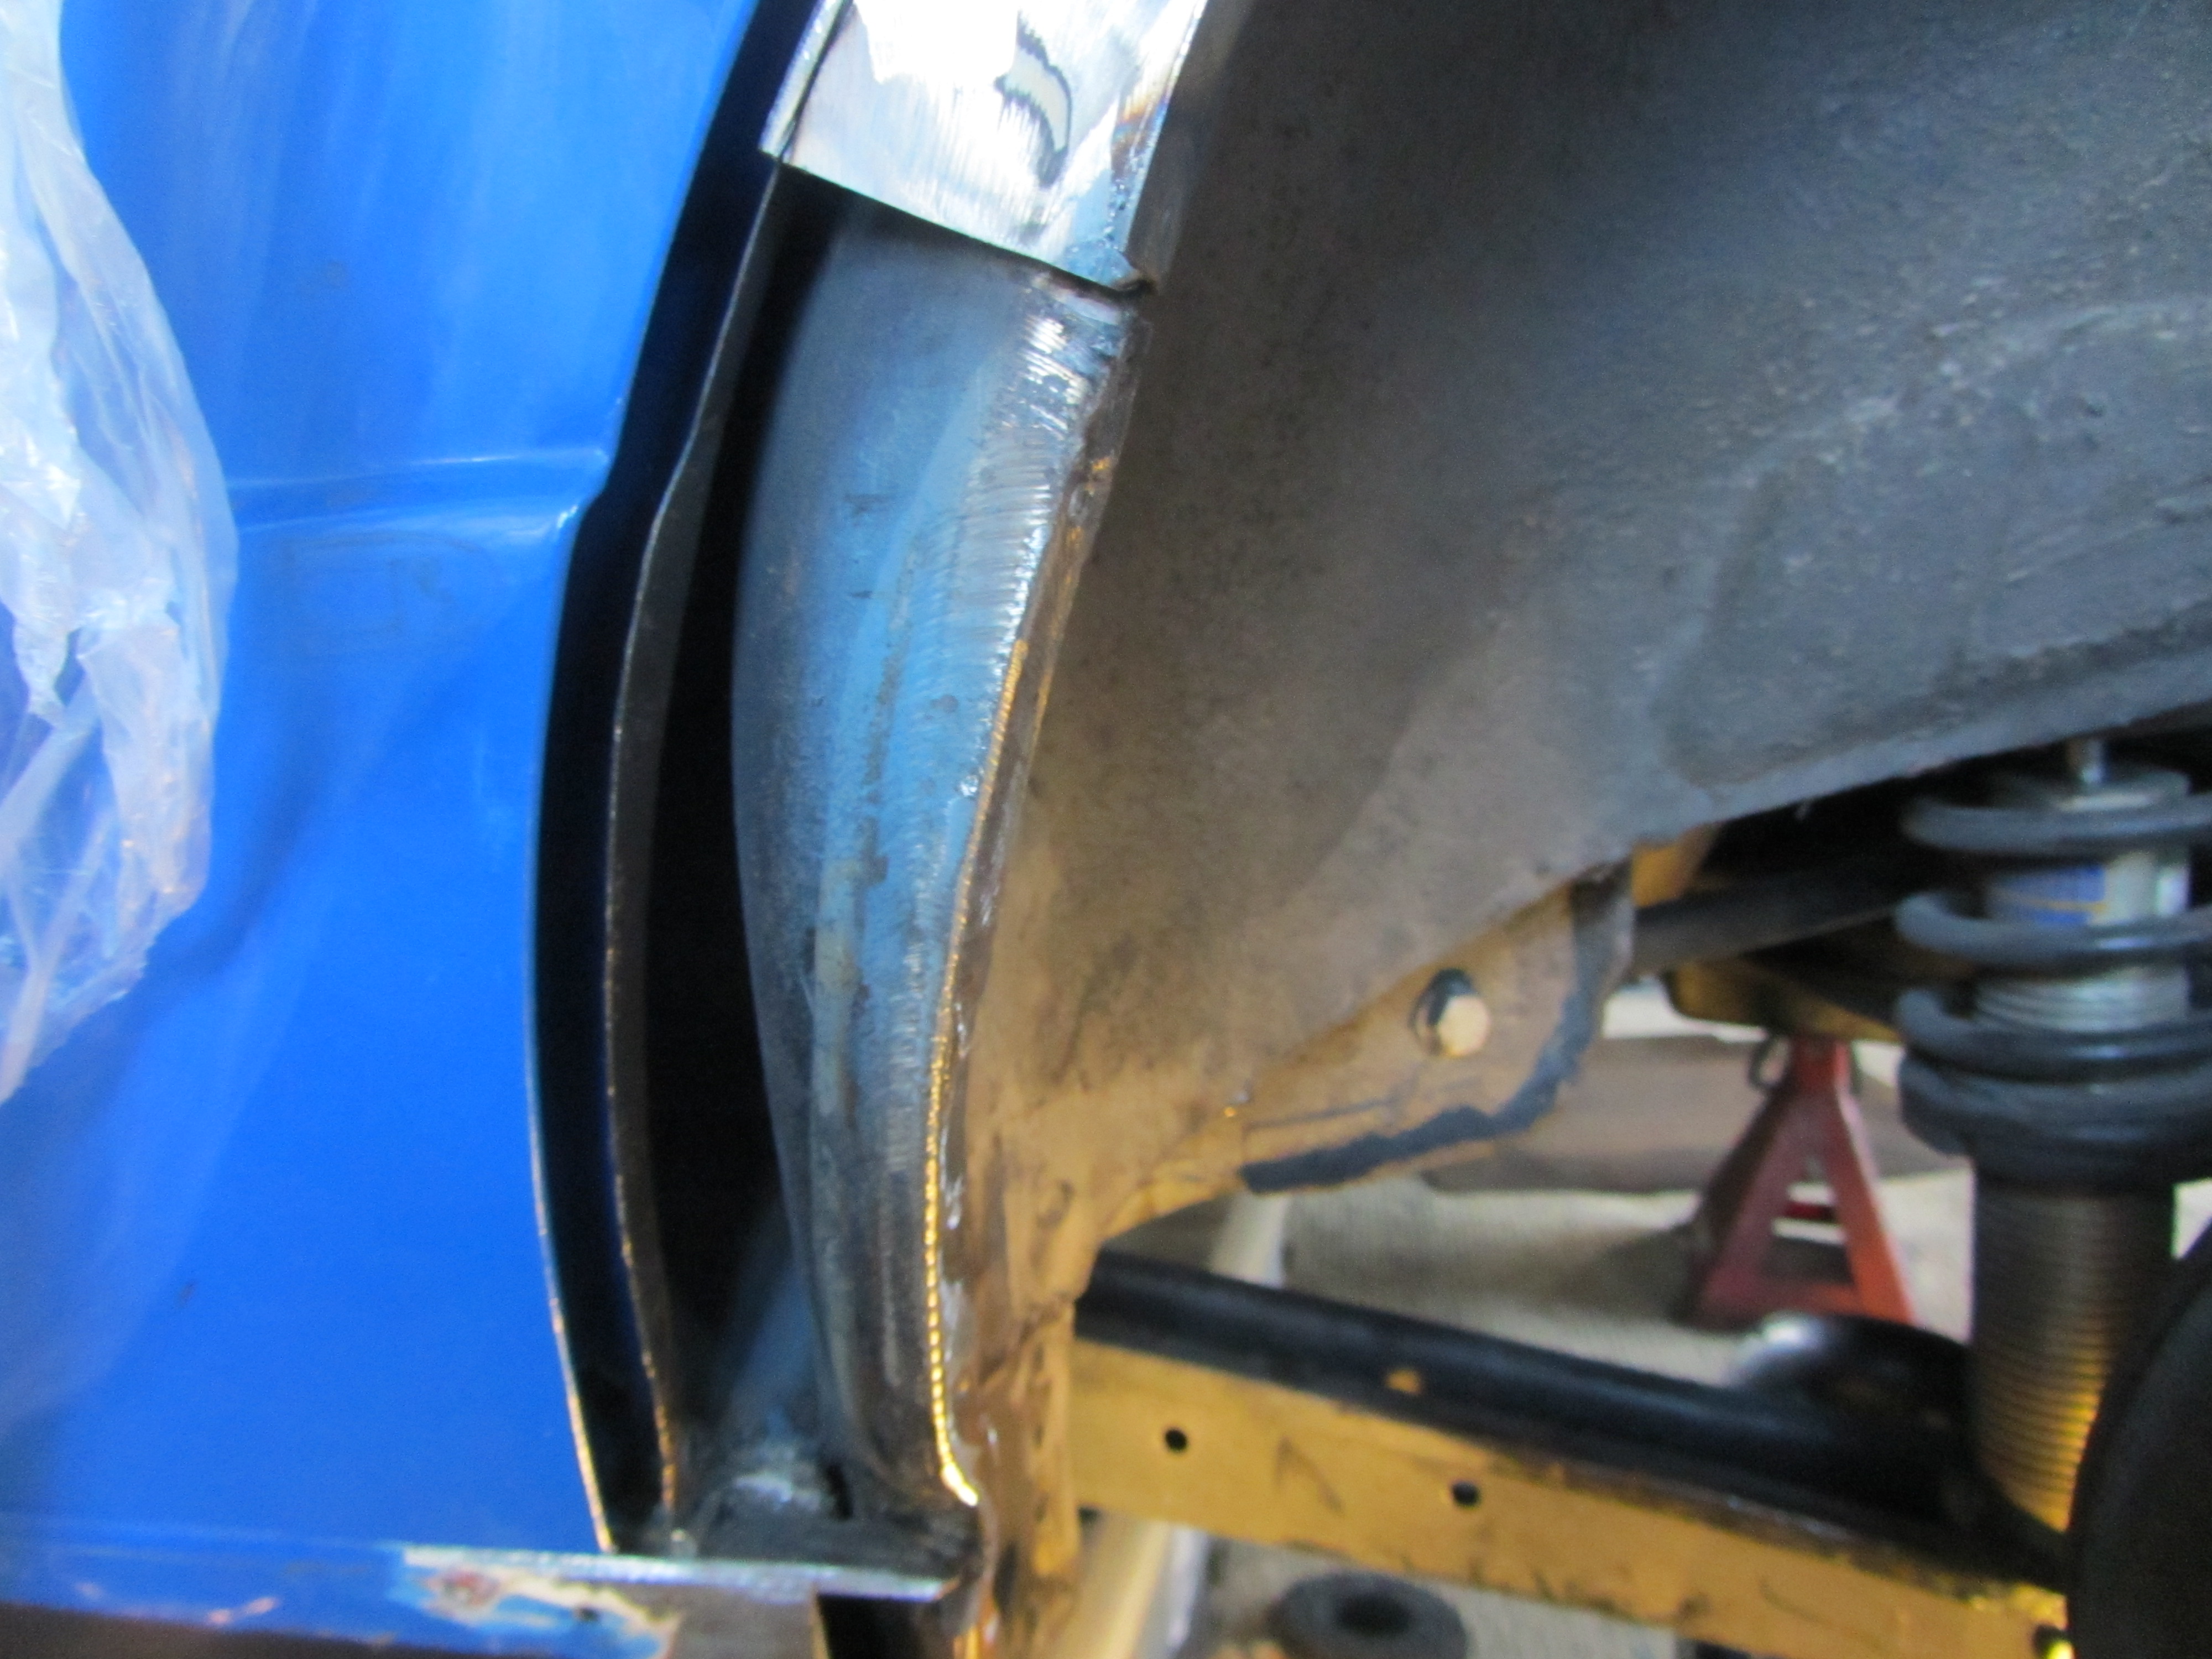
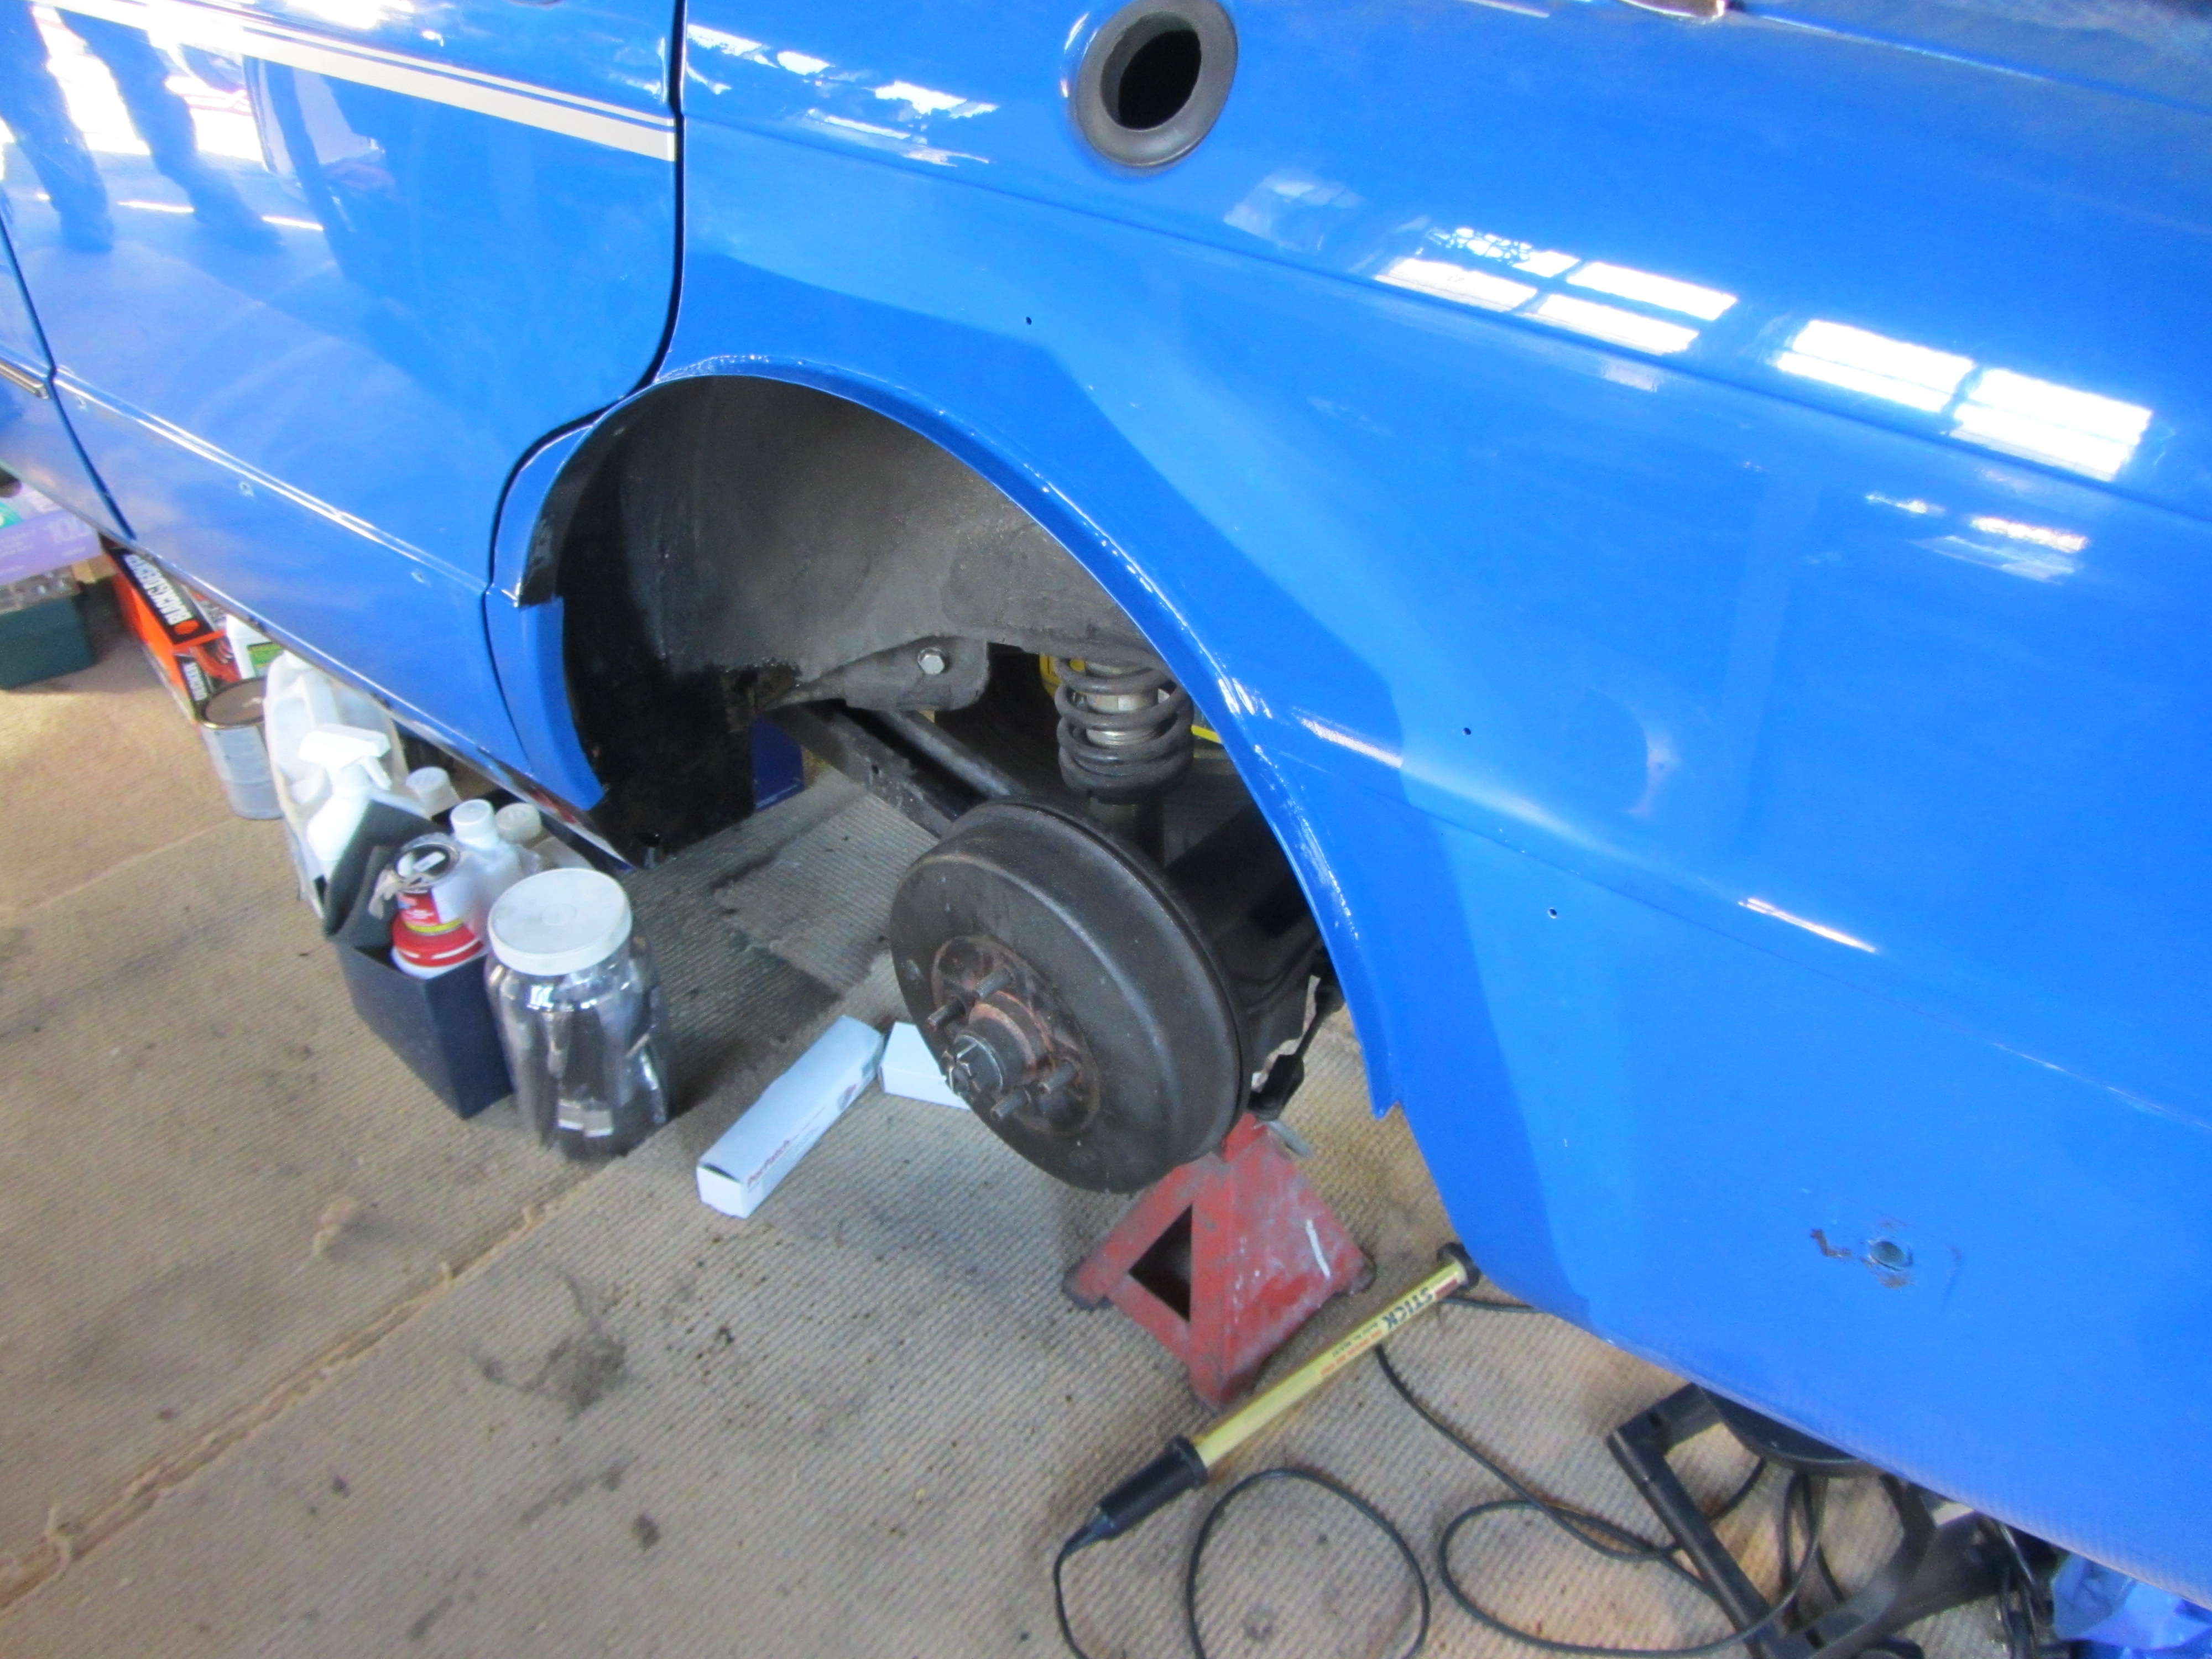
On a trial fit the NS rear door was a bit close to the arch, using a 1 mm disc Rob put a cut in the C panel, he could then close the gap and we'll have 1 mm more room. The front, bottom of the rear arch was also a bit frilly, using a rear arch repair panel, Rob cut the old out and welded a new section in.
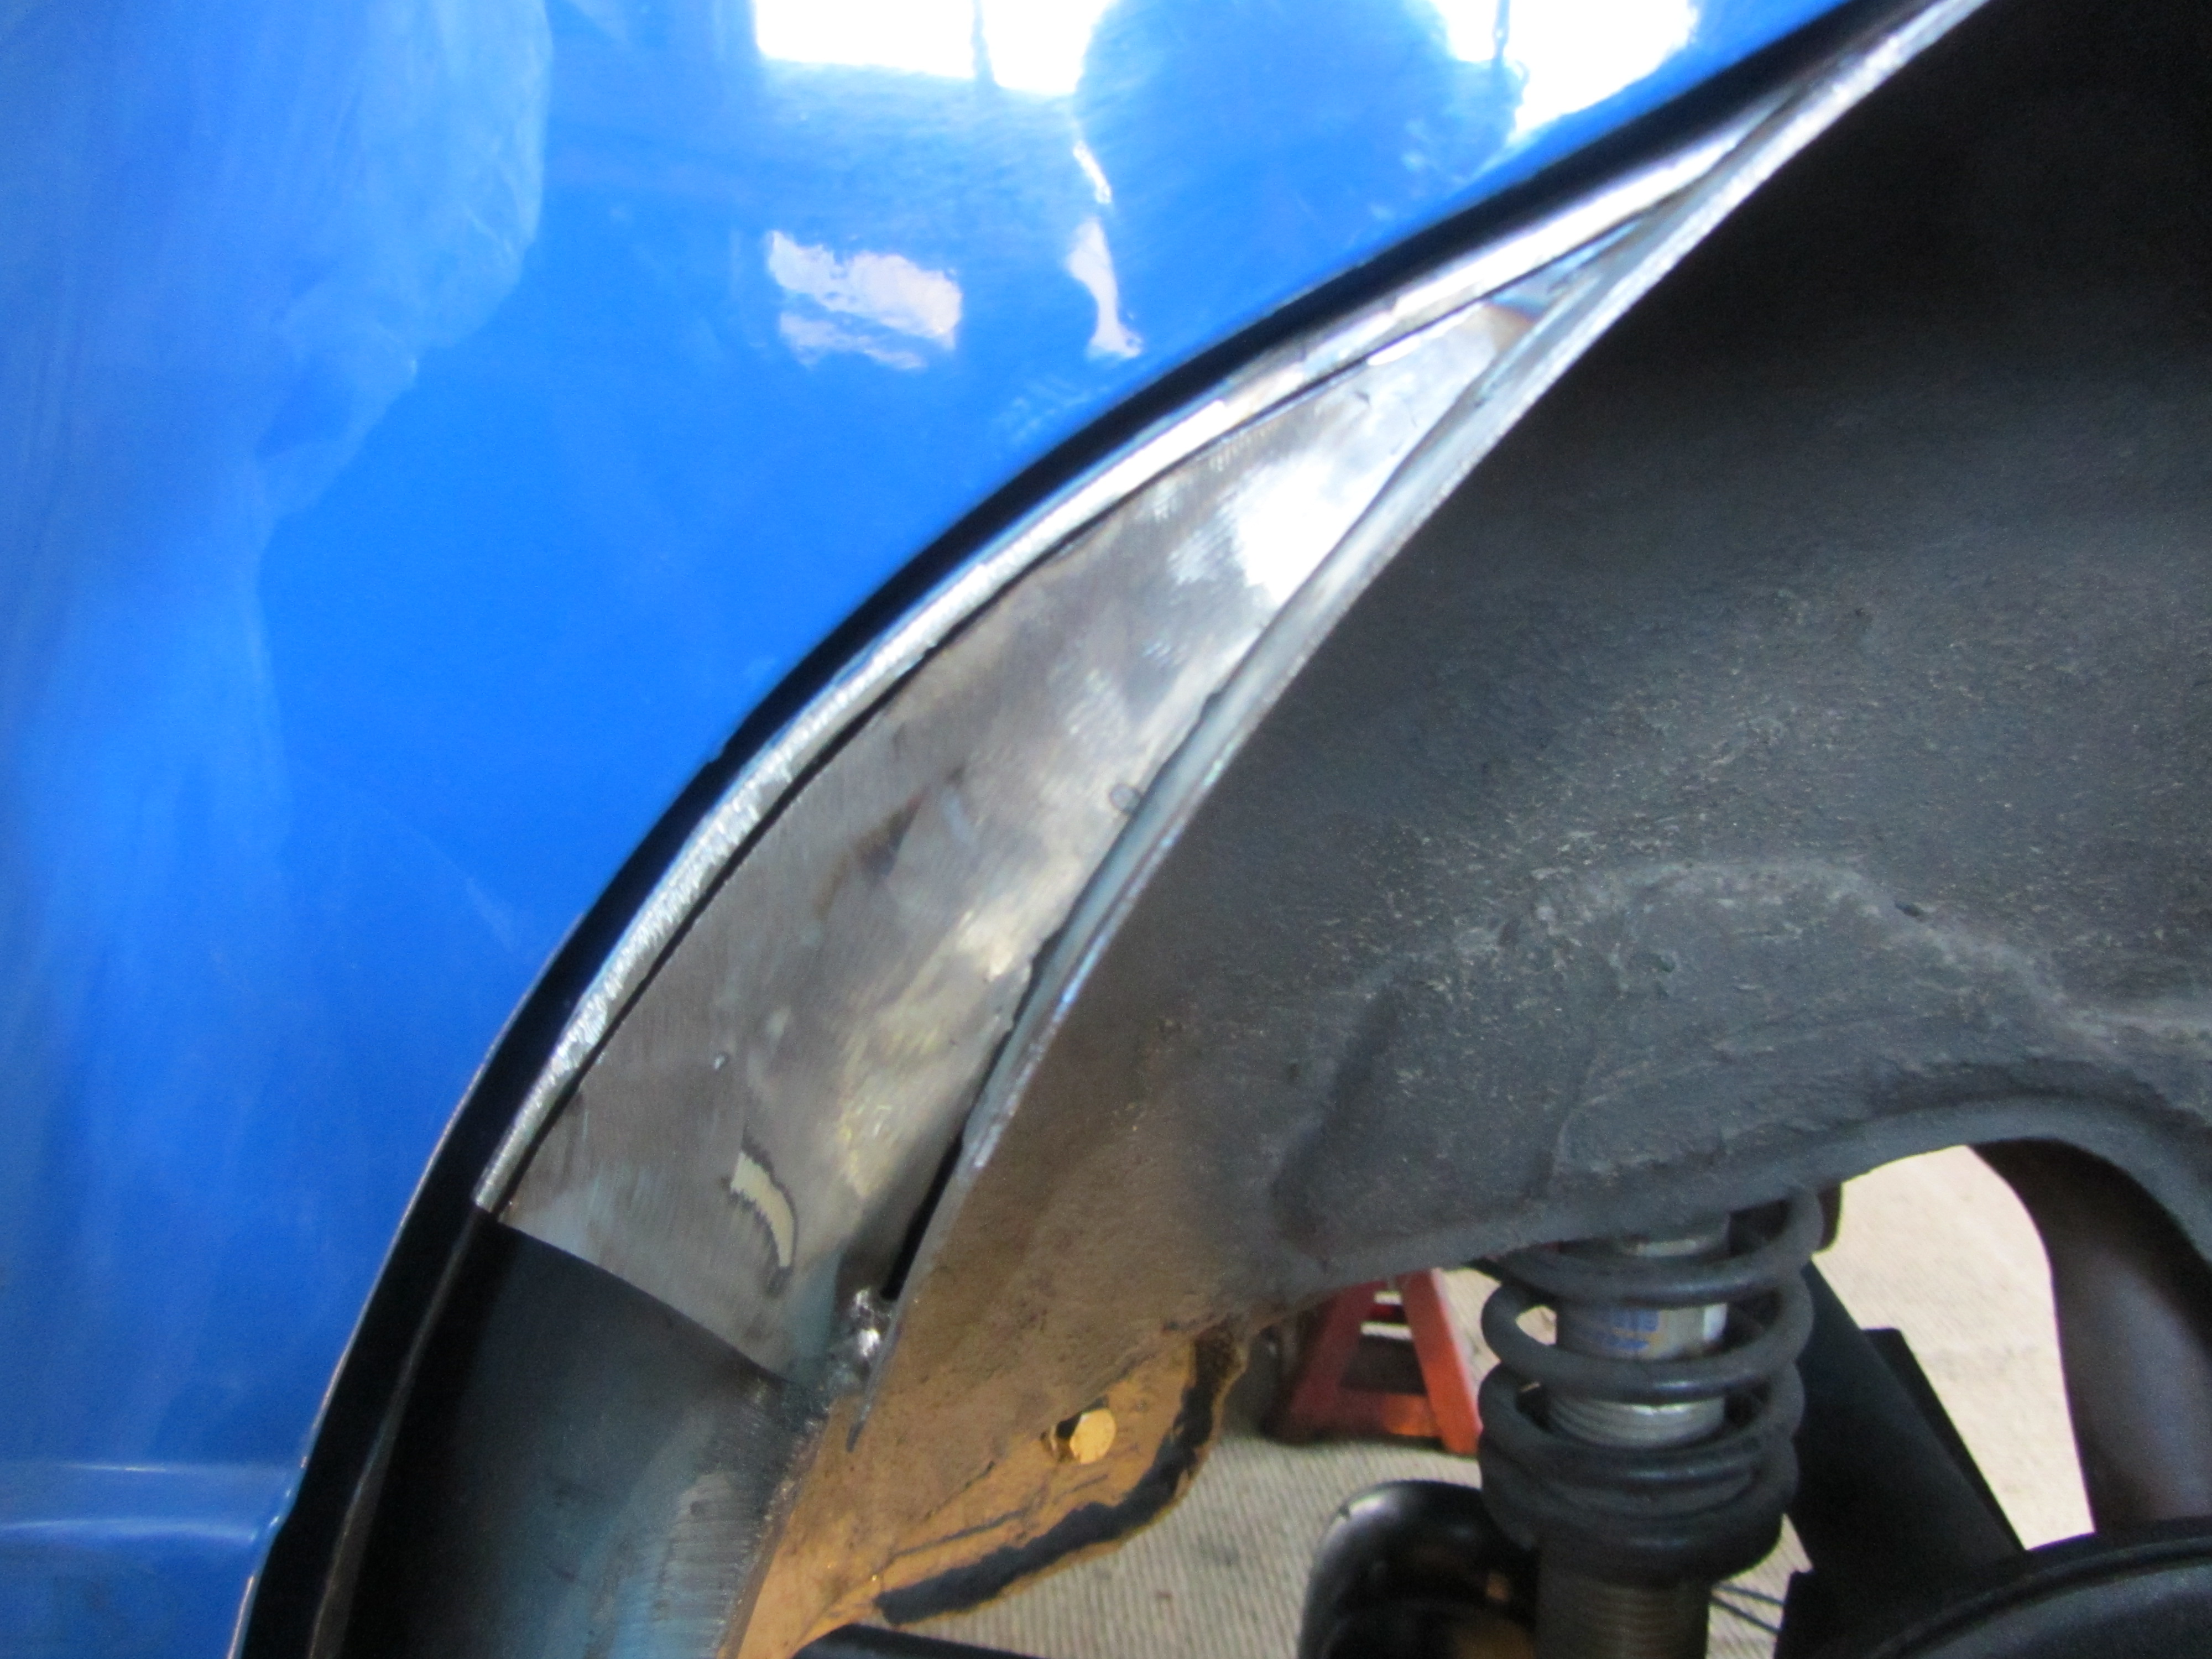
This is the finished repair, which gives some more room for the door and removes the old frilly metal. Looks almost too nice to cover with a bit of fibreglass.
After the metalwork was done it was time for me to make some more grinding mess :)
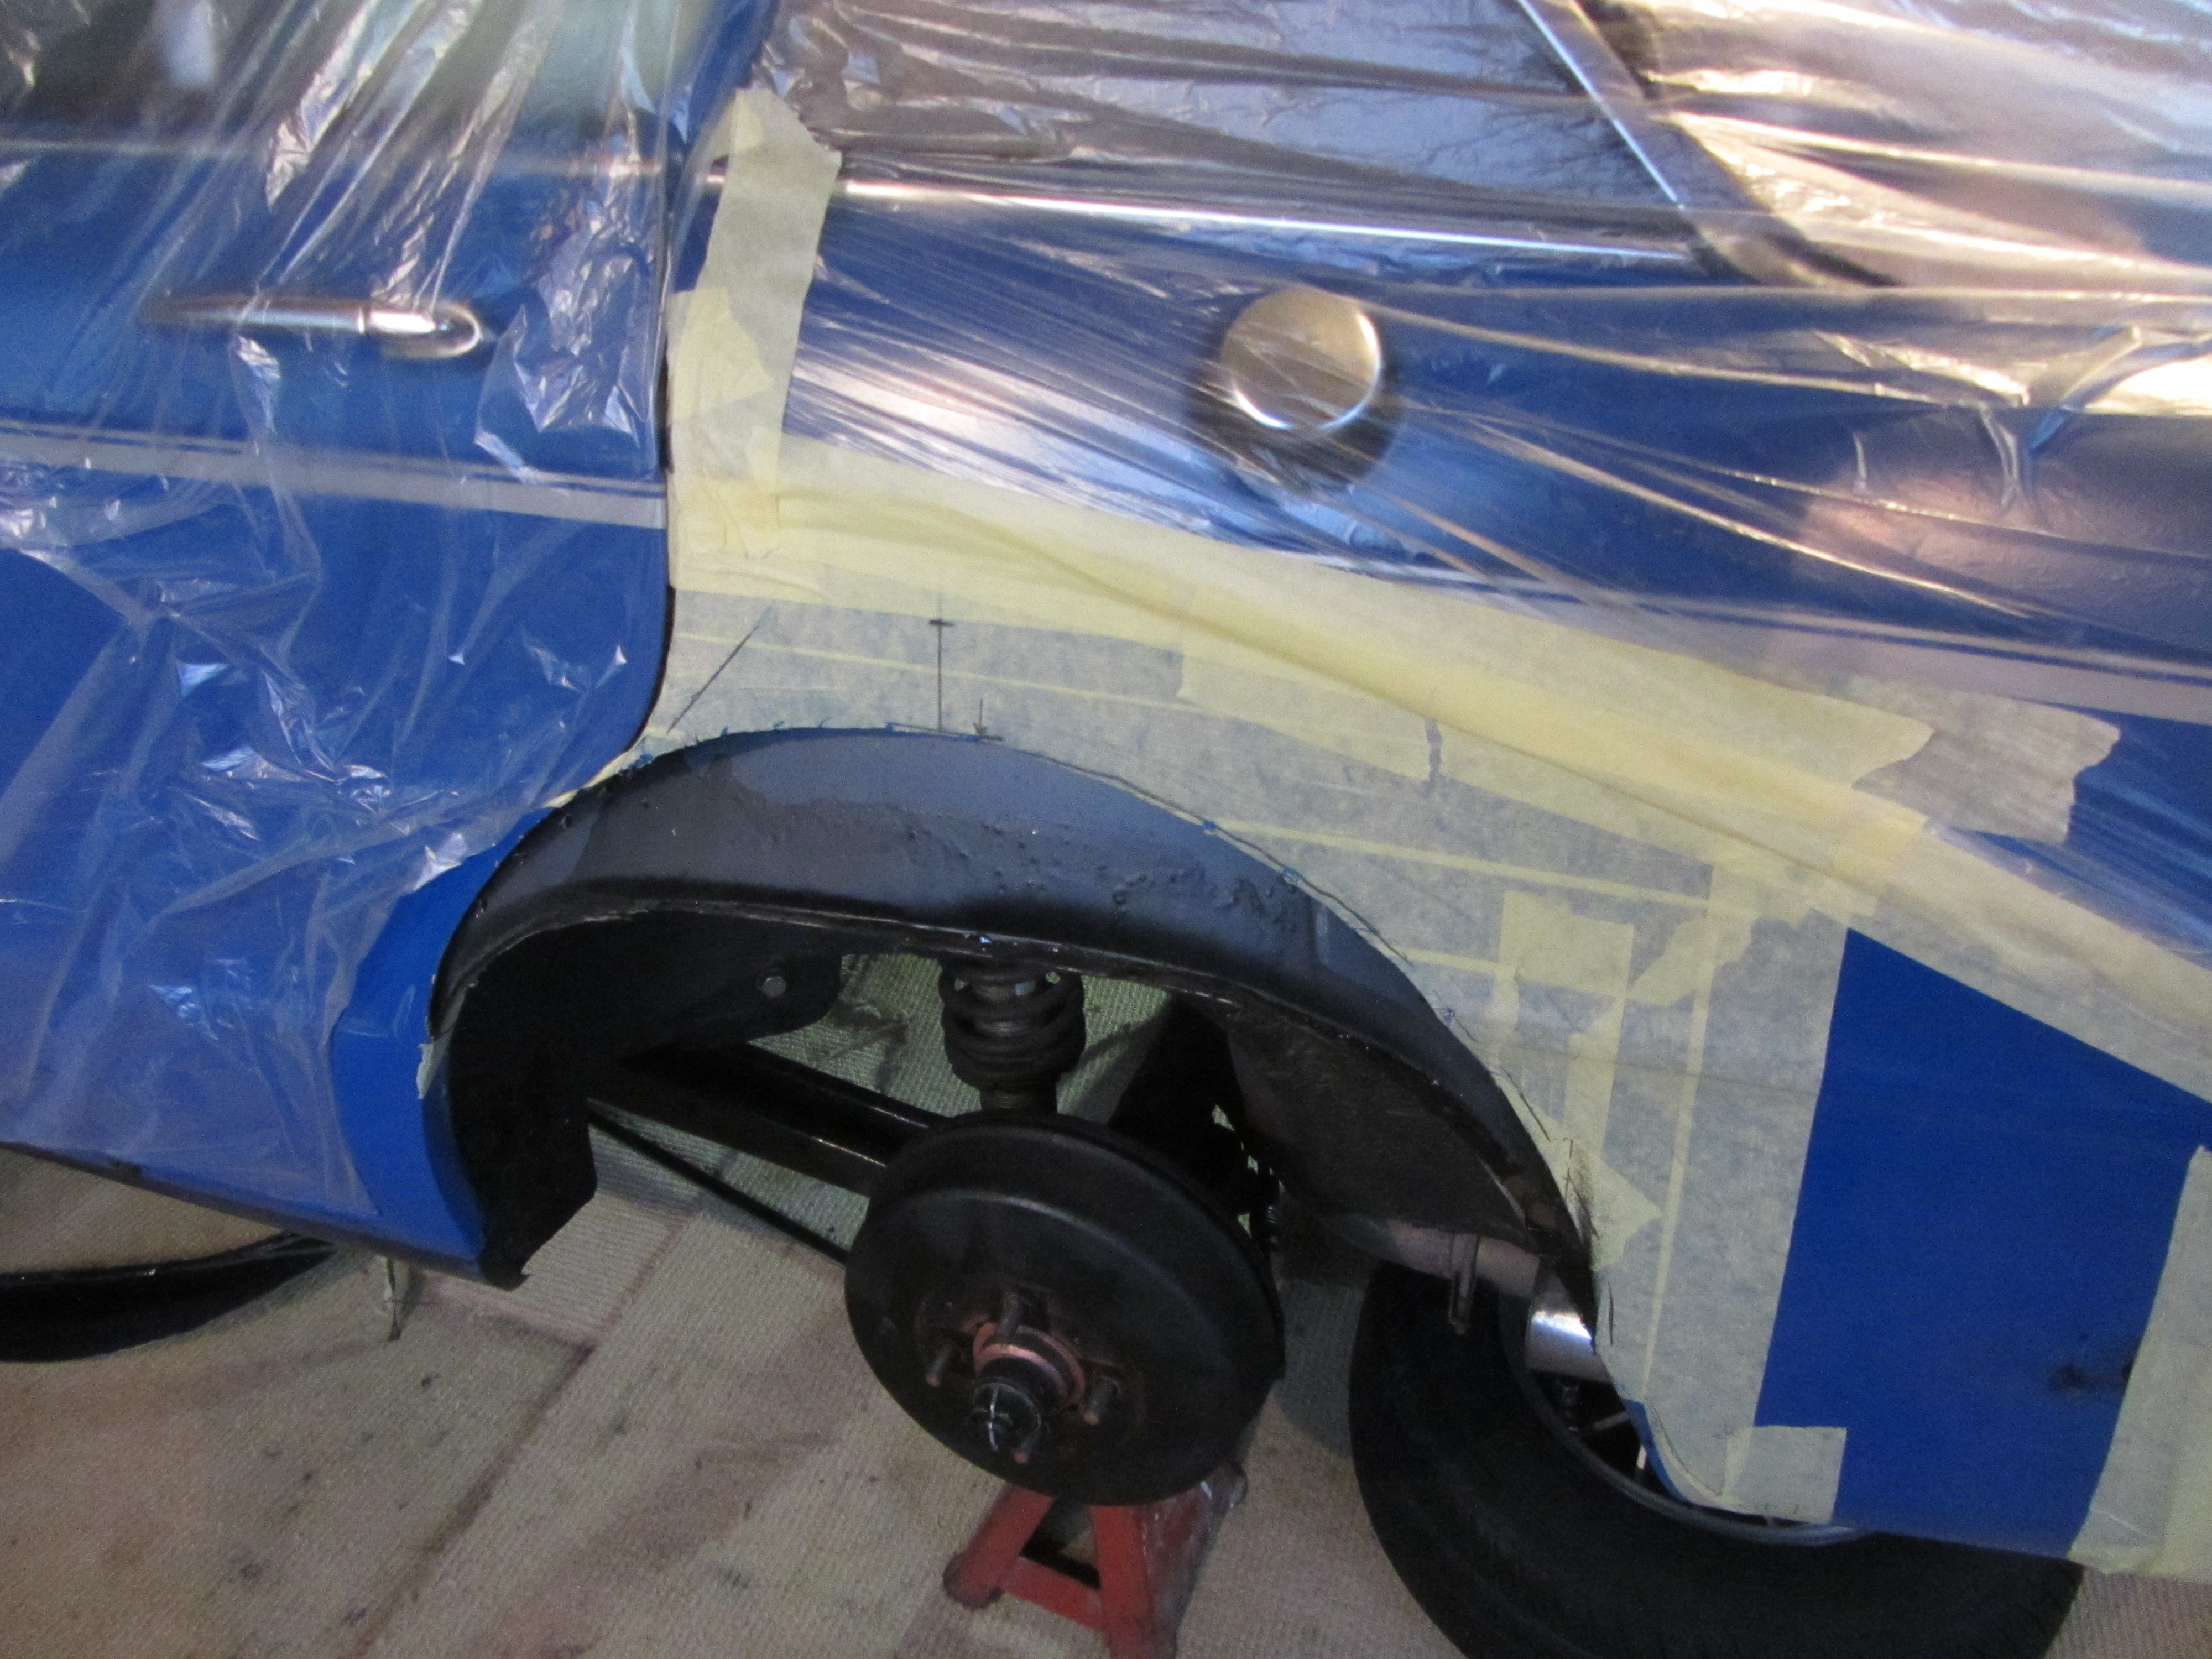
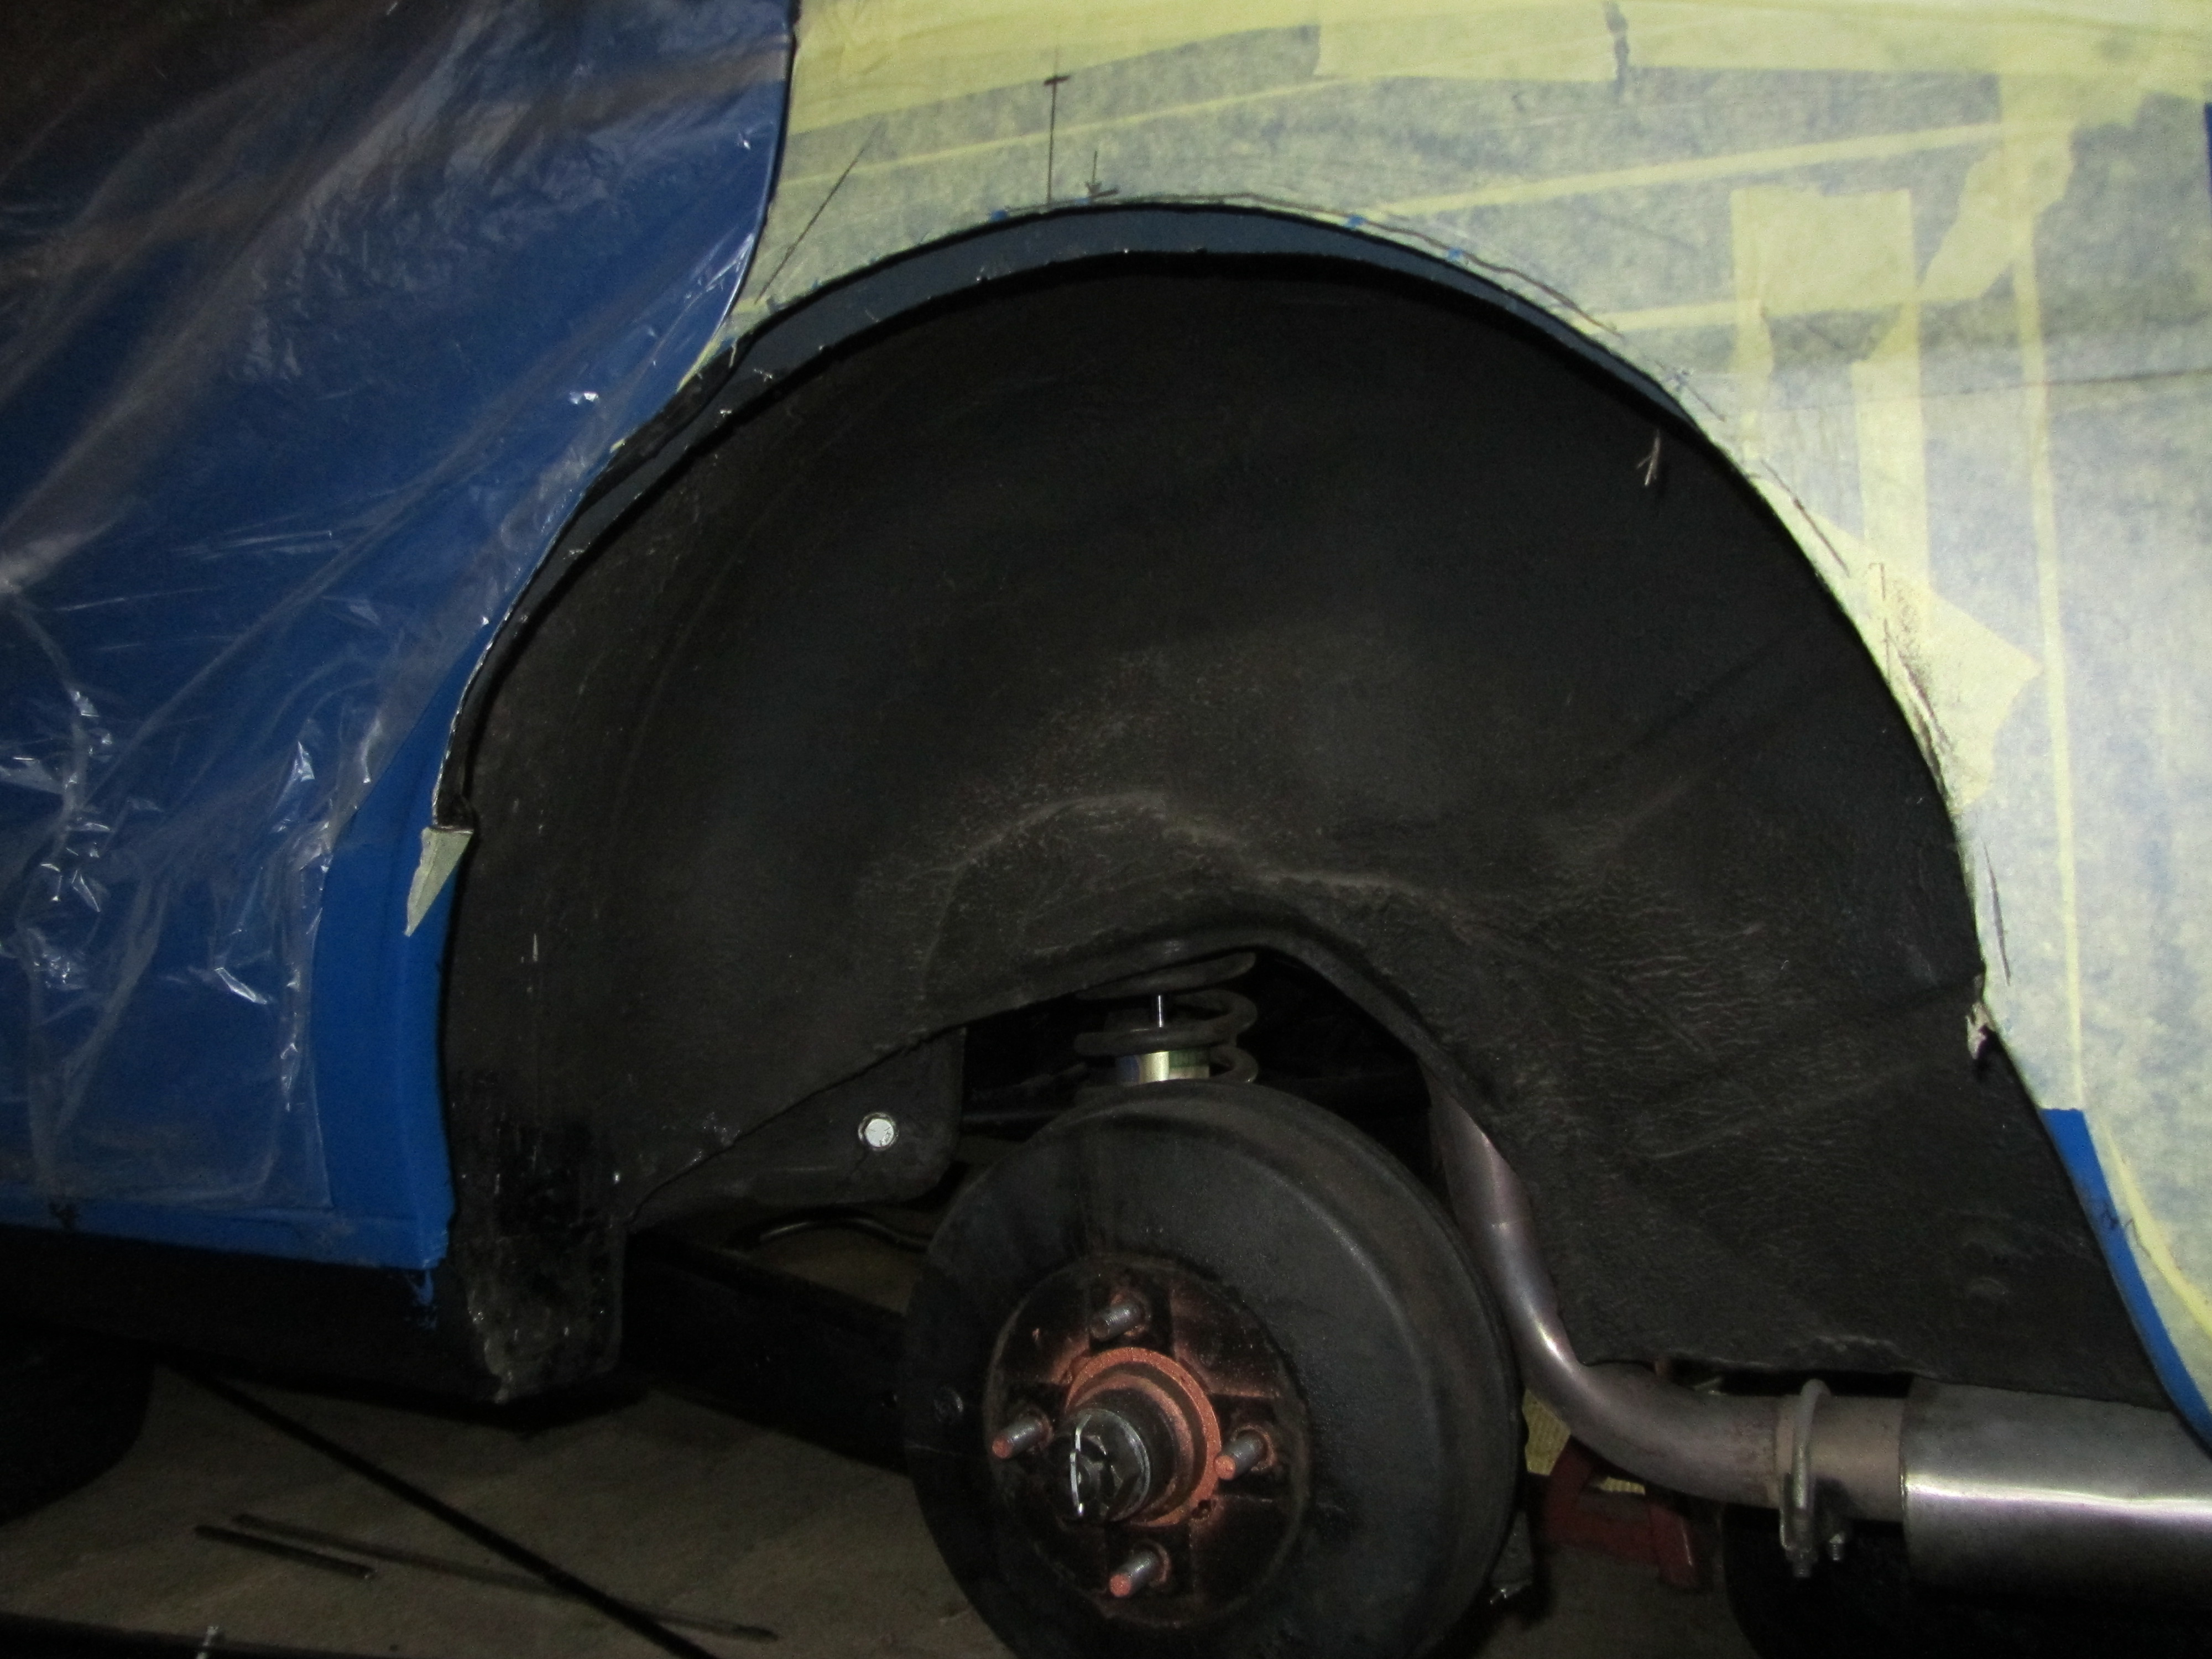
Caroline helped to degrease, etch, POR and seam seal the new metal. I then put some colour over the panels for a bit more protection. The inner arches will be stripped back a bit more and re-sealed once I've done the final cuts to the arches and made the inner arch panels.
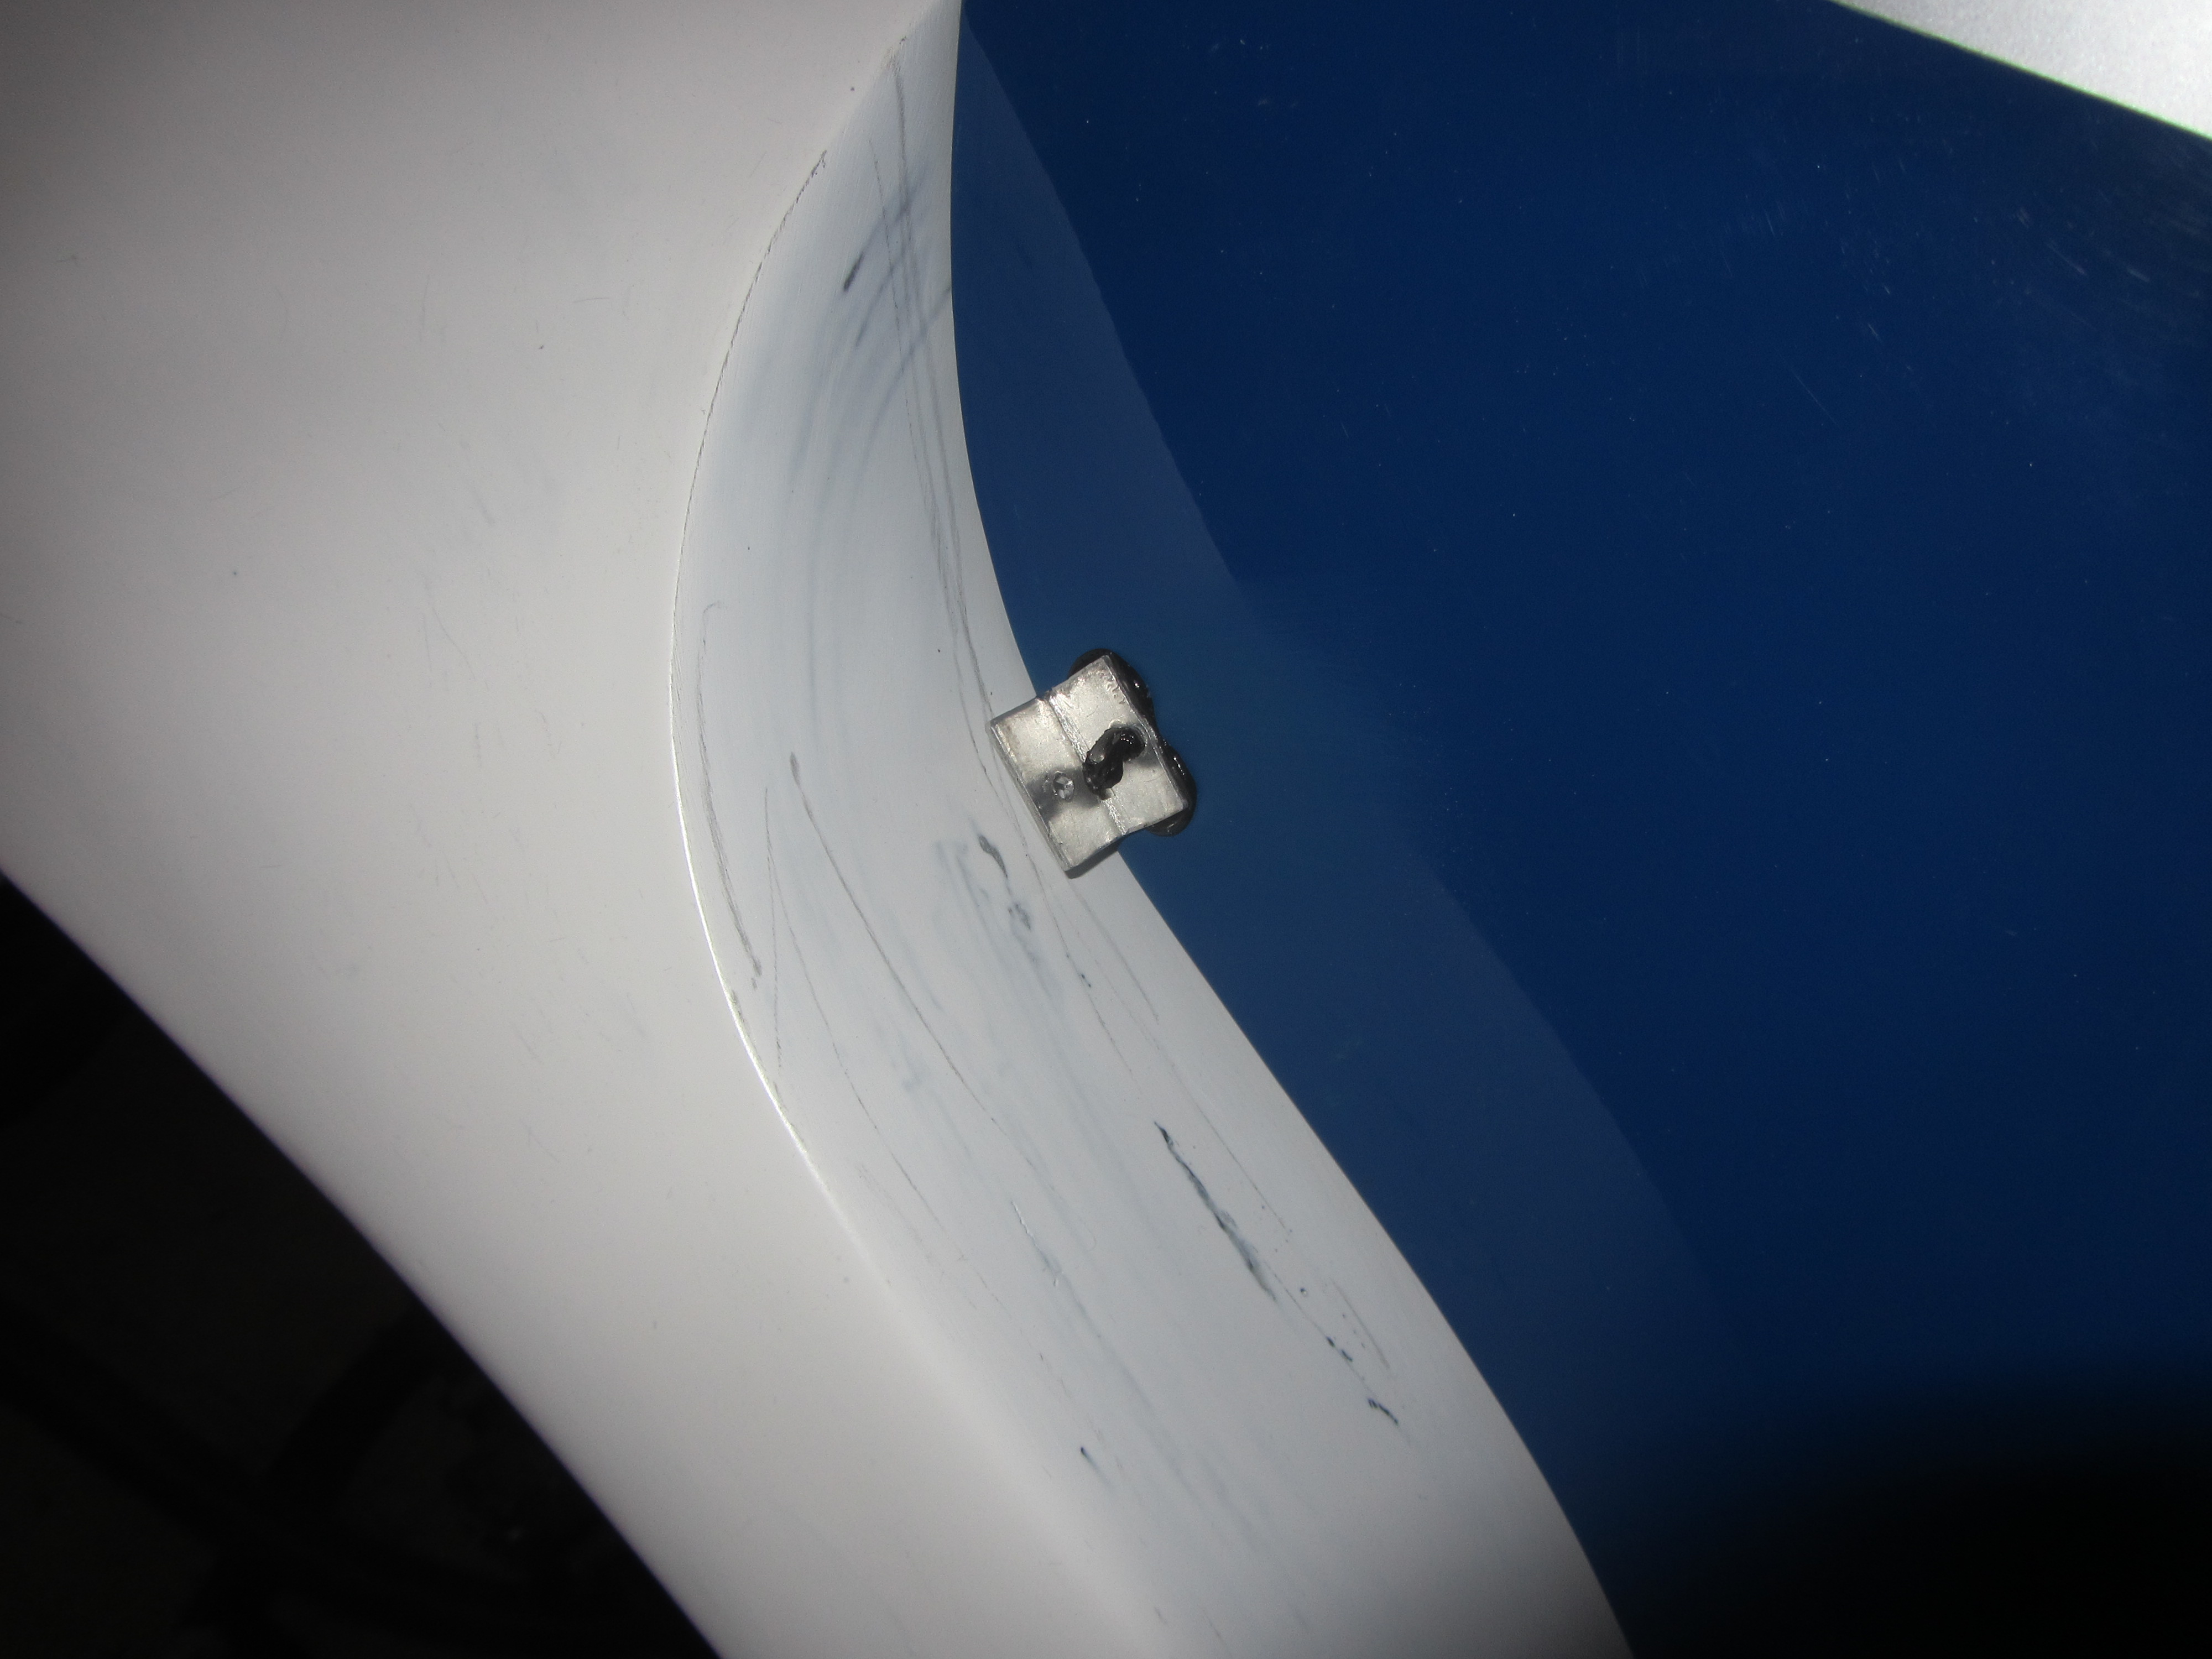
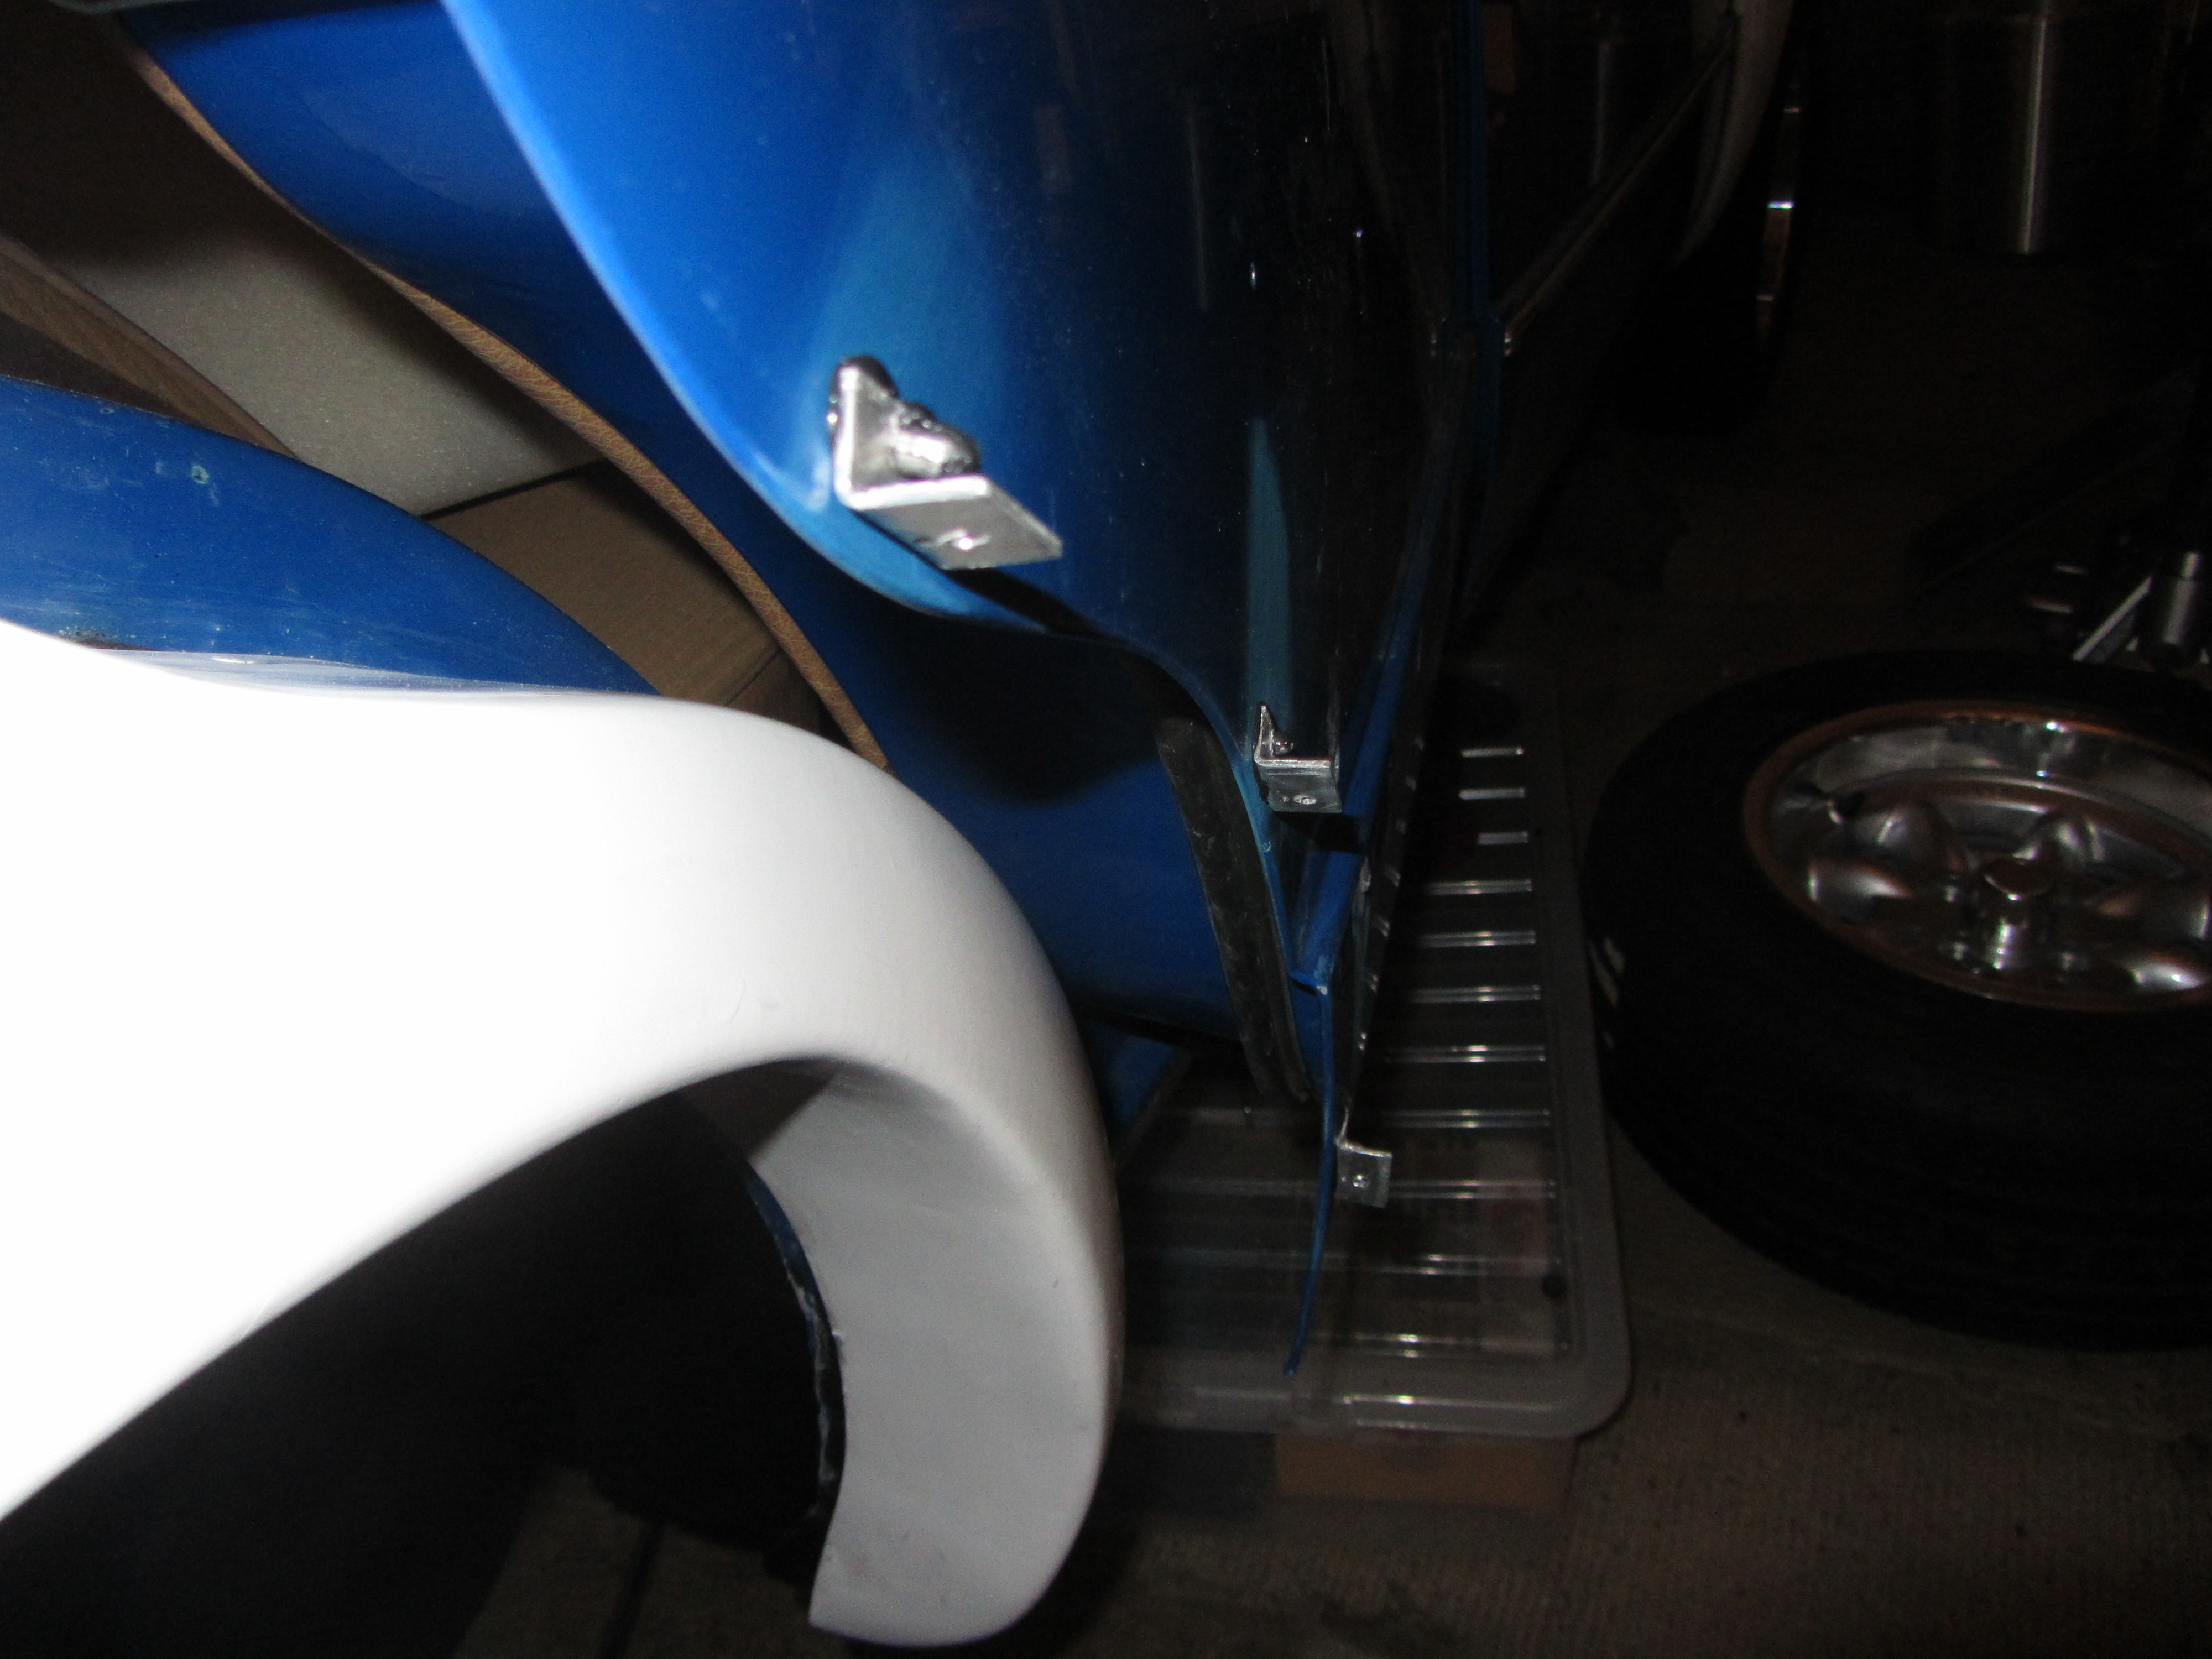
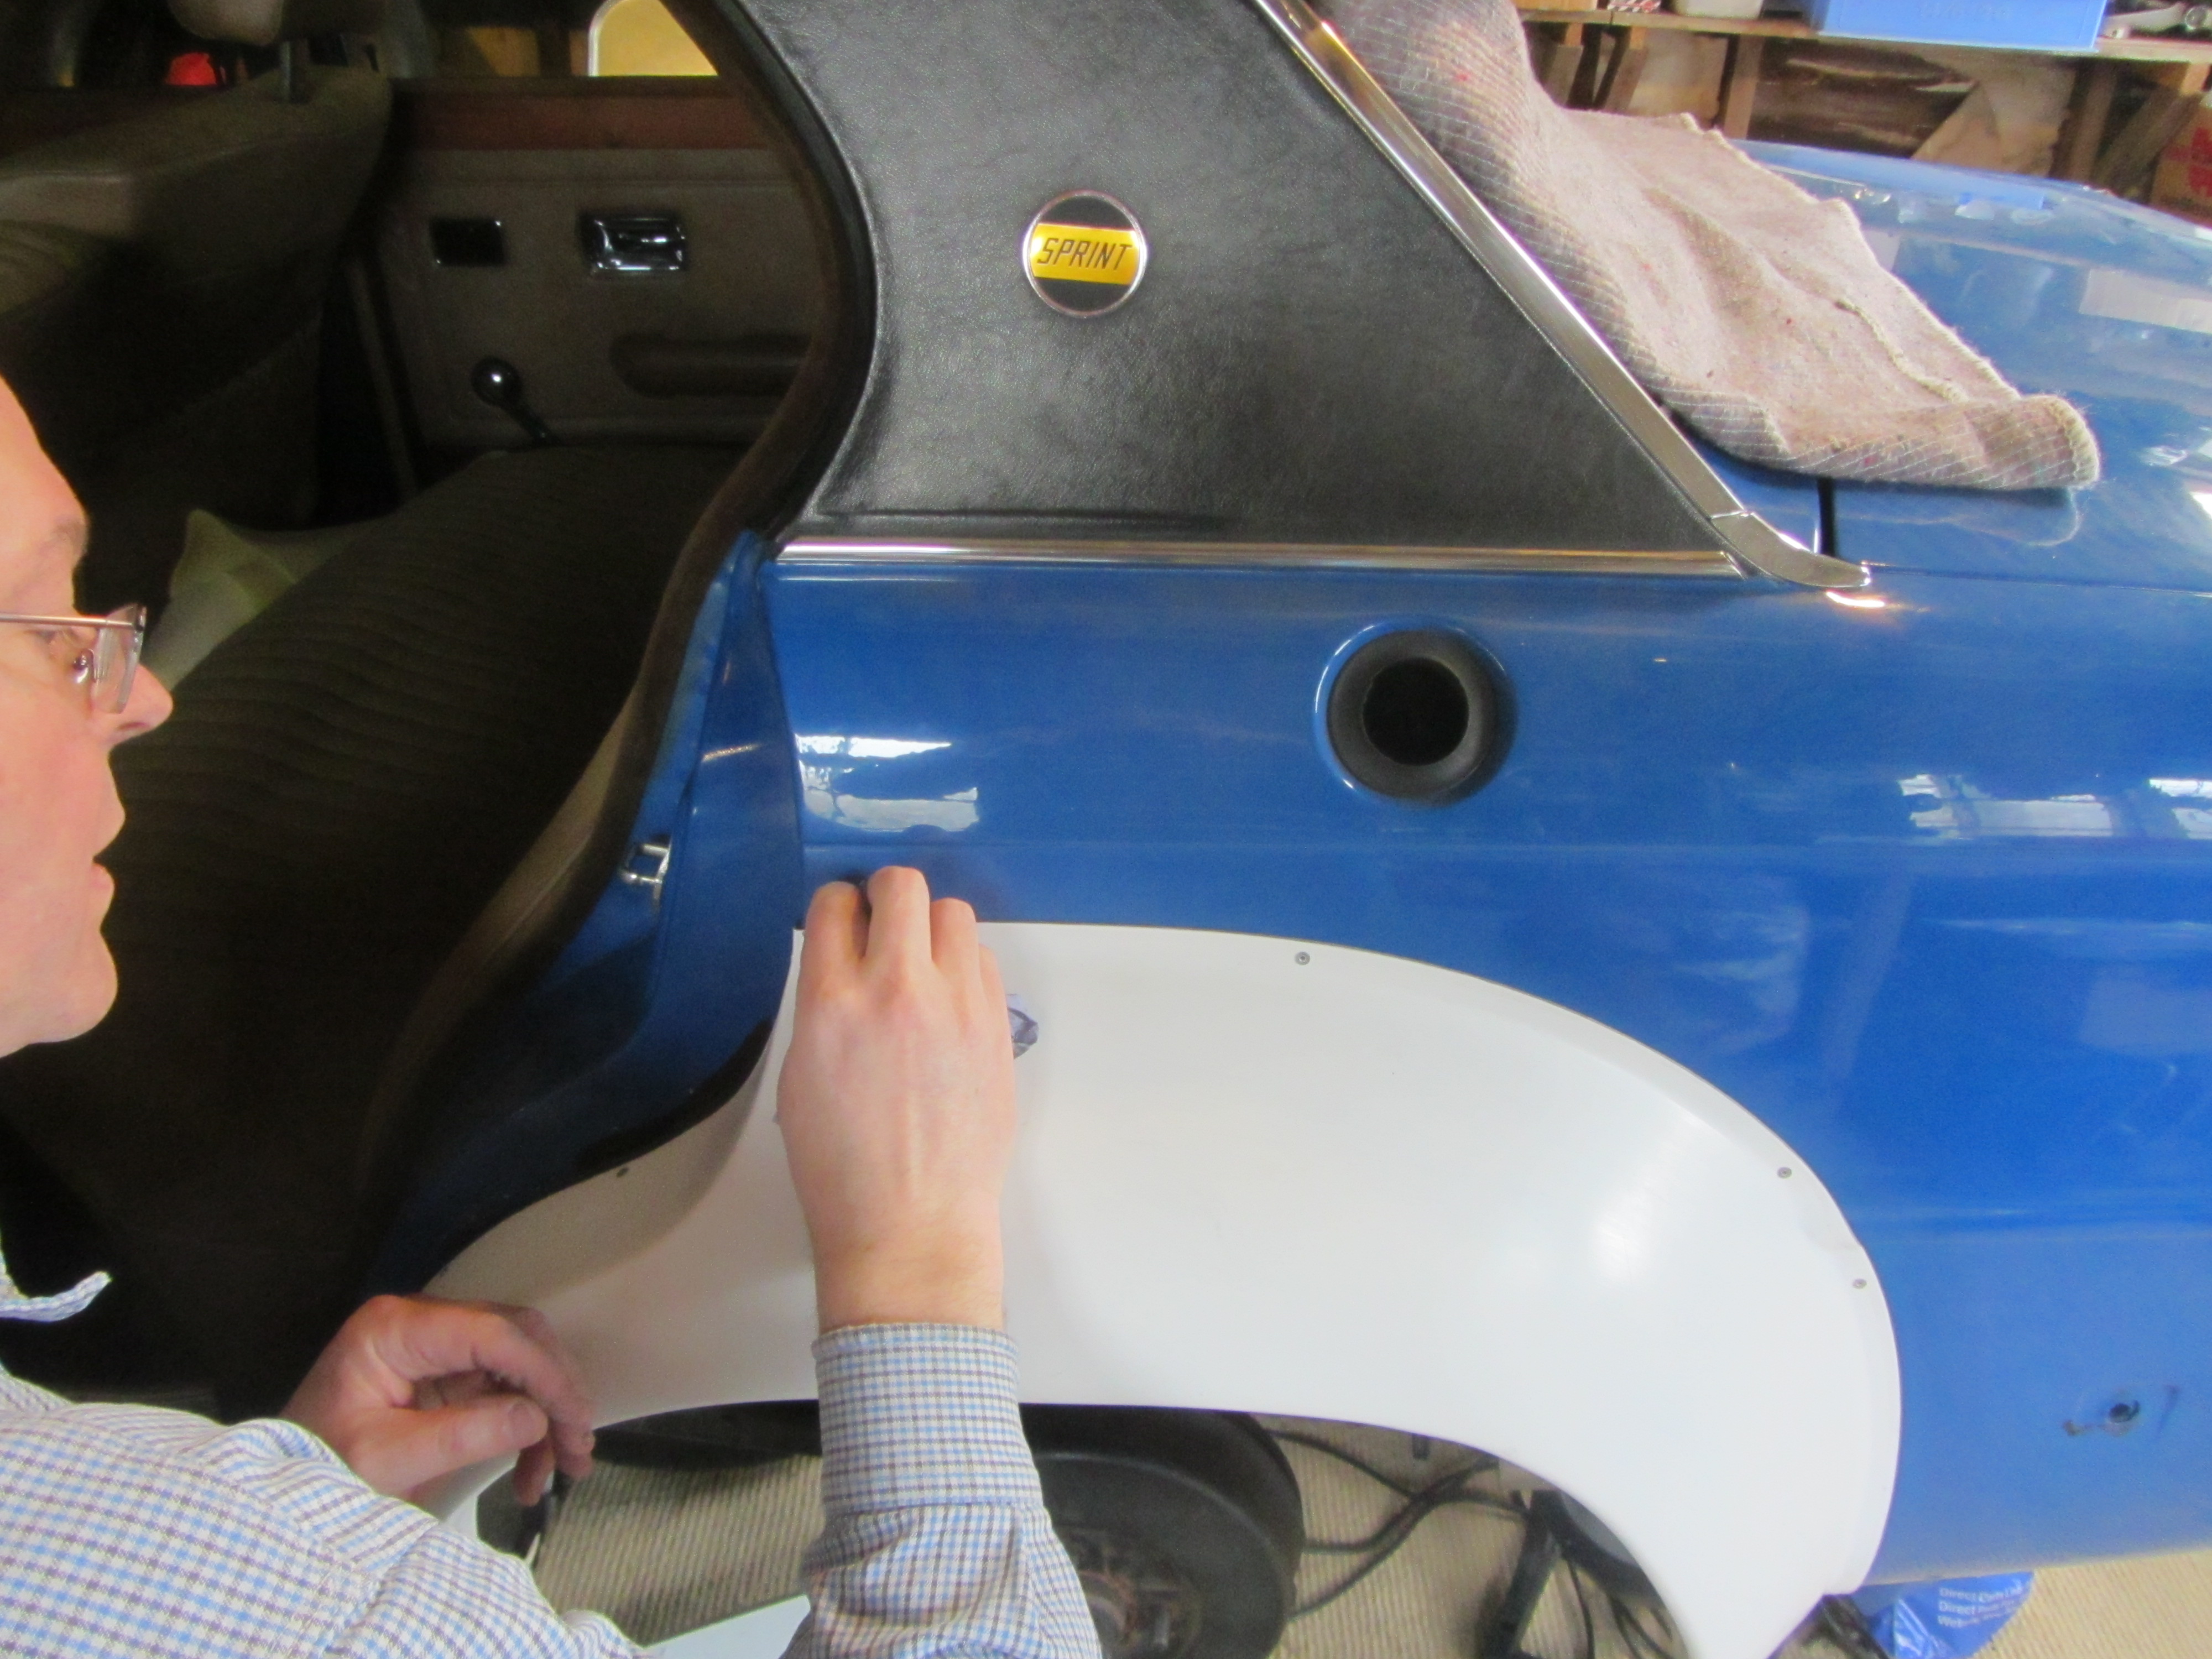
The rear door panels are held on with some alloy angle that Rob made, which we riveted and sikaflexed to the door. The door panels could then be fixed to the alloy brackets, again with sikaflex and rivets.
Rob uses countersunk rivets, here I'm carefully countersinking the holes. Each one carefully done by hand and making a little bit more mess for Rob to clear up.
Rob's metalwork meant no tinkering was required on the door. The gap to the arch is fine and once the door panel is added it looks great.
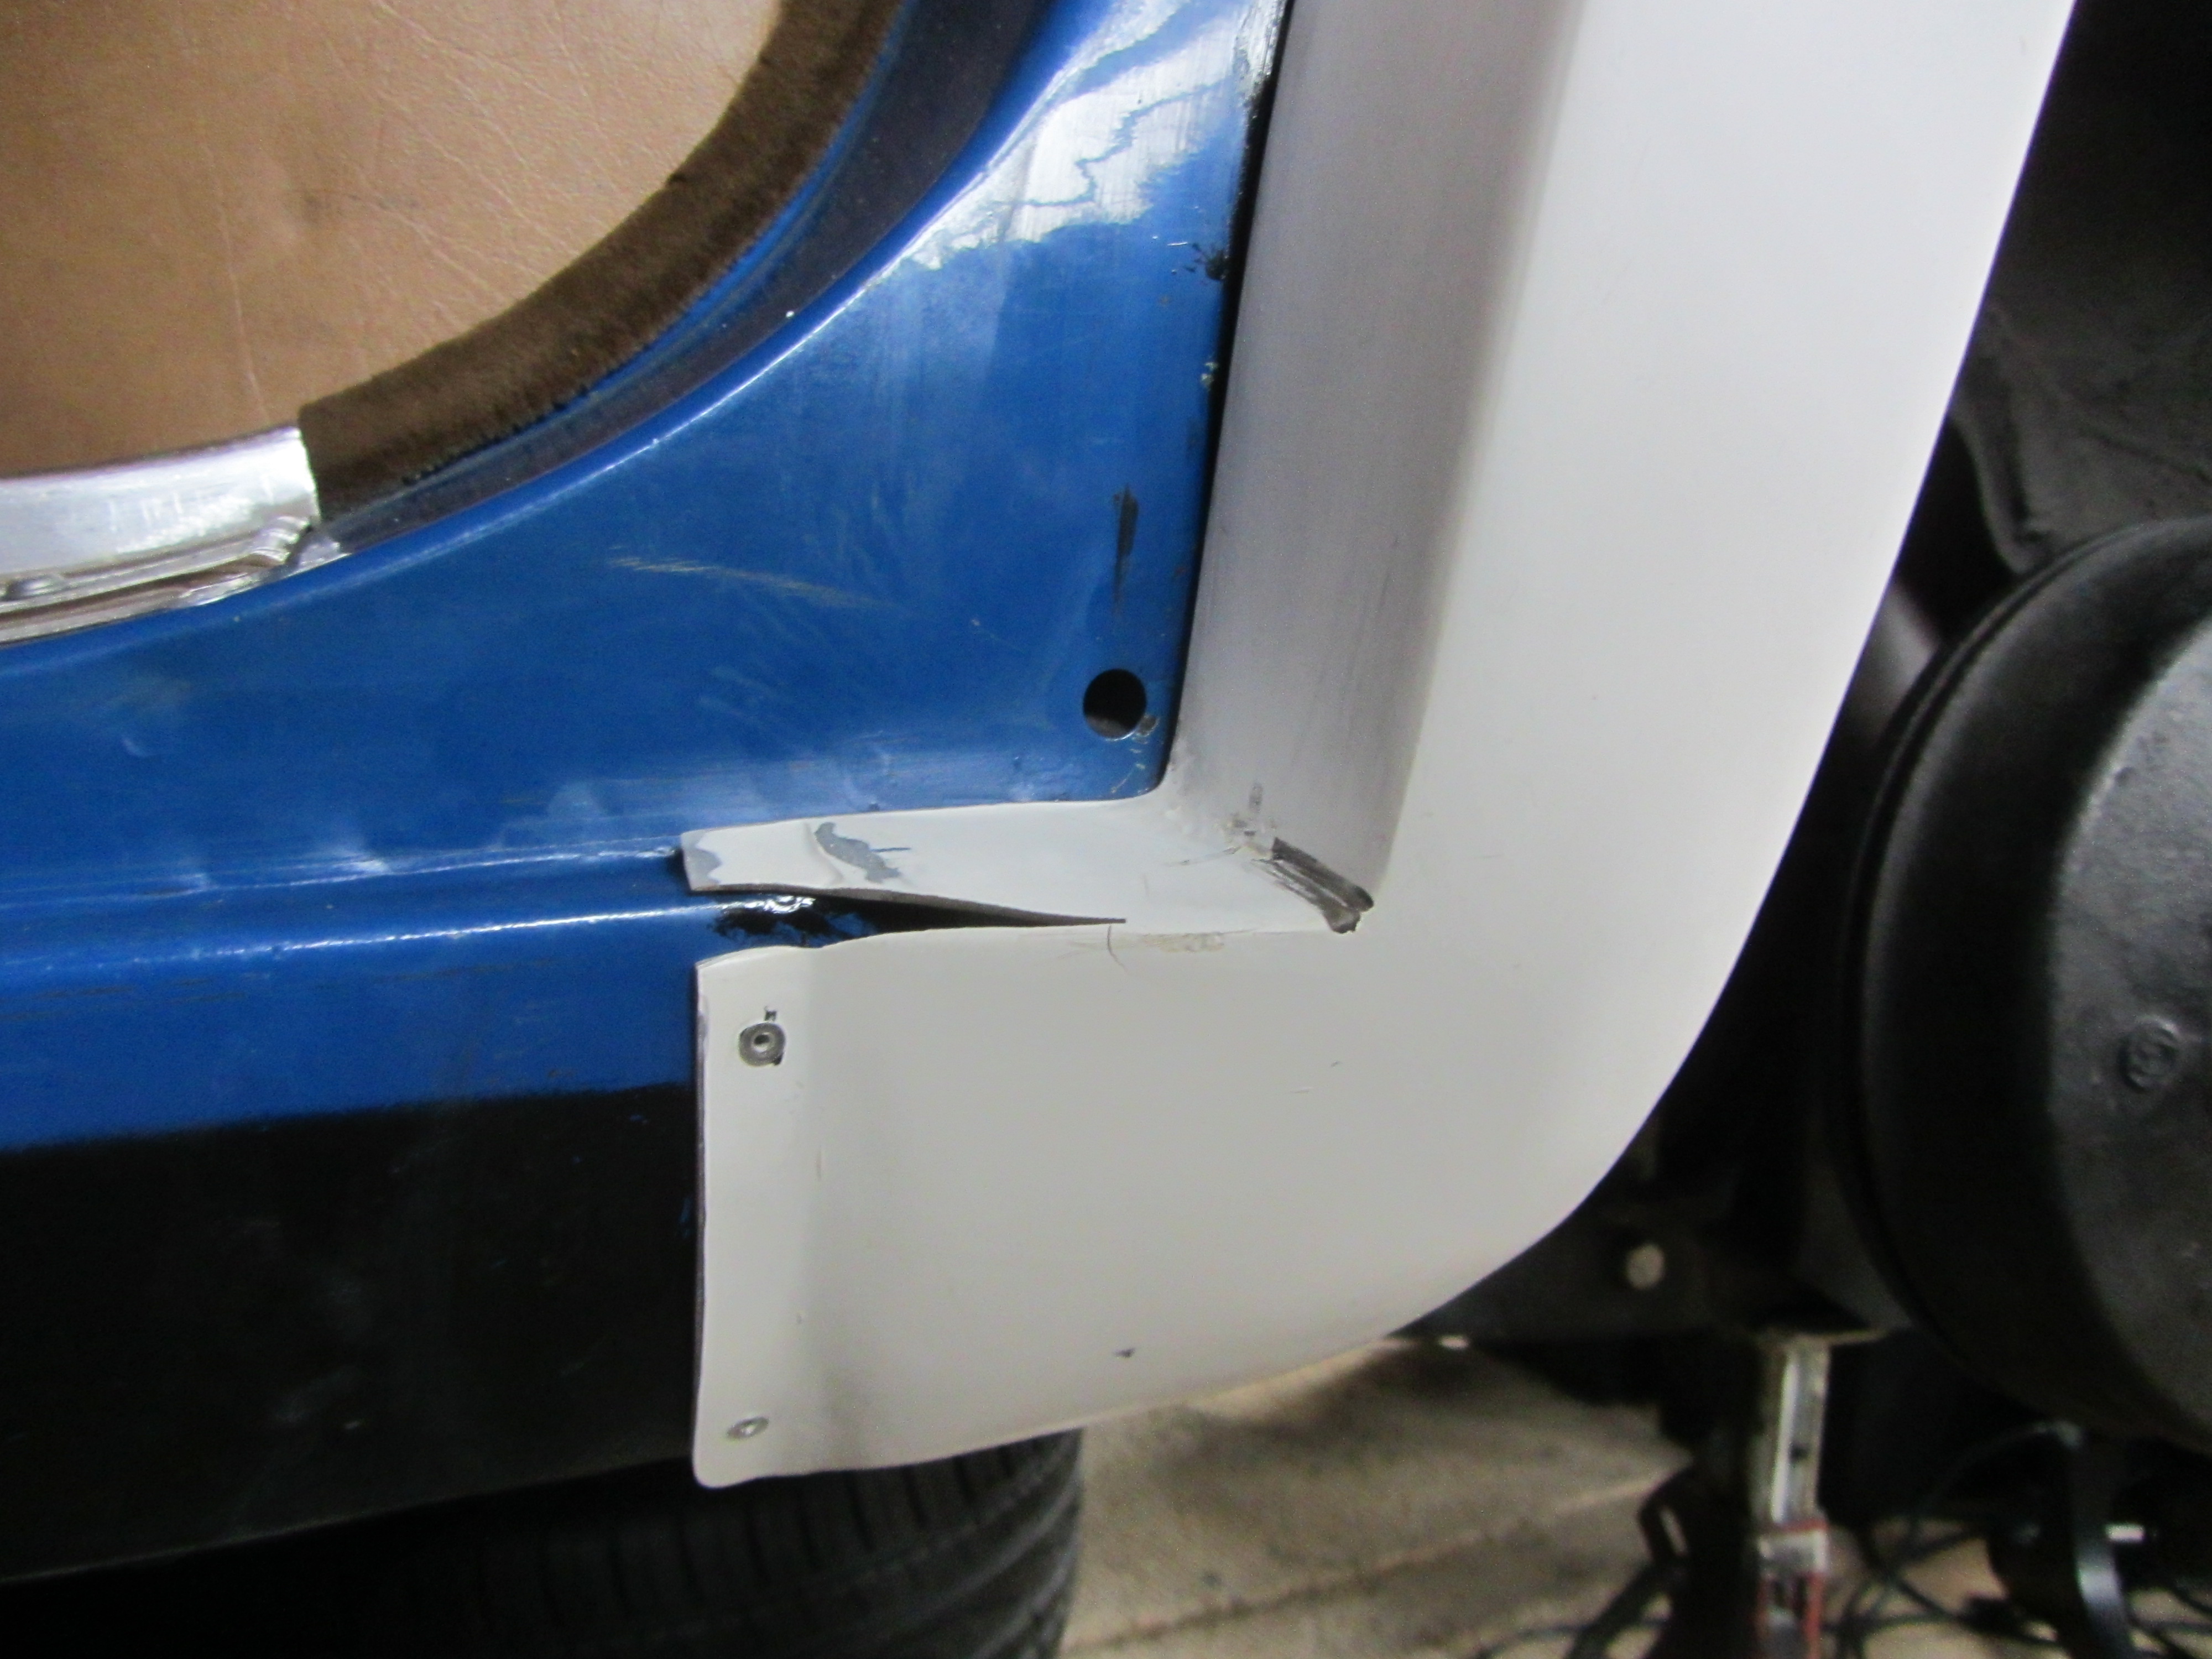
Some parts of the flares will need some bridging filler and fettling. We spent a bit of time moving the arches around and sanding the inner edges, but some places like the end of the sill/bottom of door needed to be cut.
Mostly the arches fit a treat with just minor fettling required.
After the arch is glued on I remove any traces of sikaflex. And that's about it. I have some 'tiddly poming' (as Rob would say) to do, and then I can get on with the paintwork.
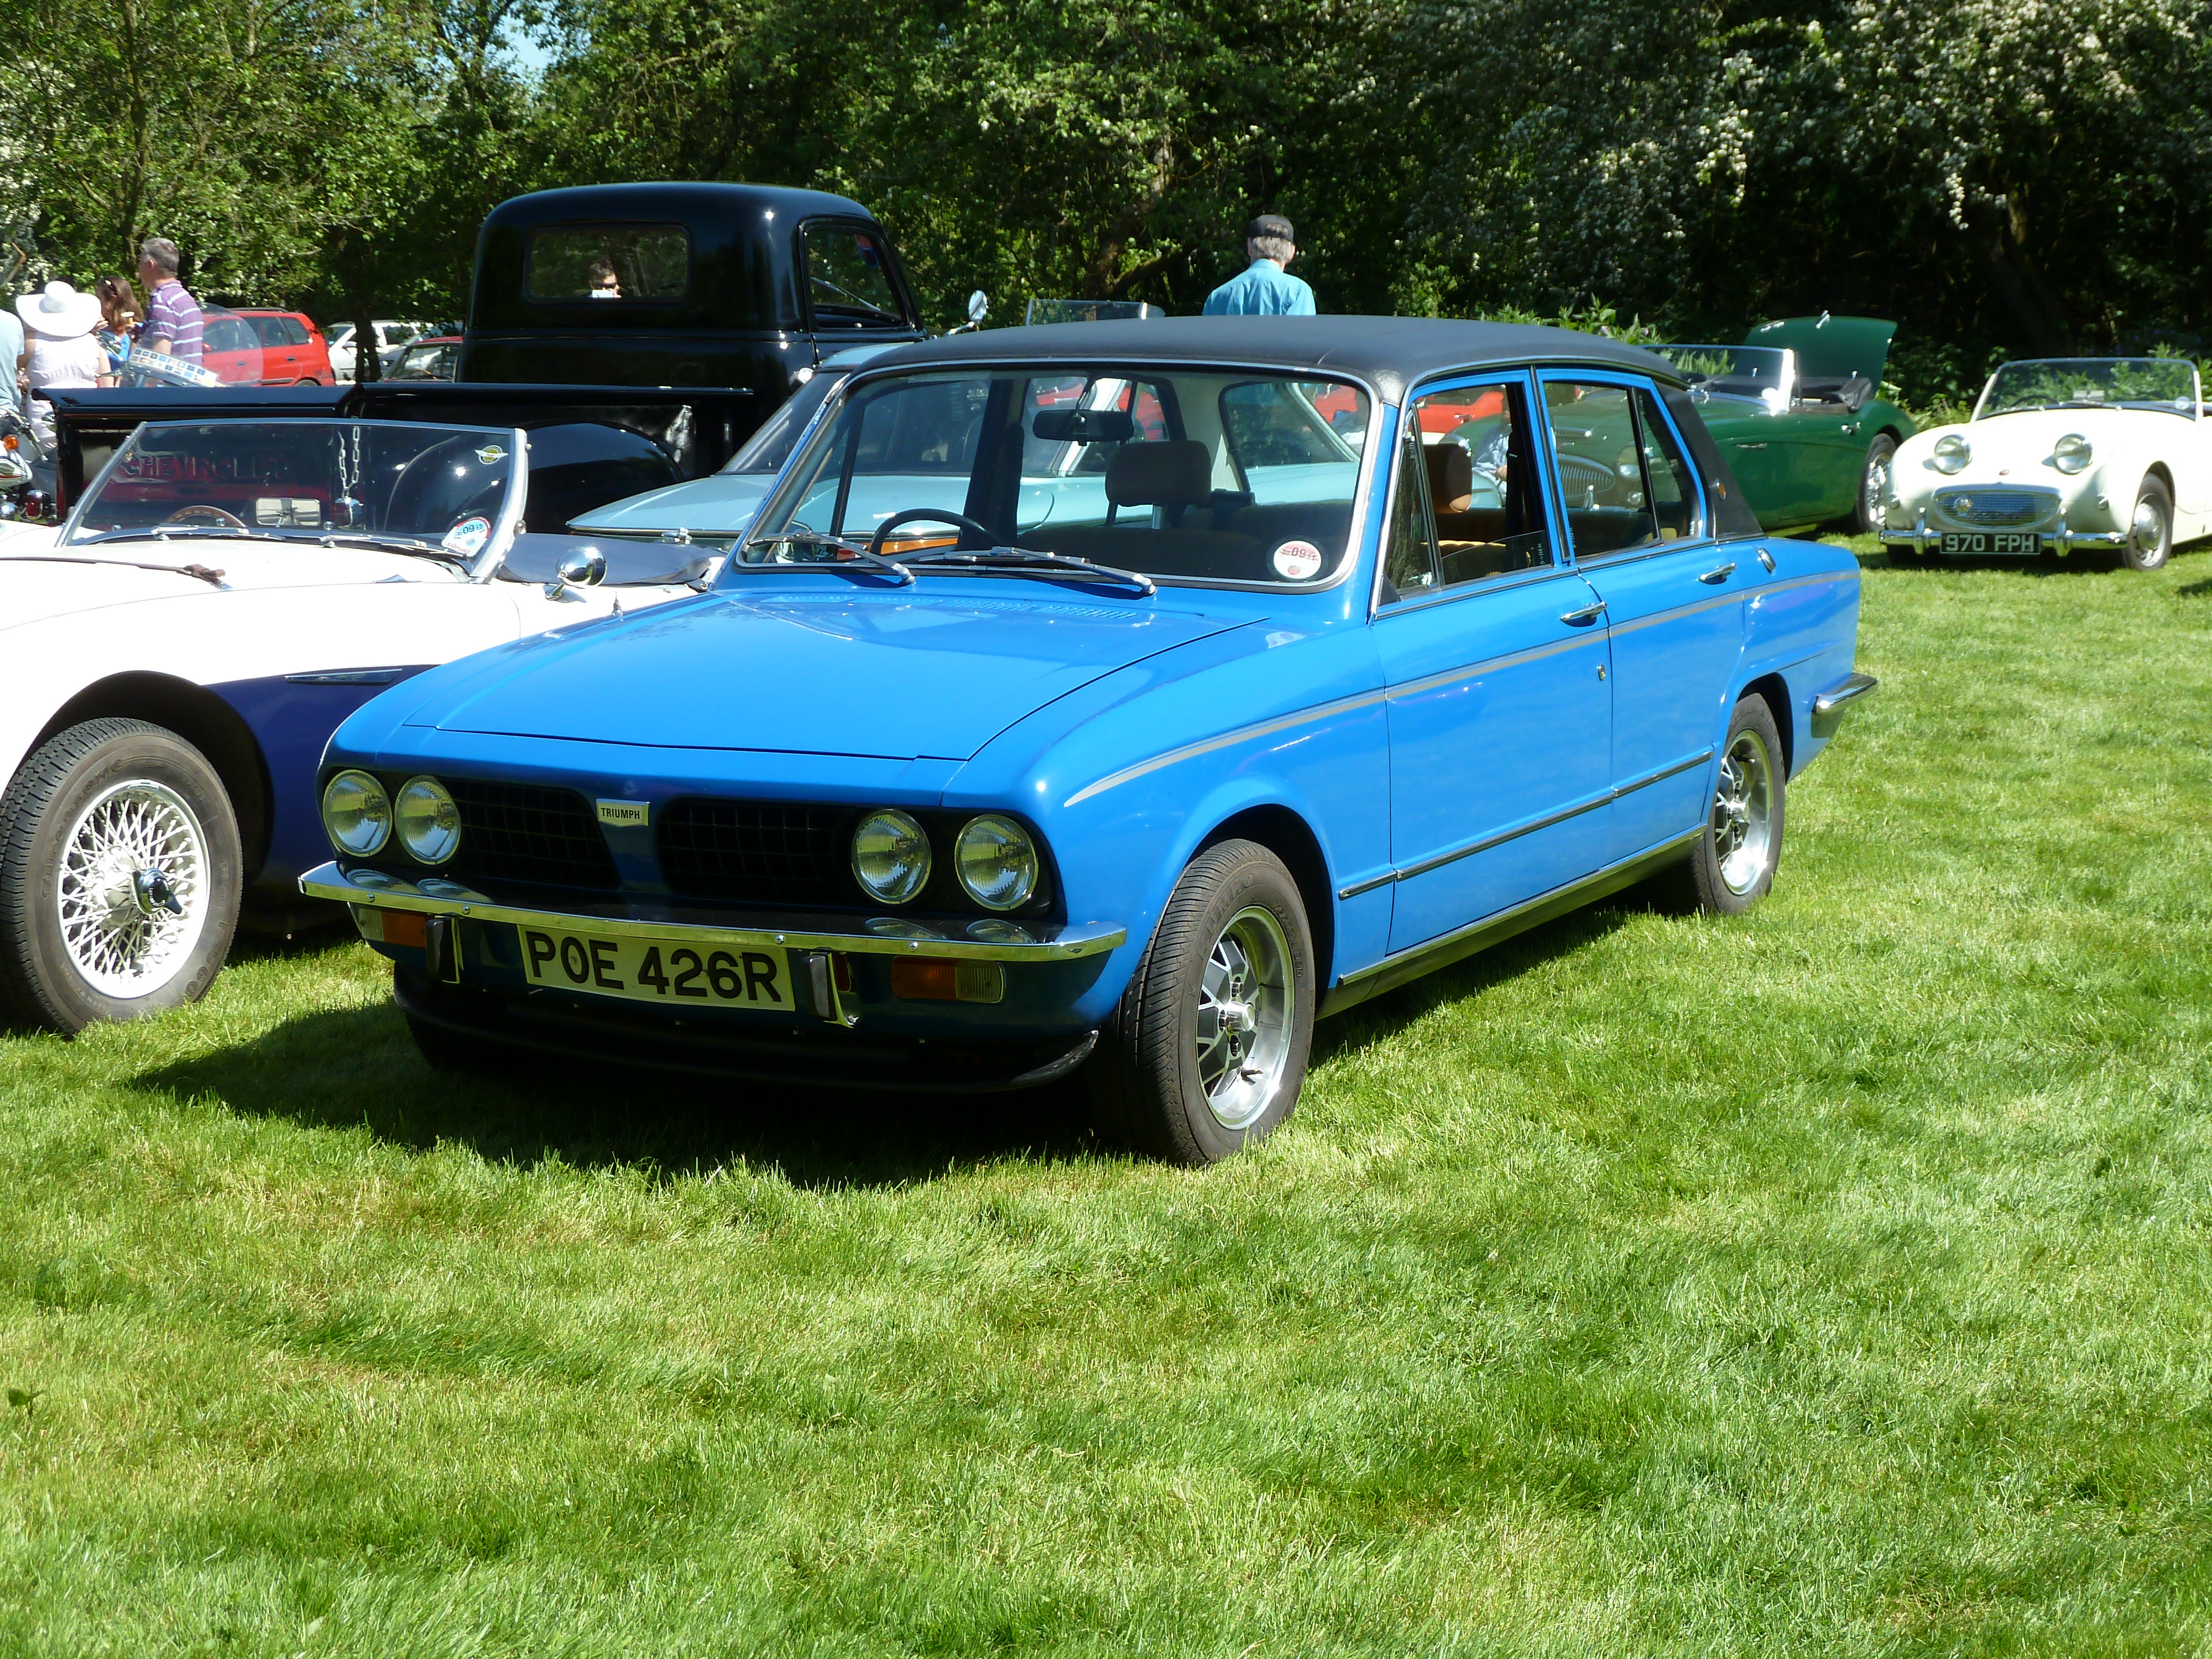
August 2013 7x13 Minilte test fit :)
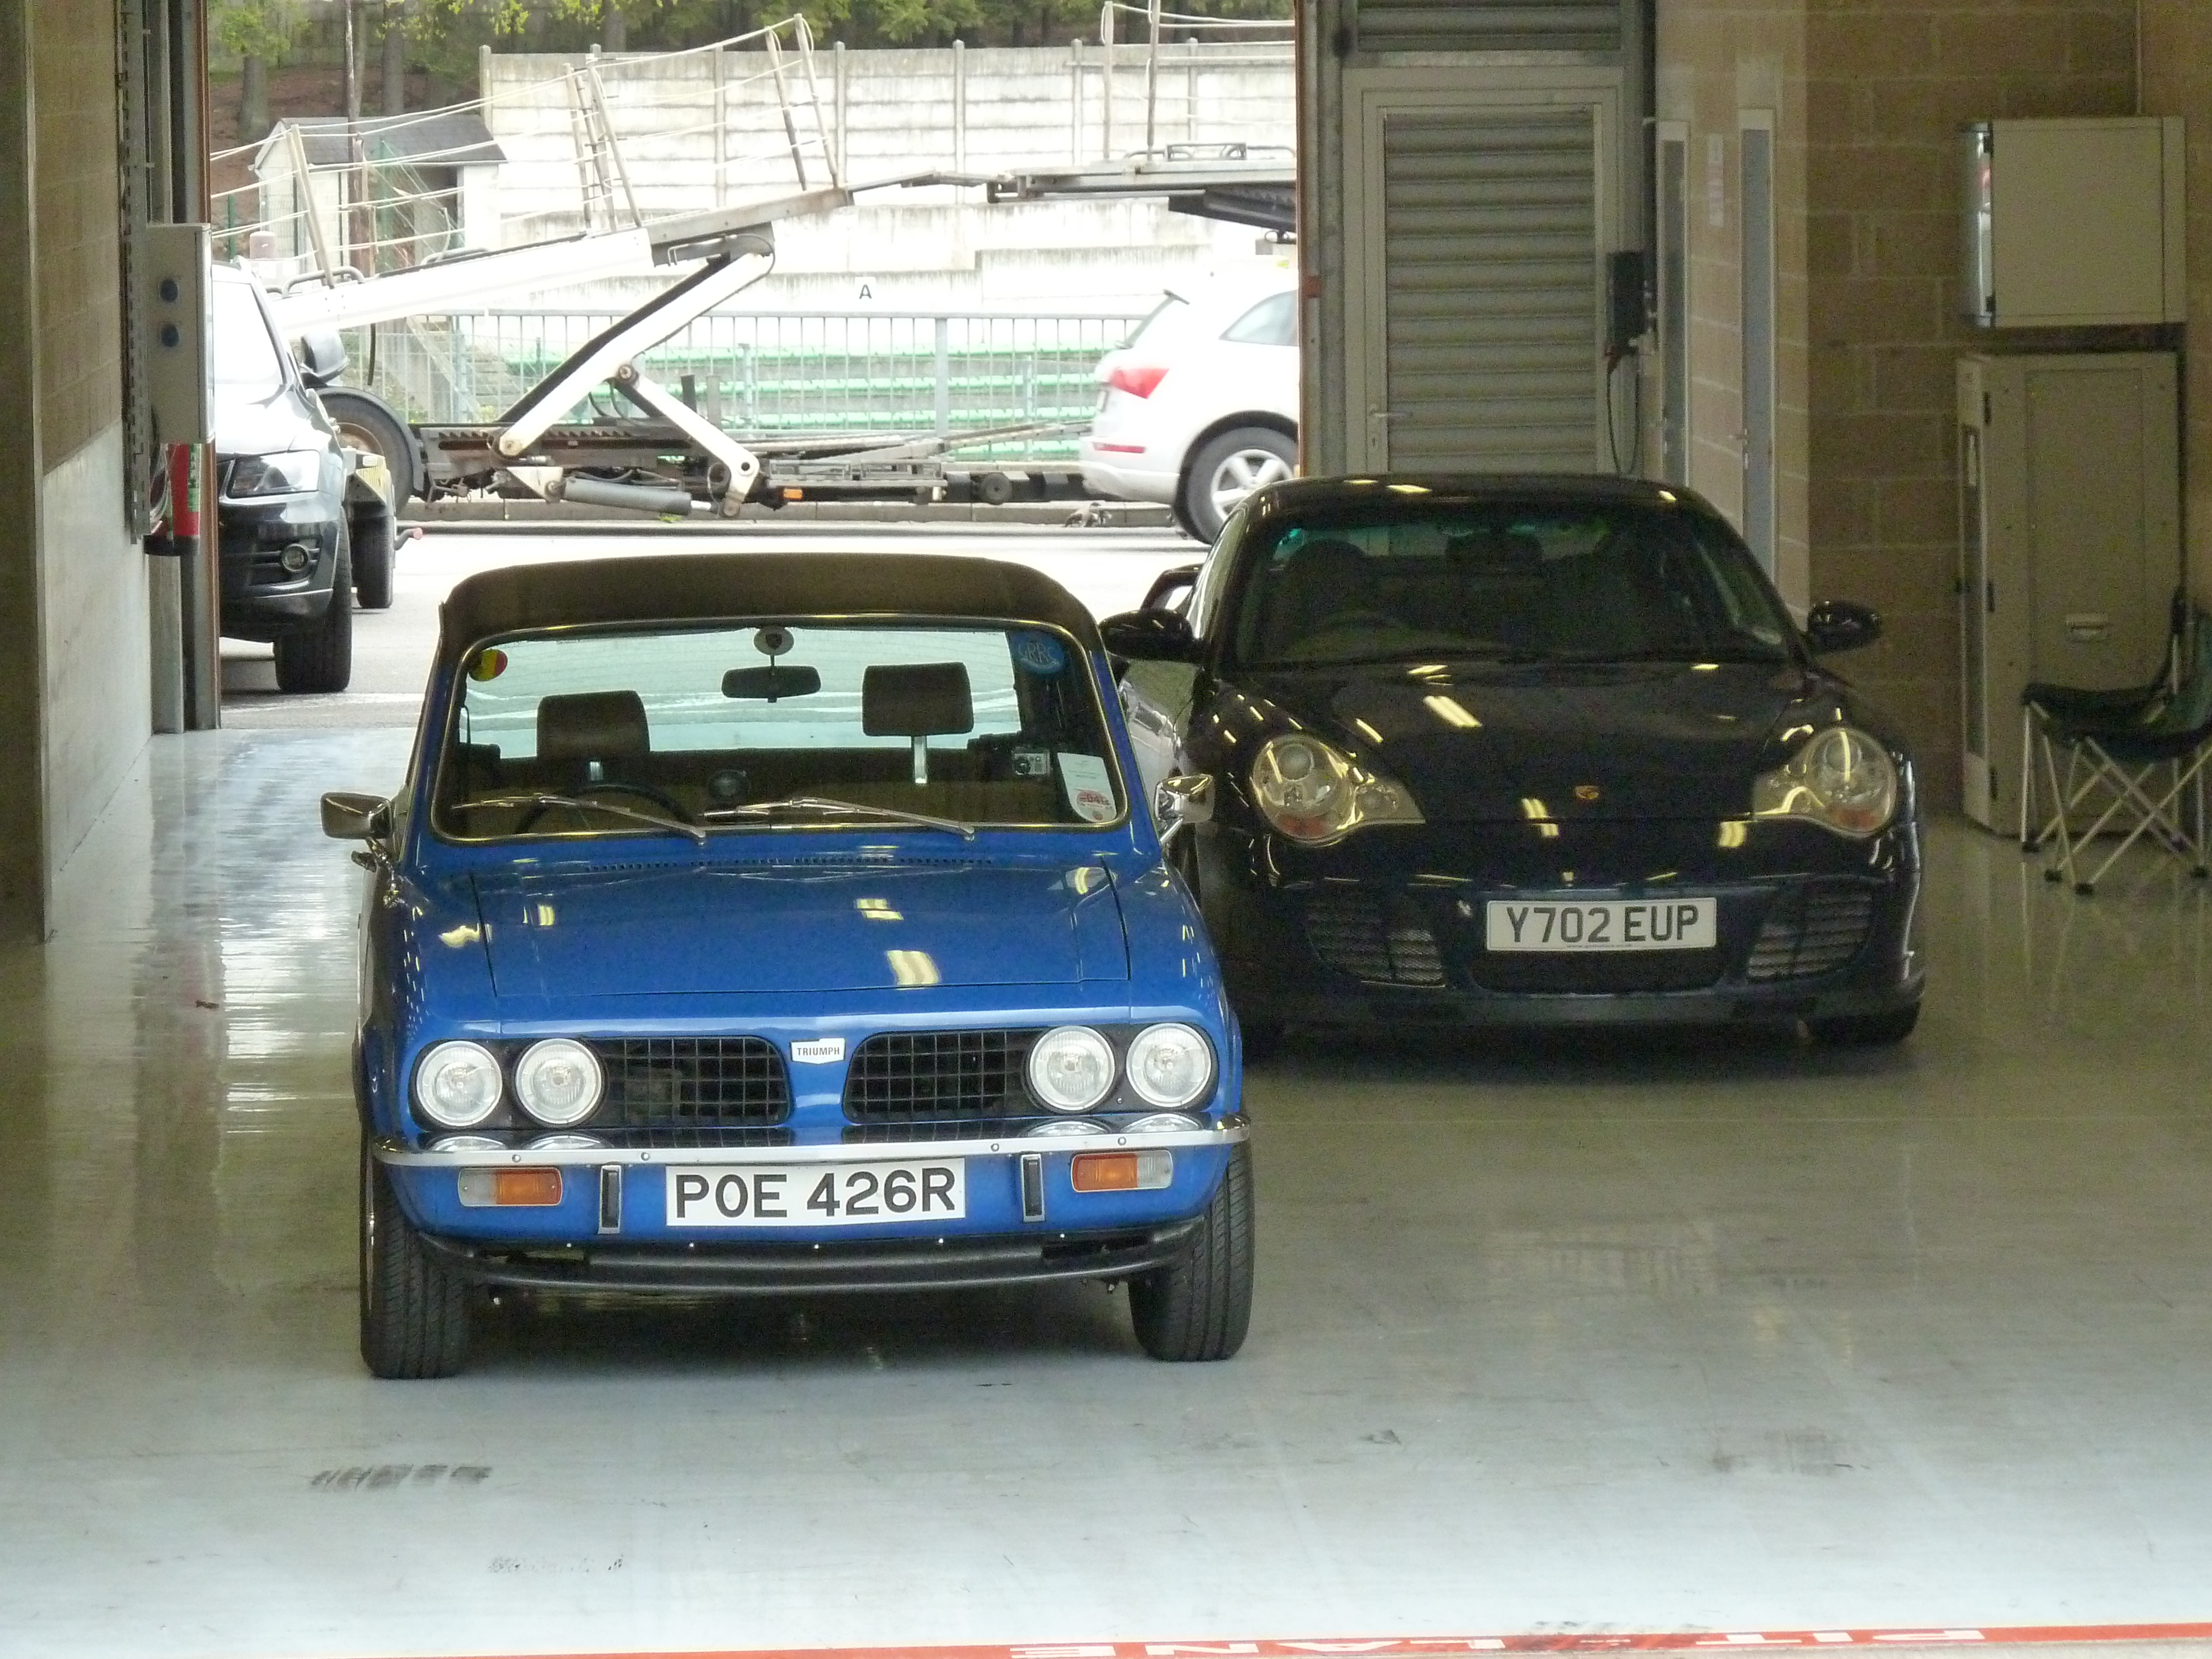
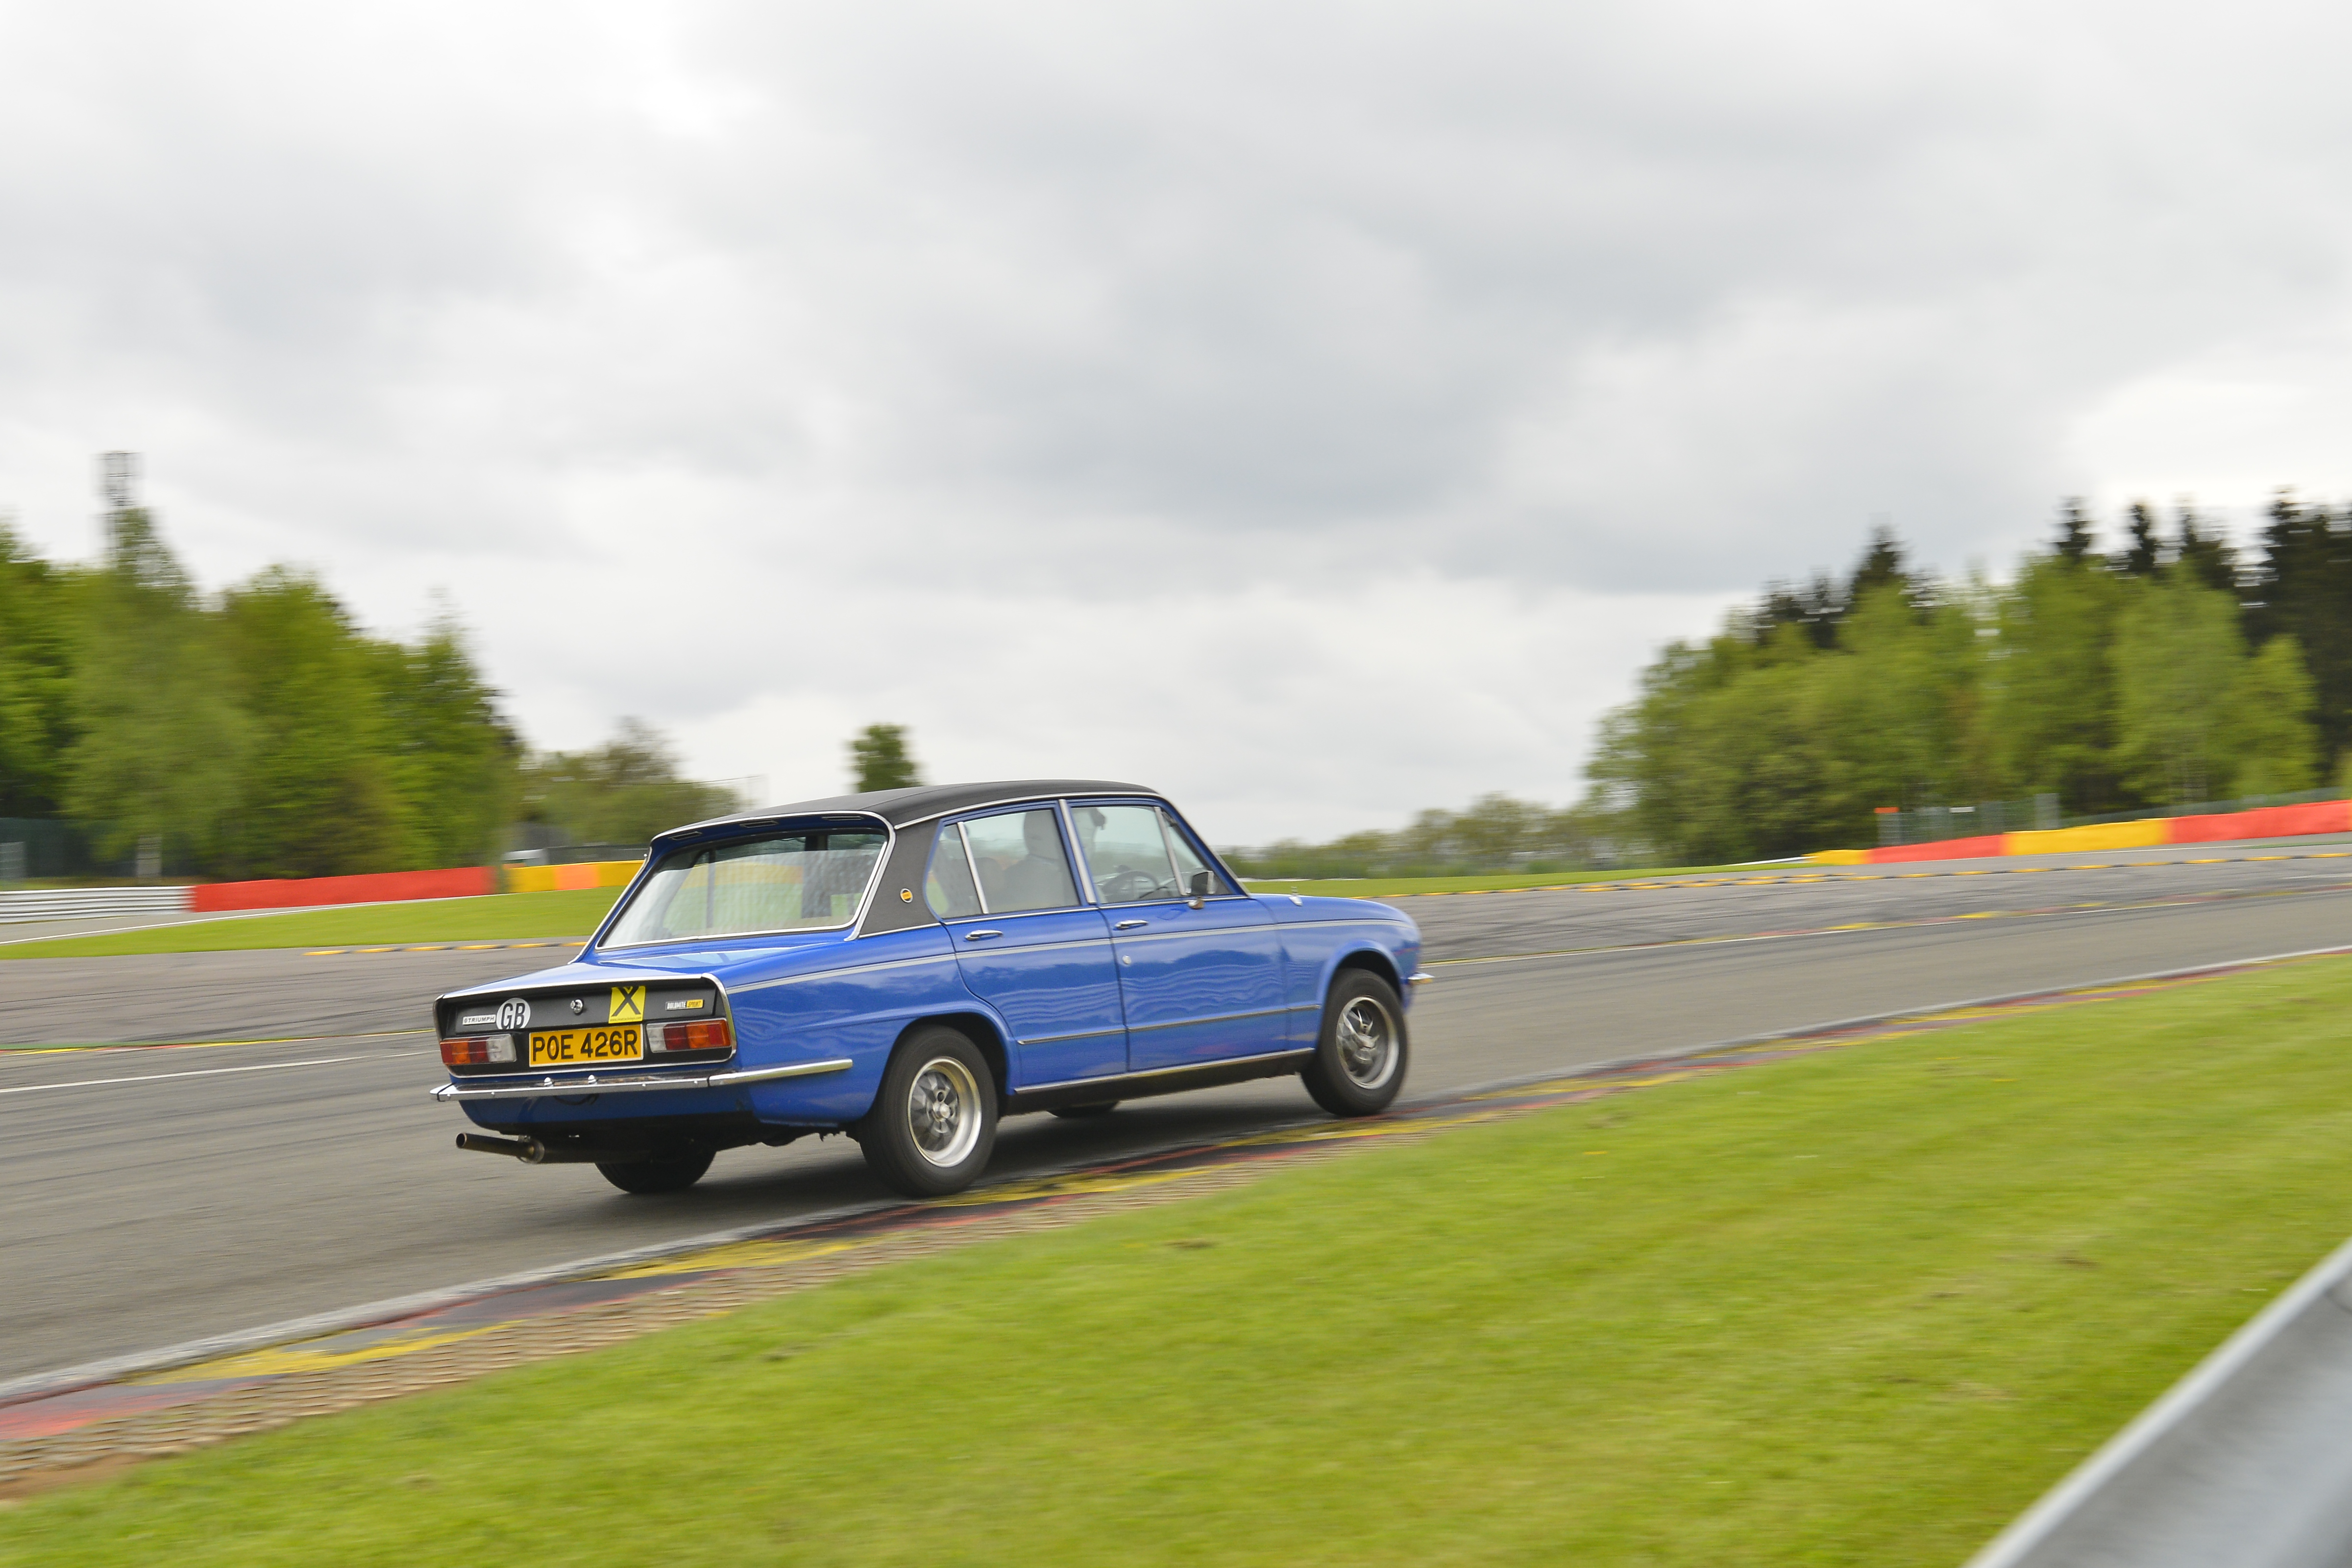
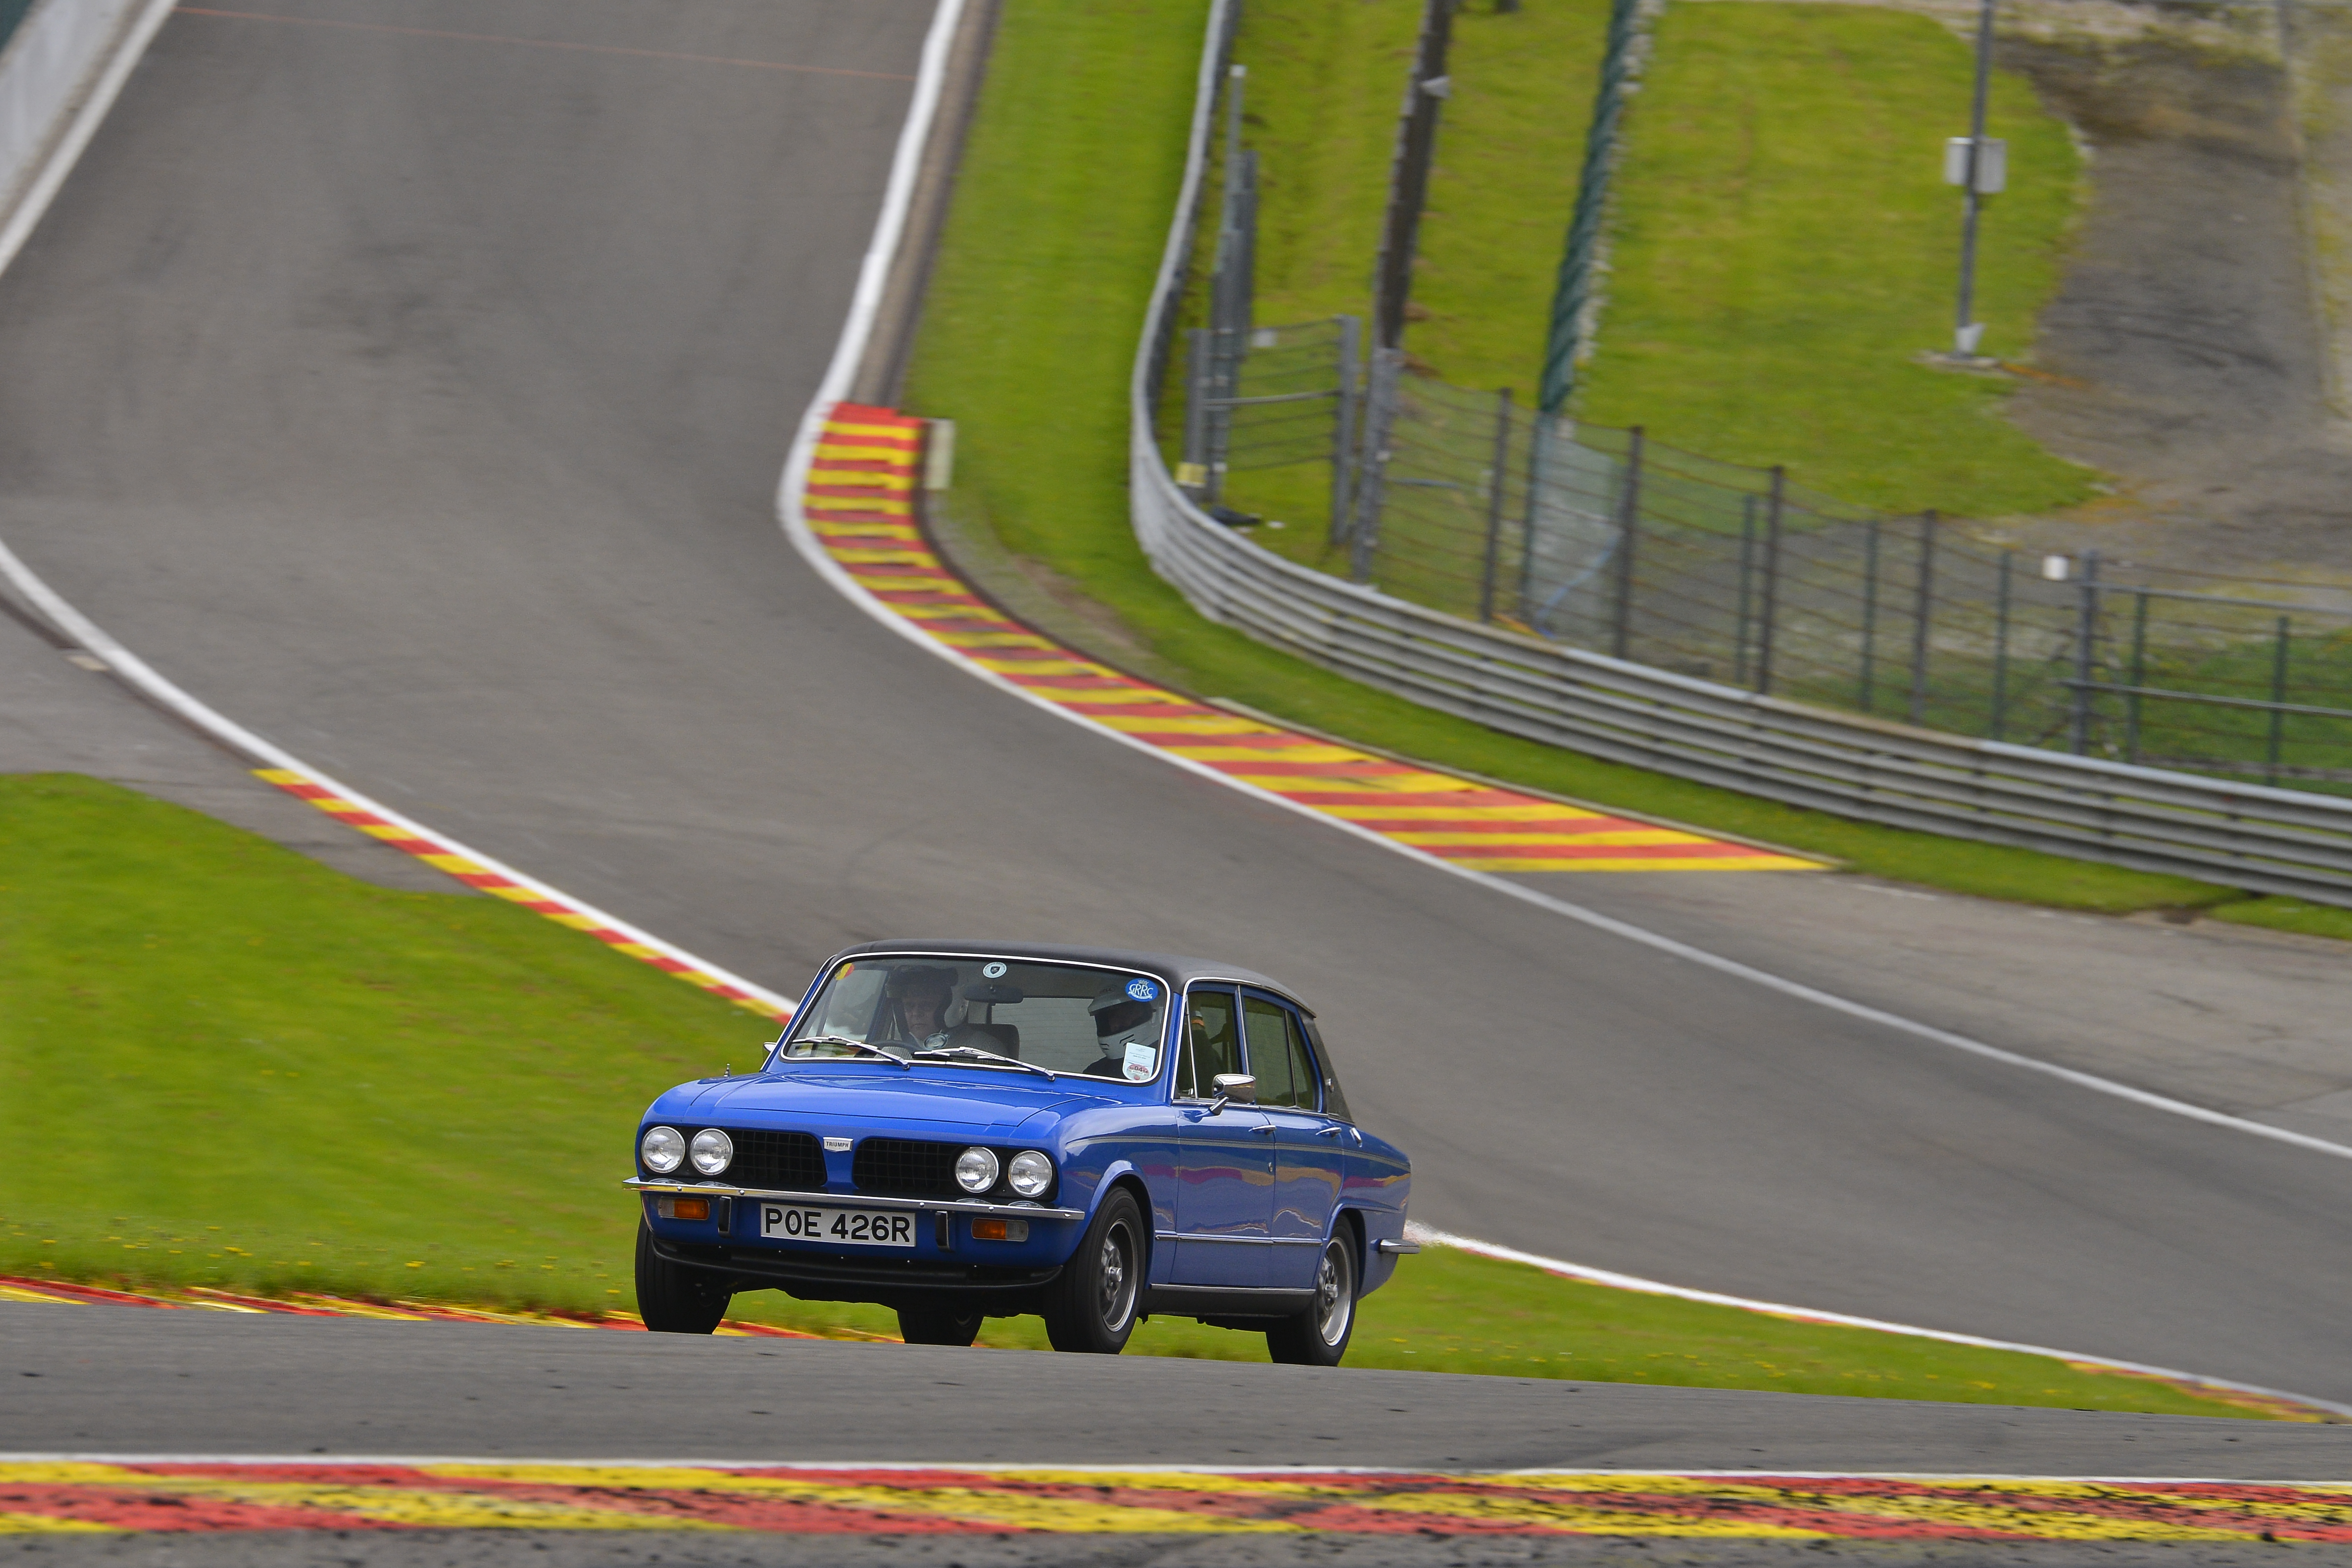
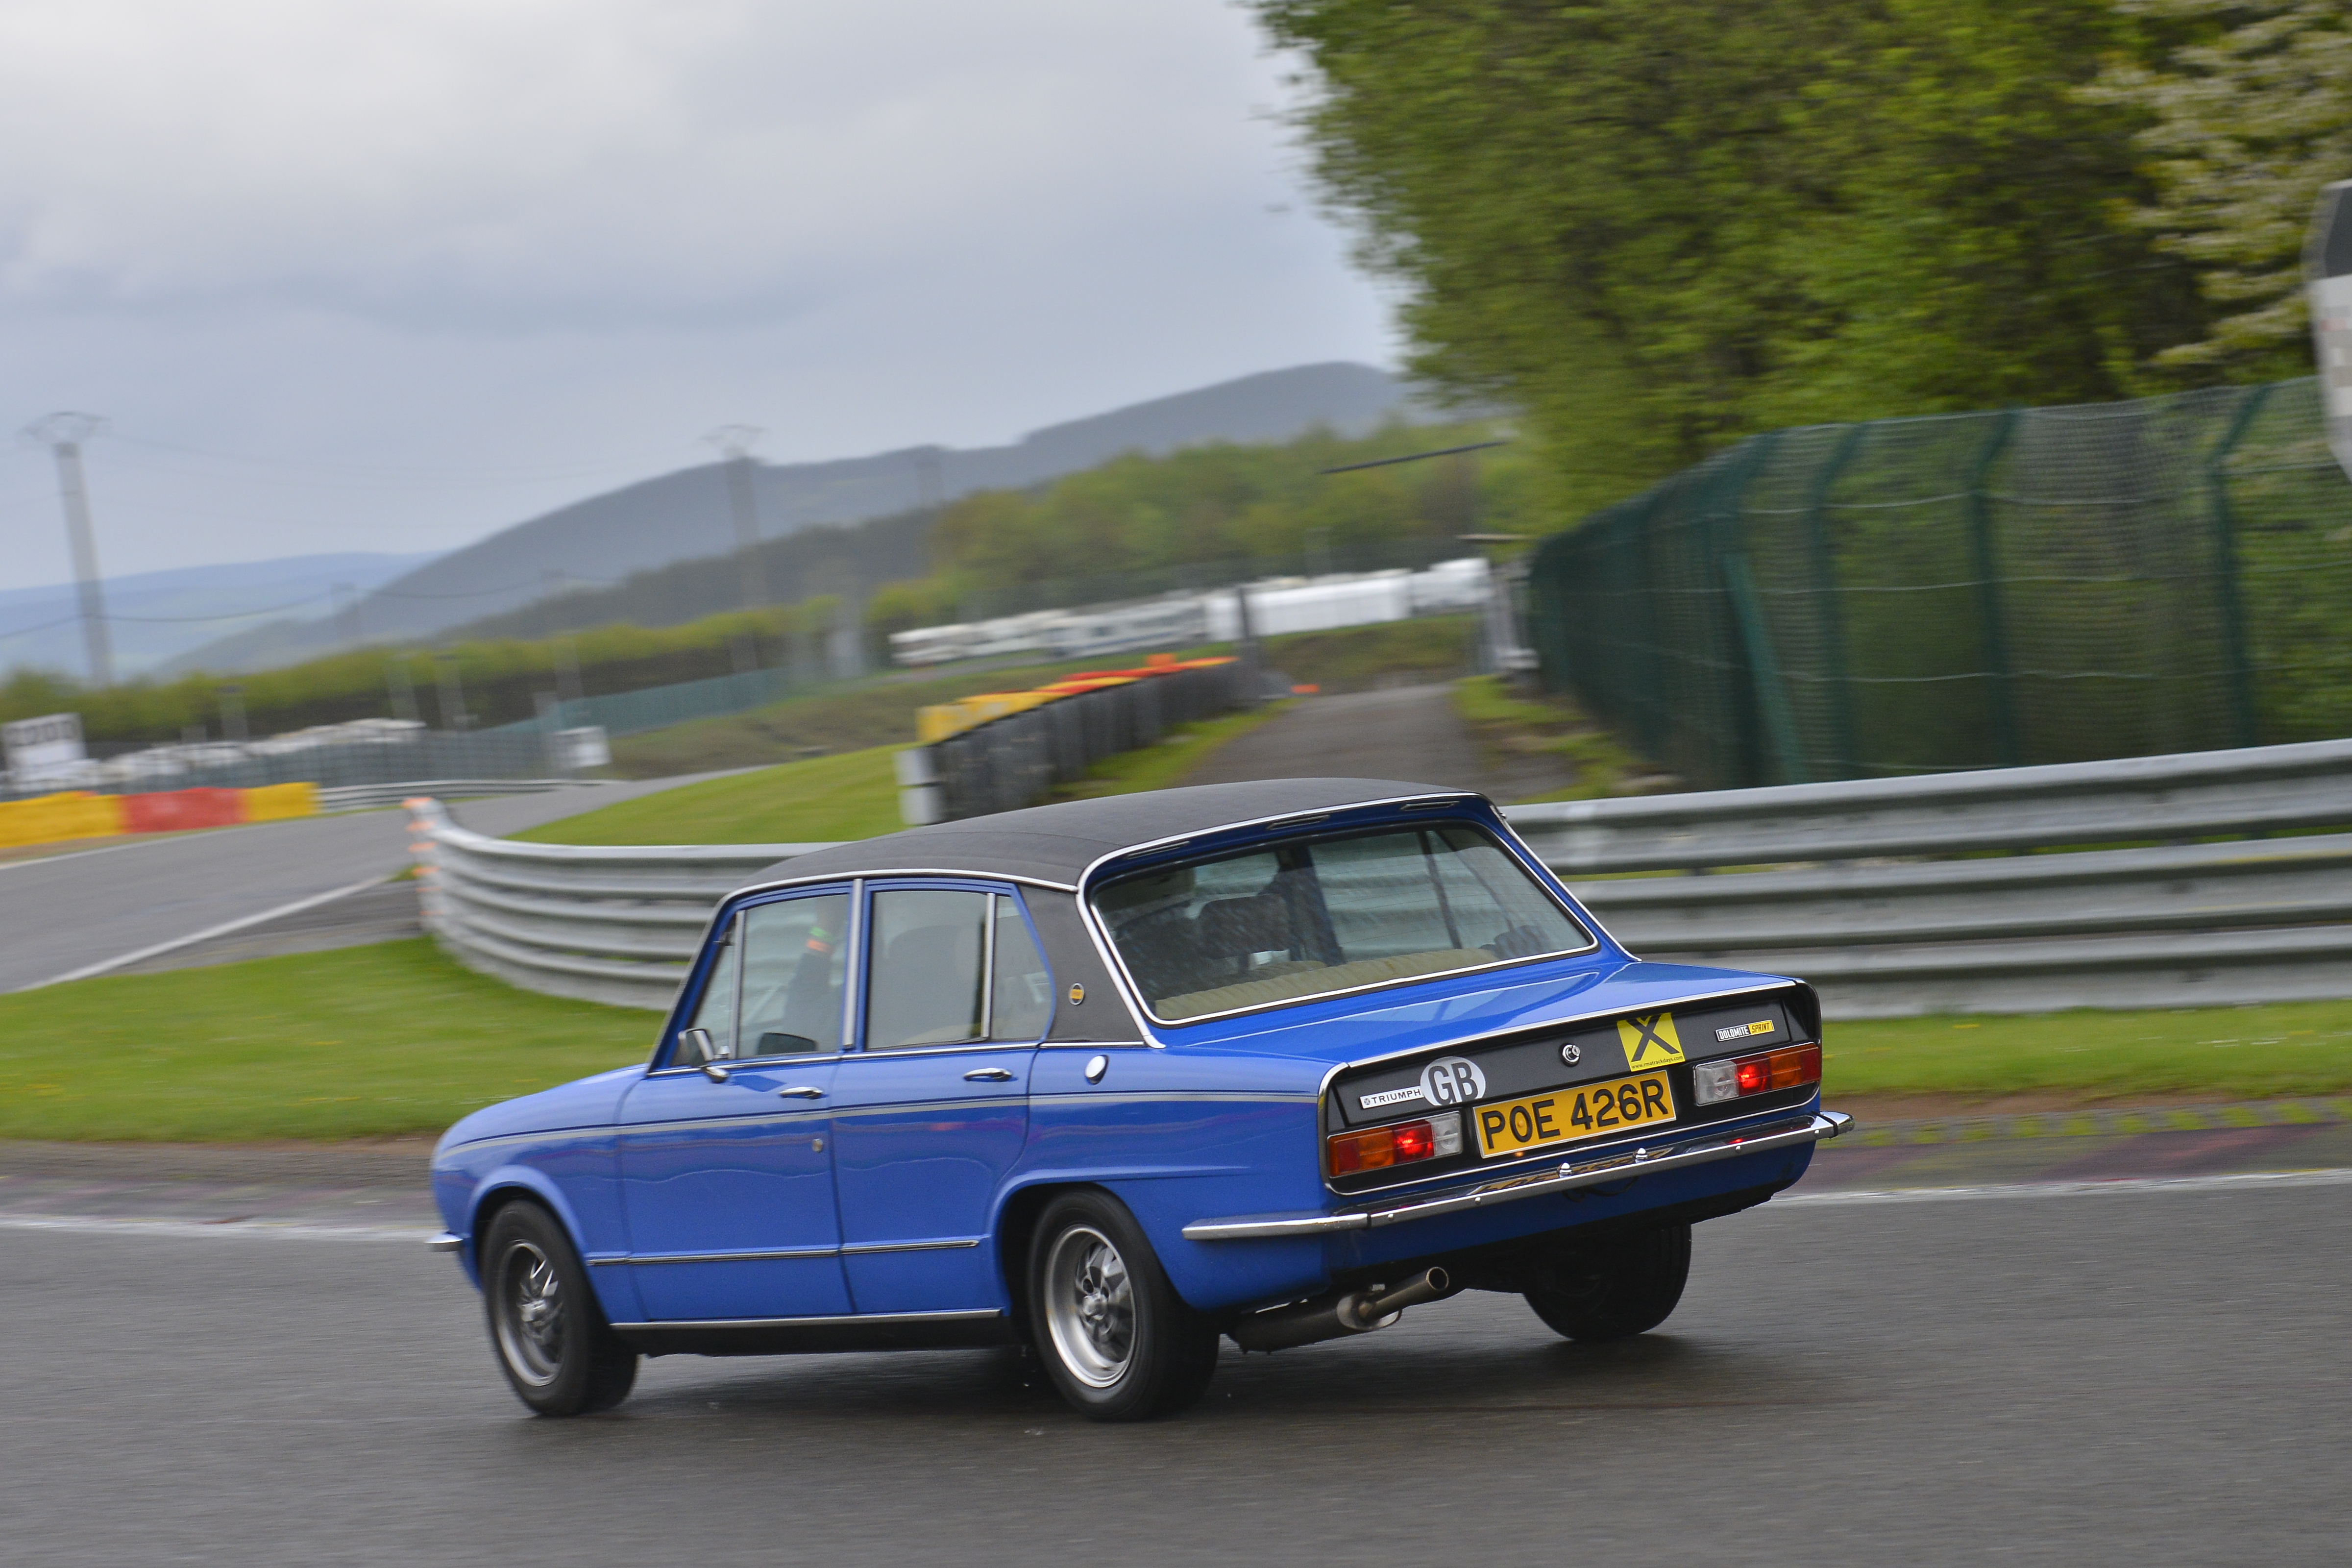
May 2013 Station Garage Liphook sorted all the bits that needed doing and off we went to Spa.
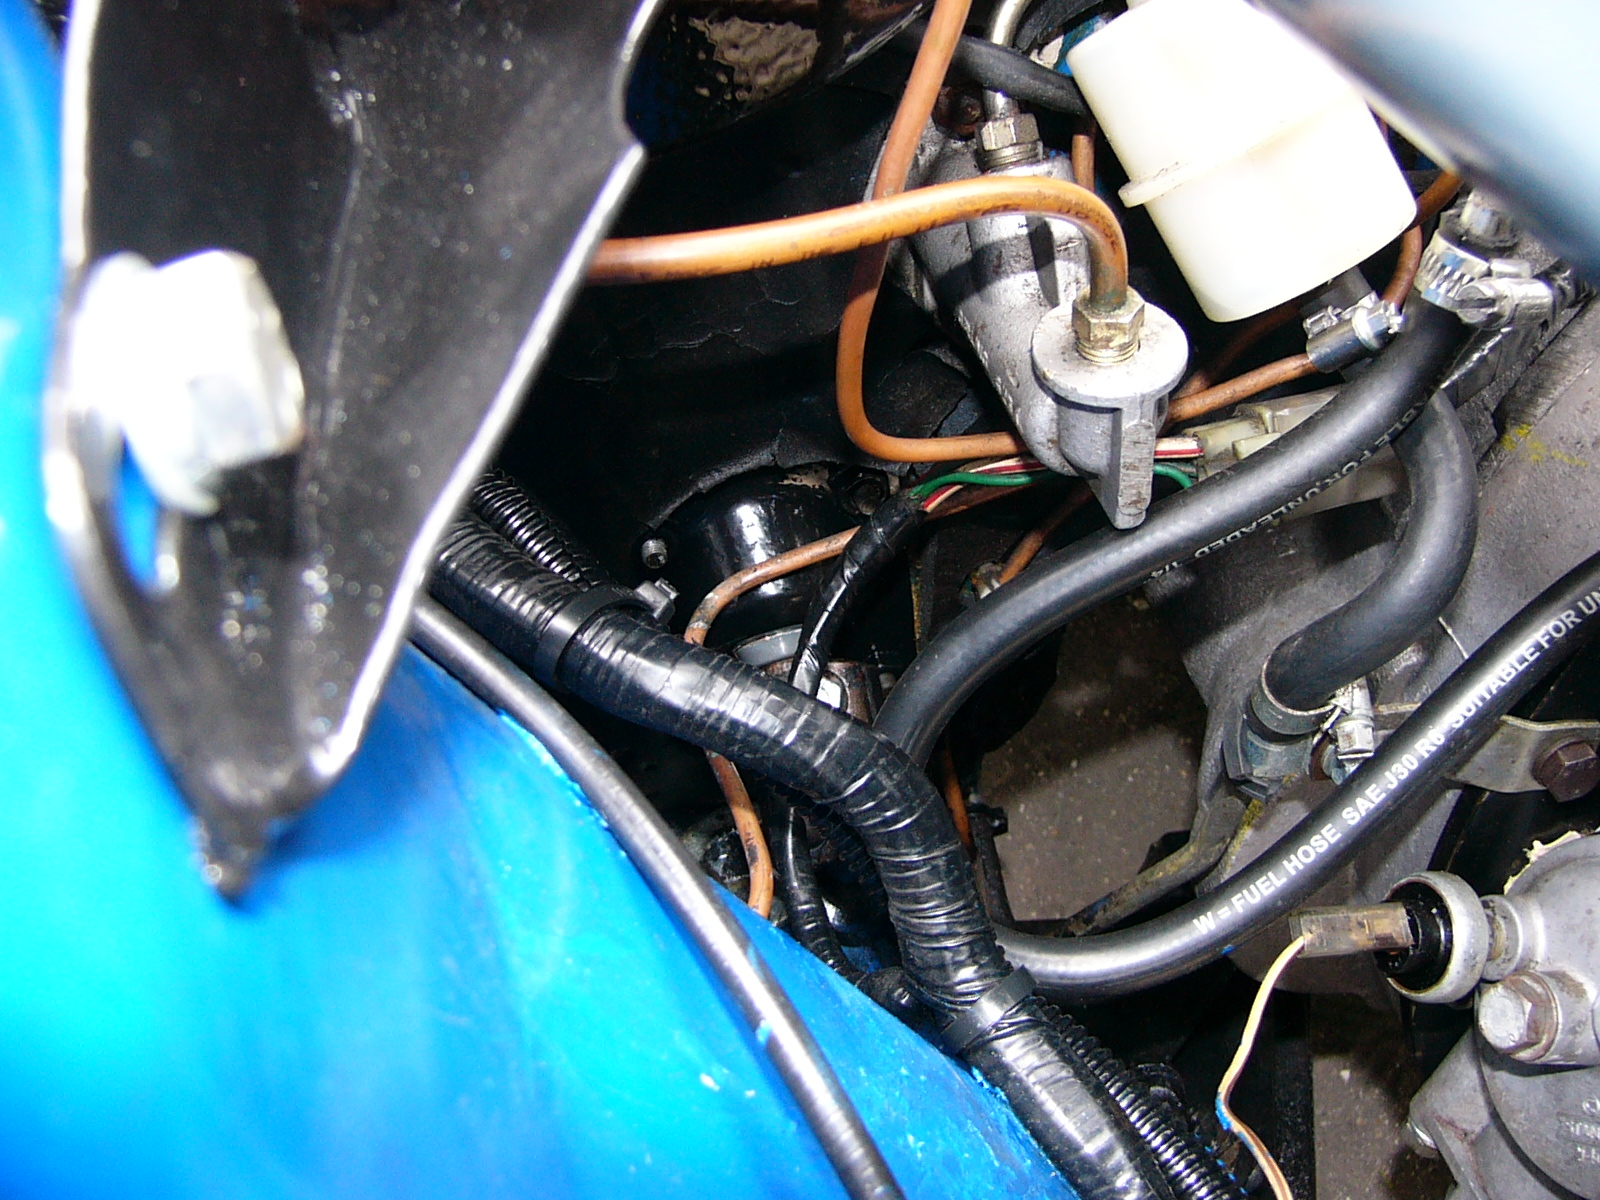
April 2013 Done sod all for ages. But decided to take the car on a track day to Spa in early May - so a heap of niggles need to be sorted : Tracking and Camber, rear axle oil leaks, carb's need tuning, exhaust blow, fit a passenger door mirror, fix brake and fuel line clips (still a bit of a mess near the gearbox), check O/D wiring (jumped out of OD 4th - but OD 3rd is fine), check fuel tank breather pipe (smell when brimmed), replace some fuel clips (needed proper clips). I'm not going to have time to do these bits, and I'm getting lazy! So booked into the local garage to be sorted :) The old engine I removed and Paul Jopling paid lots for was crap, jackshaft bearing completely knackered, with all the bodges on the car it's amazing it ran! But then again engines do like to run! The head I put on has now been sold to a TDC forum member looking for a head. If the track day goes well that will give me great confidence to transplant the whole running gear into the Toledo. August 2012 Just put my spare engine in, I had a bit of a misfire at Goodwood and a slight water leak. I pulled the head and really didn't like the bores. When investigating the misfire we found that we had a bit of blowby at 5k revs - the bores are a bit worn (read marks from water sitting in there...) anyway the spare engine is in and will be fired up soon. I also fitted a 123 Tune distributor - lets see how that works out. 30th May 2012 After a bit of head scratching we've decided to turn POE into my fun car - not an all out track day car as the interior will remain, but a few subtle modifications to make her a bit more interesting. We managed to fix up the inner wings and get her back MOT'd and taxed ready for her first track day on 2nd June. We took her over to Bill Rawles open day on 26th May, had a quick chat with Rob and Bill about putting the flared arches on - so hopefully they can be done first.
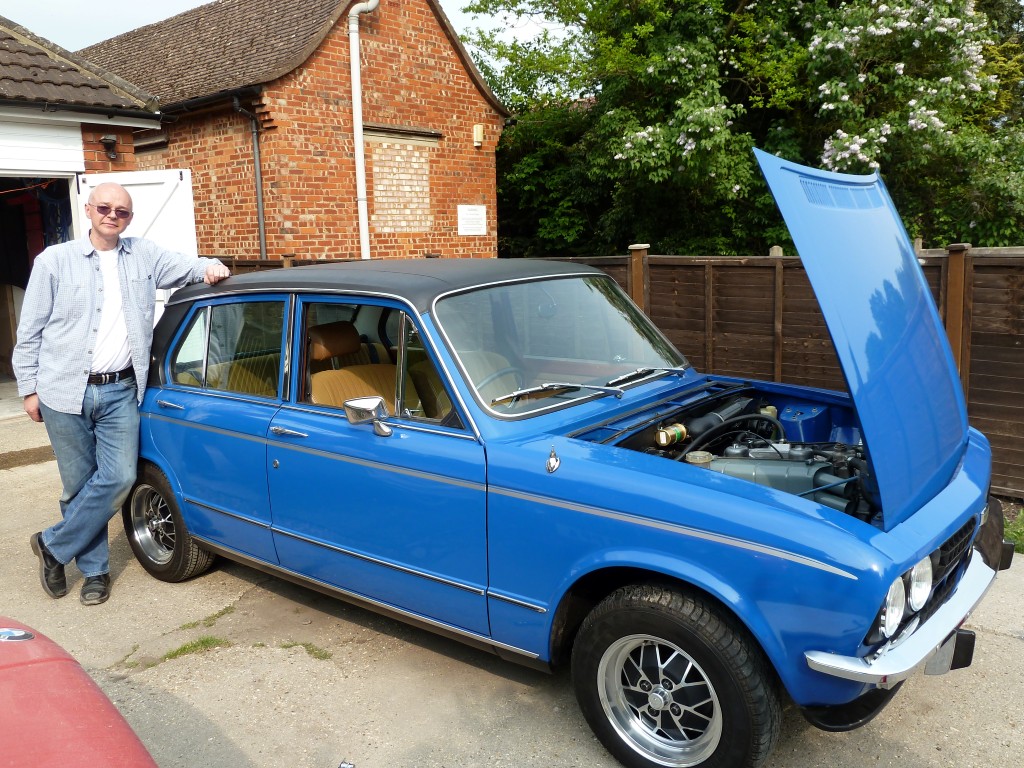
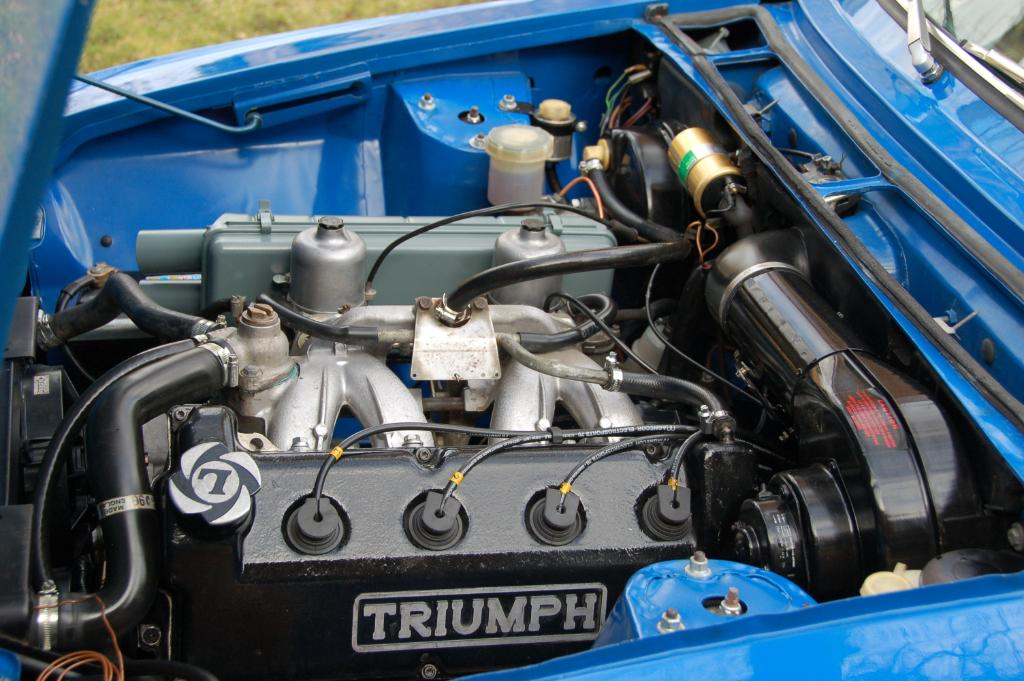
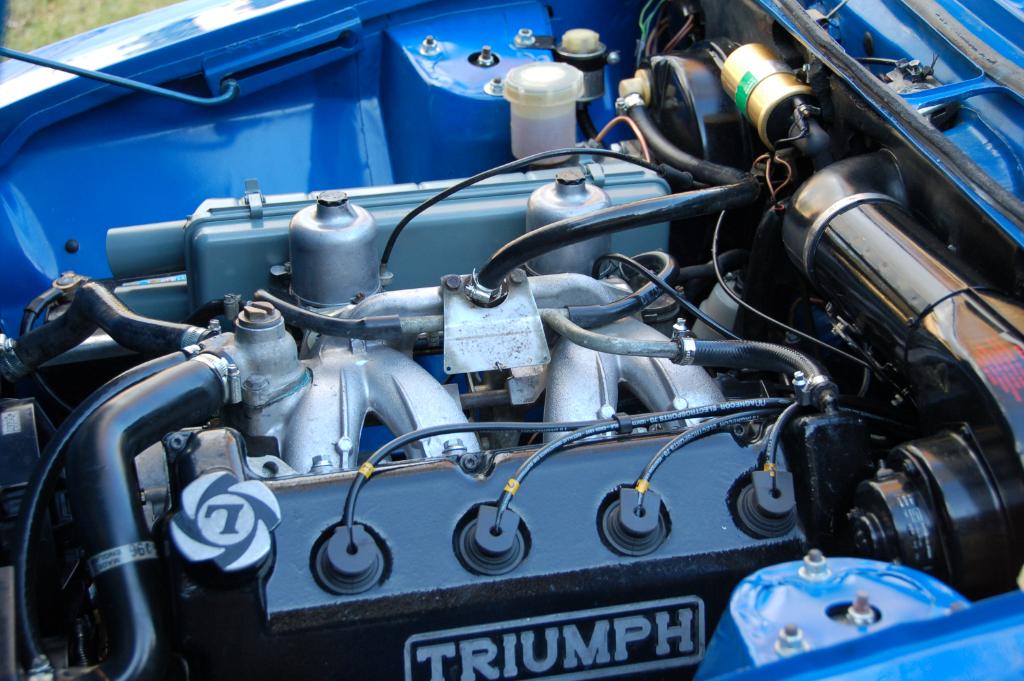
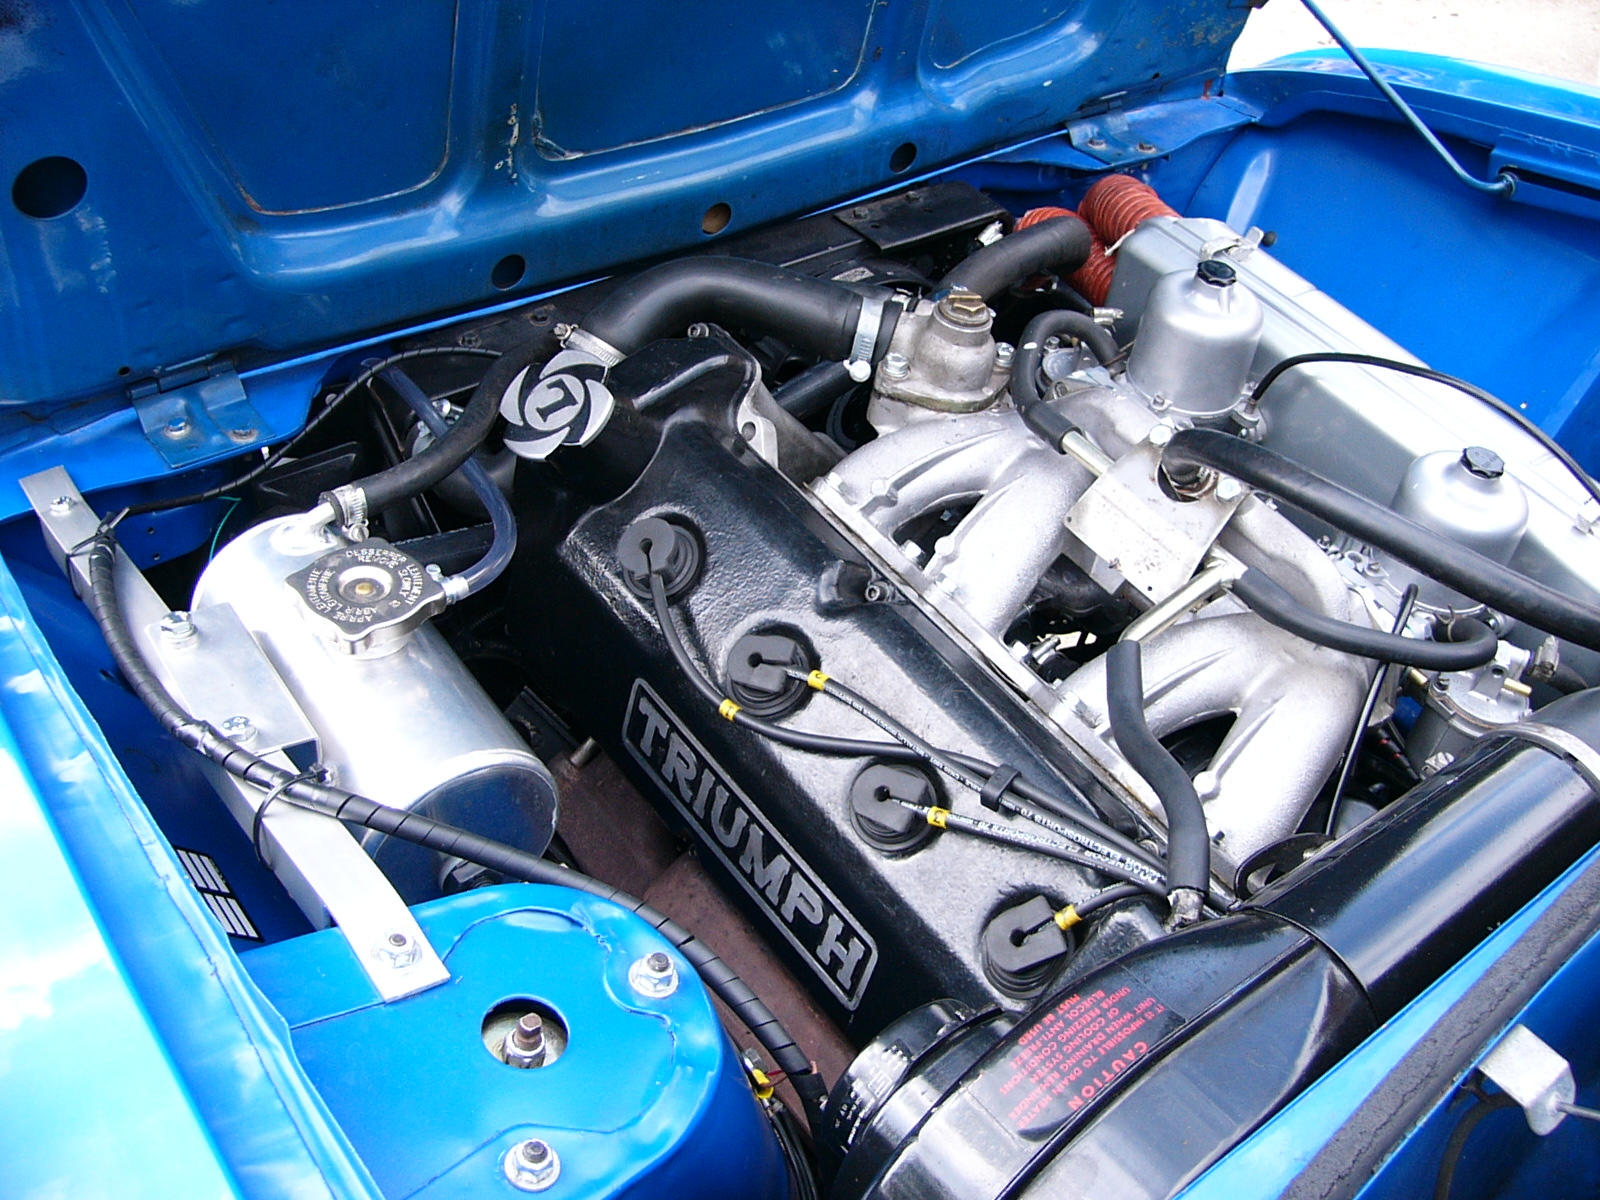
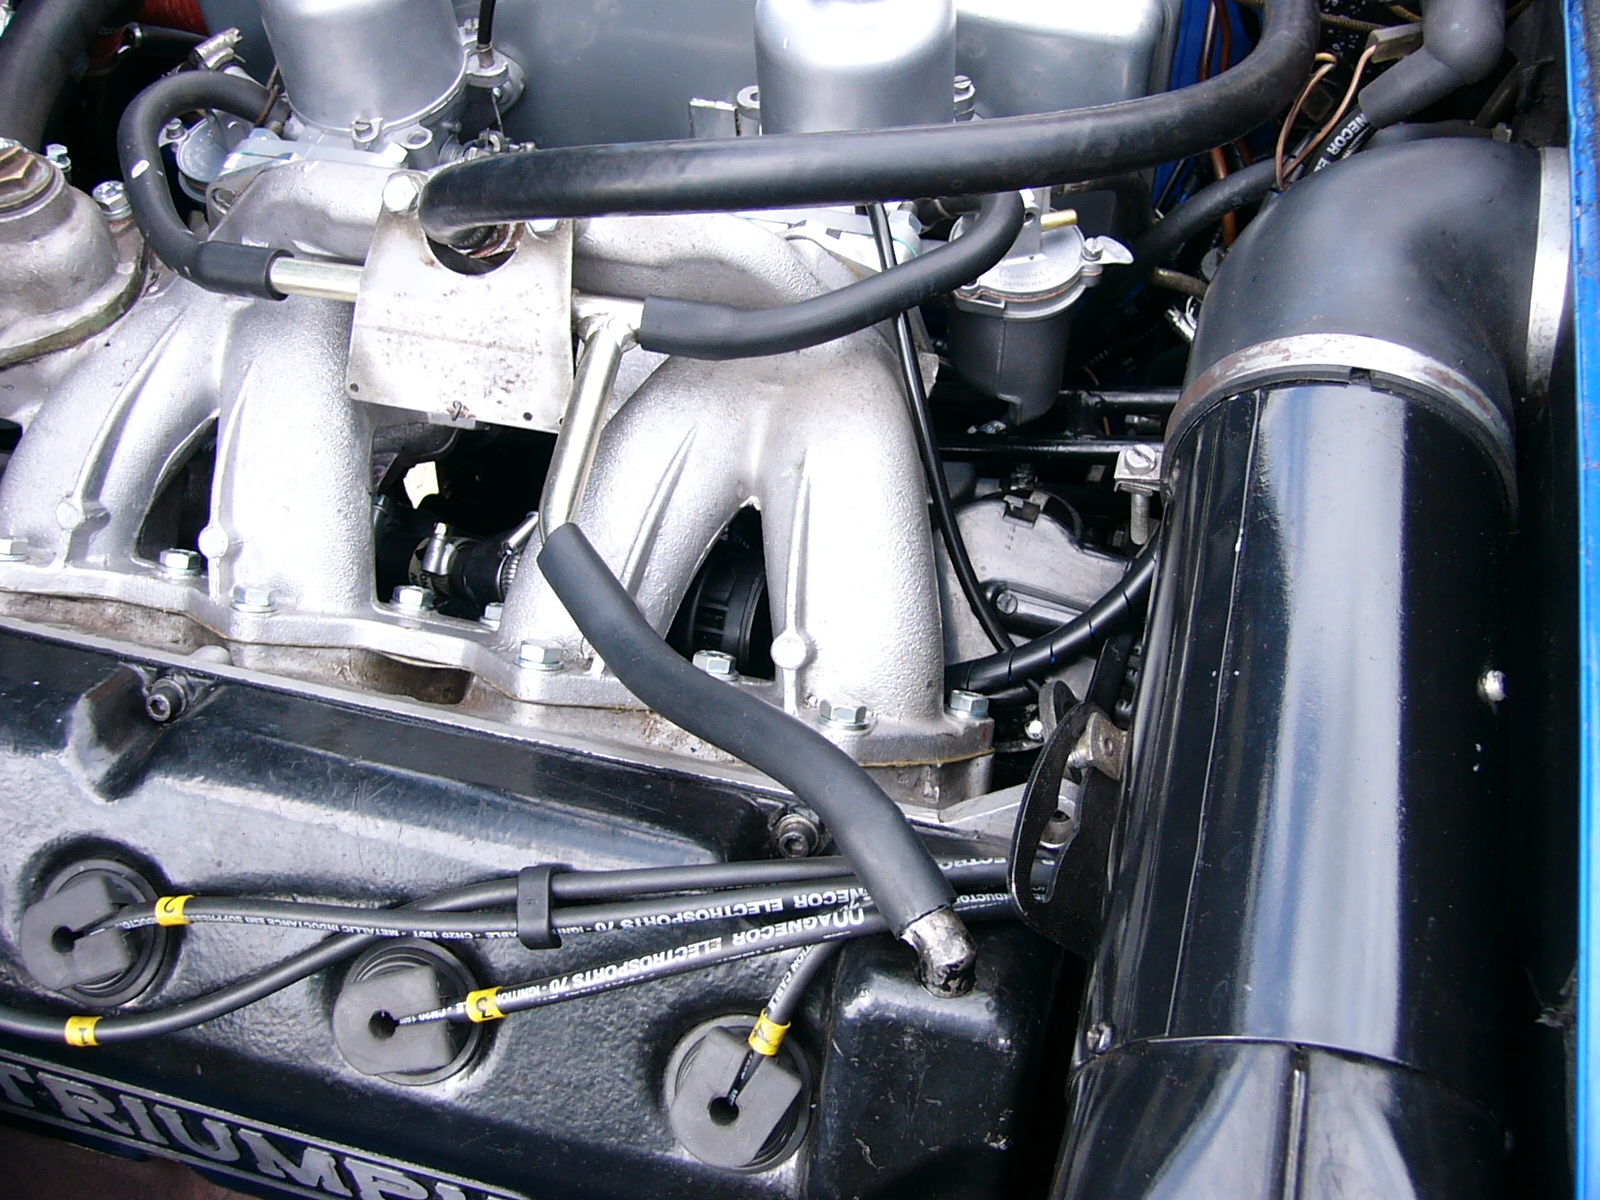
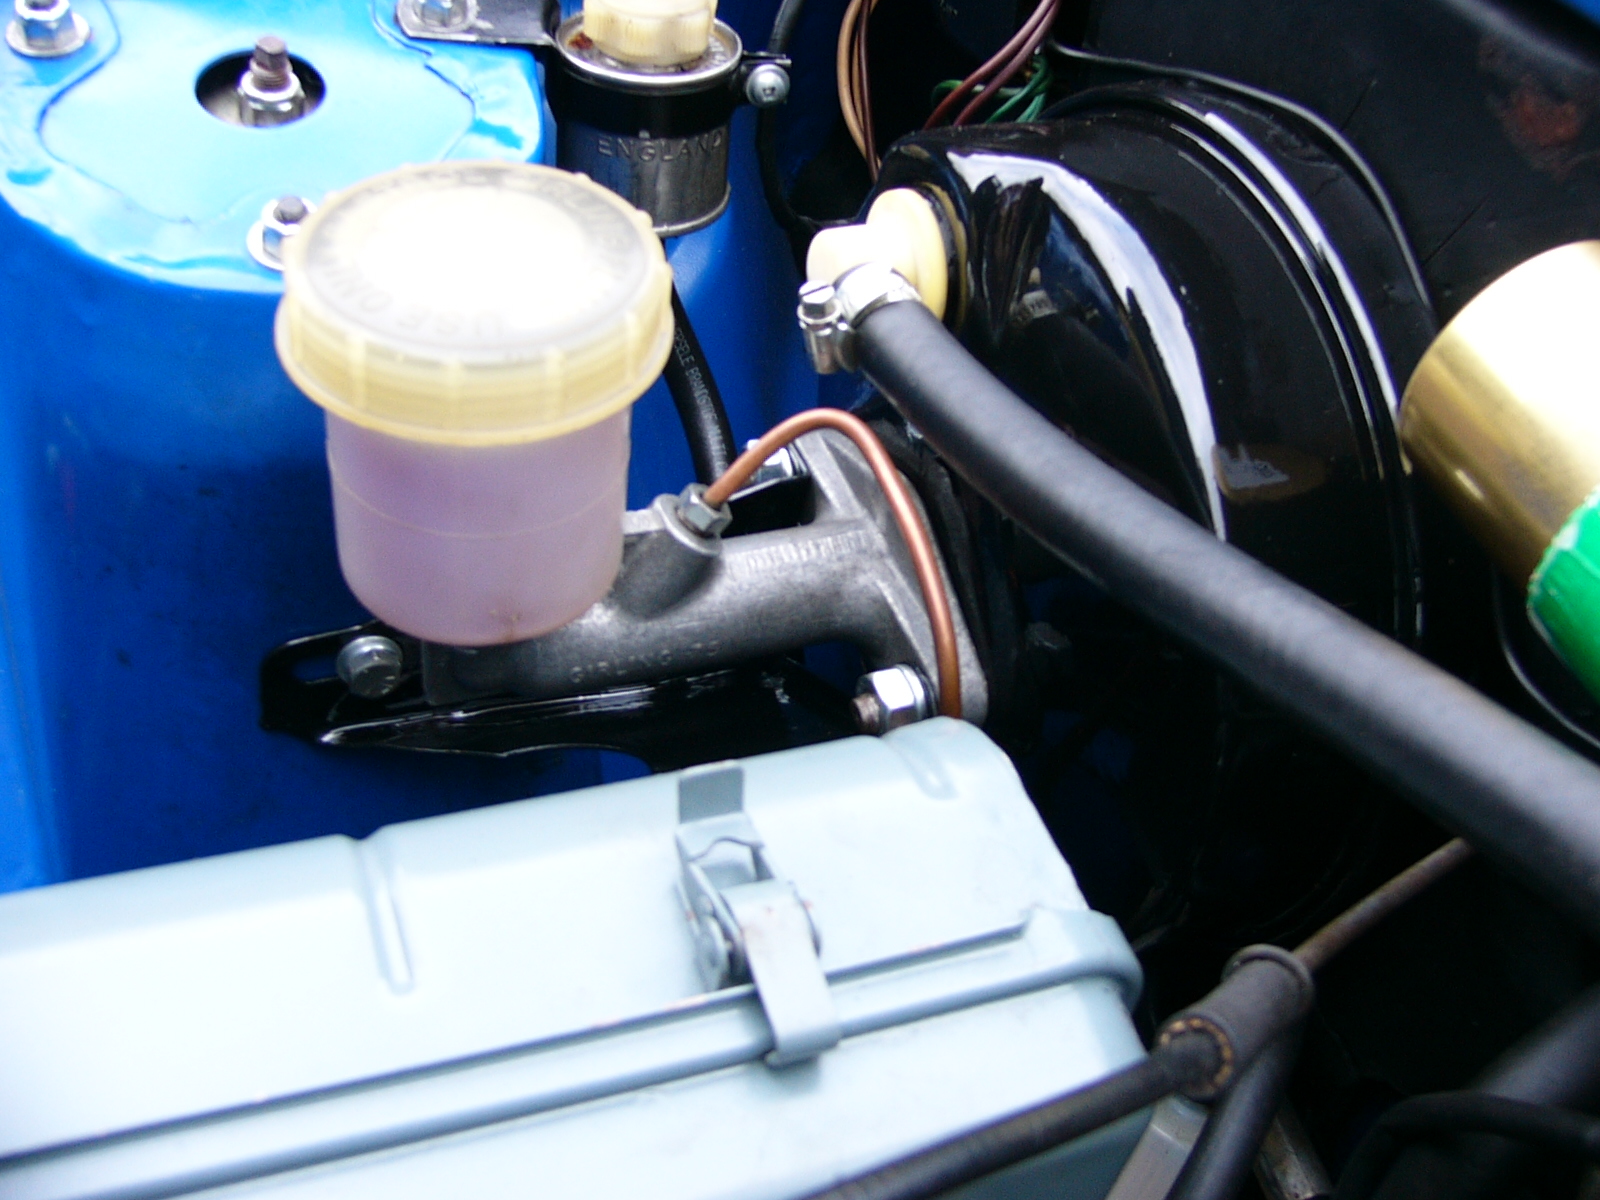
Slightly revised engine bay
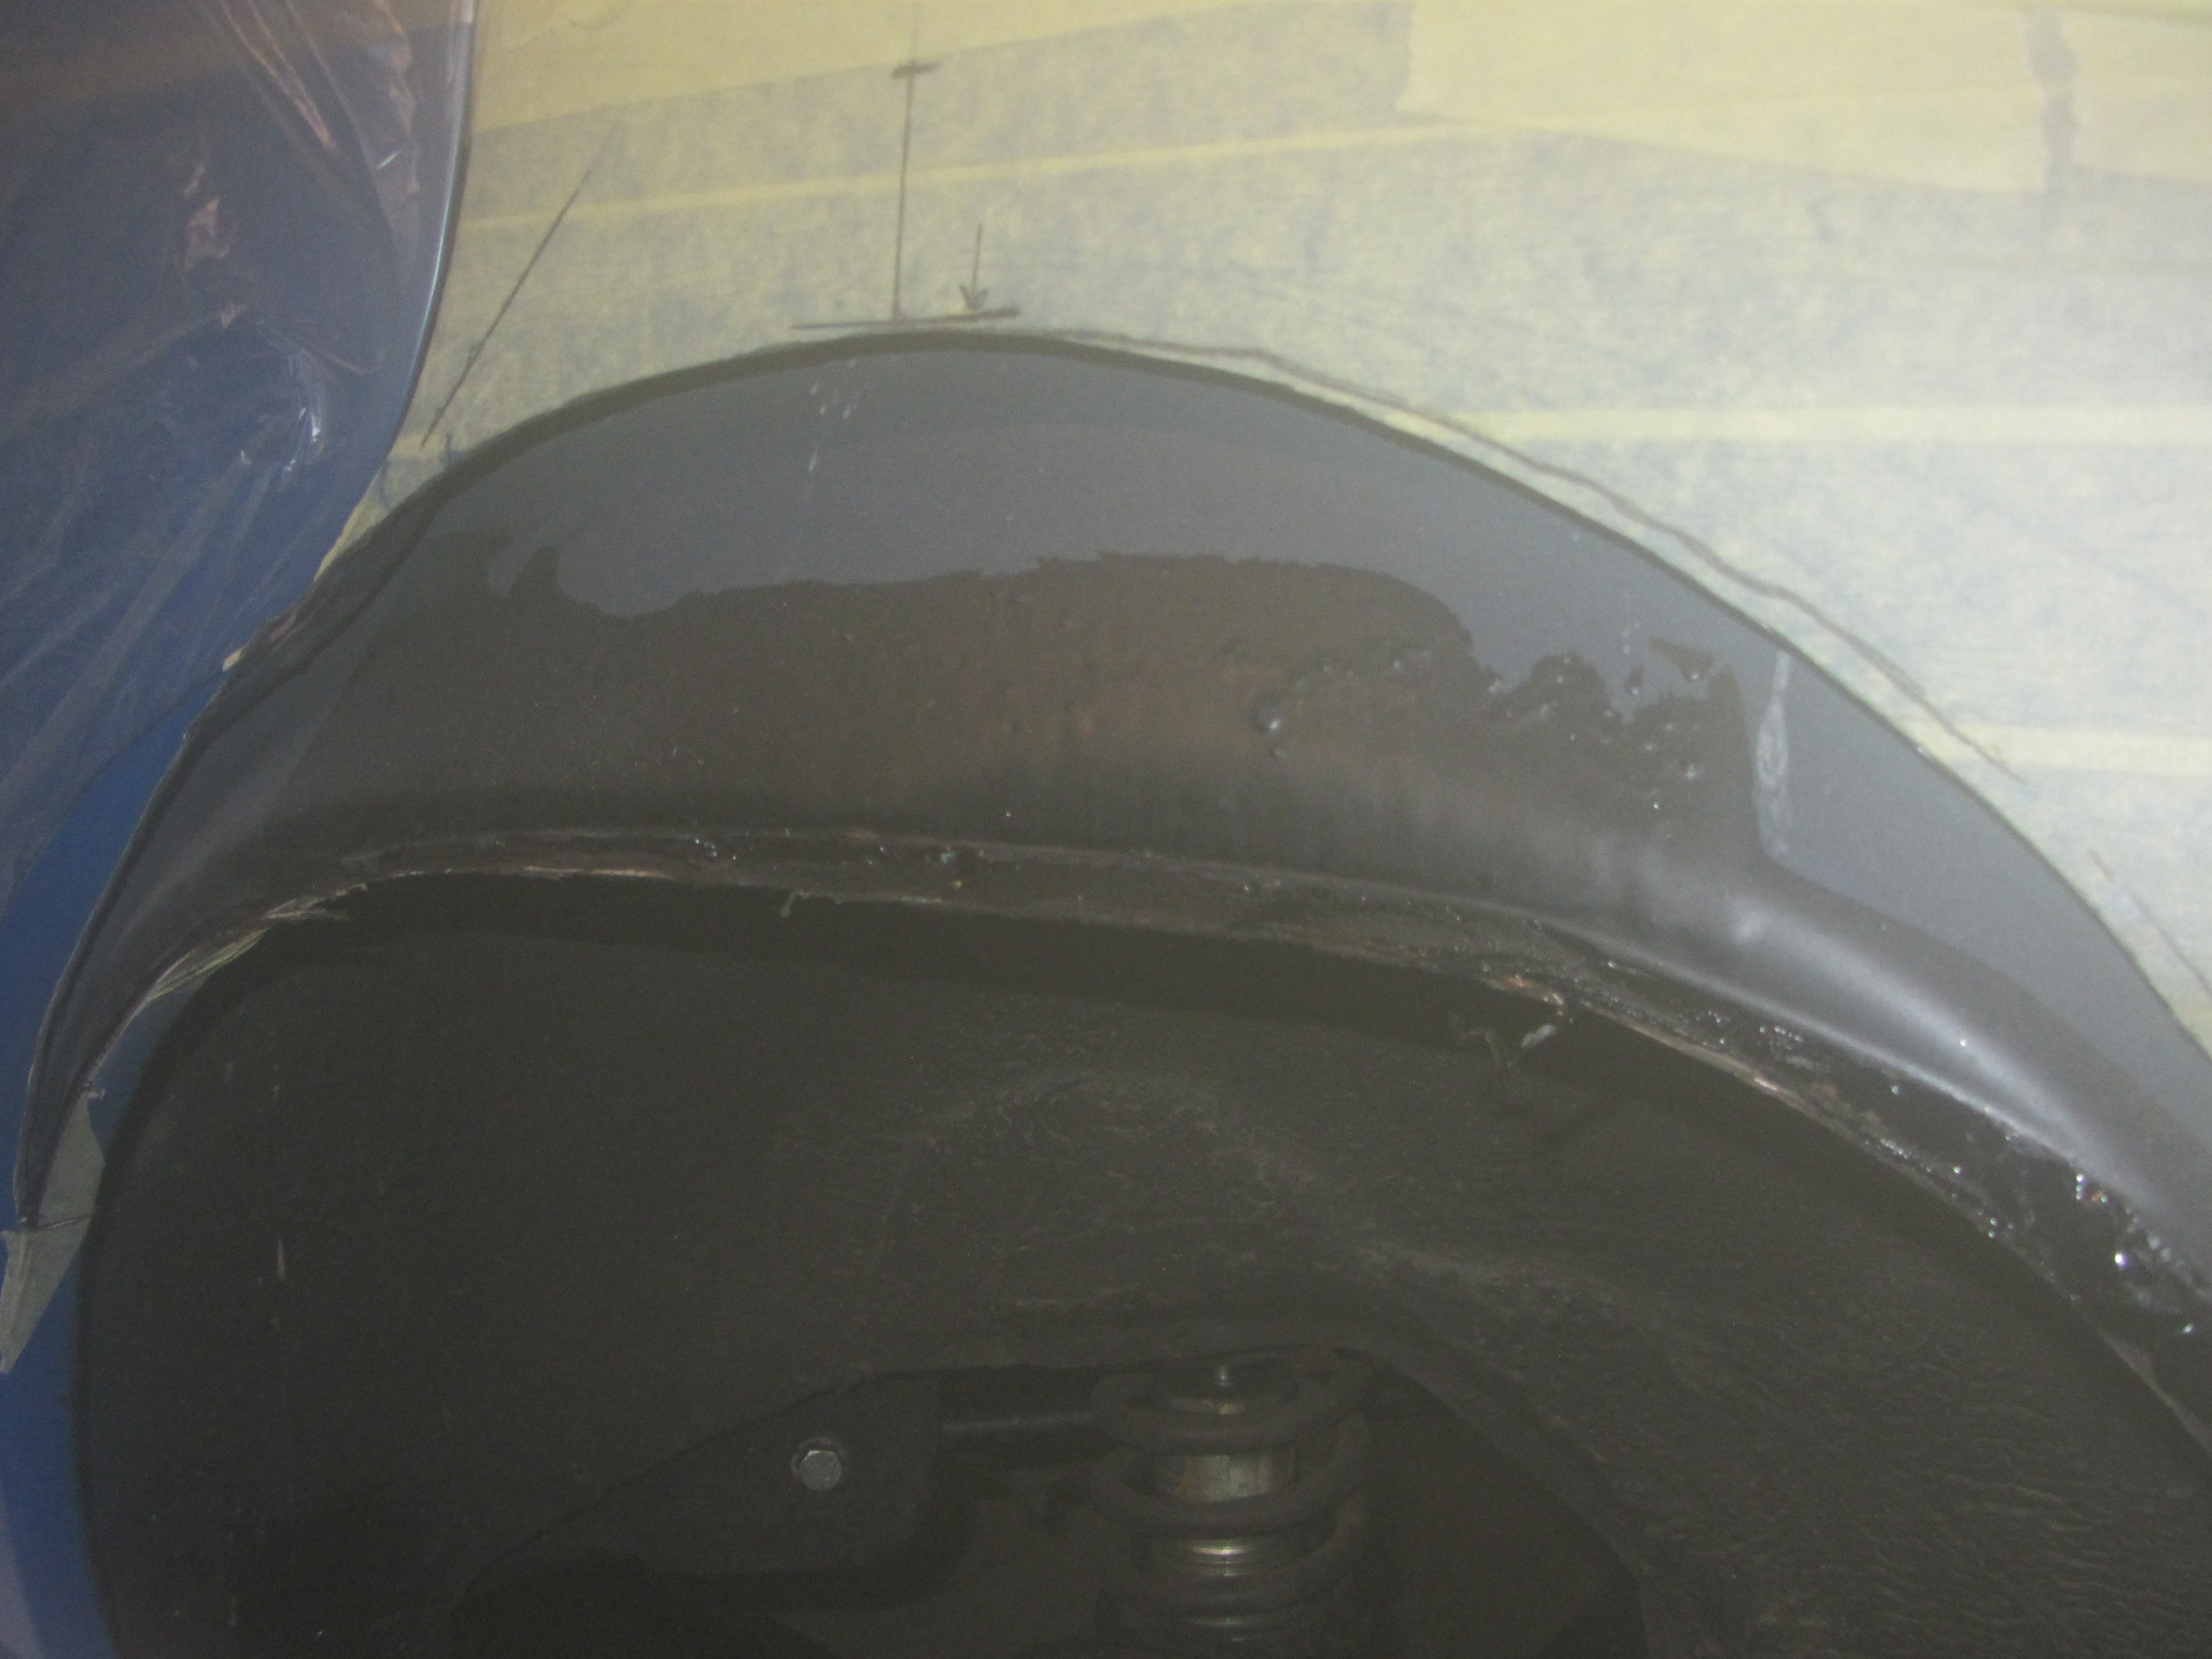
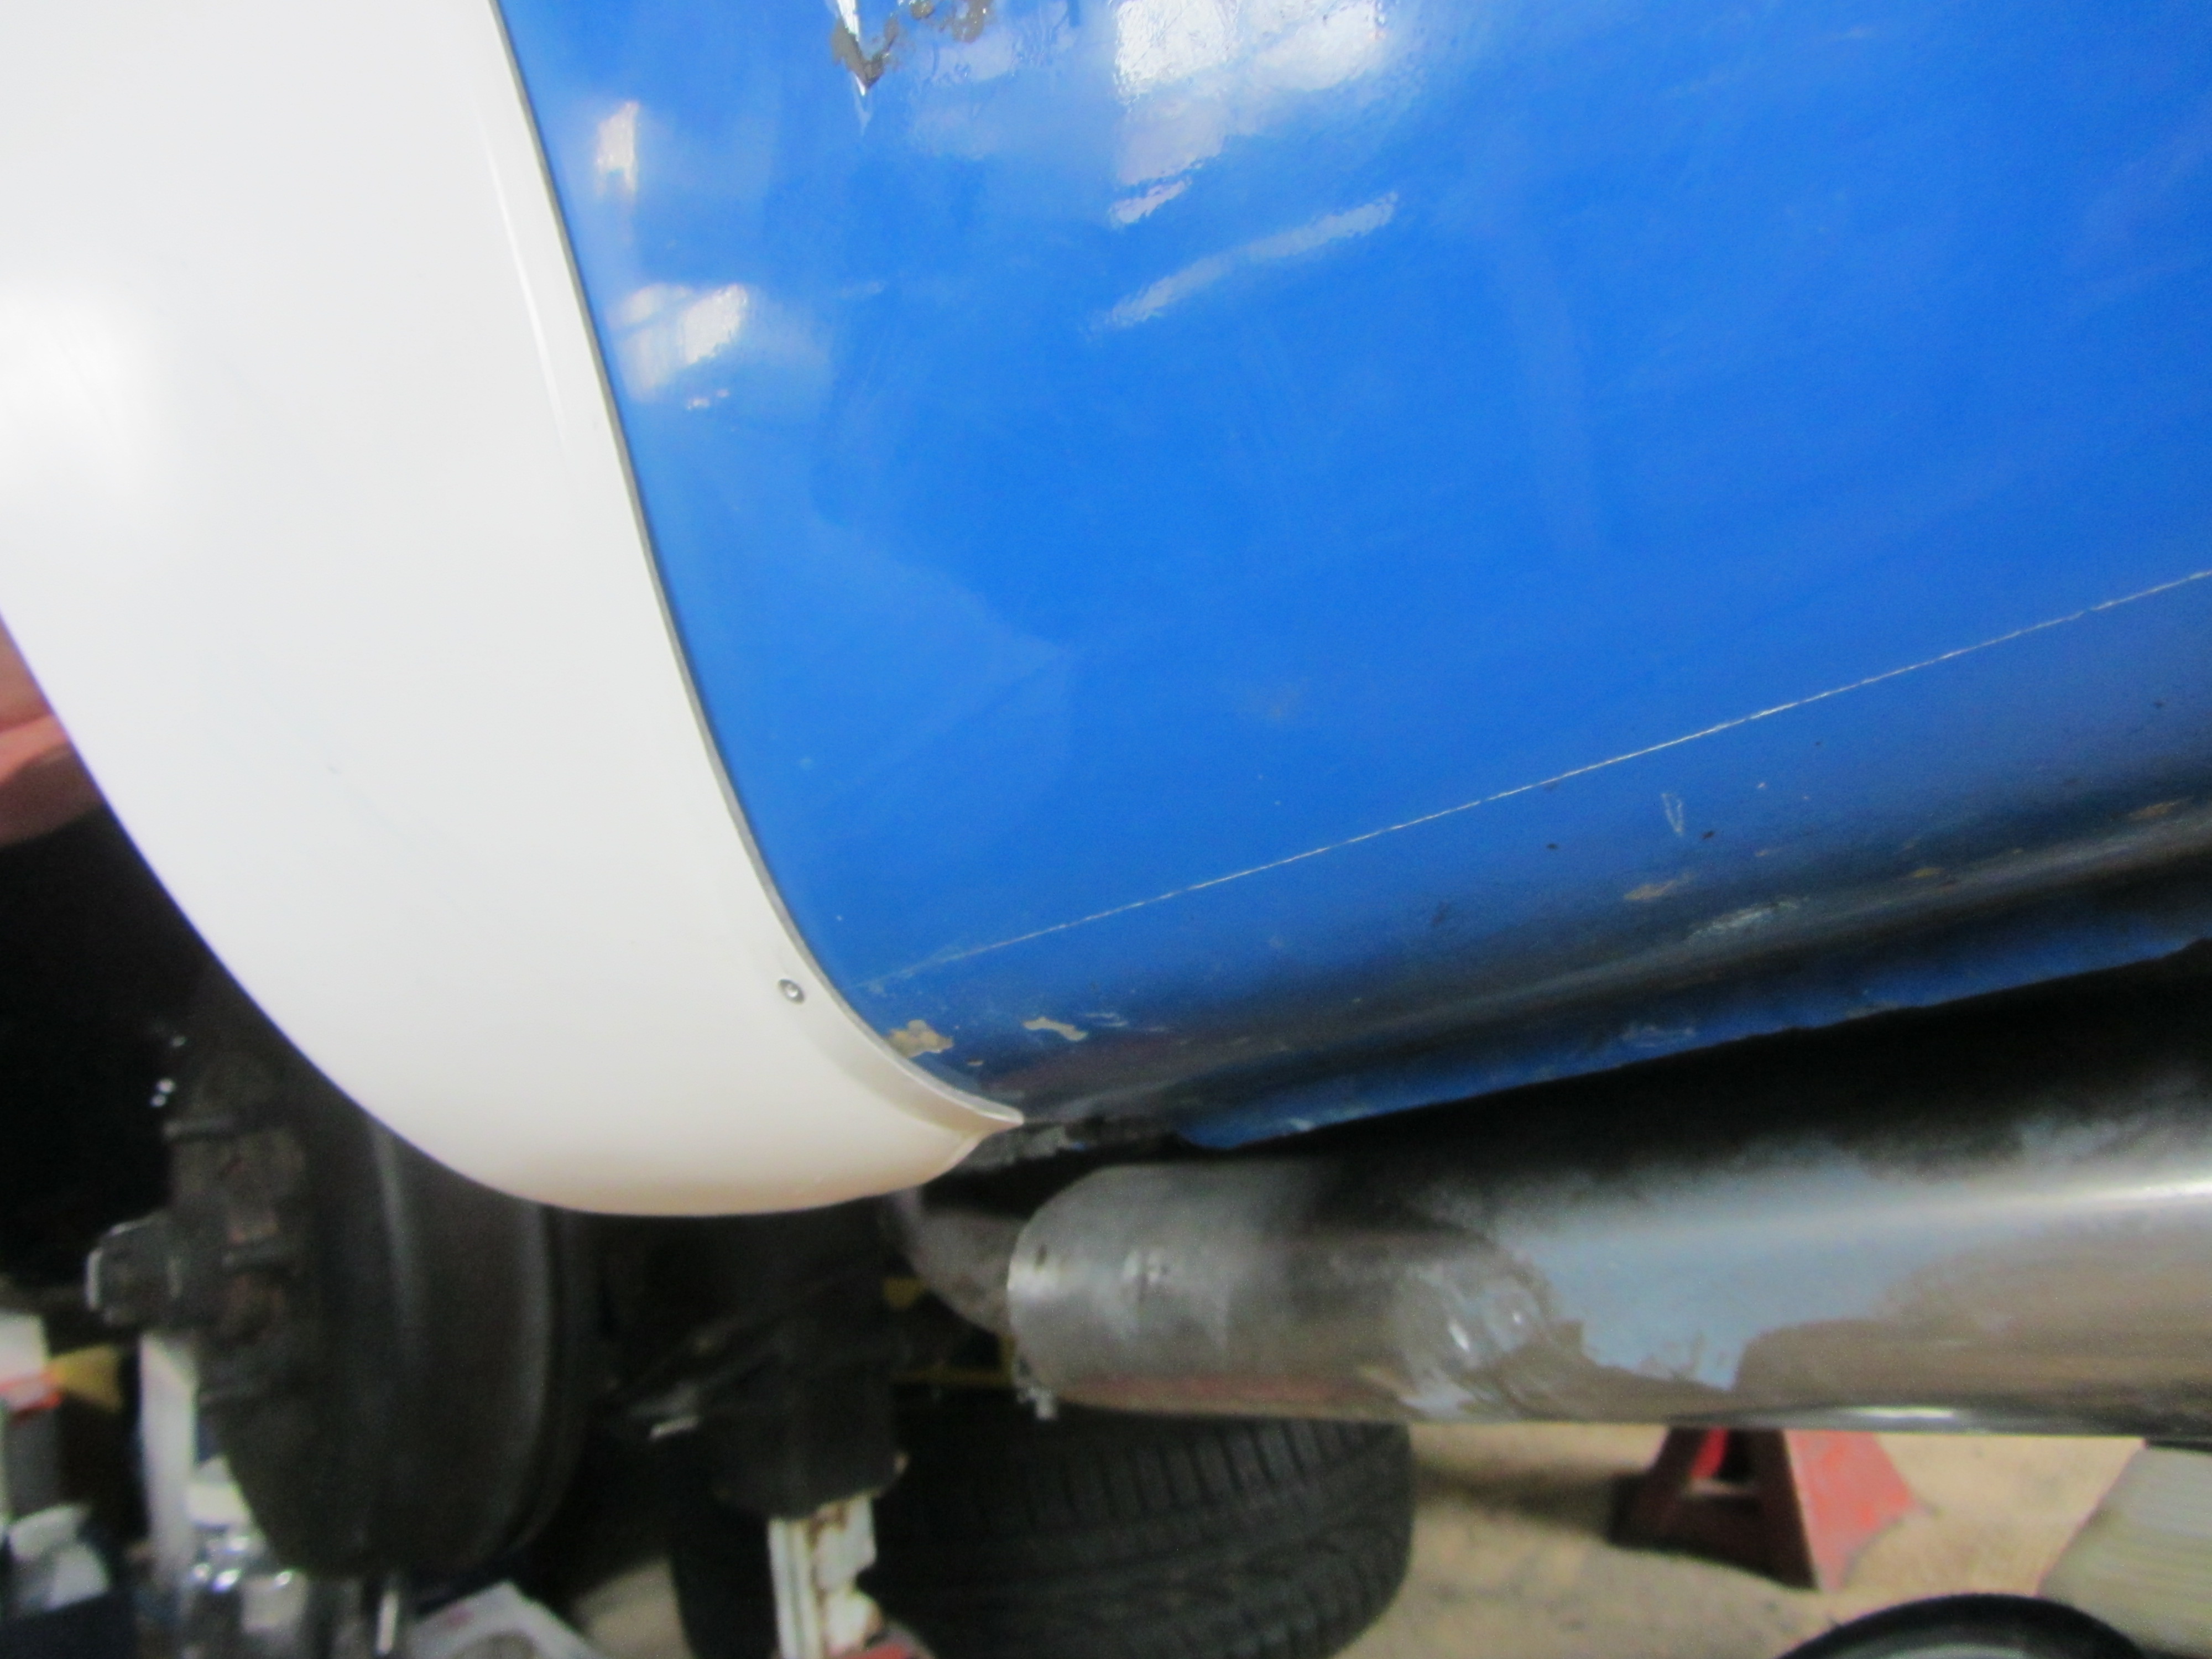
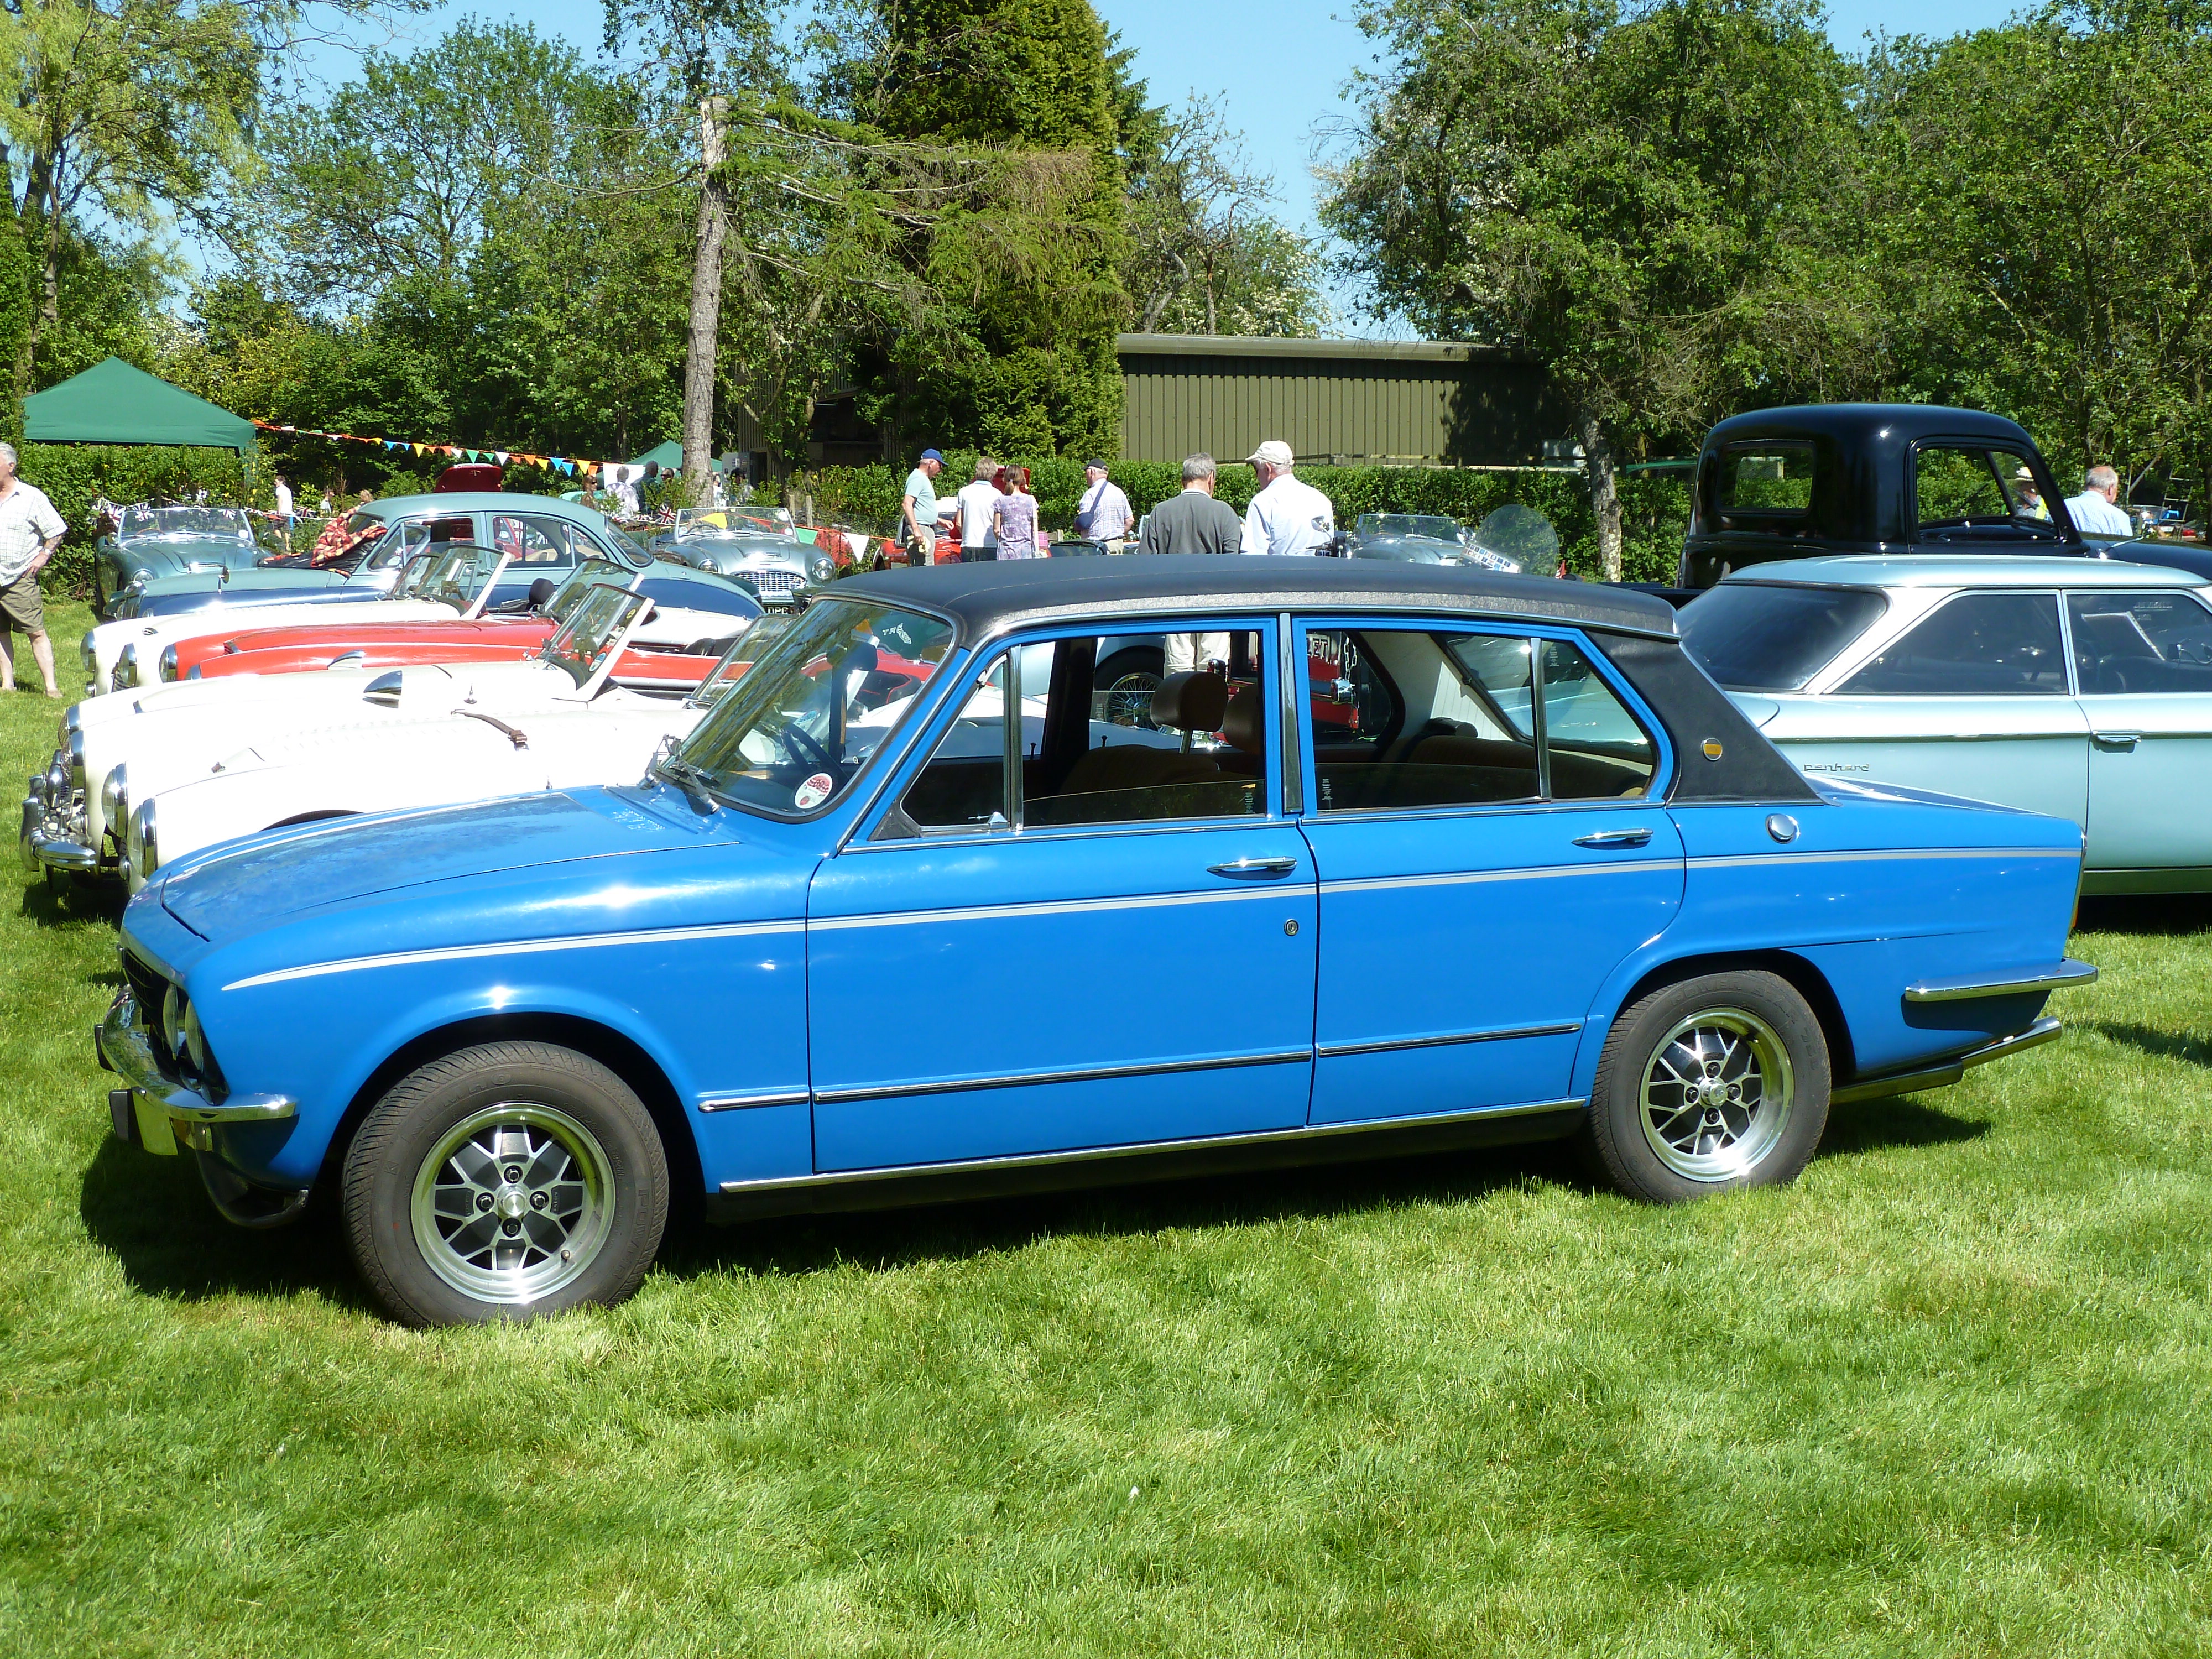
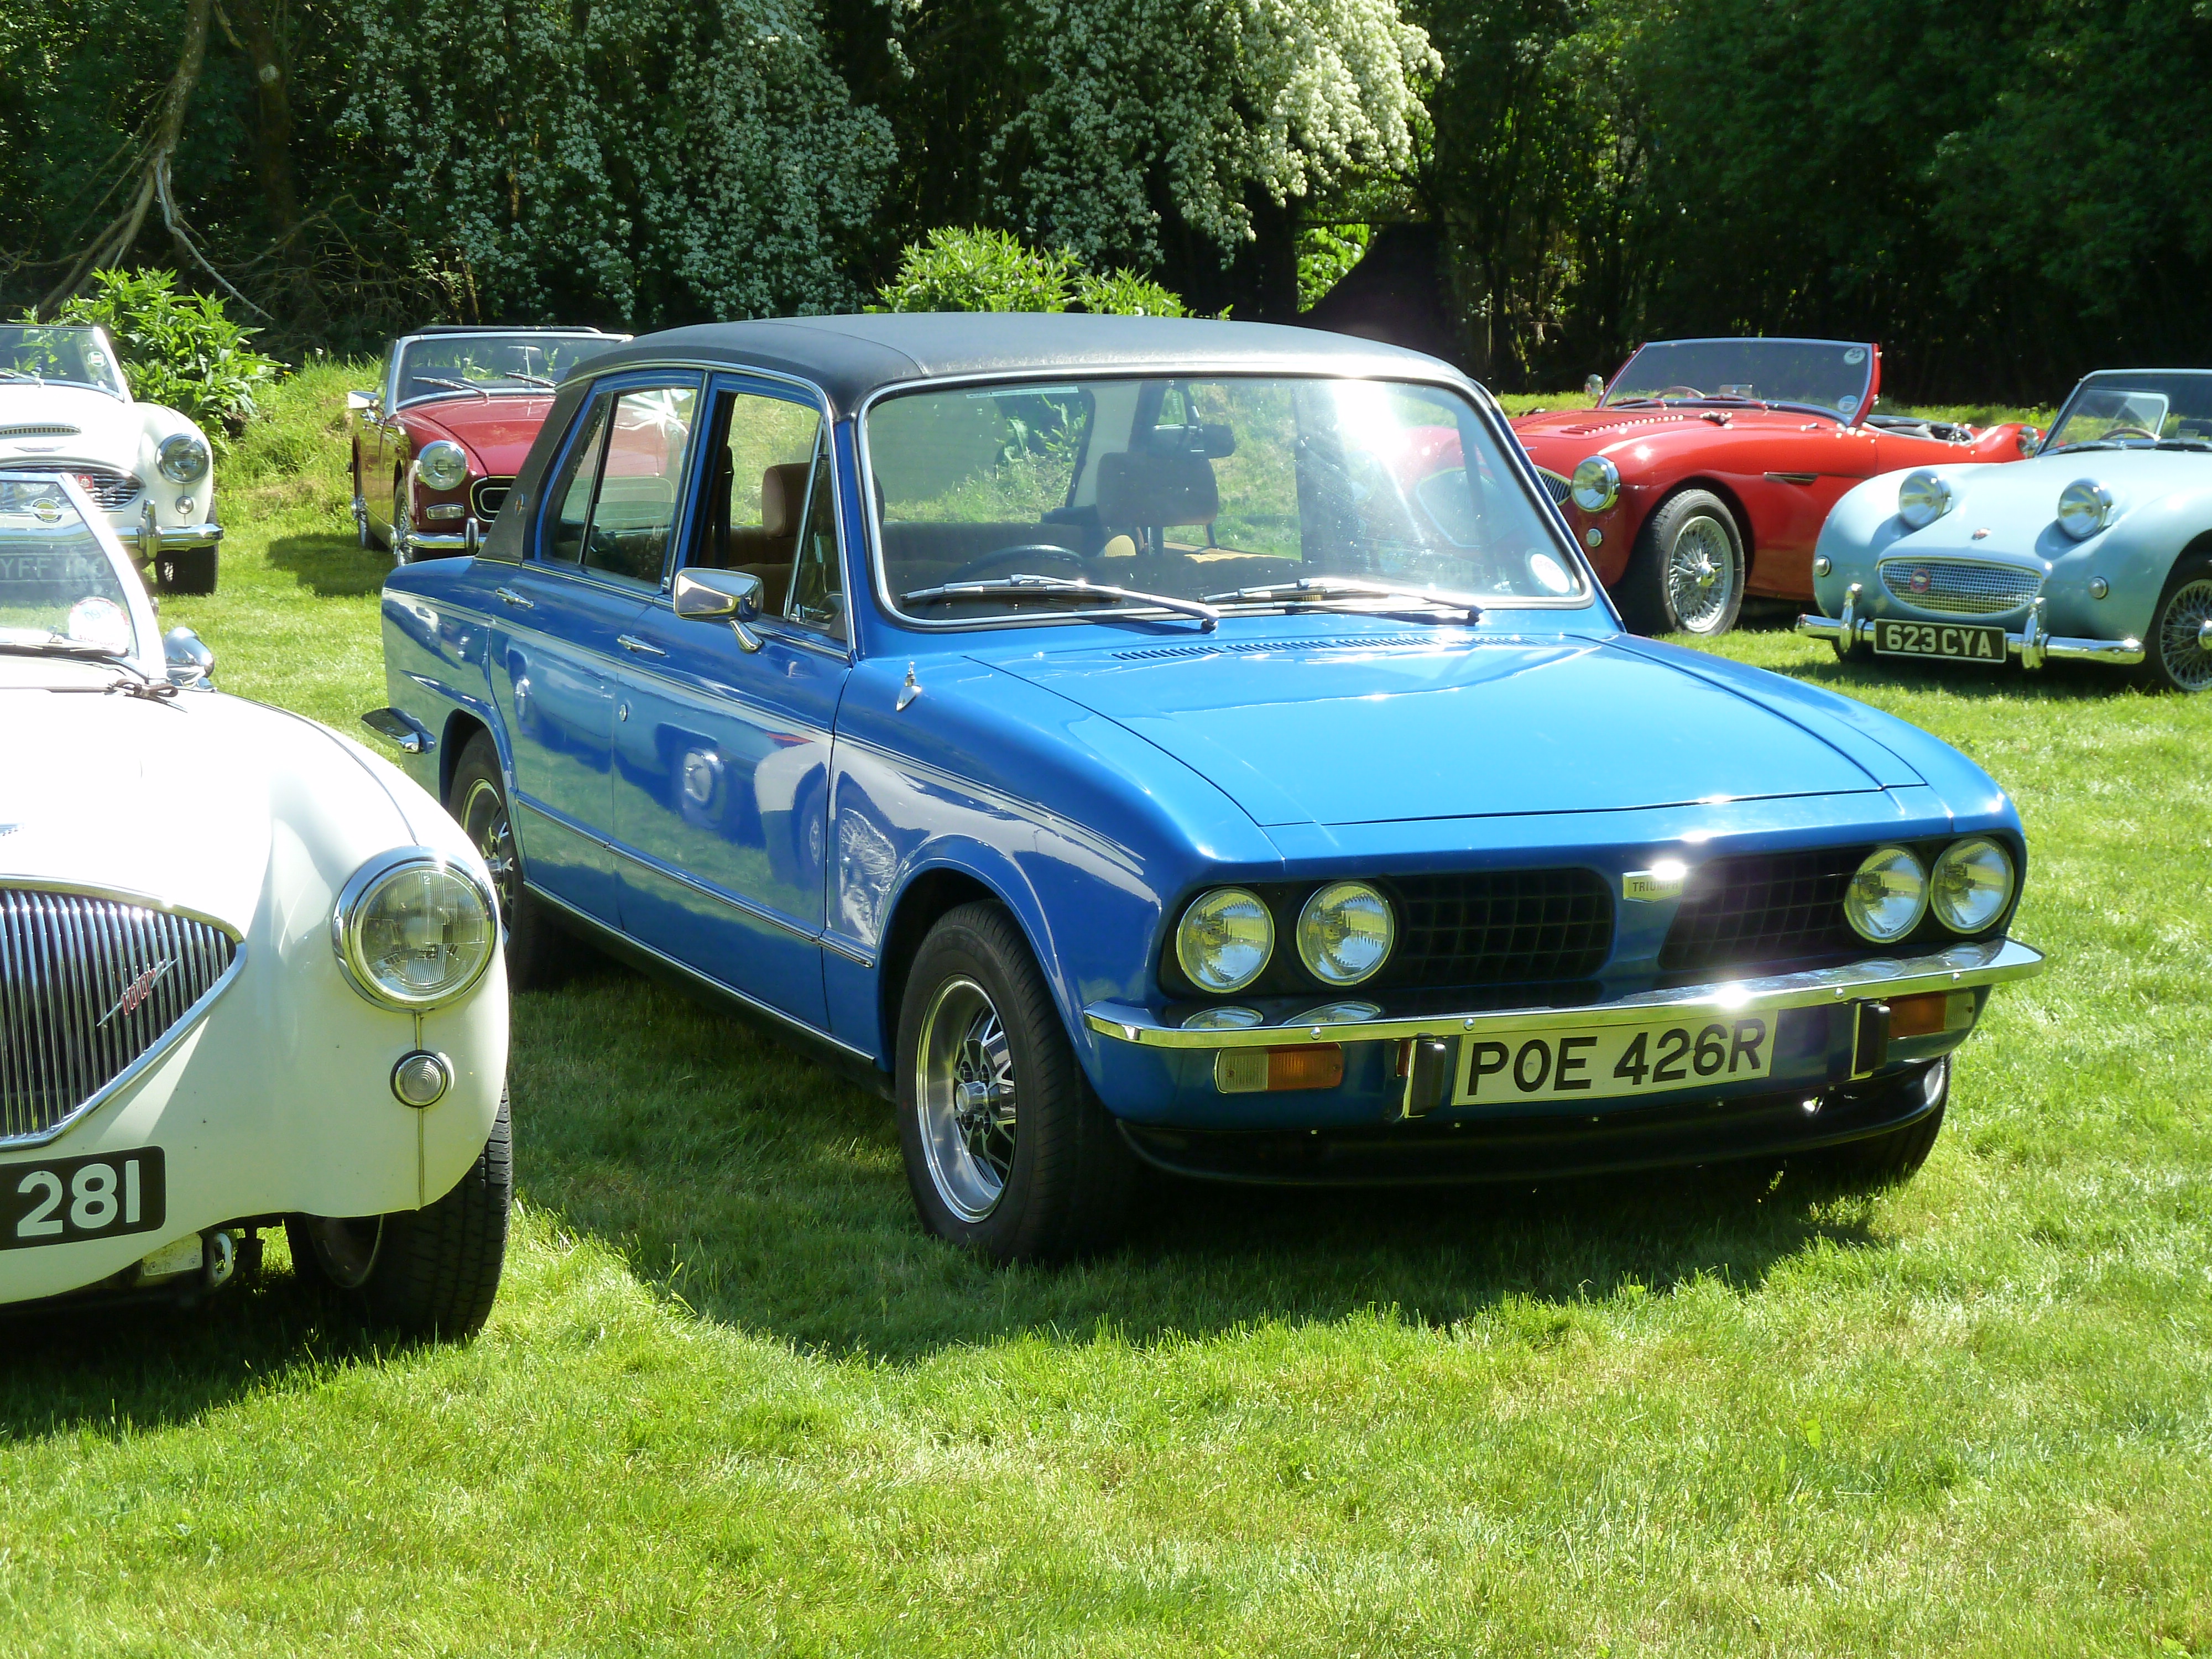
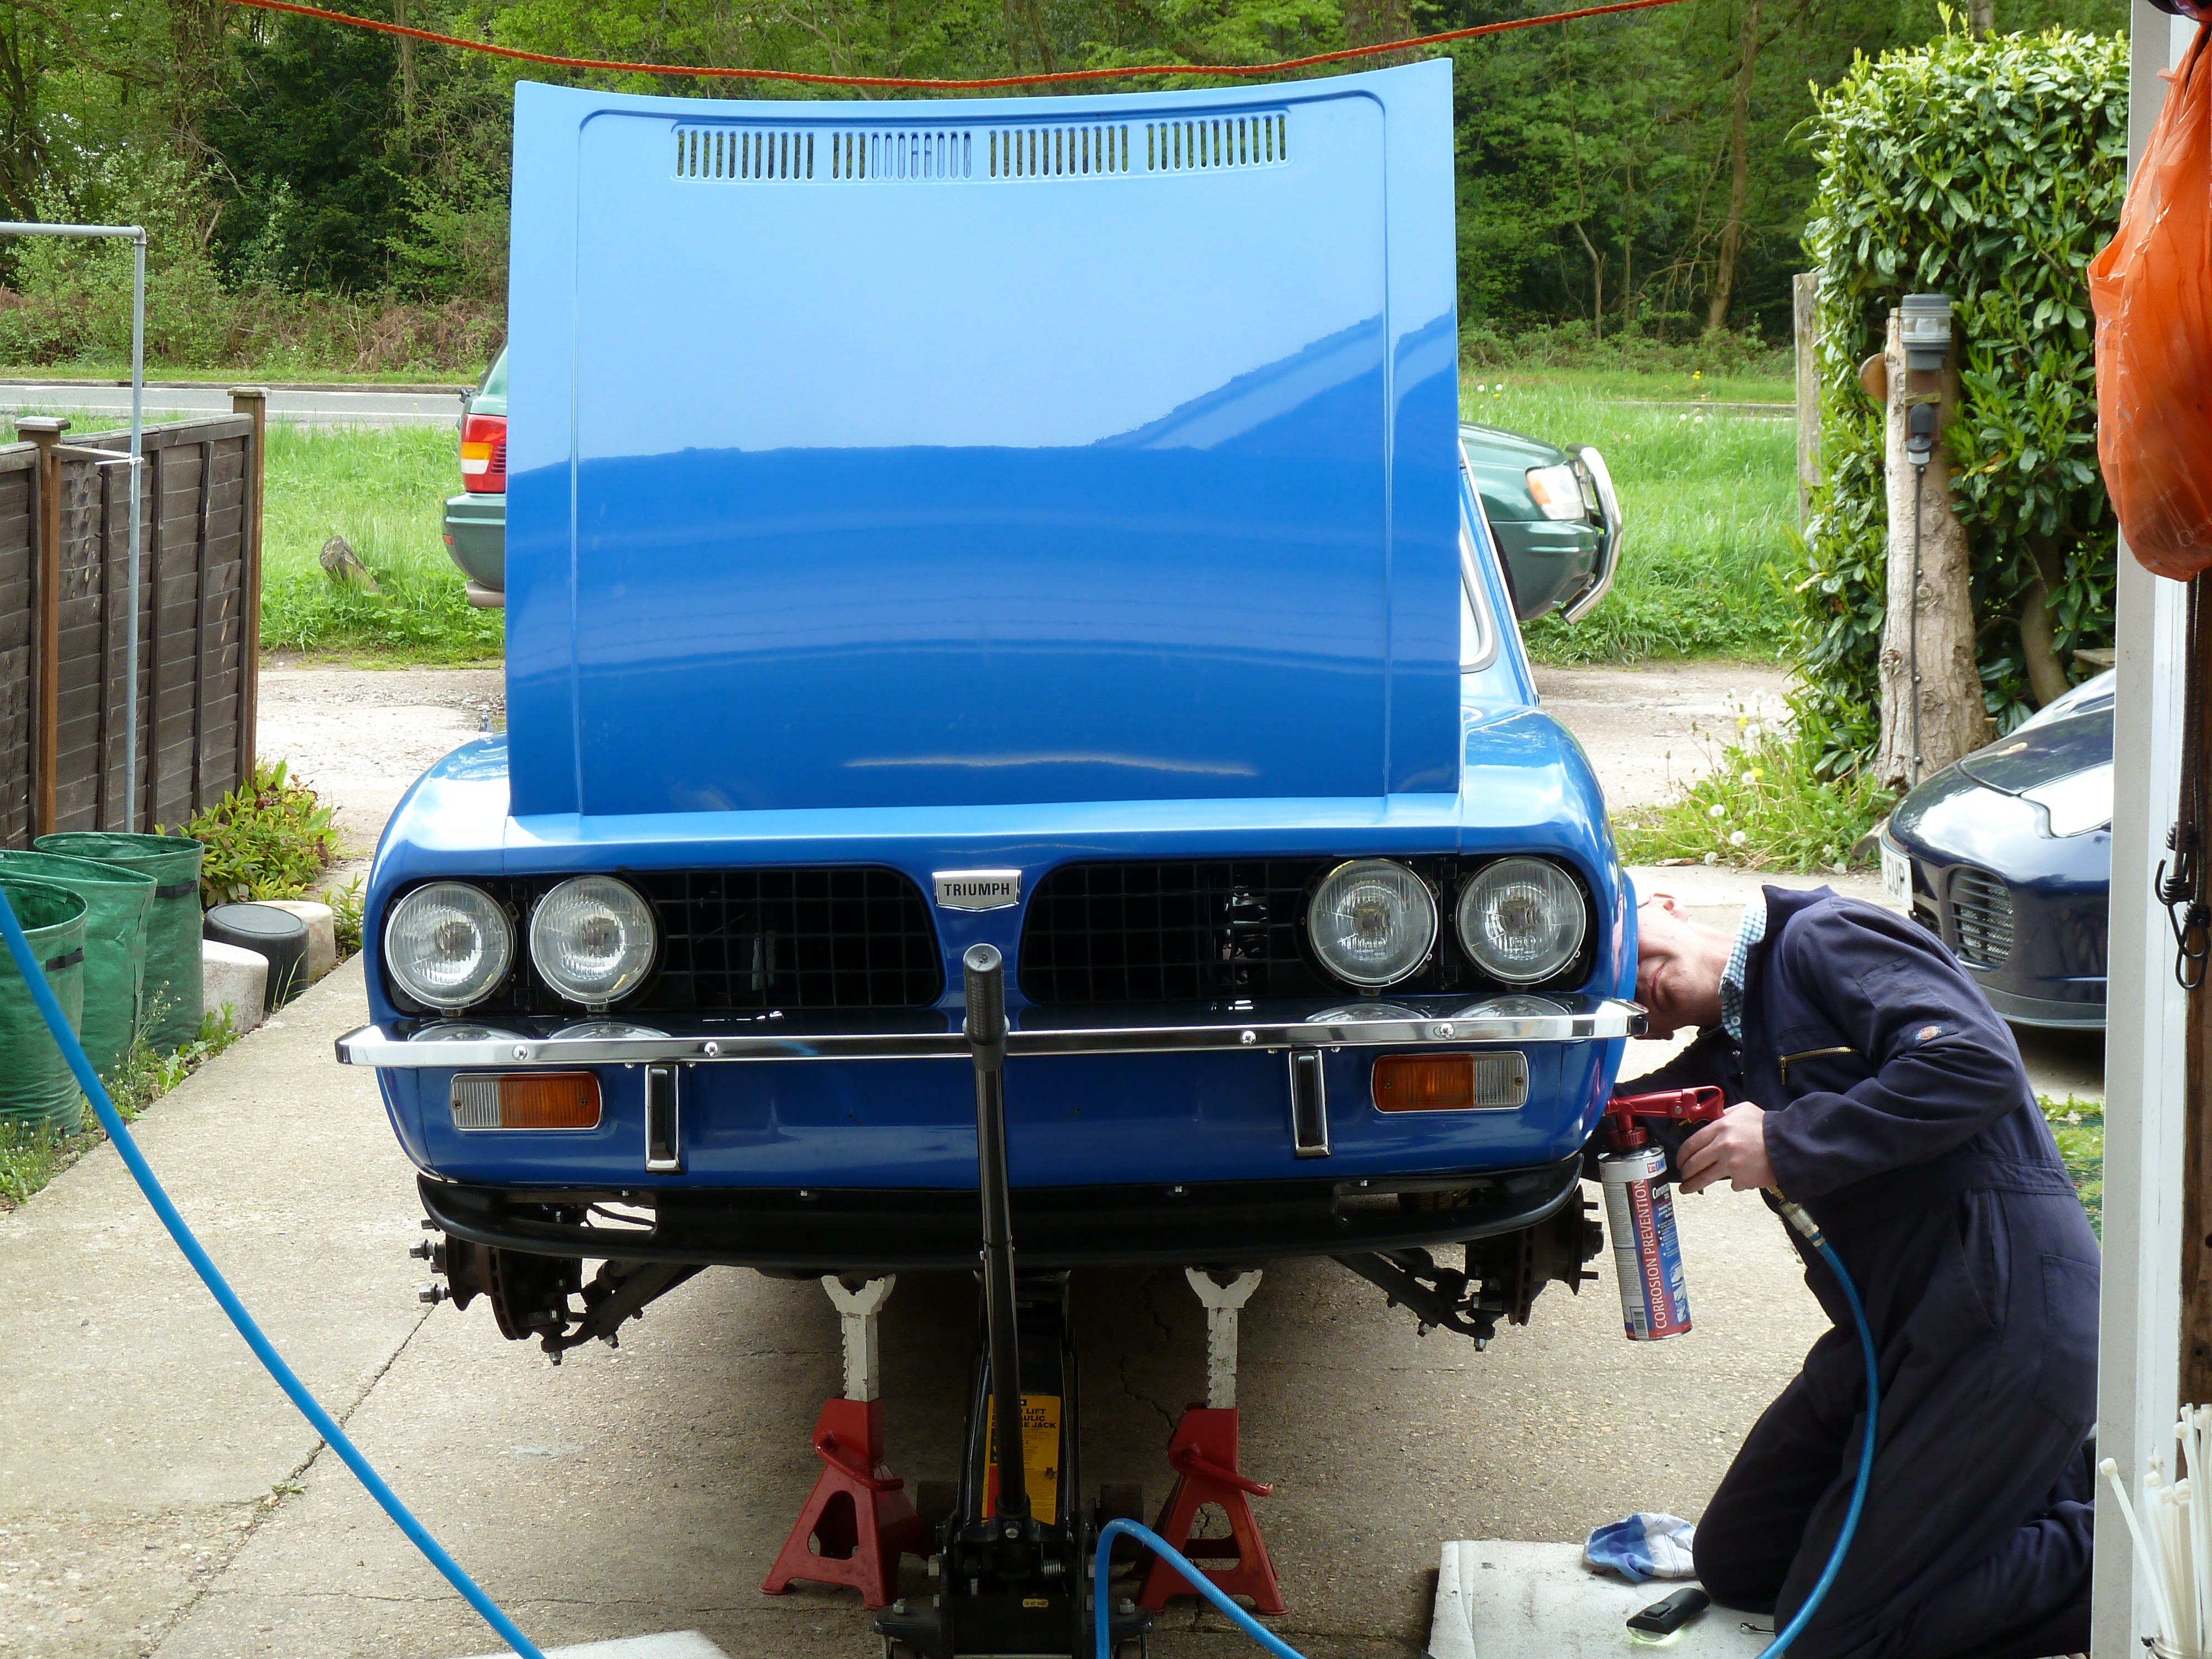
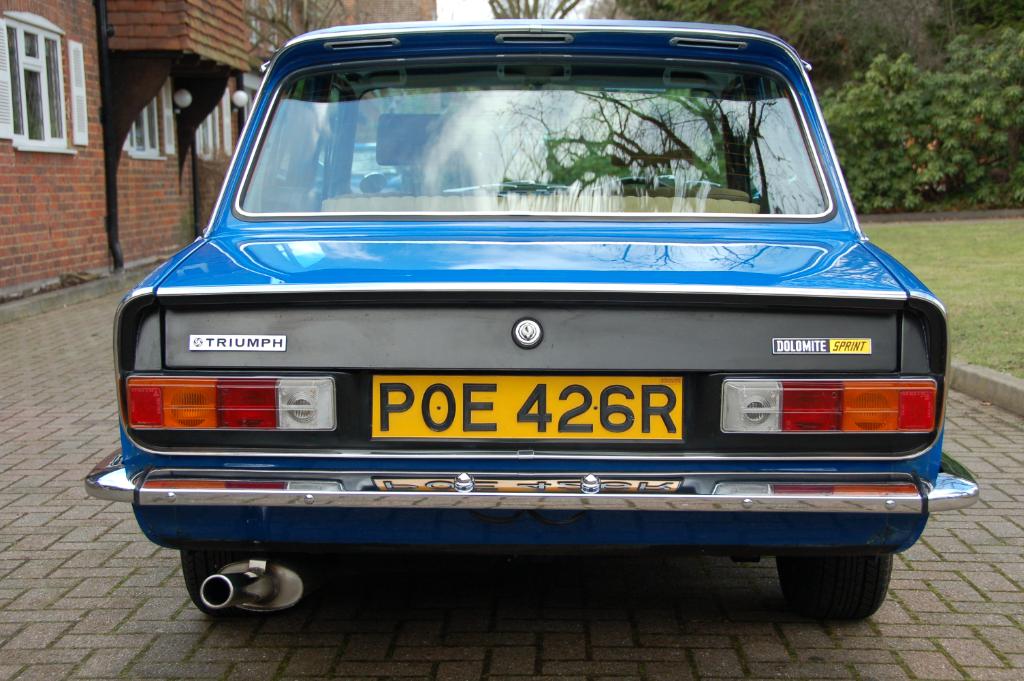
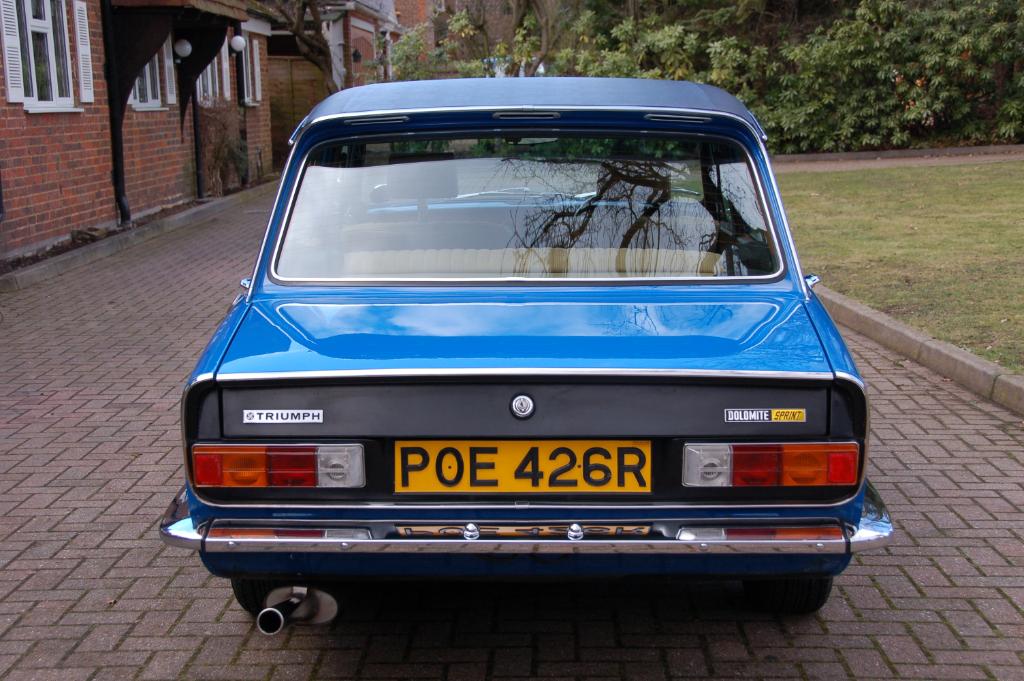
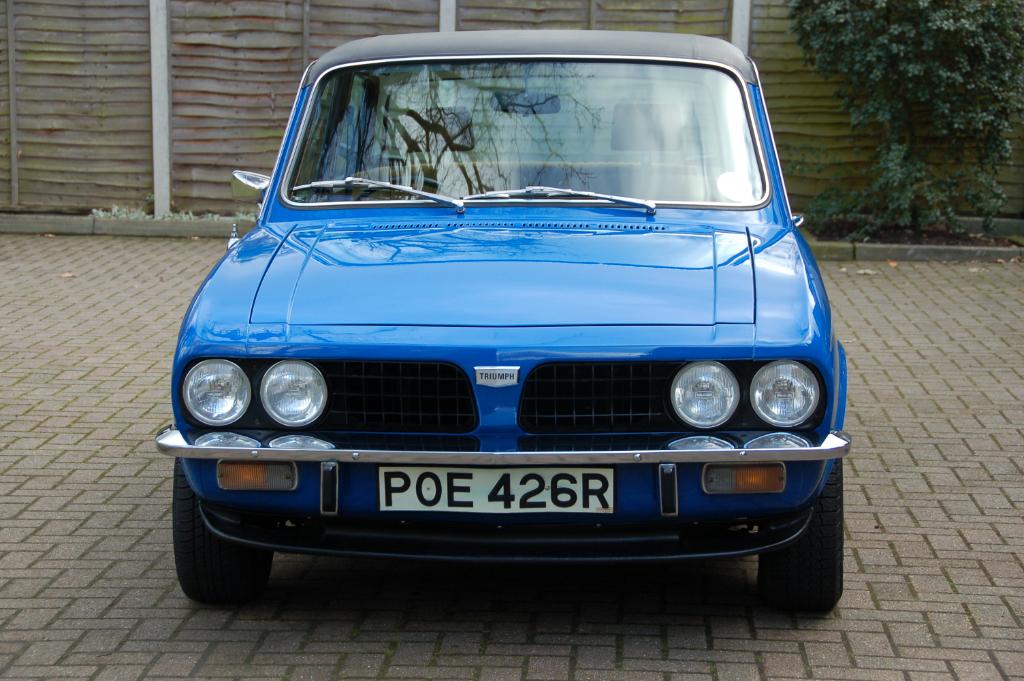
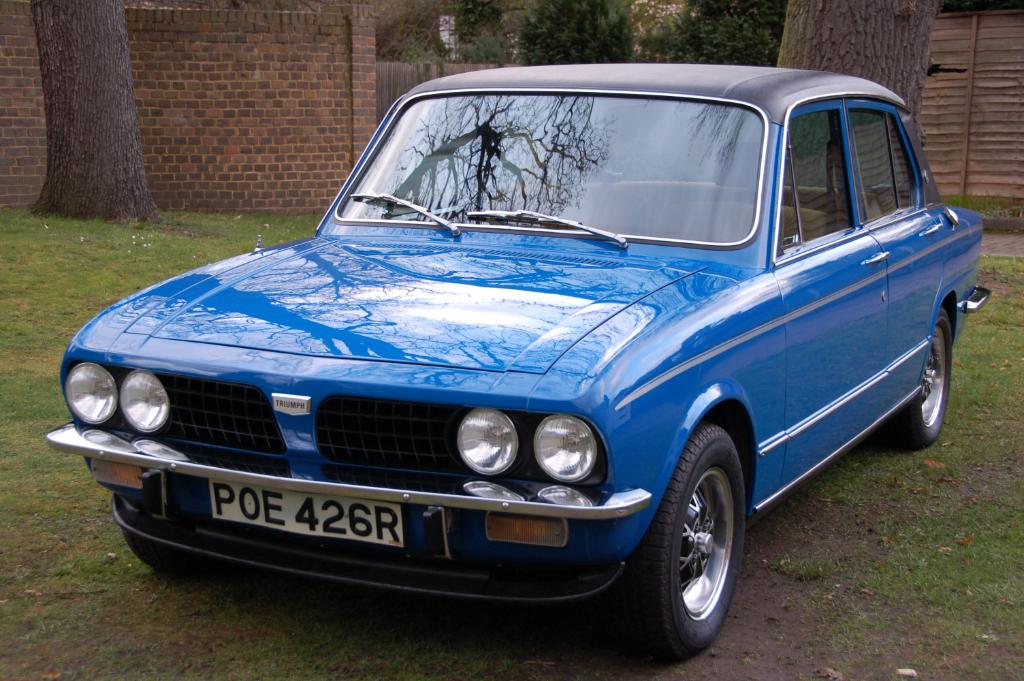
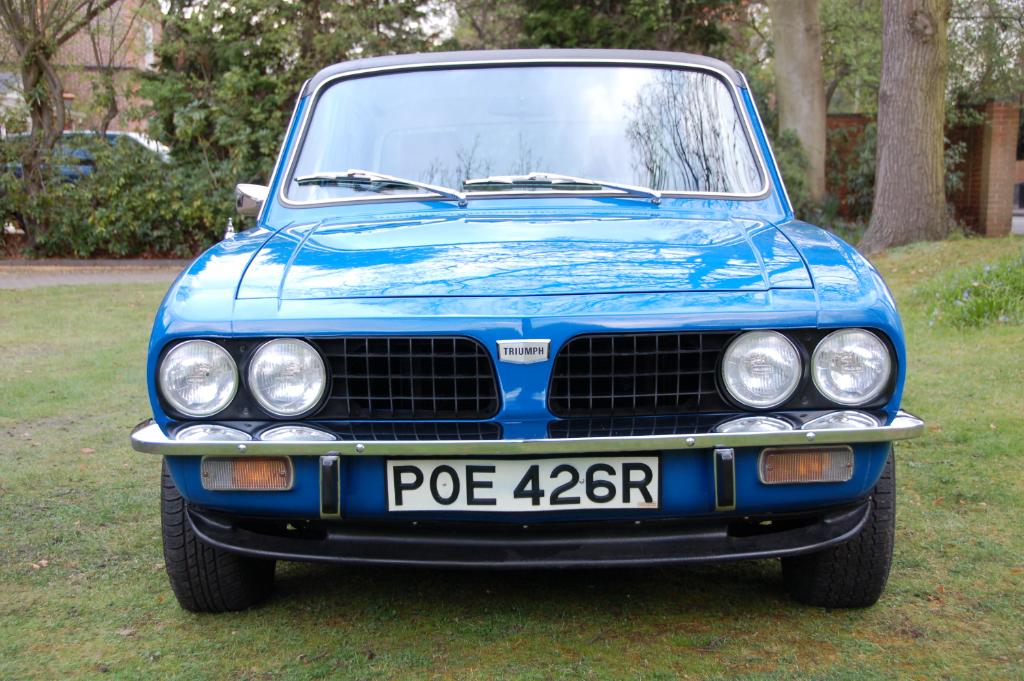
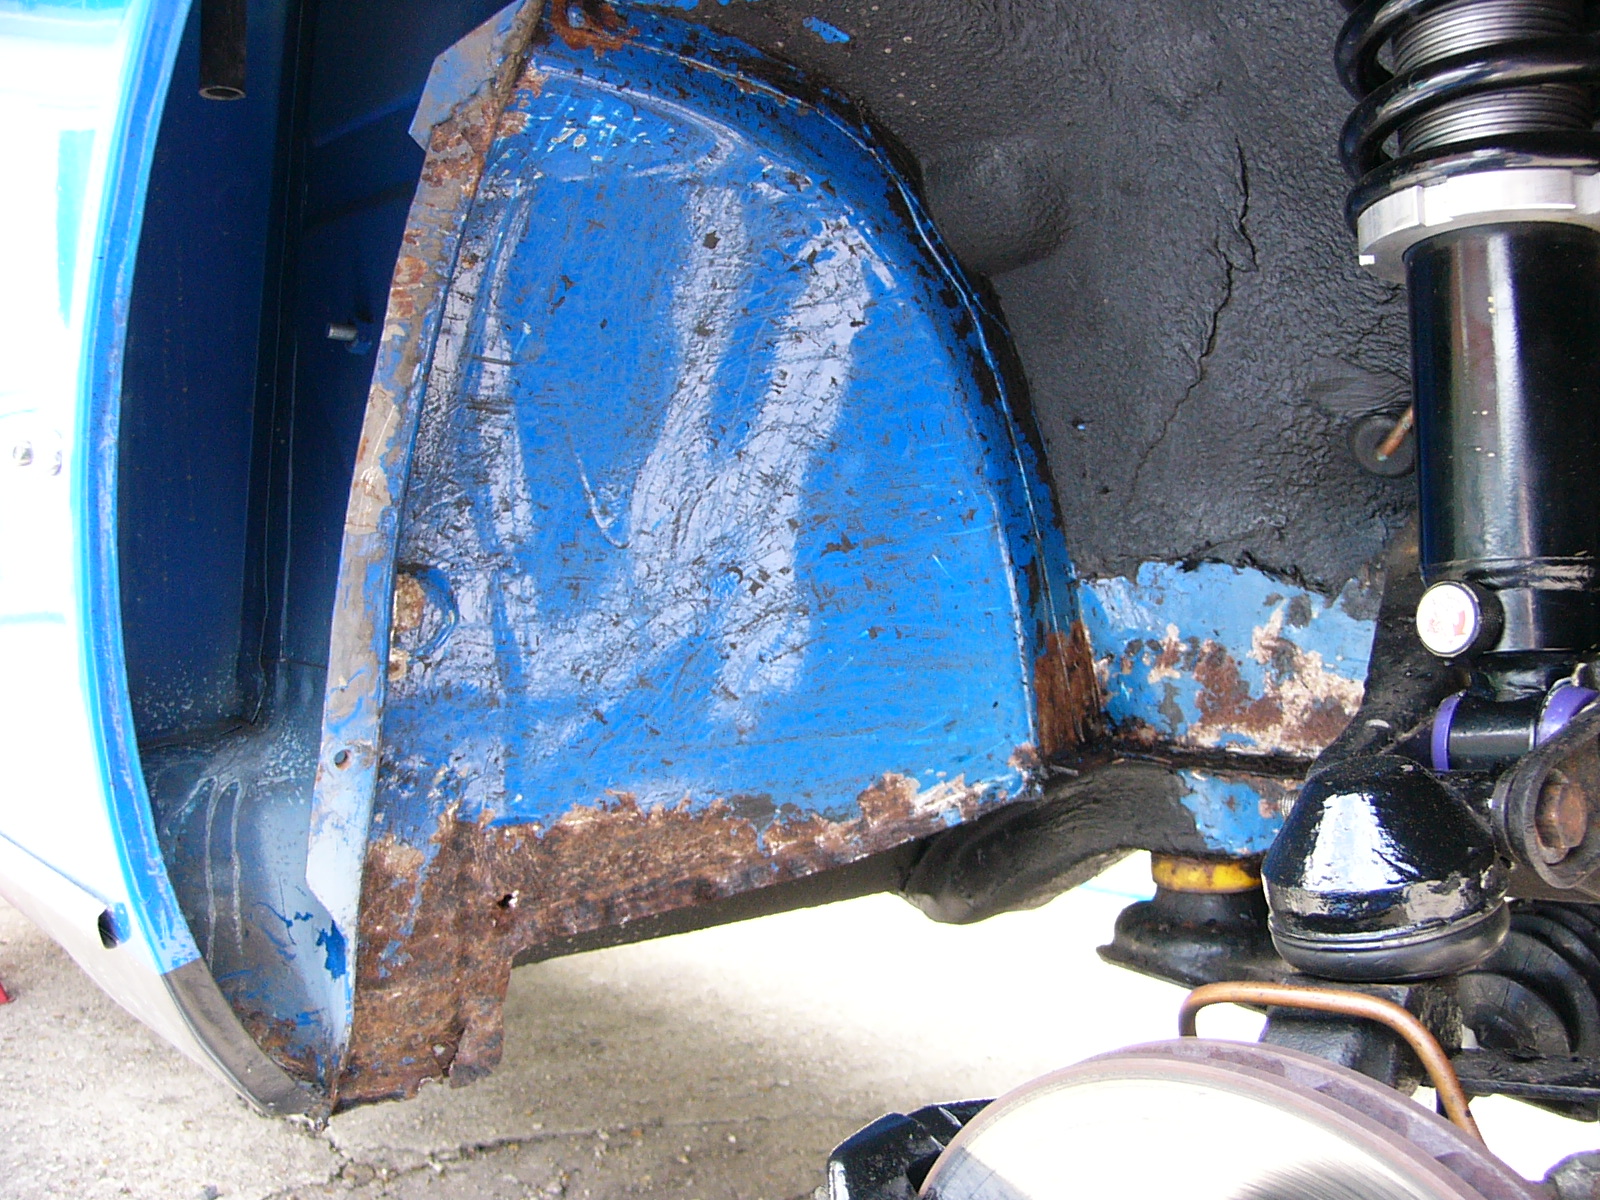
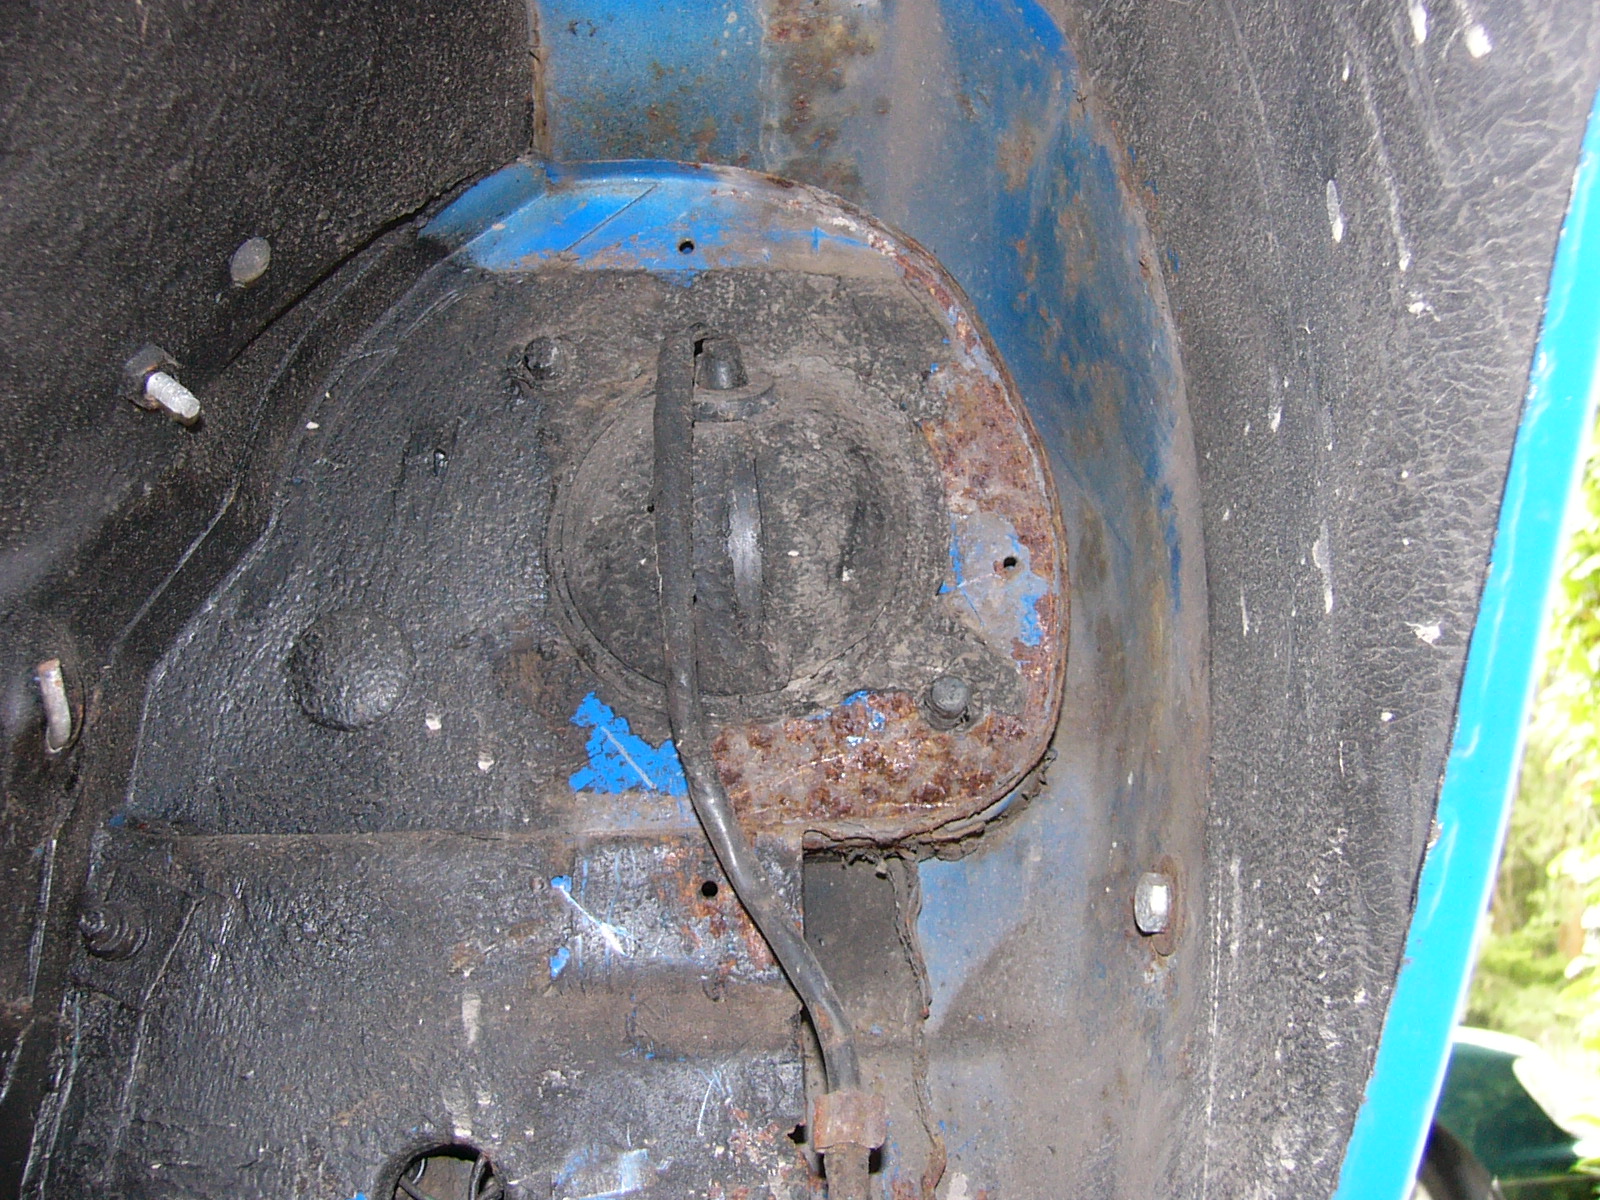
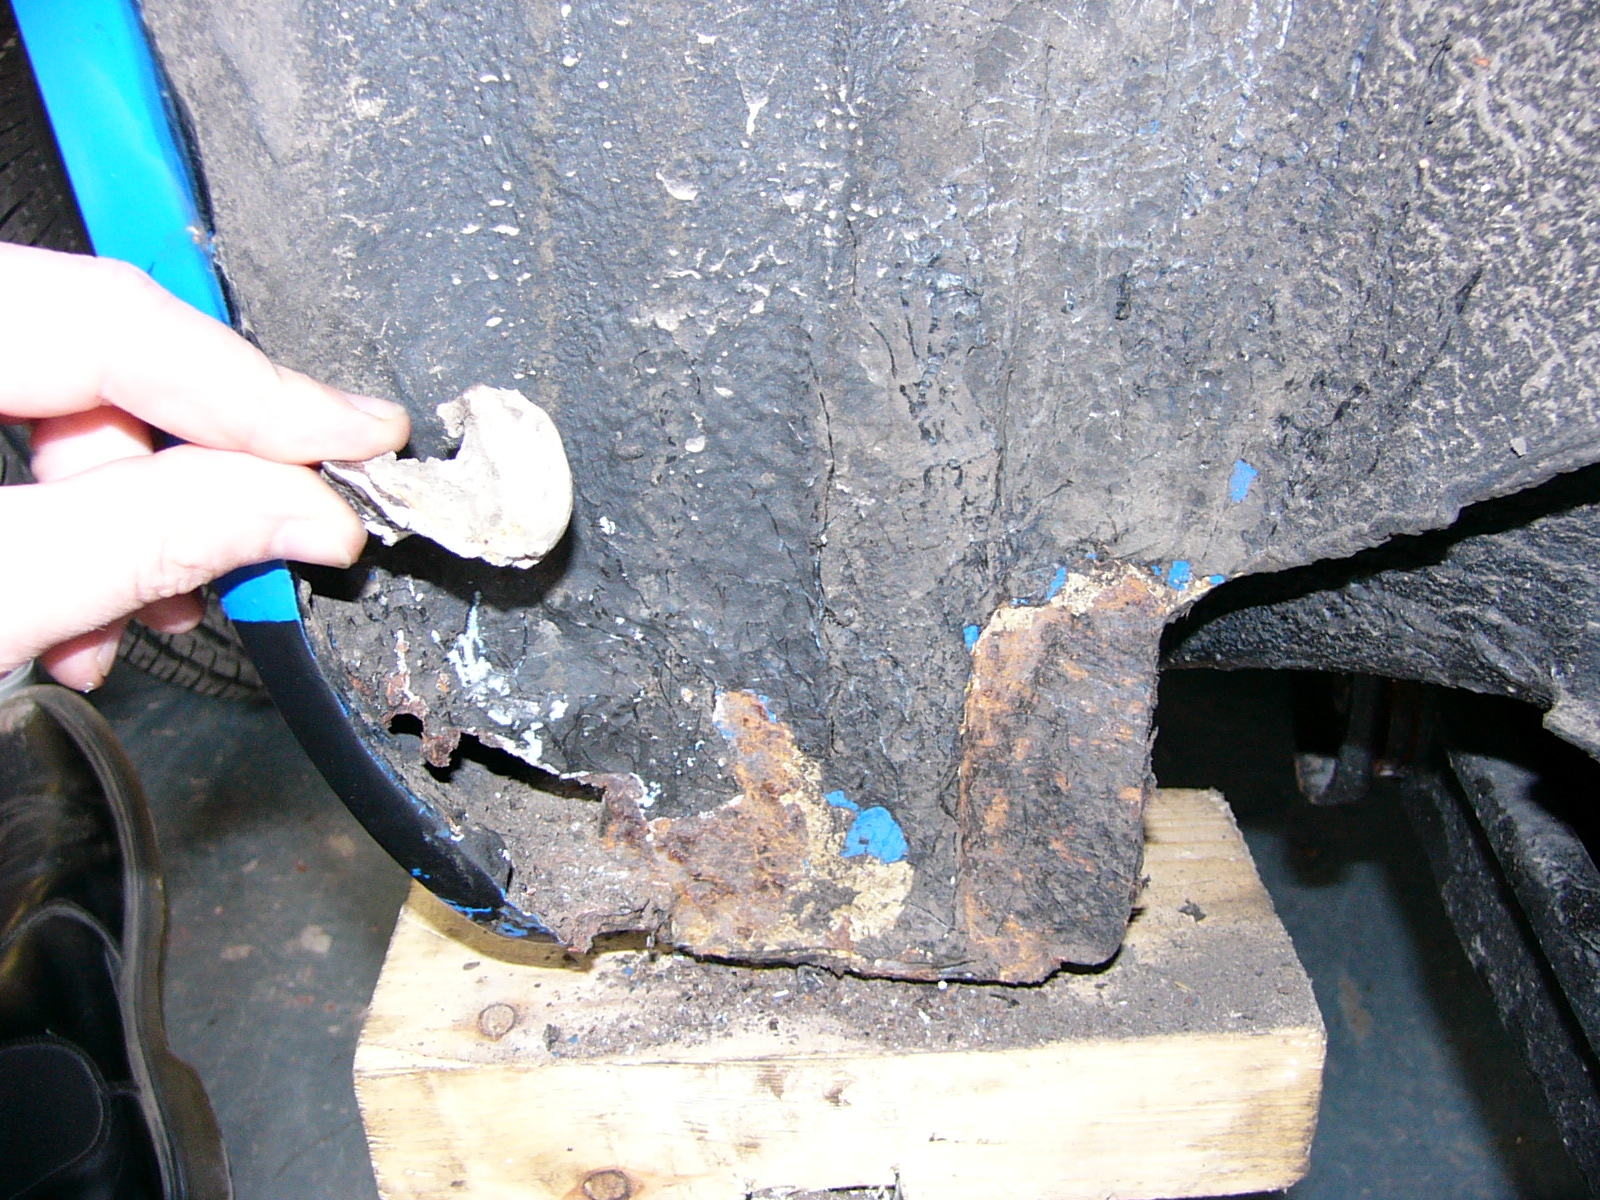
We bought our 27K mile Dolomite Sprint off ebay - the description, low miles and no work required was what made me buy the car. A bit of work was required to get everything back to how I'd like it. She's slowly getting there and is now back on the road - I have a bit more work to do underneath, mainly painting and protecting. Hmmm maybe a lot of painting and protecting. 29th August 2011 - one or two bits needed painting so I thought I'd have a prod about.
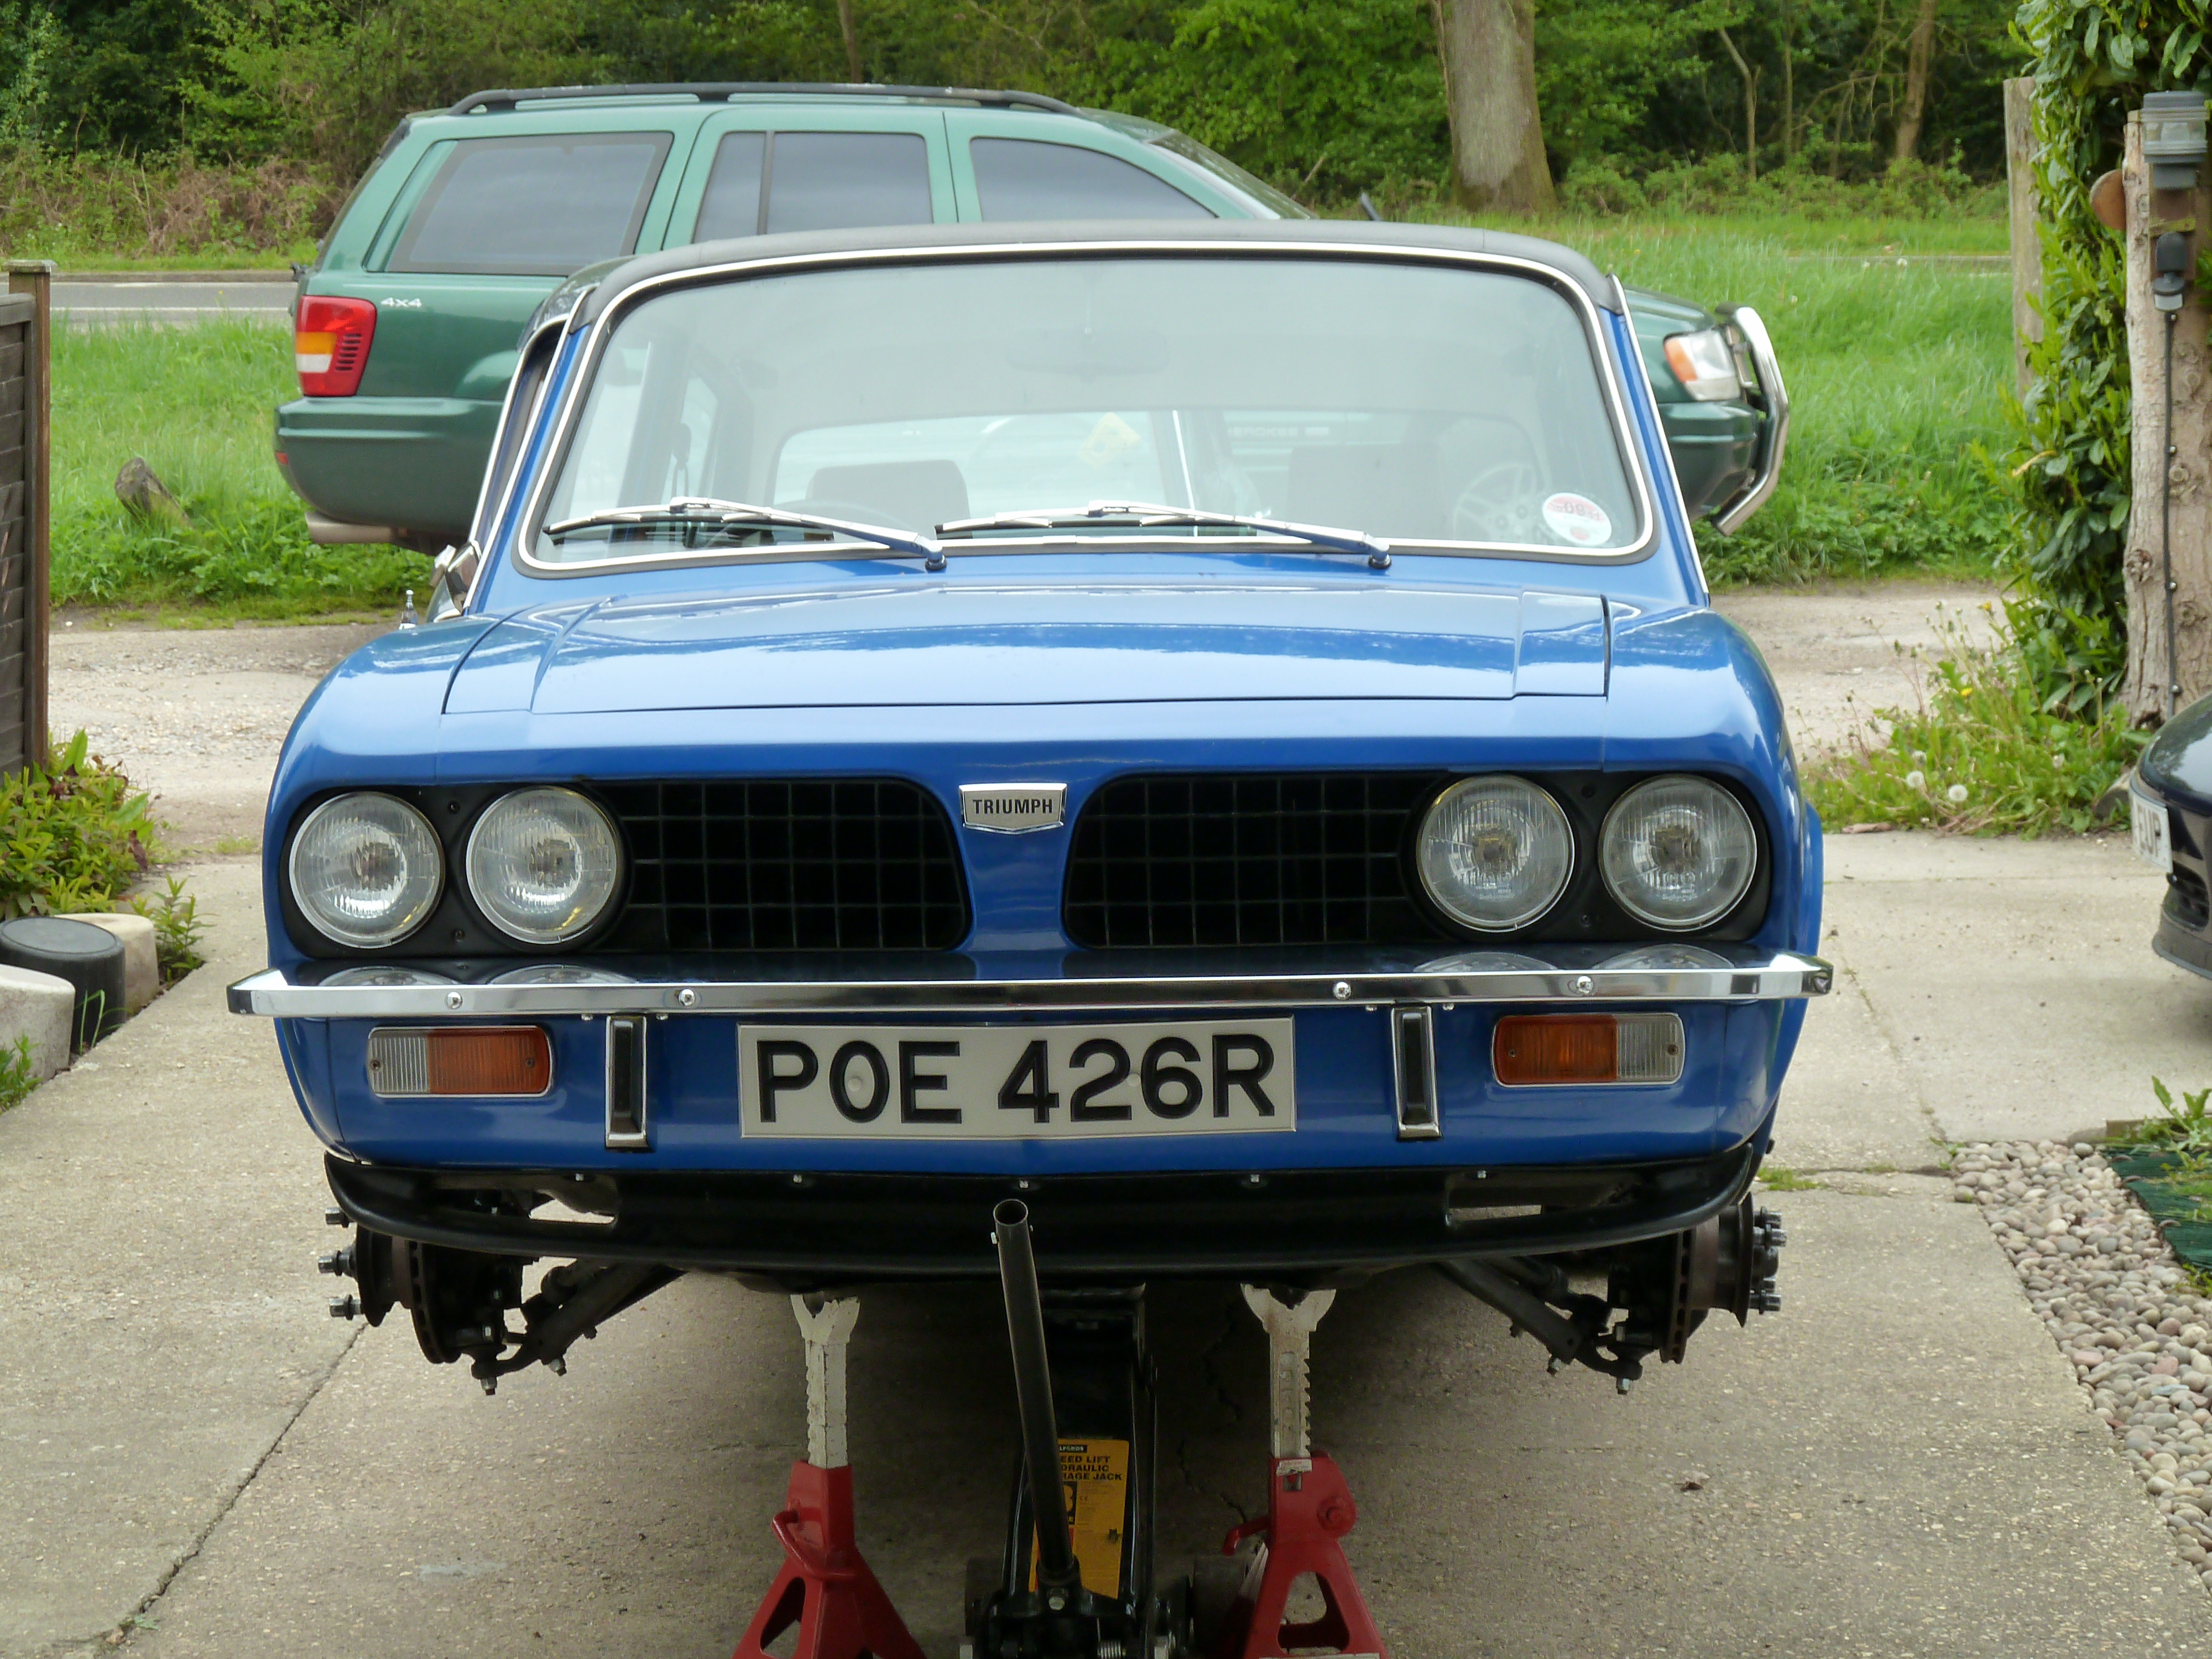
Doesn't look too bad under the OS Front arch... Lets have a little prod... Oh dear.
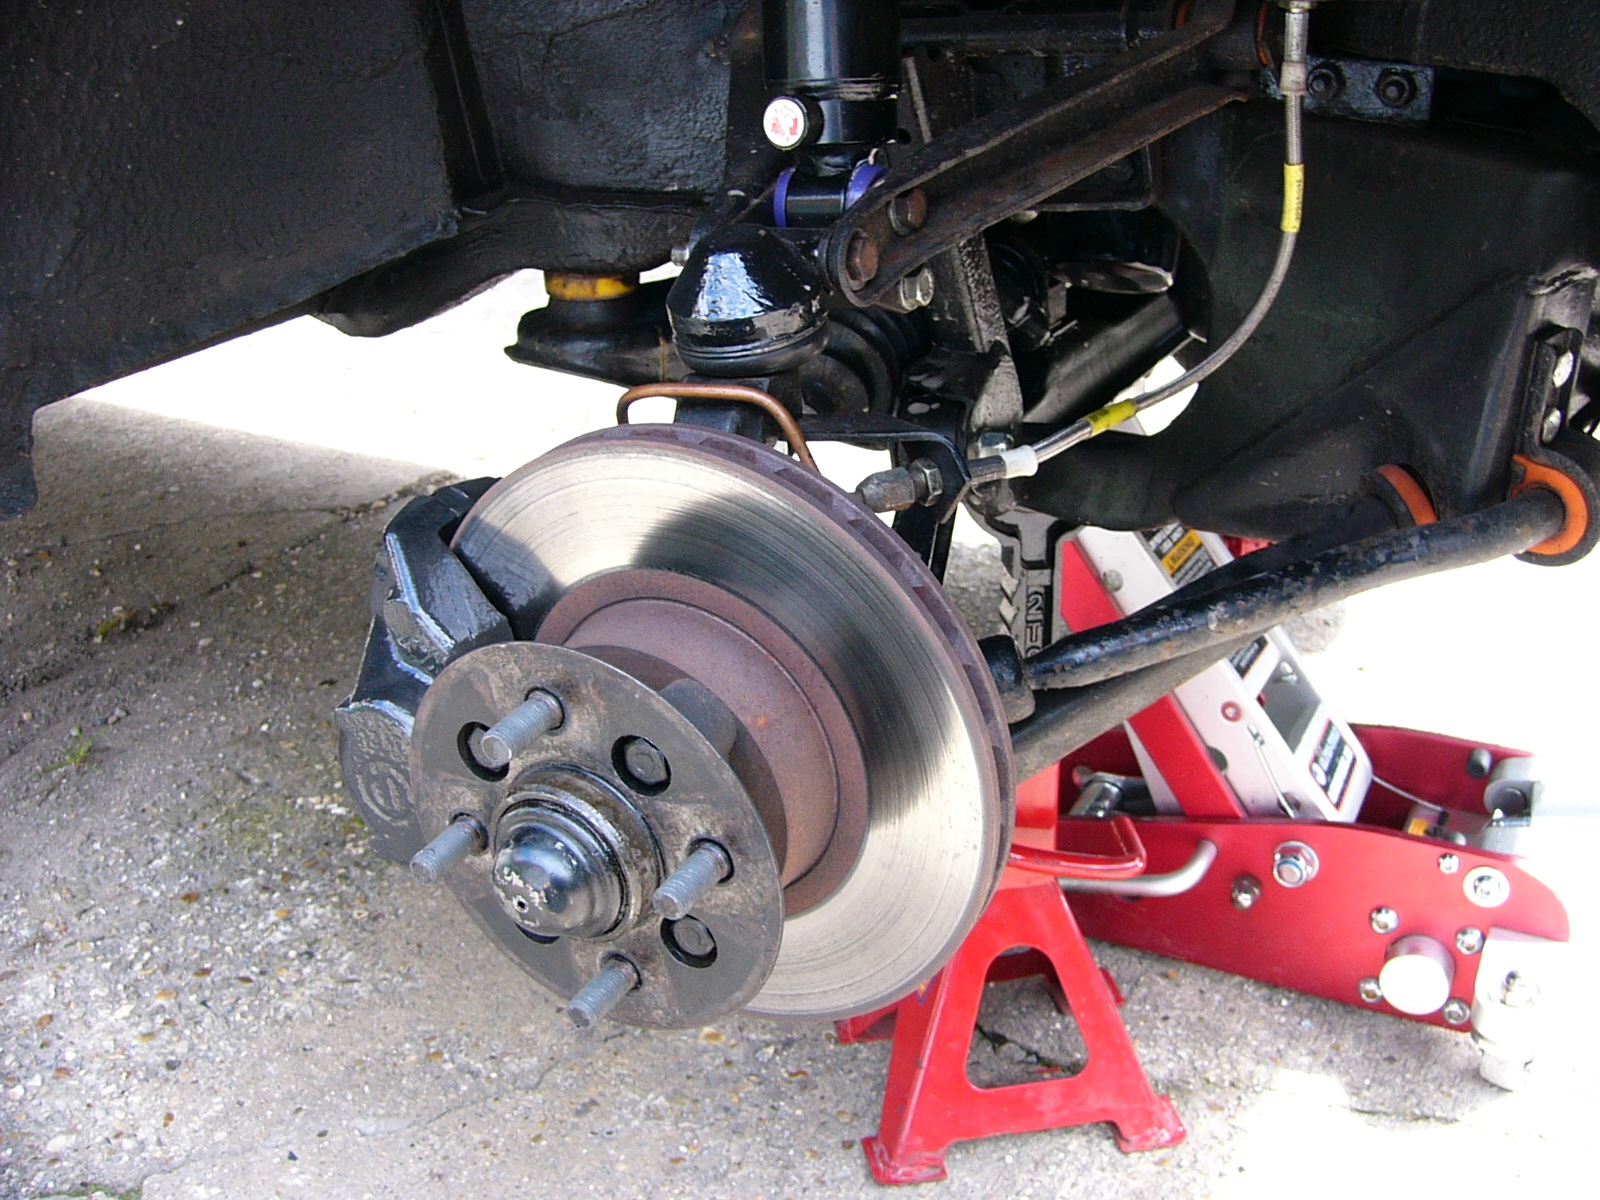
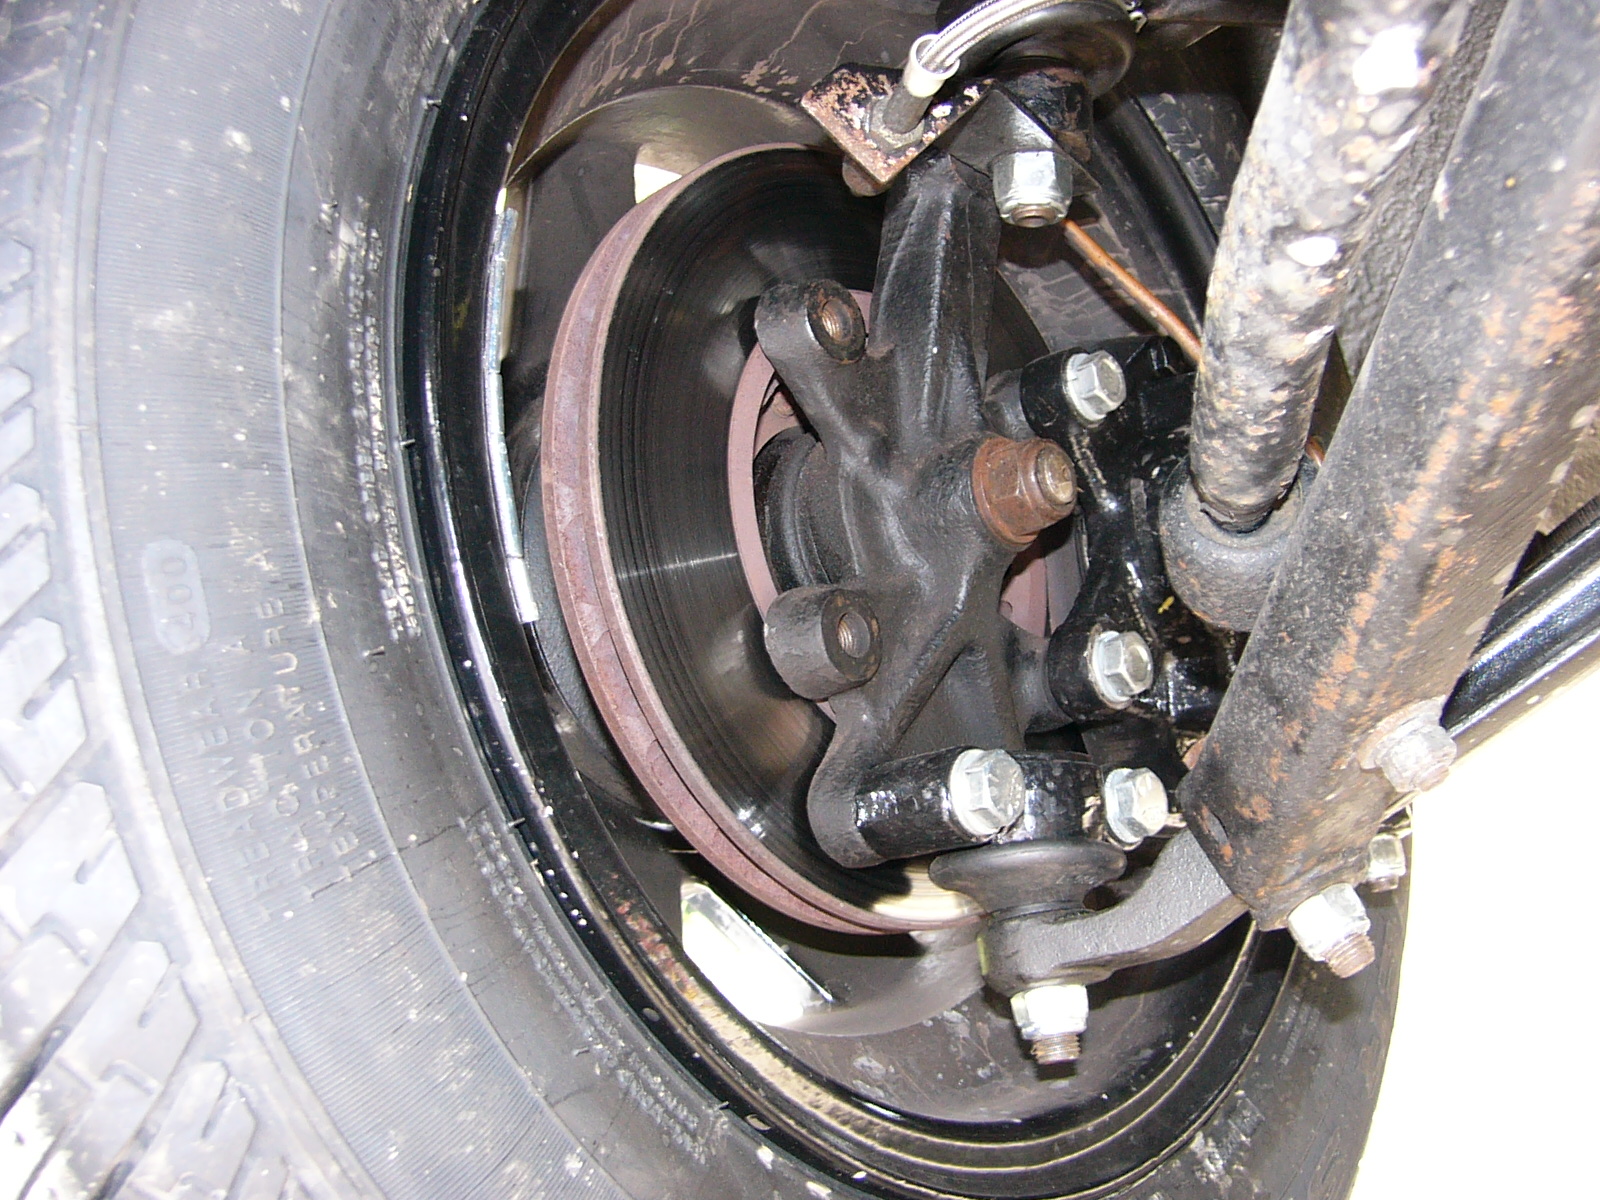
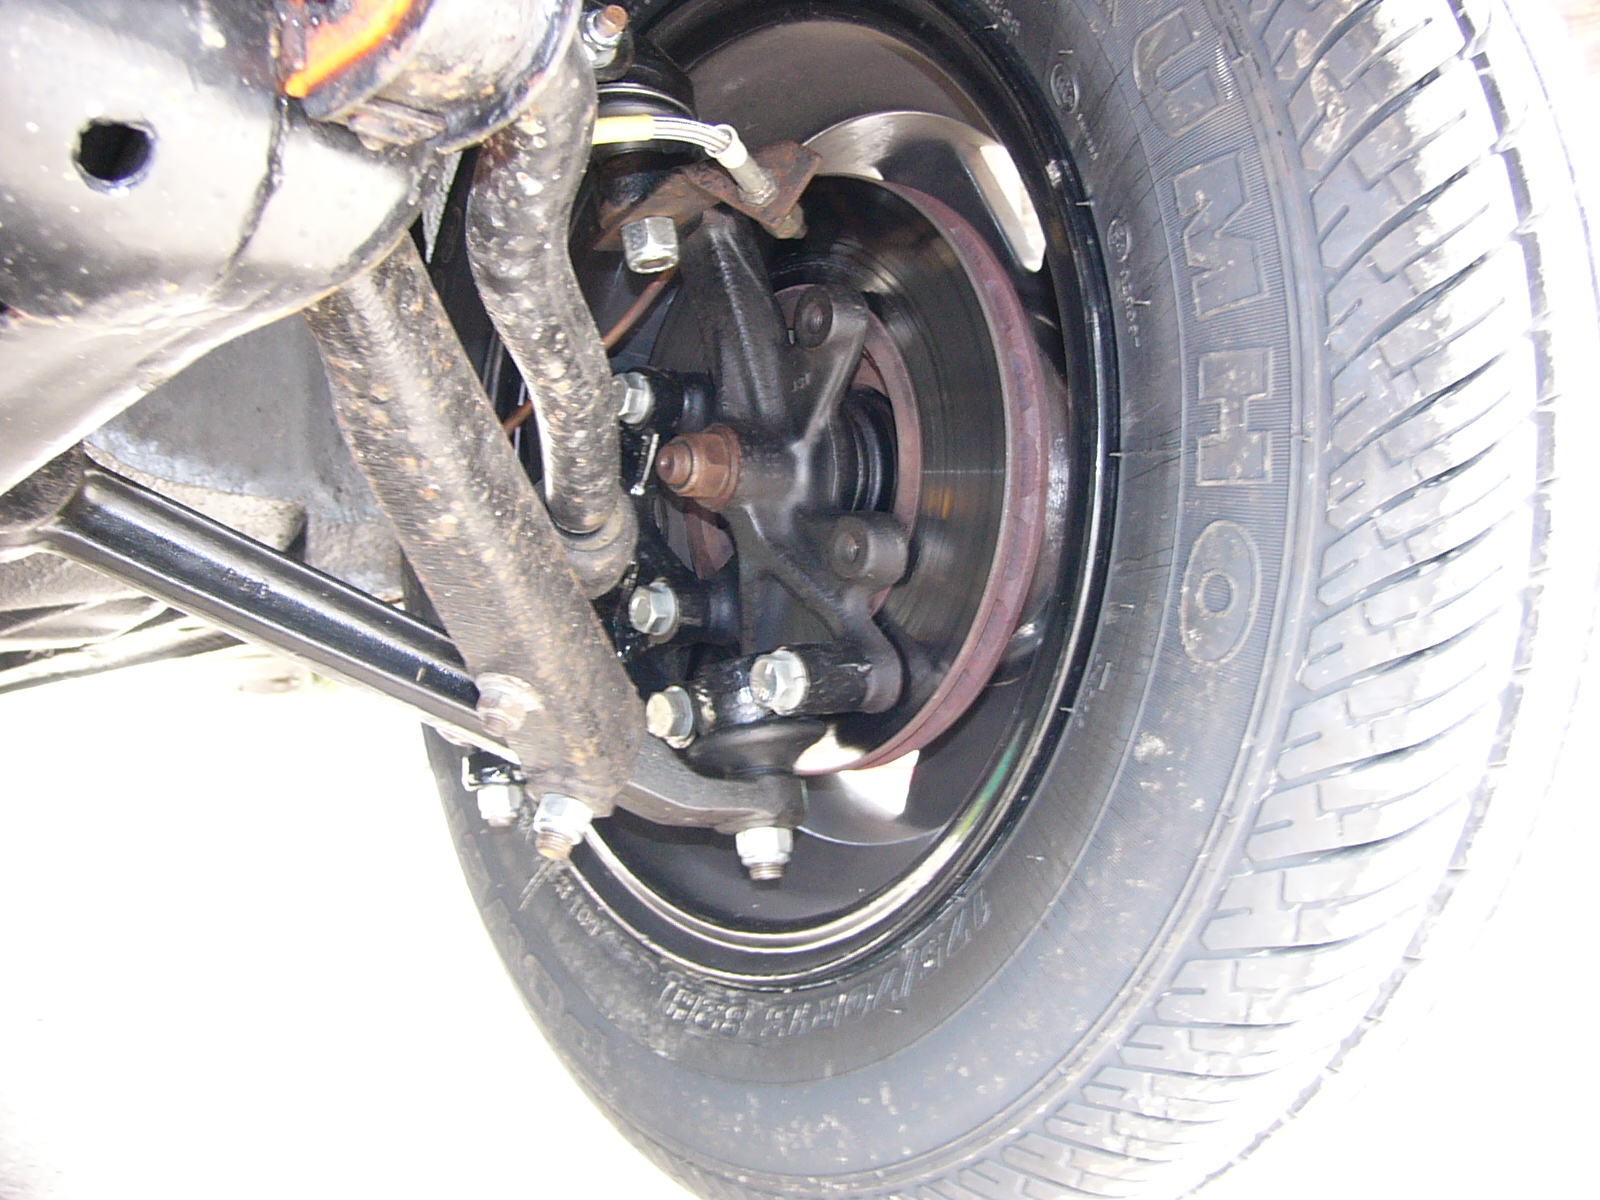
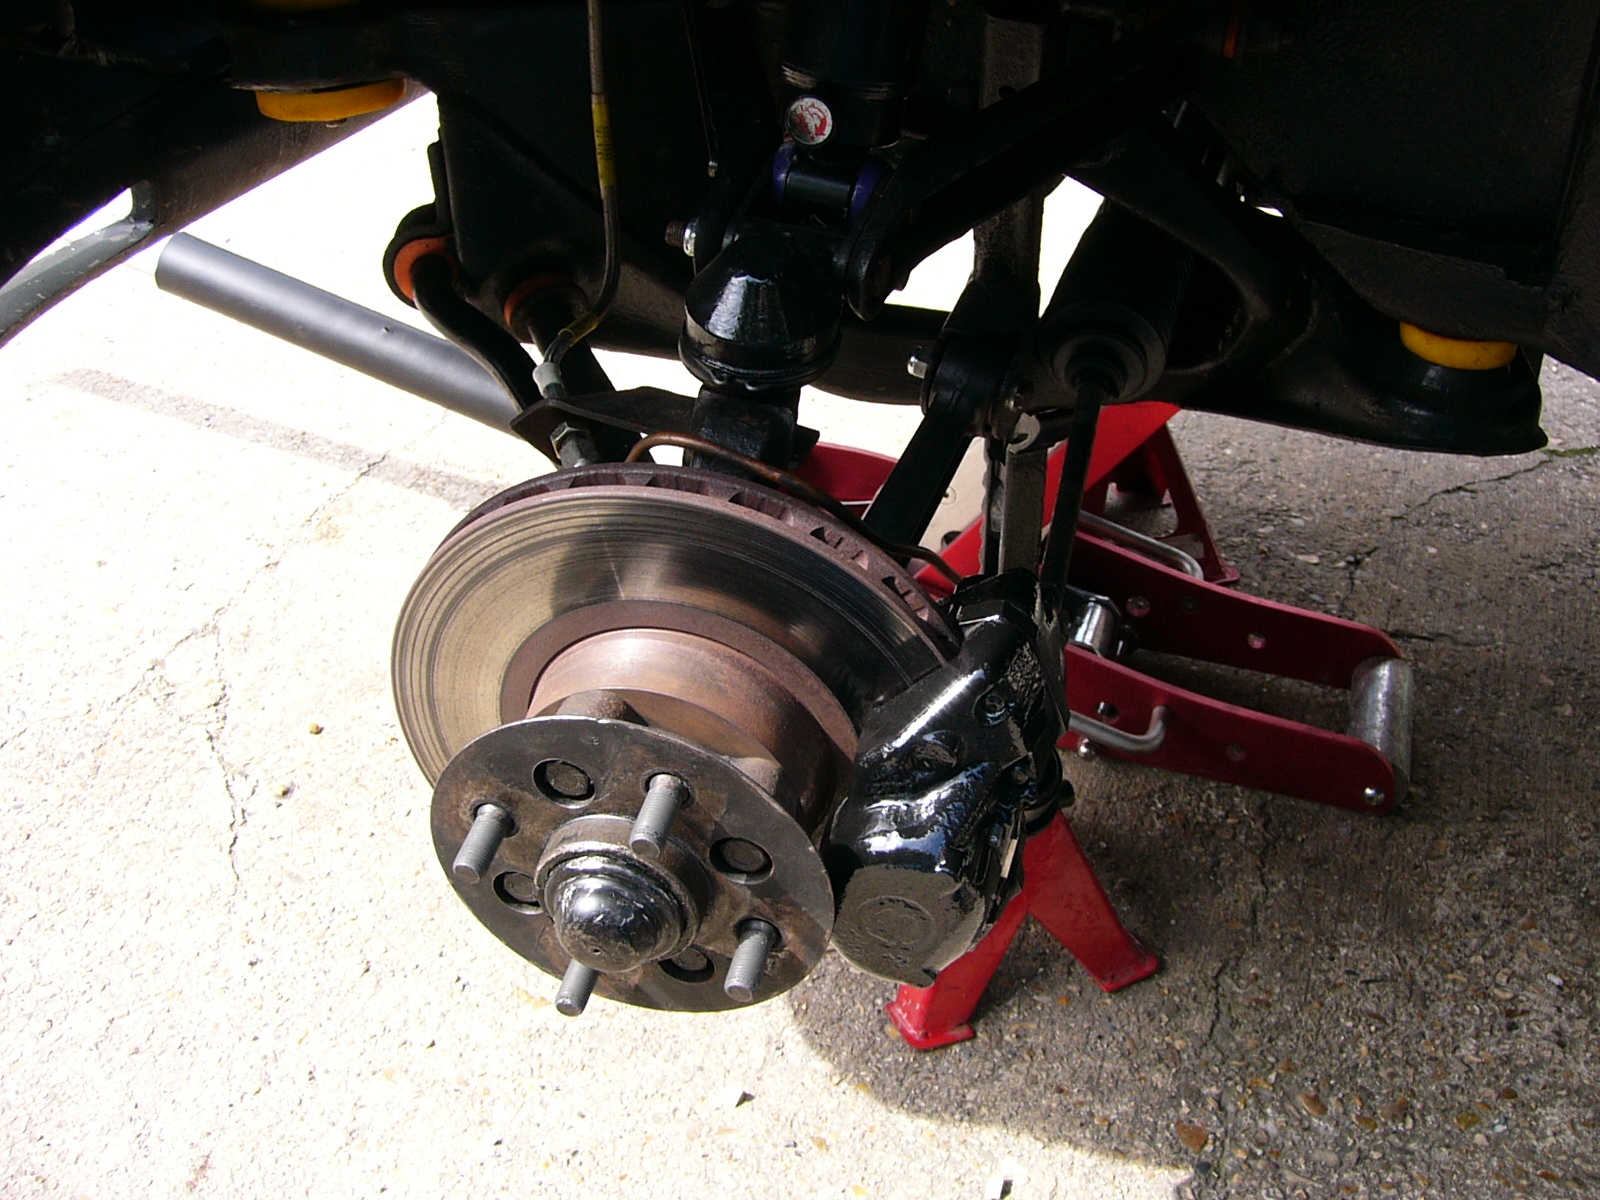
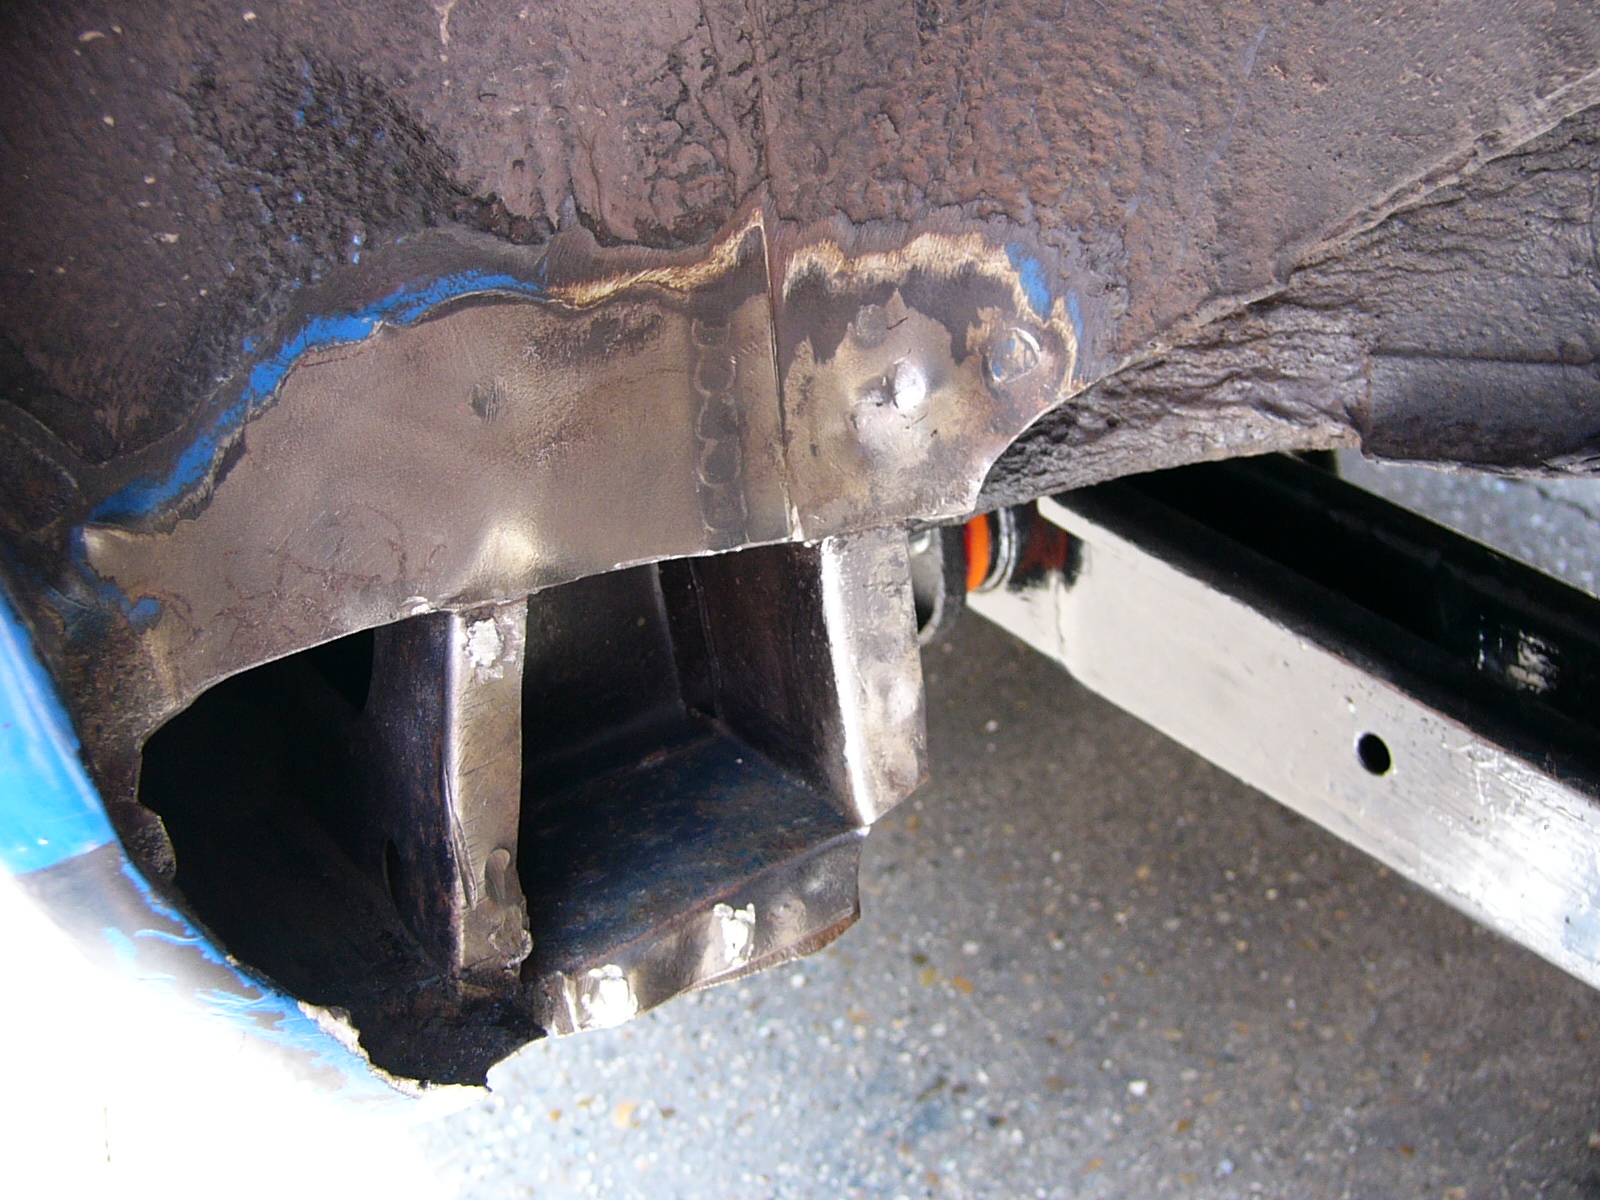
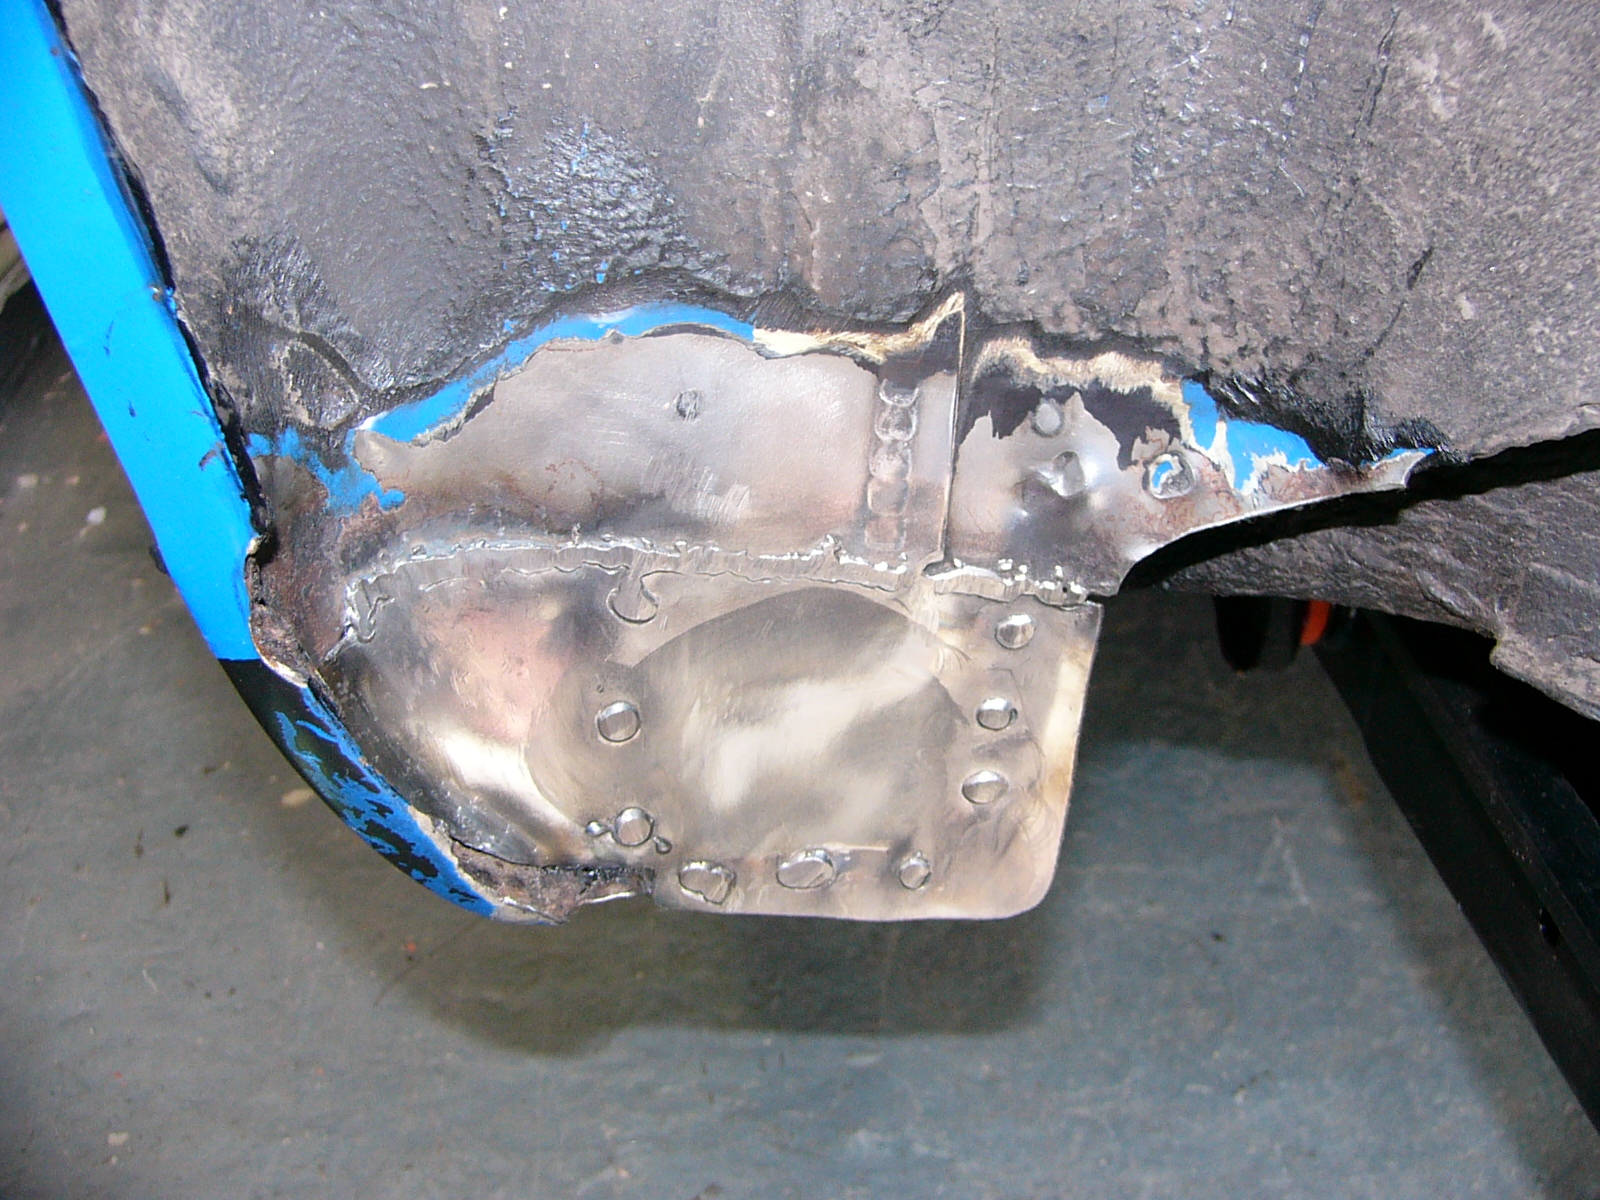
Some bits that have already been done are fitting ST Vented disks and calipers, replacing the servo, changing the rear suspension arms, re-fitting the exhaust and welding up the chassis rail, welding the rear jacking points sorting the EWP changing the head and sorting the carbs and exhaust.
The description from eBay is below and whilst the previous owner (Paul) has been great and has paid for the vast majority of repairs I'm going to point out some clangers in the description. Paul did some of the work himself - mainly the wiring and this has been done to a professional standard - the rest of the work Paul had done is a joke, Paul's was horrified when I pointed out the quality of the work - but he should have double checked what he had paid good money for. Paul's mechanic and MOT man was in fact Stevie Wonder. History The car was first purchased by Miss Broadbent on 16/03/1977 who used the car until 1992. The car was then taken off the road for seven years having covered only 24,000 miles. During February 1998 the Sprint was recommissioned and then sold to only it's second owner Mr Bates on 17/02/99 who then sold it on to Paul Jopling in May 2003 having only covered 26,000 miles. Paul spent over £3500 on sensible improvements for which I have most of the receipts. The car has always been garaged. Sprint Quotes From Press Articles Of The Time 'Sparkling performance, yet very tractable. Effortless cruising allied to good economy. Responsive handling and comfortable ride. Luxuriously appointed. Tremendous fun to drive'. Autocar Magazine ...'the Sprint must be the answer to many people's prayer. It is well appointed, compact, yet deceptively roomy. Performance is there in plenty, yet economy is good and the model's manners quite impeccable ... Most important of all, it is a tremendously satisfying car to drive'. Motor 'It's the engine that sets the Sprint apart from most other British 70's saloons. 16-valve technology was unusual for 1973, and Triumph overhead cam unit was both simple and effective(0-60mph in under 9 secs was blistering for 1973). TR6/Stag-type four speed box could be had with optional overdrive. Also larger brakes, and alloy wheels (the first on any british mass produced car)' Classic Car Buyers Guide Interior Extremely clean and fresh with the same Triumph smell it had when it left the factory, the interior is my favourite feature of this Sprint and can only be described as amazing, it just oozes nostalgia. All of the wood has it's original finish and is in as new condition, (many of the better Dolomite's have had the wood renovated but the colour is never a perfect match). The tan interior really compliments the Tahiti blue paint and is in superb condition. All of the instruments, time clock and switches work and the deep pile carpet looks new. I am so fussy that I replaced the choke cable because the print on the knob was showing signs of wear! Music is provided by a rare and fully working Unipart radio which also comes with the user manual. The glass has a green tint and has no sctatches, the windscreen is the Sundym version.There are three rear seatbelts so this is one classic where the whole family can come along too. Engine Exactly as you would expect from a low mileage car, smooth and responsive. The engine oil & filter, plugs and air filter are all new. I have upgraded to Magnecor plug leads and electronic ignition with a Lucas Gold coil as points can be unreliable. A large bore stainless steel downpipe and stainless steel sports exhaust system has been fitted. The engine bay is spotless. Hmmm - the engine has plus 0.020 pistons and a reprofiled cam - which is a little odd for a 27k mile car. She went very well but sounded like a bag of nails (as all reprofiled cams do). Some of the inlet manifold threads had been stripped and the bolts held in with good luck and insulating tape, the cam sprocket tab washer had not been replaced so those bolts were held in by good luck alone and the alloy carb mounts had the wrong gaskets fitted by Pauls mechanic. I've replaced the head with one I've built up with new valves, guides, rocker shaft, rockers, cam and followers - she now sounds like a Sprint should. The large bore downpipe is horrible - welded on the inside to reduce the bore?? That's been replaced with a proper large bore pipe. The carbs have been ultrasound cleaned and correctly fitted. And a vernier cam sprocket has been fitted.
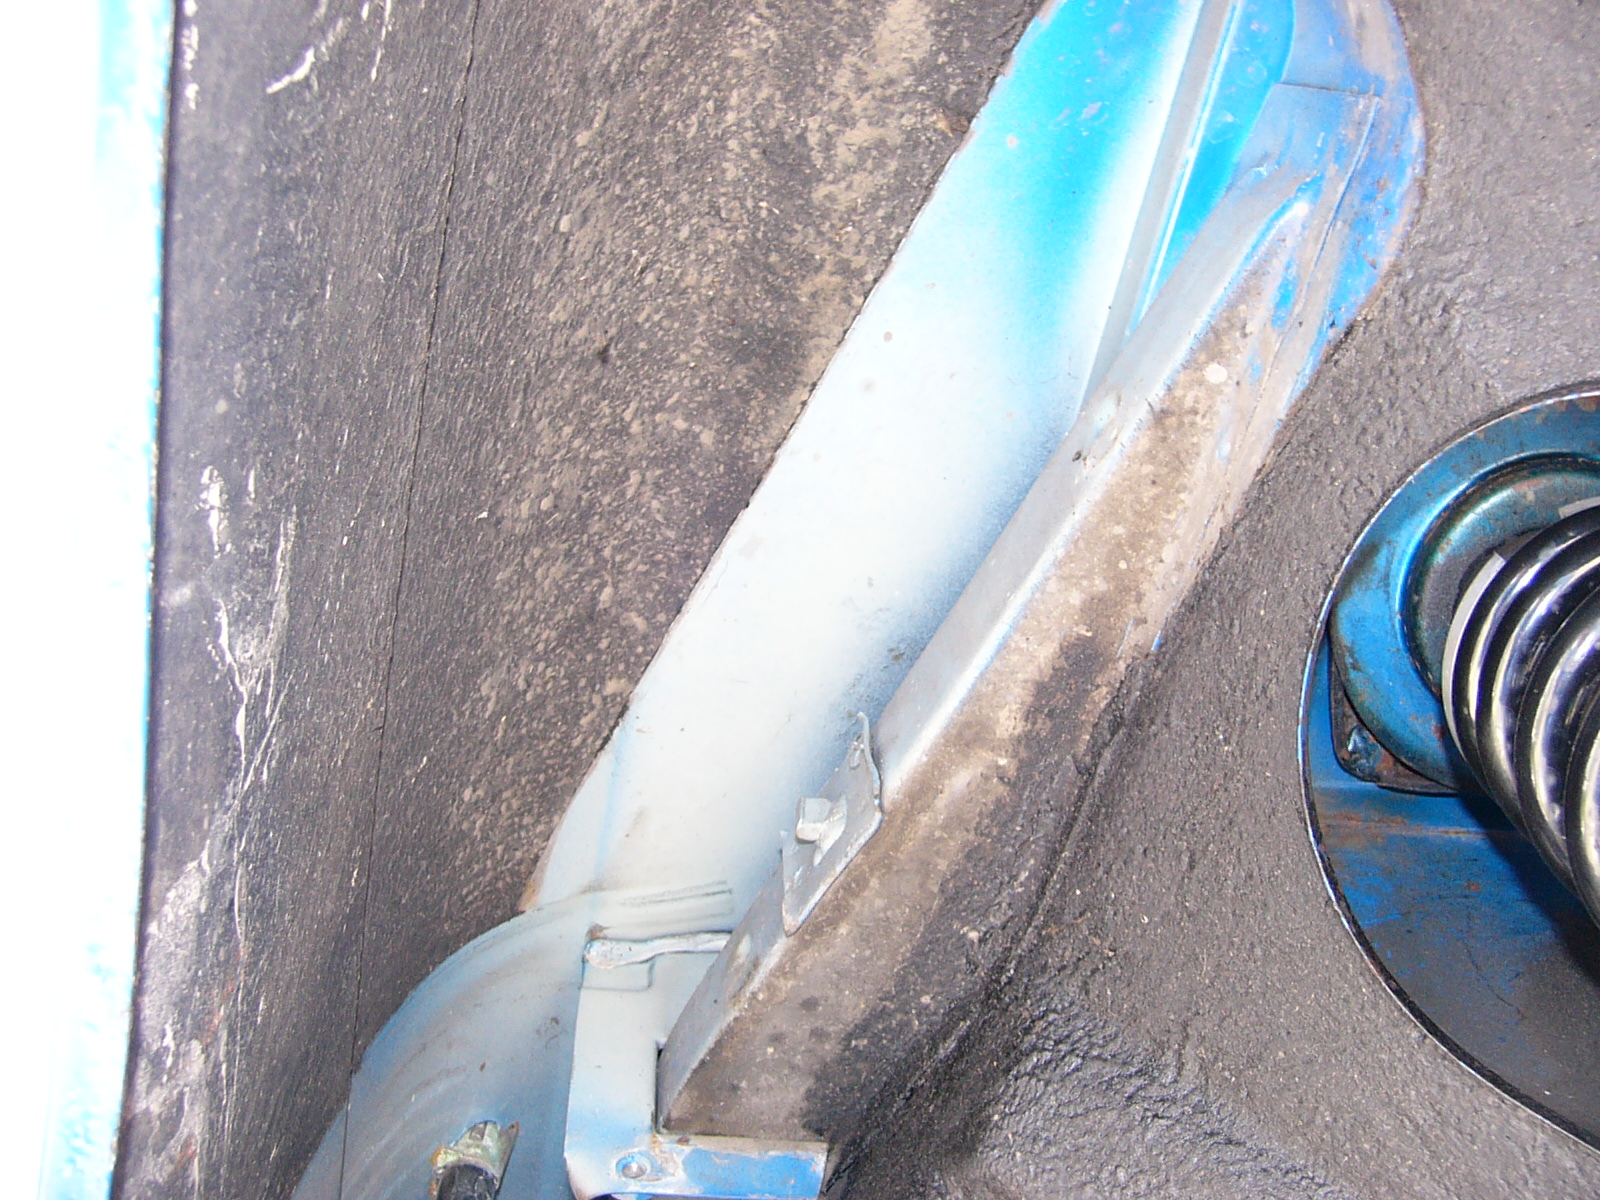
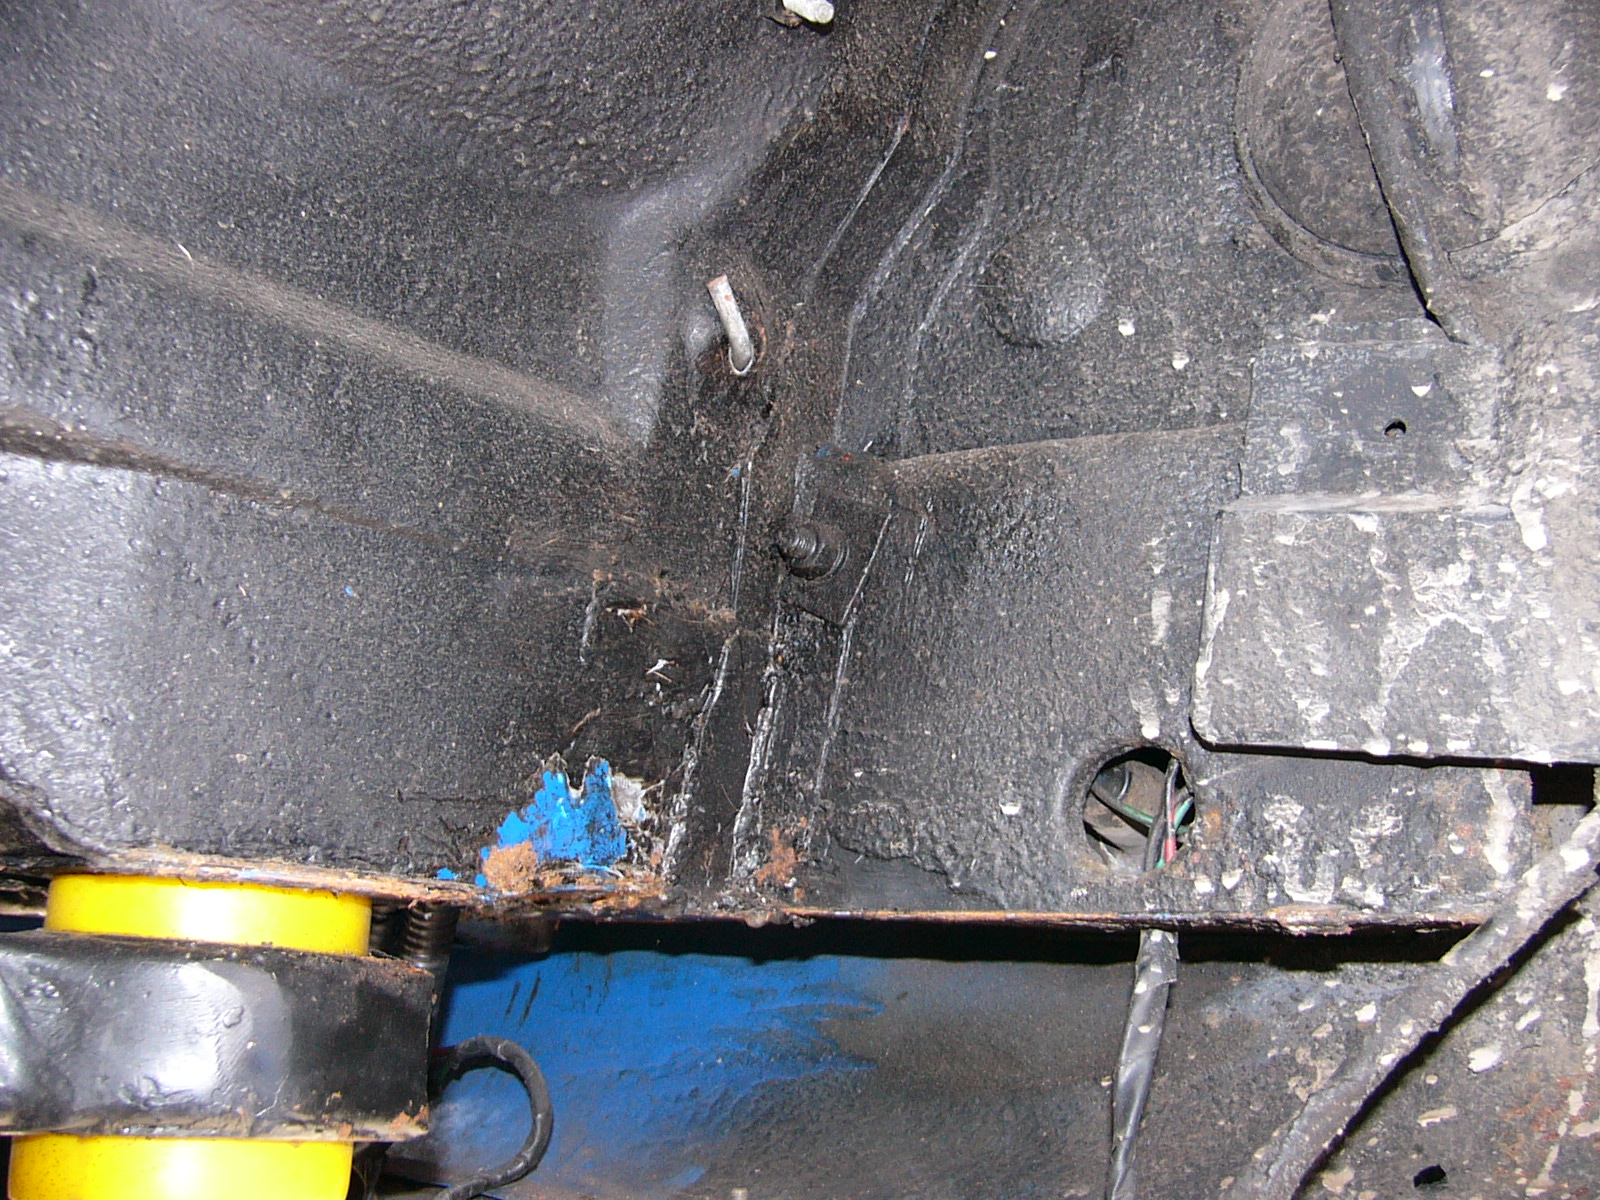
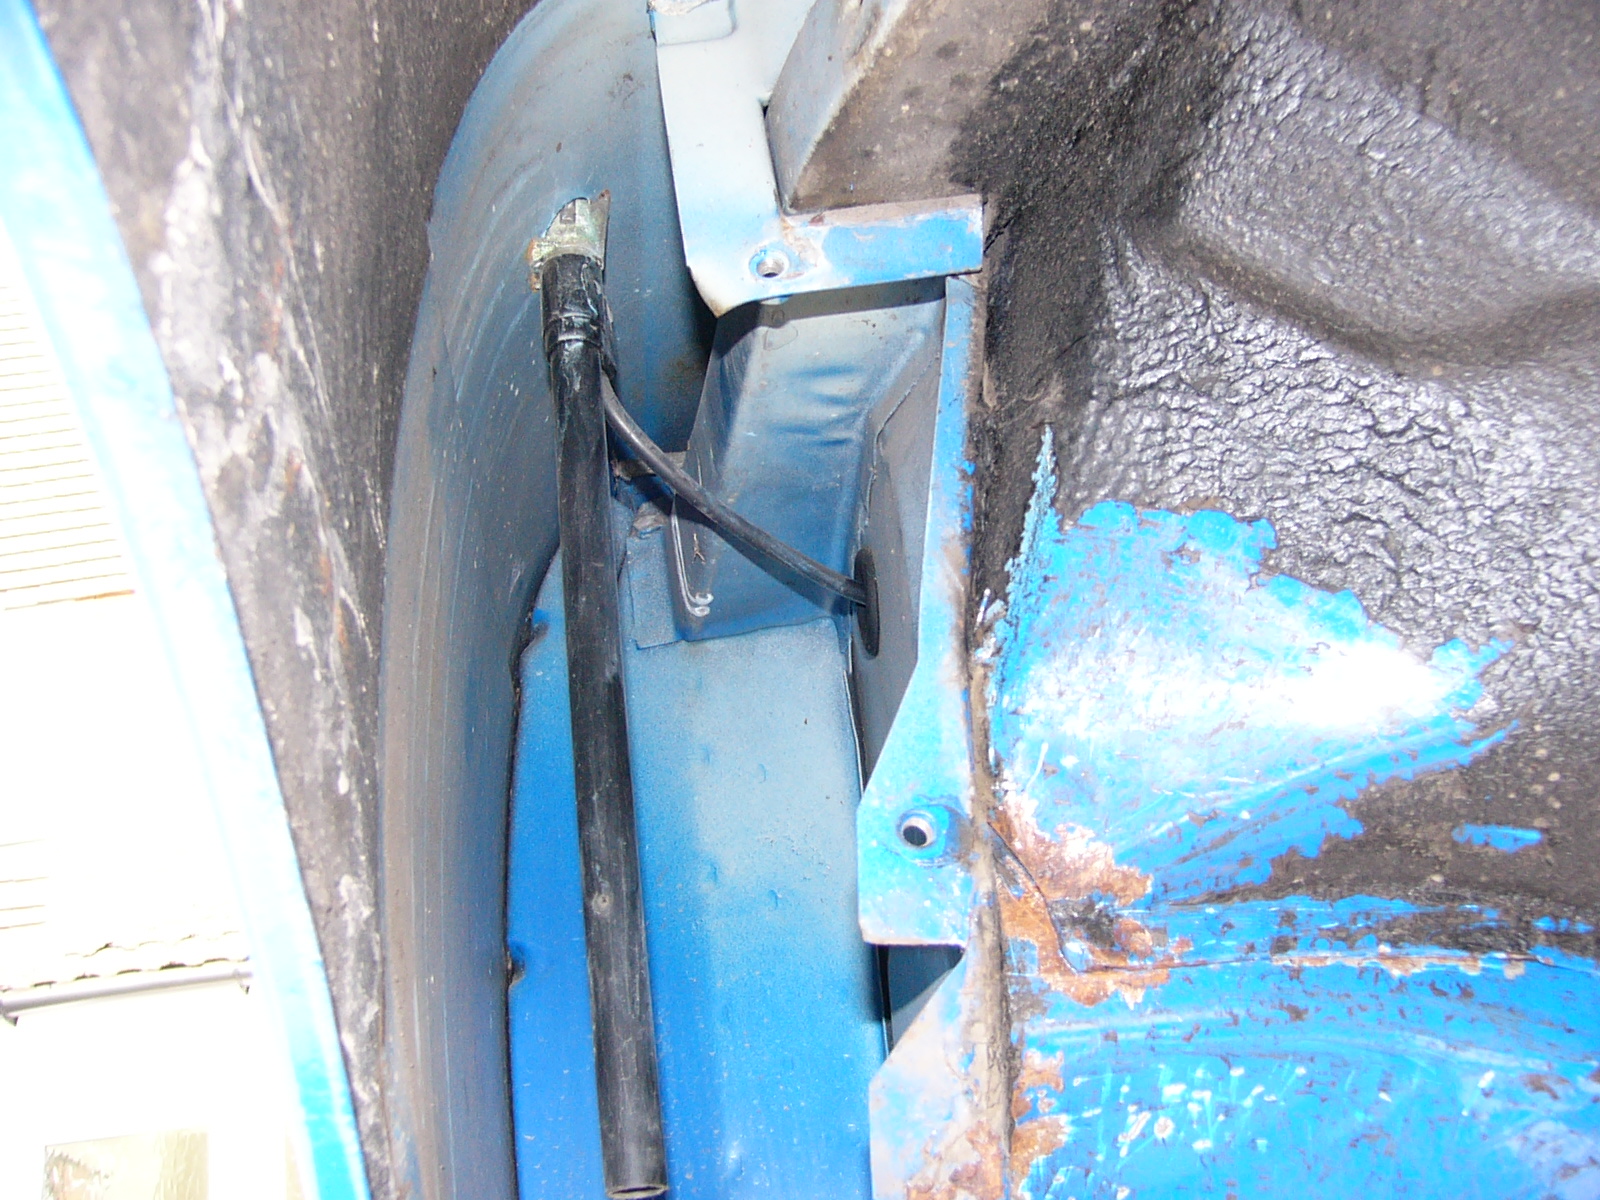
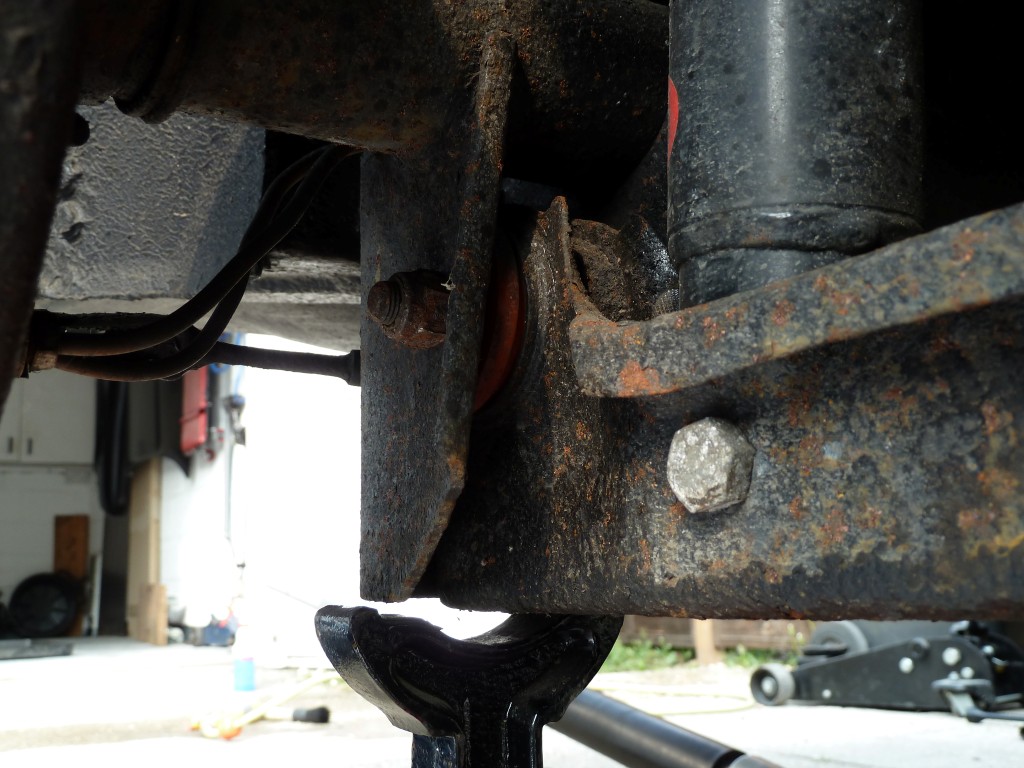
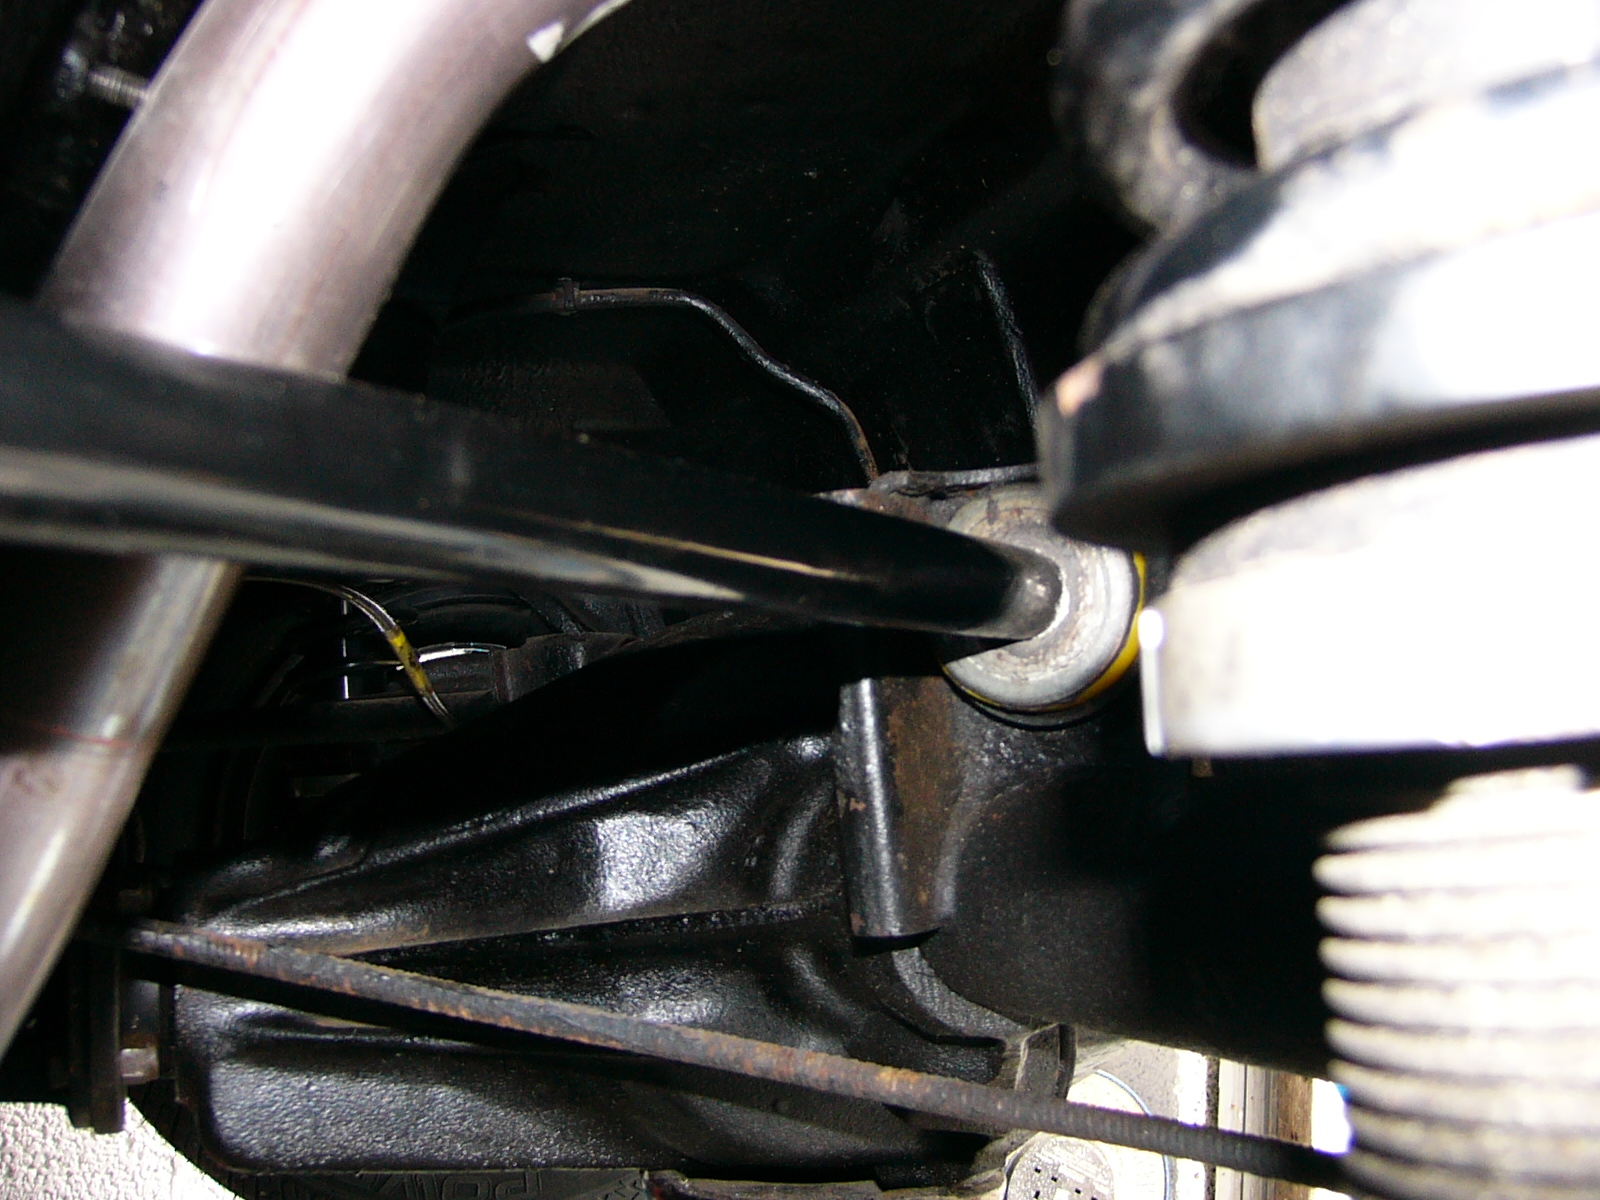
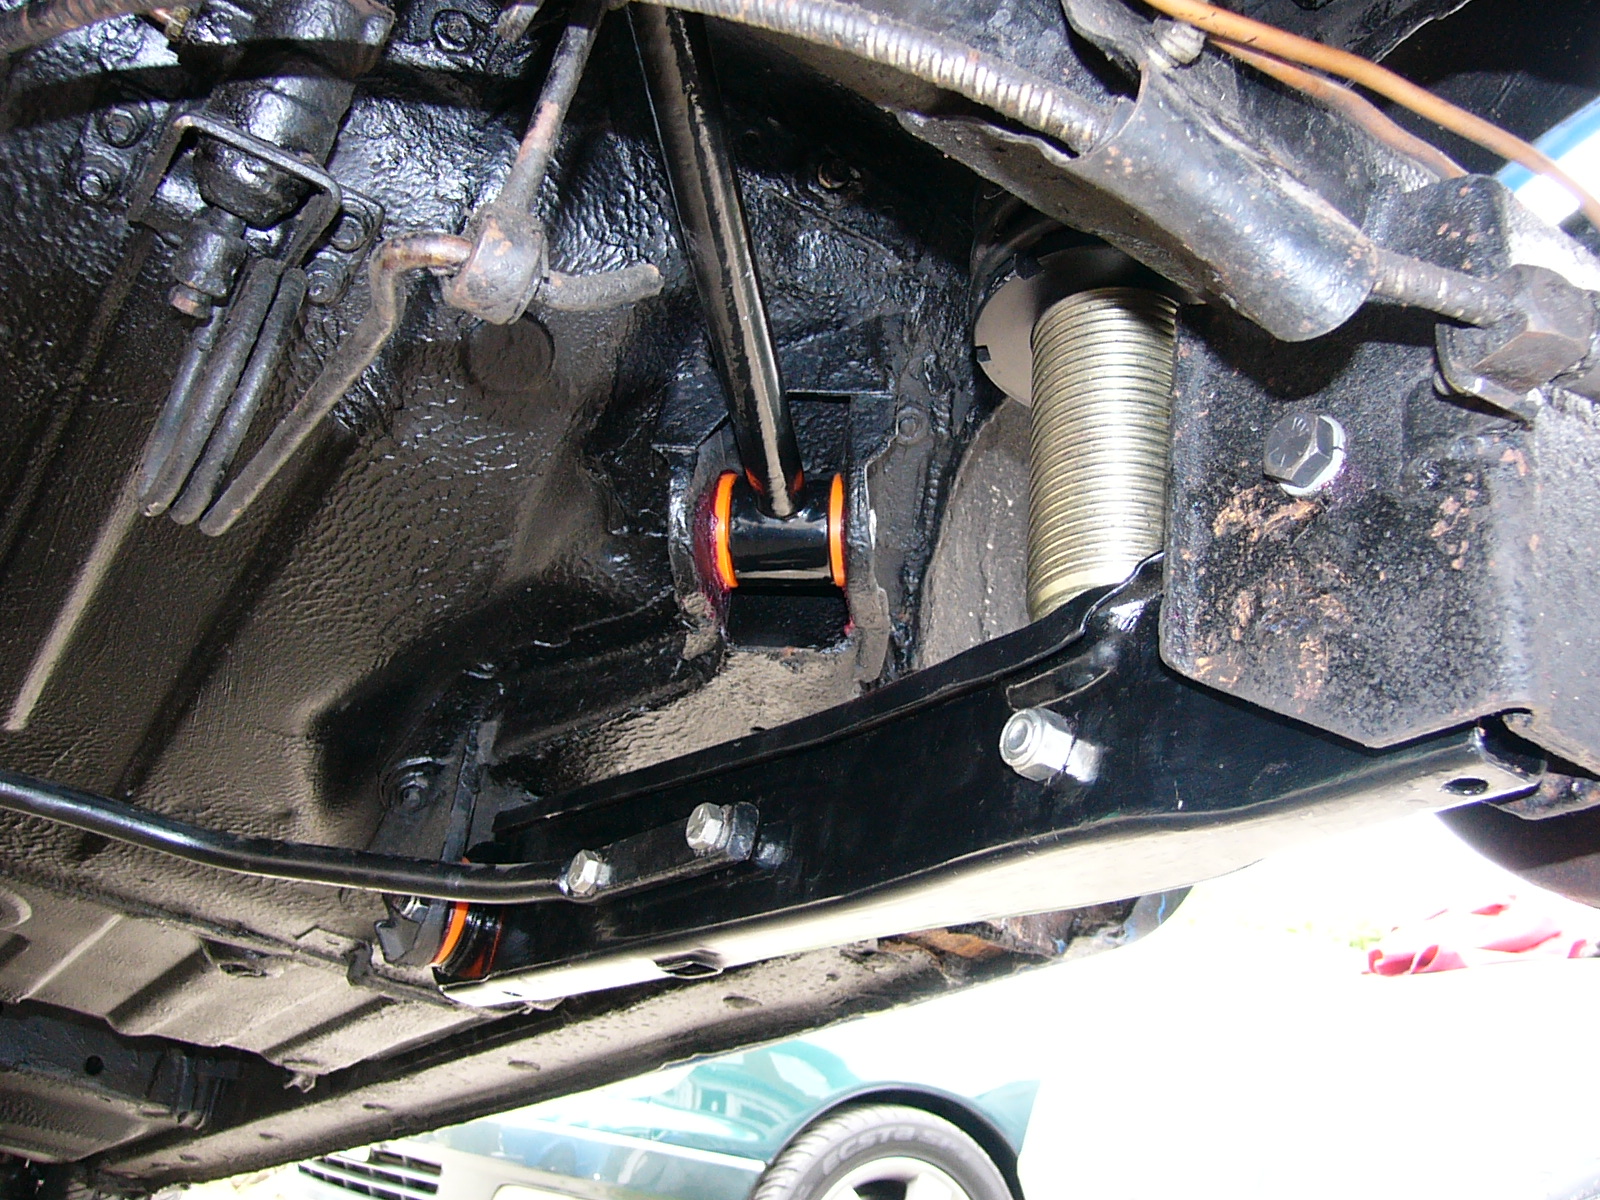
Gearbox The gear change is smooth and the box quiet. The overdrive is working correctly on 3rd and 4th gears as it should and switches in smoothly. A new clutch was fitted less than 500 miles ago. The rear mount was like jelly - which is common so I've replaced that with an uprated mount and anti tramp kit. Body The car has a very solid shell with no rust anywhere. There are no scratches and the Tahiti paint has a deep shine which looks stunning. The floor is original with no welding. Undersealing the floor was my first job when I bought the Sprint. At the same time I also Waxoyled the doors and chassis legs. All of the suspension arms and anti-roll bars still have paint on them so the underside is as spotless as the top. The chrome is all bright and shinney and not pitted. All of the doors shuts are spotless. No welding - oh yeah, apart from the boot floor (small patch) and the o/s chassis rail. The n/s chassis rail had been butchered to fit the exhaust so that's been fixed and the filler in the rear jacking points has been removed and welded up. The rear suspension arms were finger tight and one arm was badly corroded - all rear arms have been replaced with new and correctly fitted (incorrect washers on the upper arms and no R clips etc.) The rear arches have been filled at some stage and the whole car has had an older paint job - the paintwork is lovely and must be pretty well done to have stayed looking so good all the time Paul had the car. I've not welded up to the outer lip as I'm still thinking about what to do with the rear arches - get them removed and re-done - or just wait a bit...(I've spent far too much already).
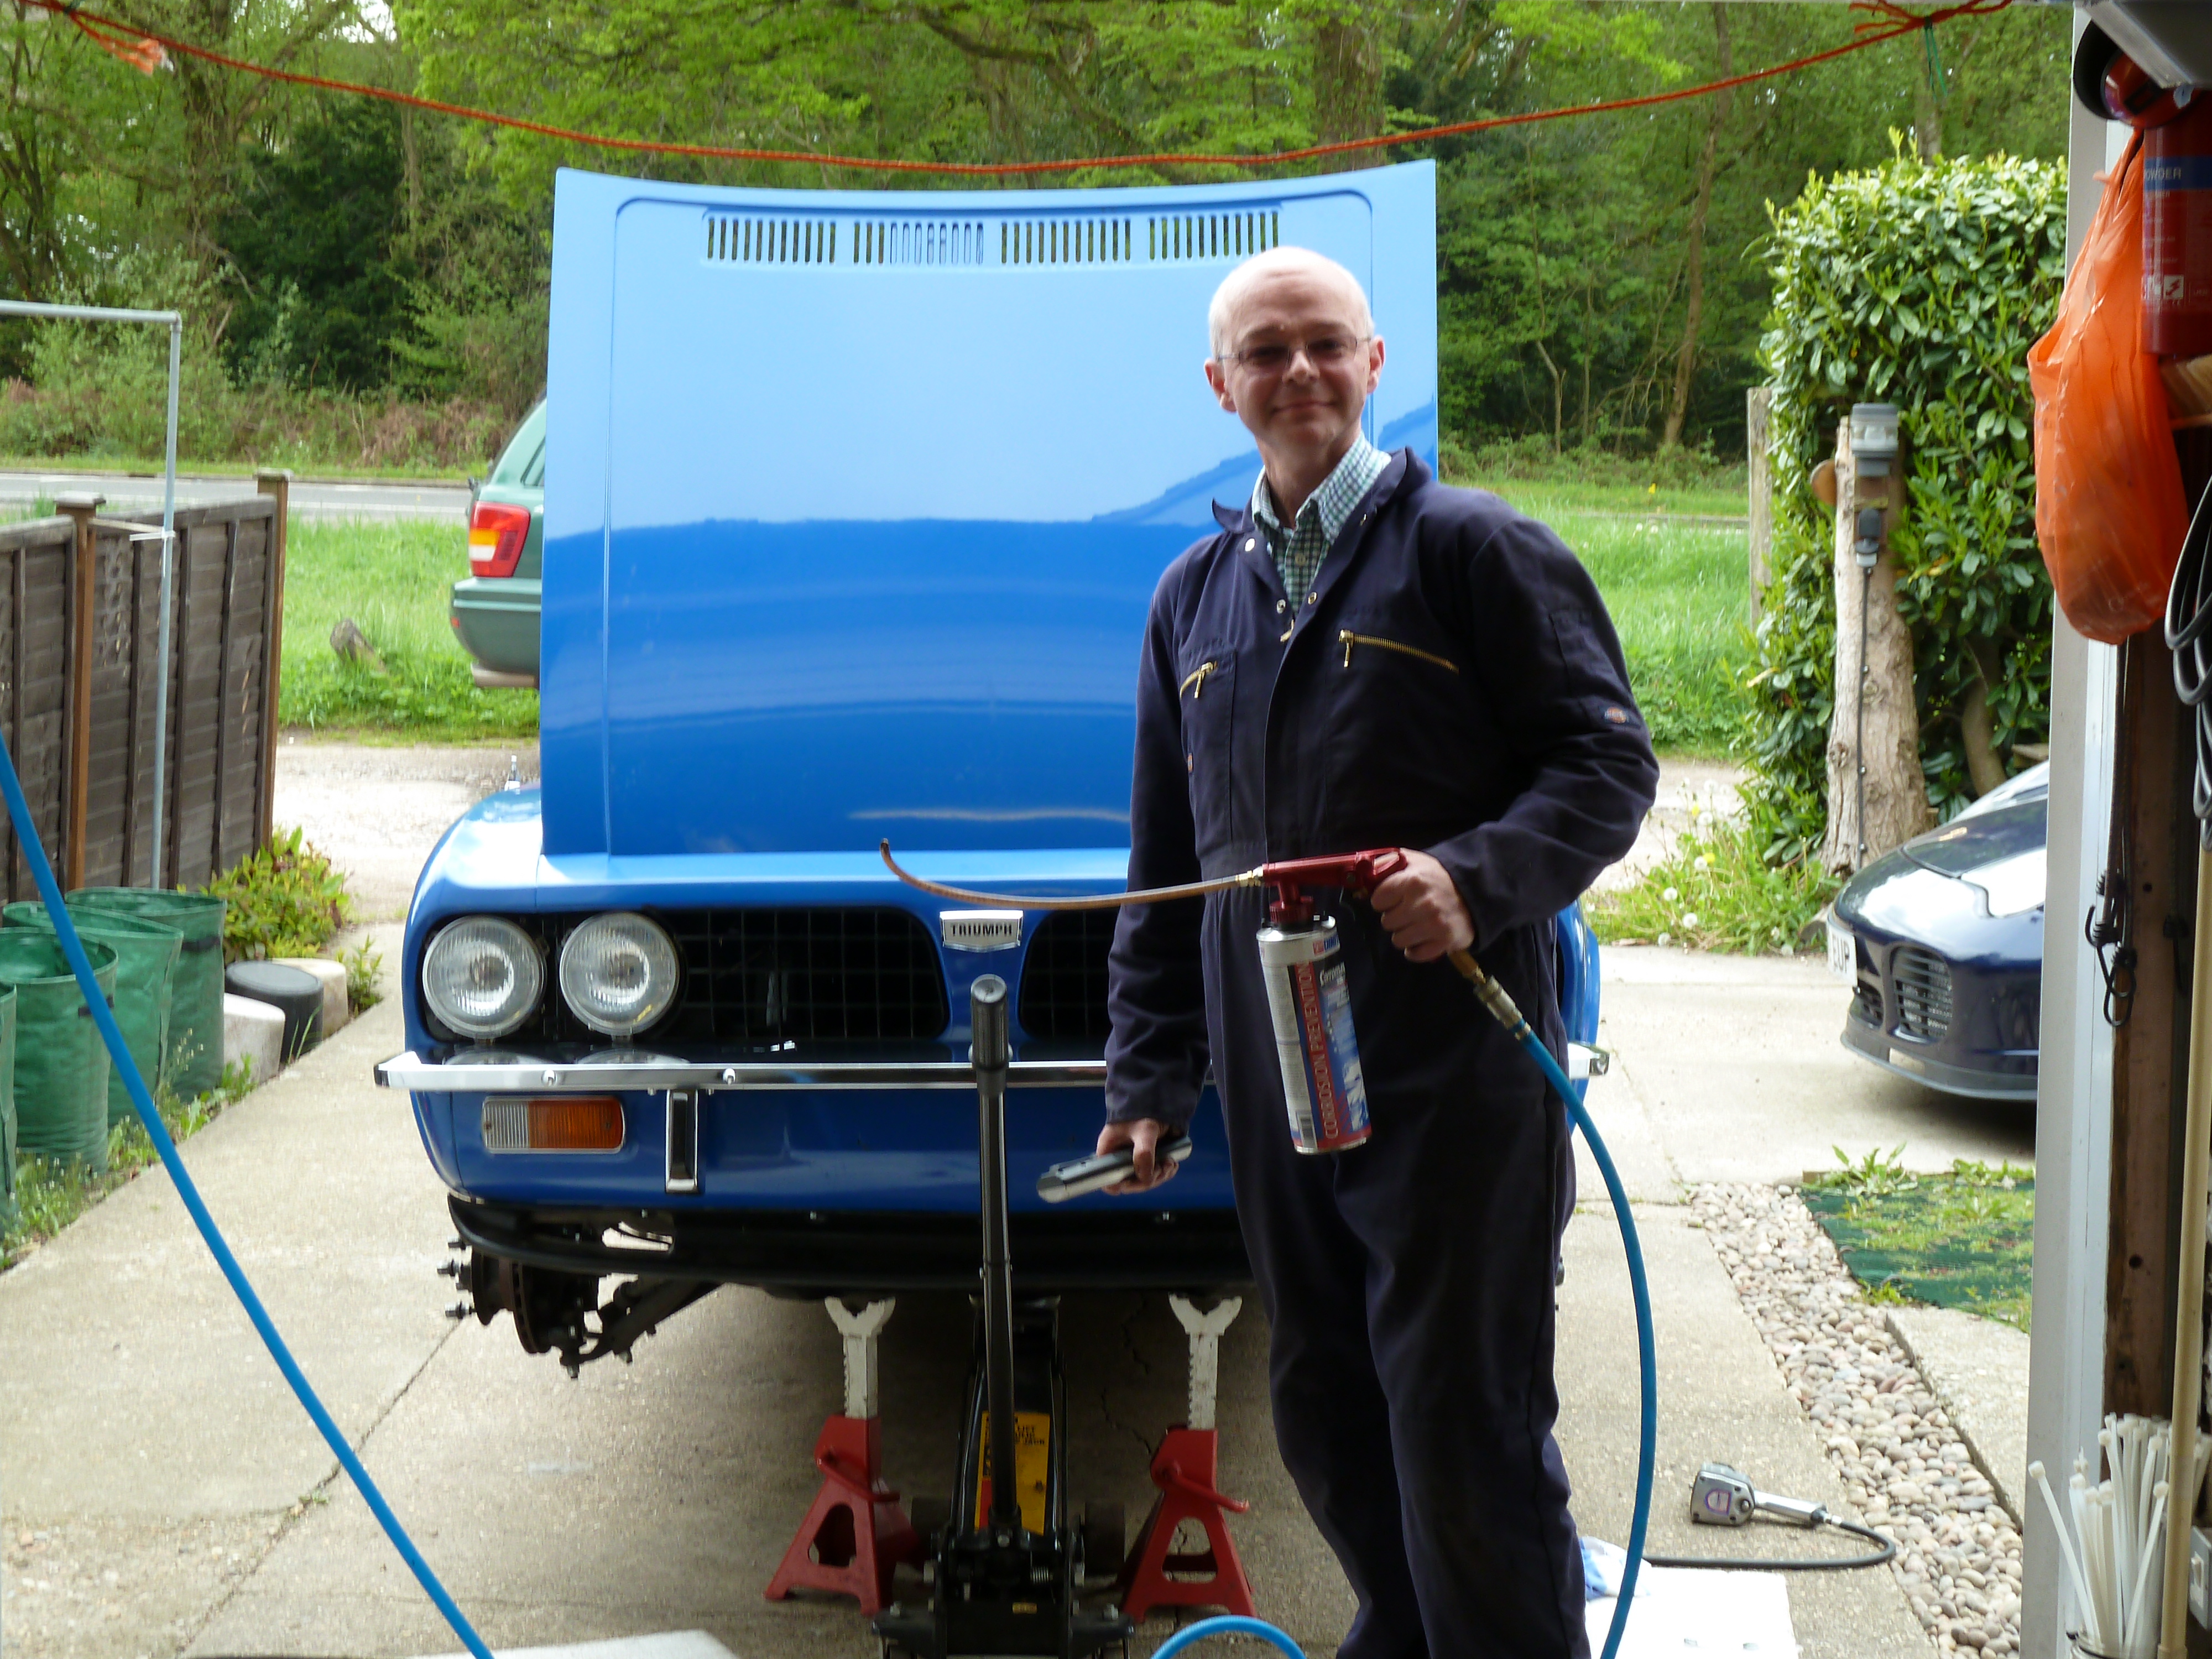
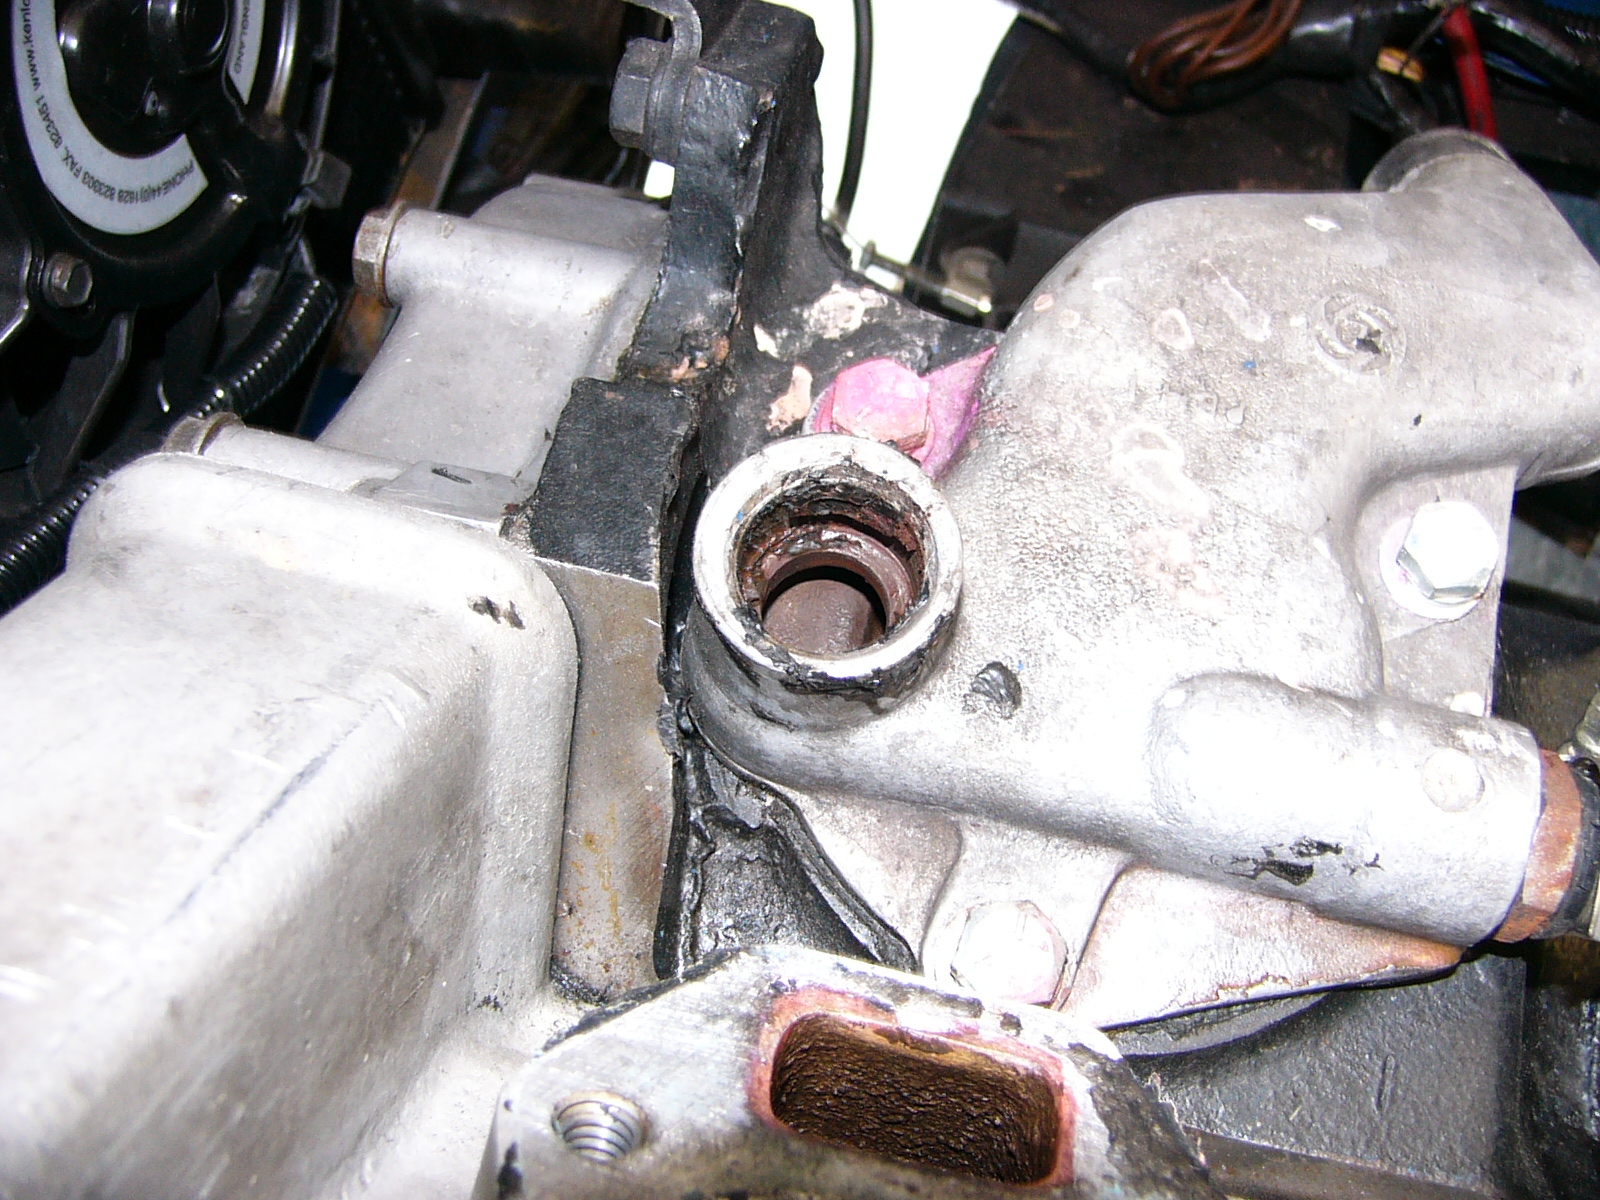
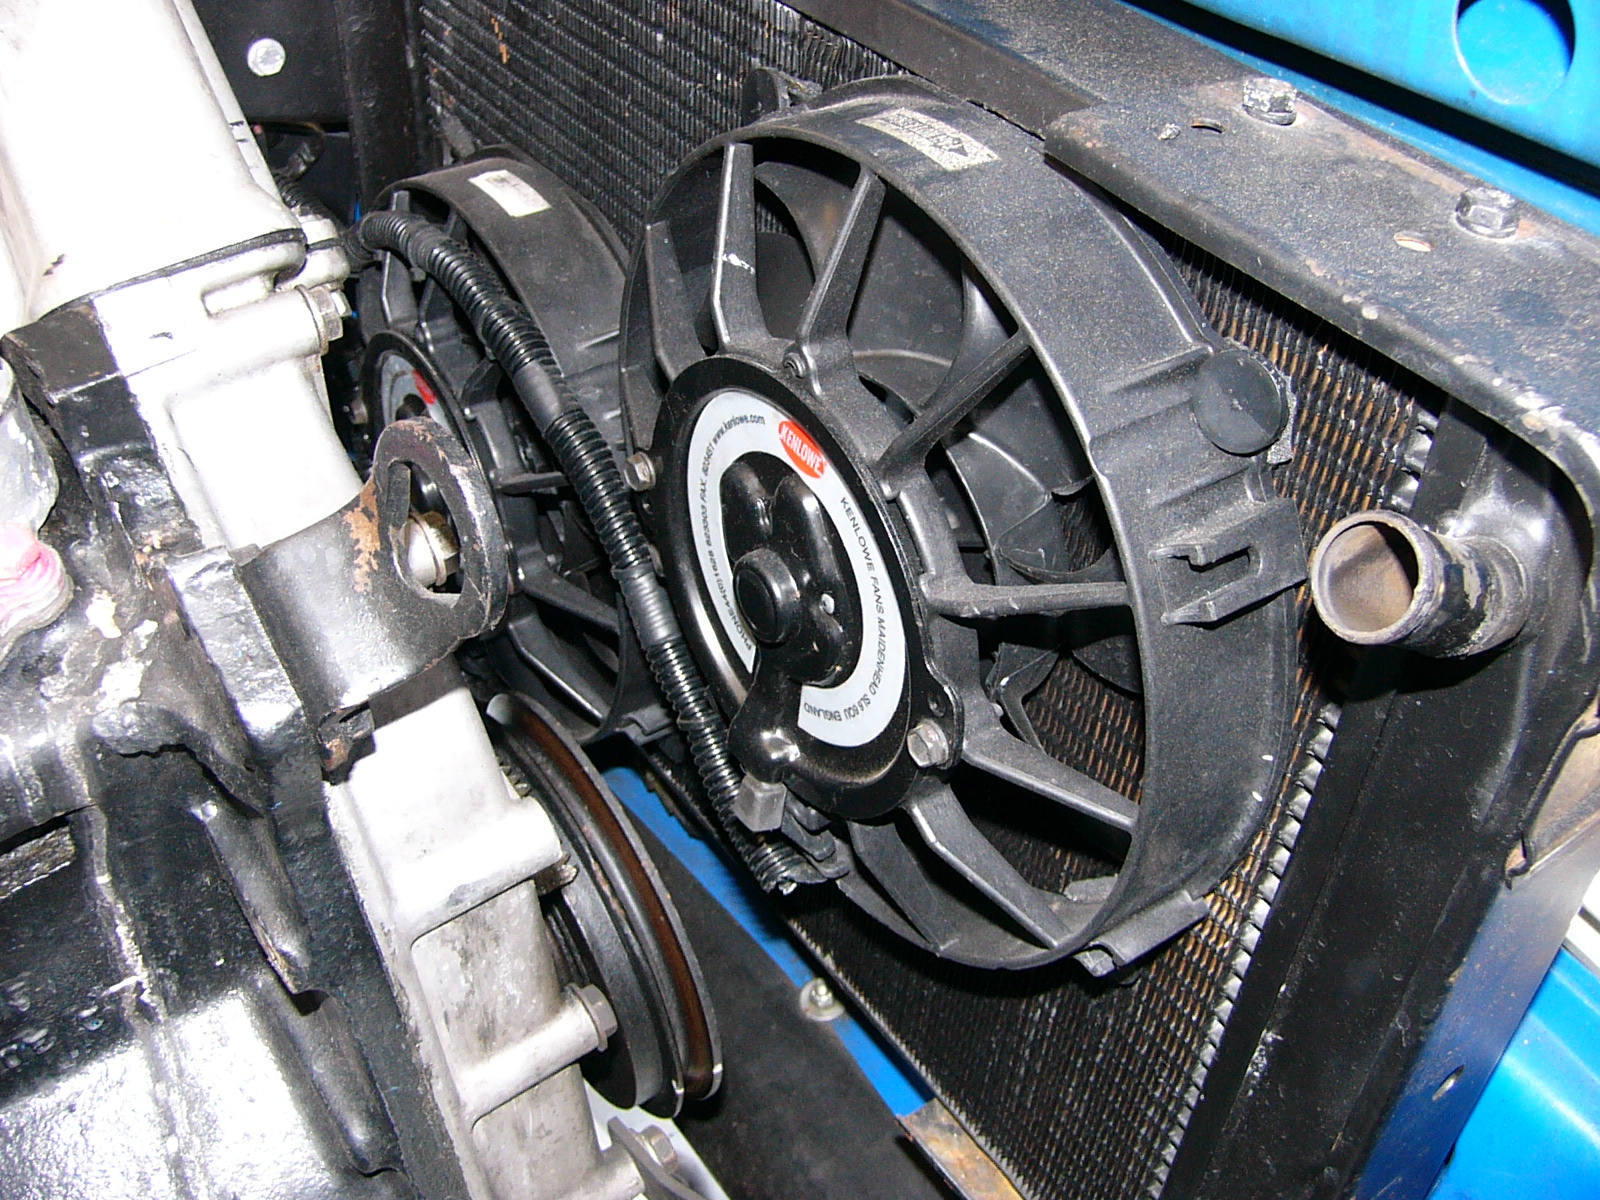
Cooling As the Sprint's cooling system can have a reputation to boil I decided to take the route of prevention first. To make sure the cars cooling is always efficient I installed an electric water pump, a custom built larger radiator that holds 35% more water than standard and twin 8" Kenlowe fans, perhaps overkill but now when the engine warms up, the two thermostatically controlled fans cut in for a minute or so, cool the system and cut off just like a modern car. I have kept the original rad, viscous coupling and fan and these items will be supplied to the winning bidder. Paul wired up the fans and pump - actually the work Paul did himself is great, but whoever actually fitted the EWP (I have a good idea who did it) did it completely wrong. I've removed the thermostat, blanked the transfer pipe and fitted a booster pump and EWP controller. I've also fitted a header tank with low coolant warning.
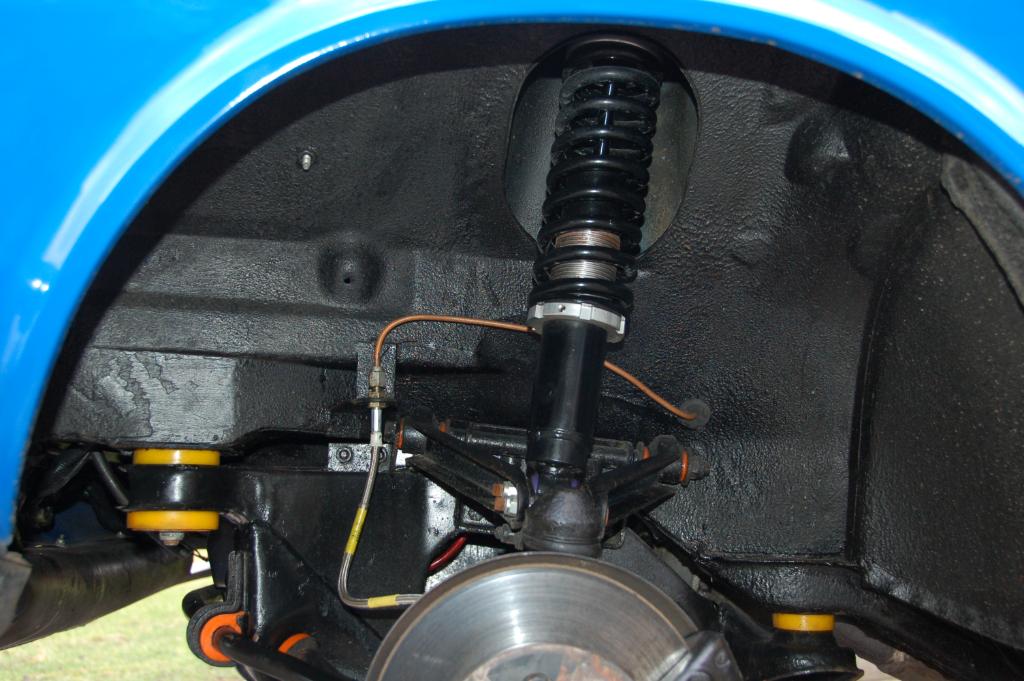
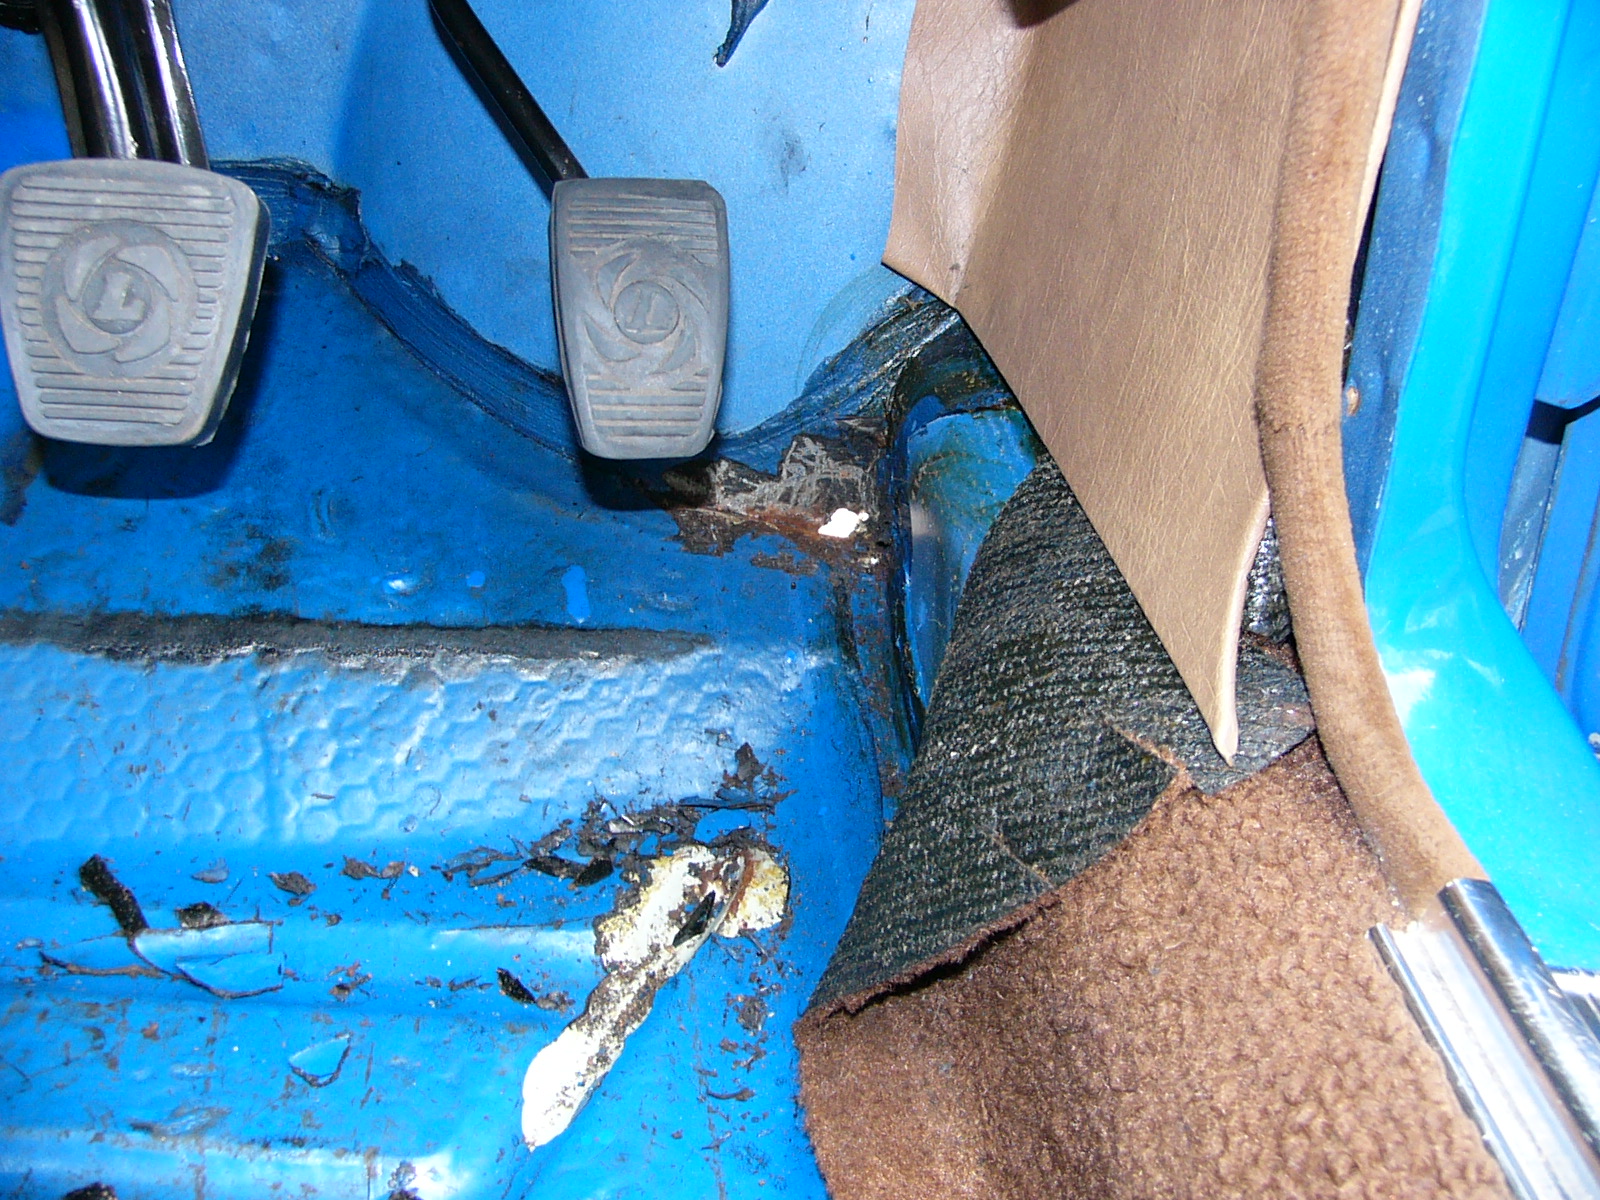
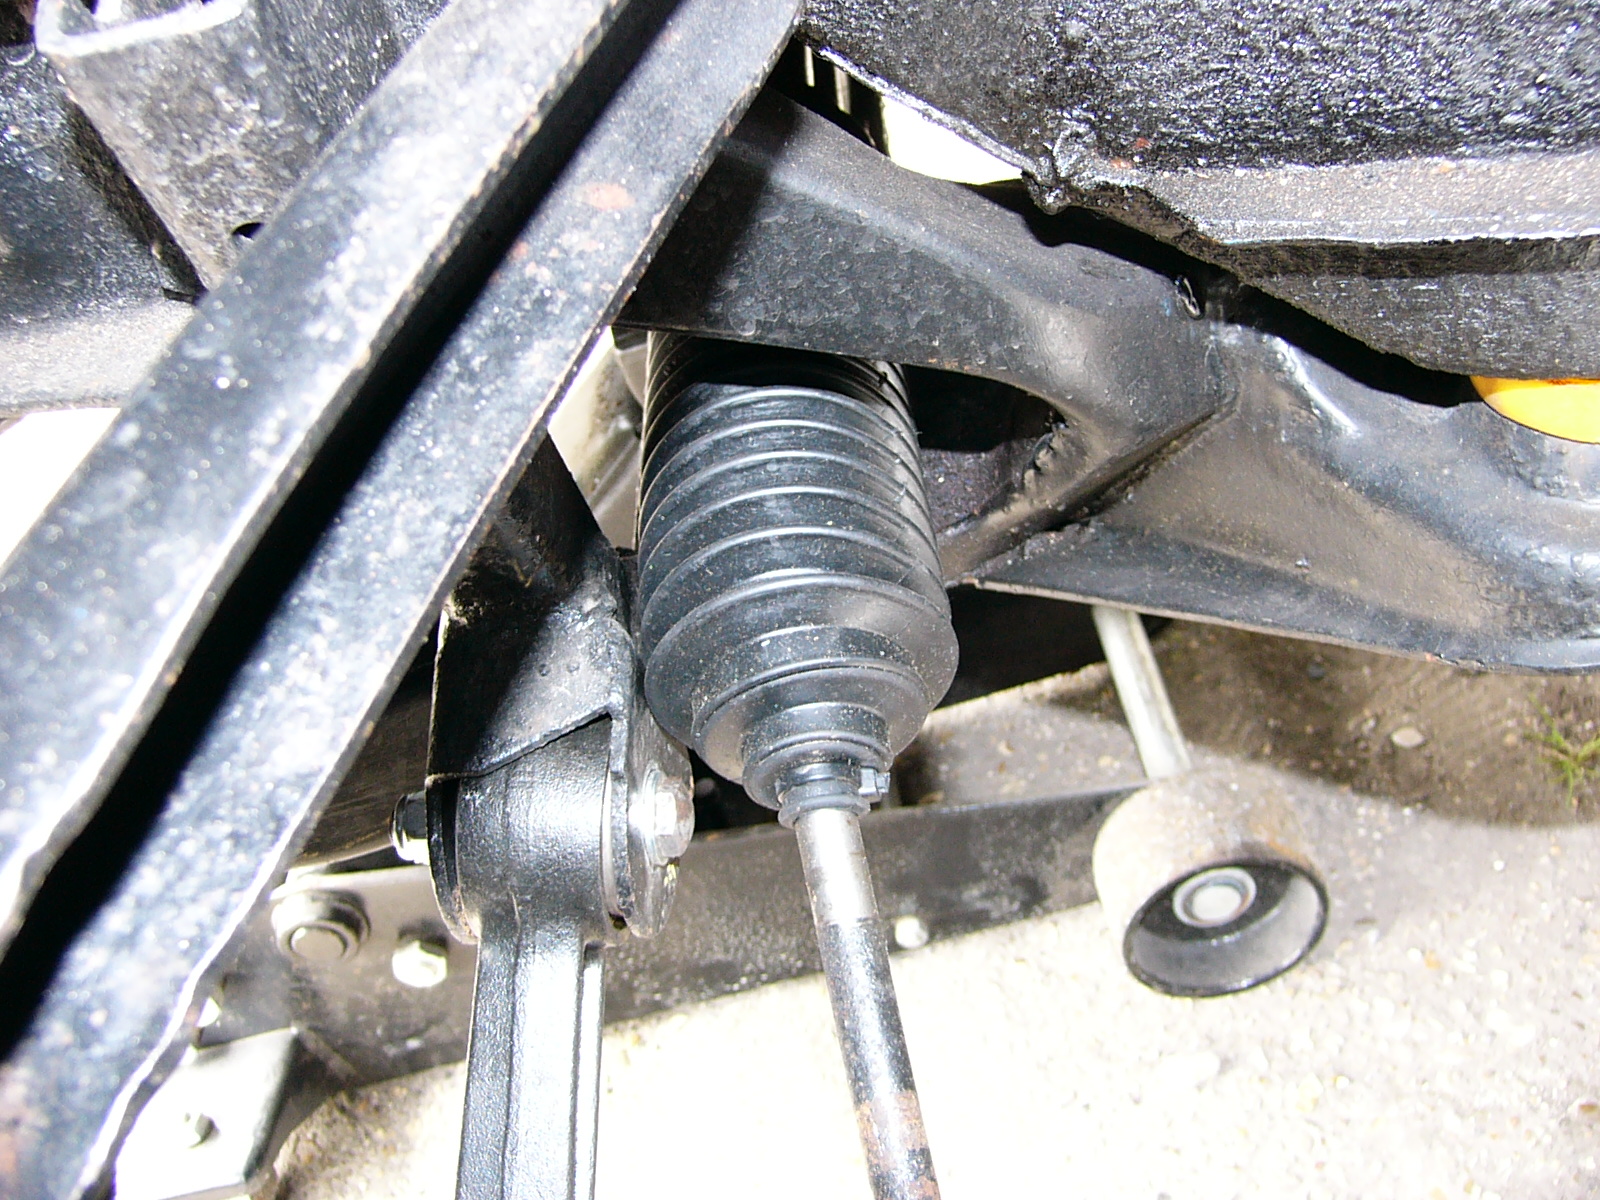
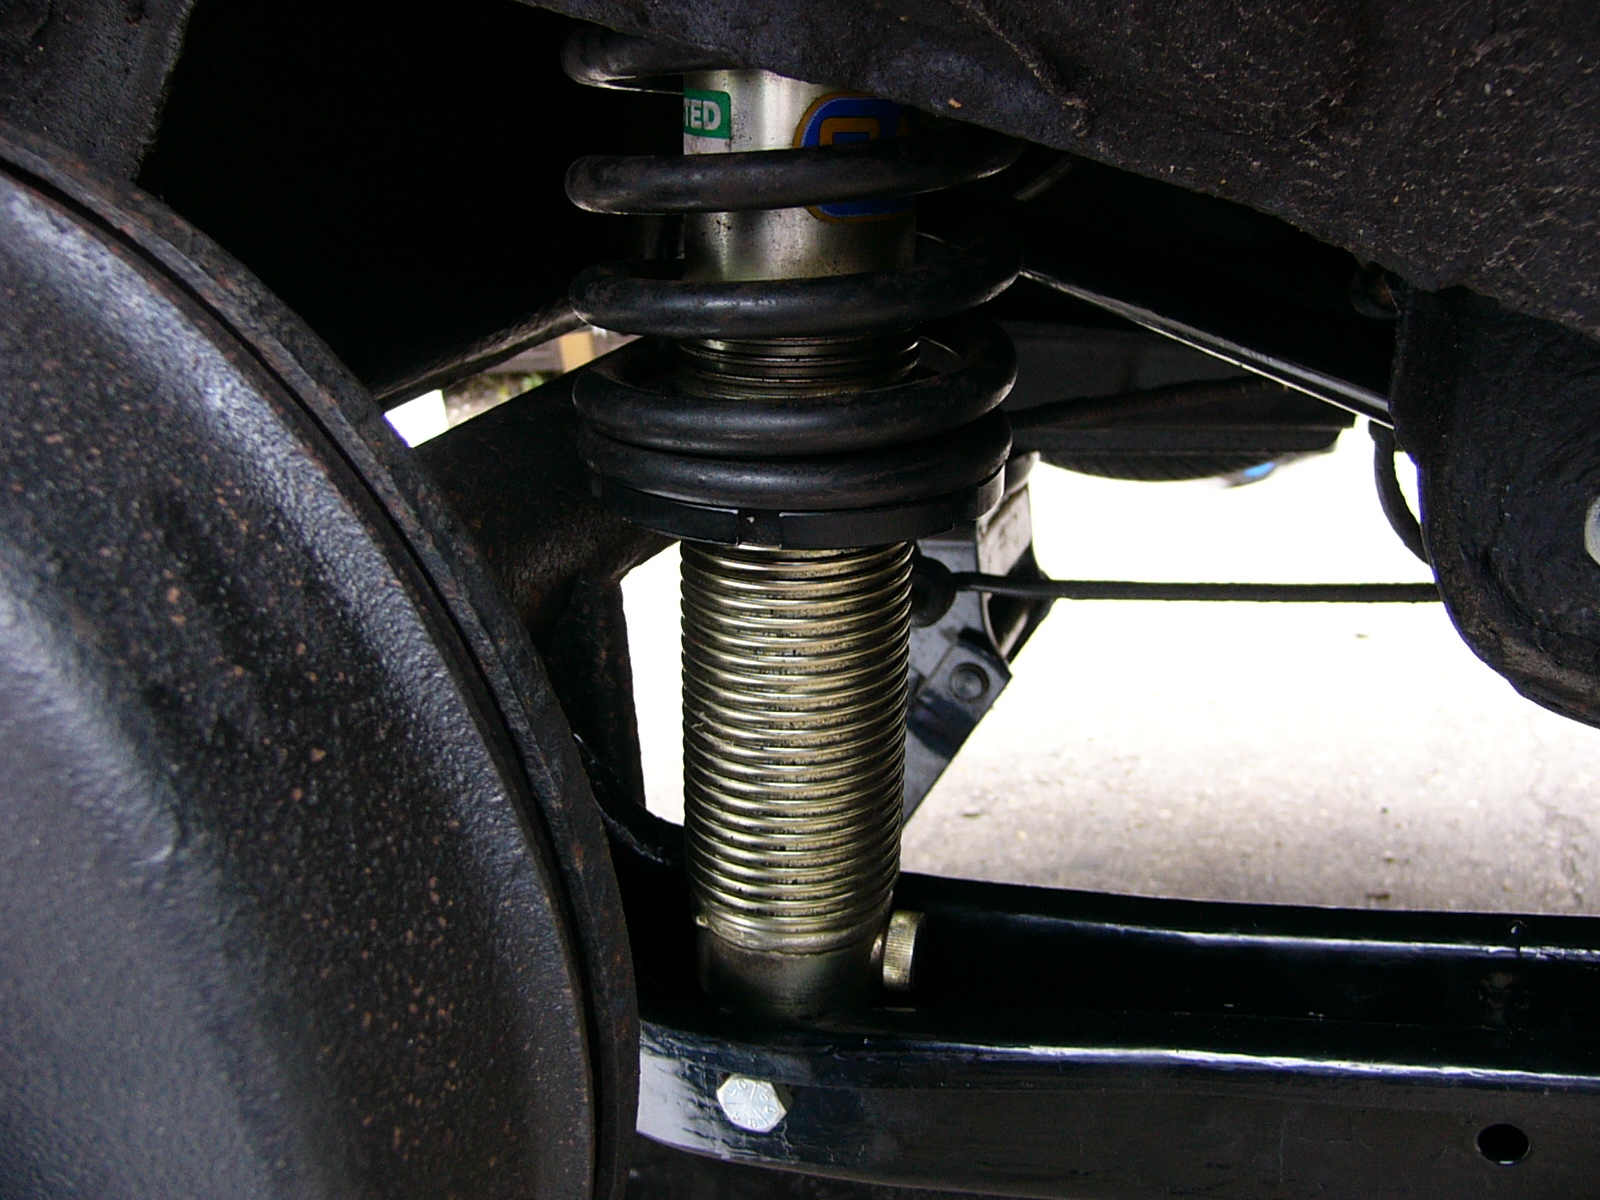
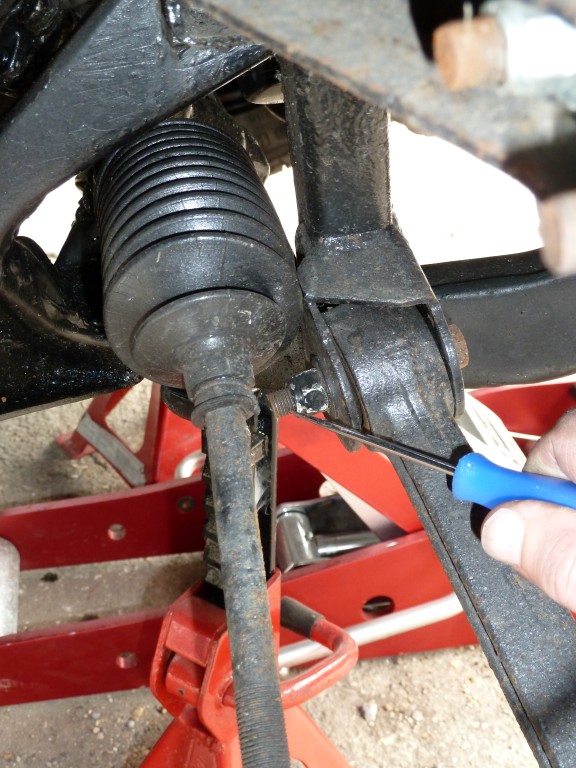
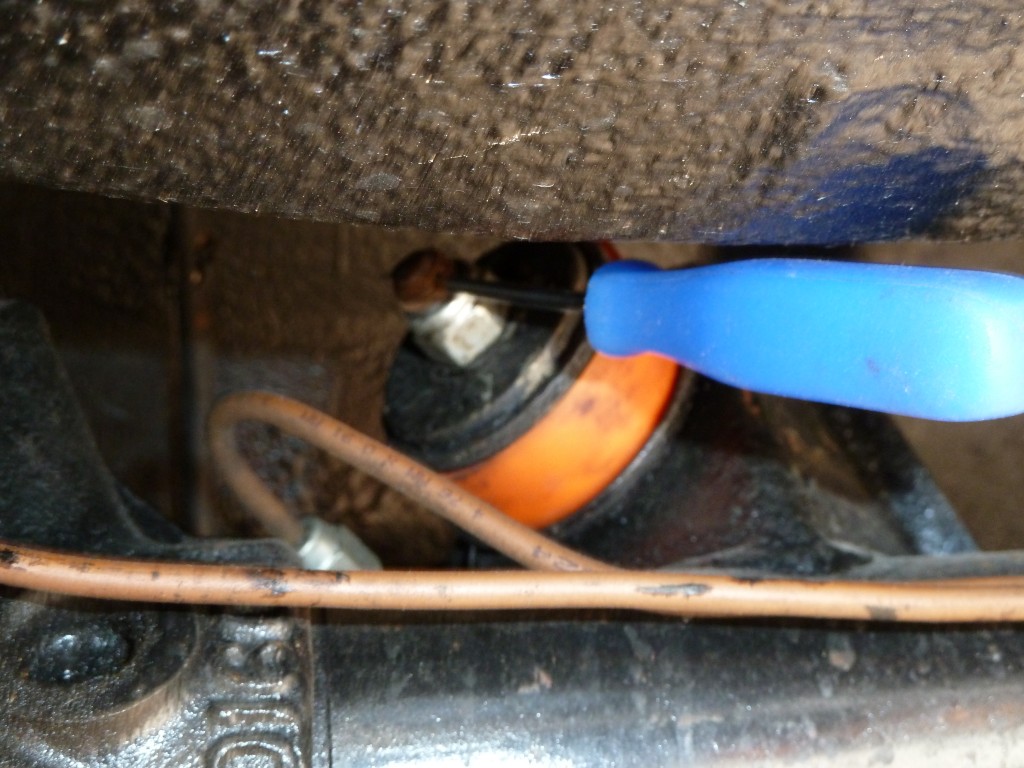
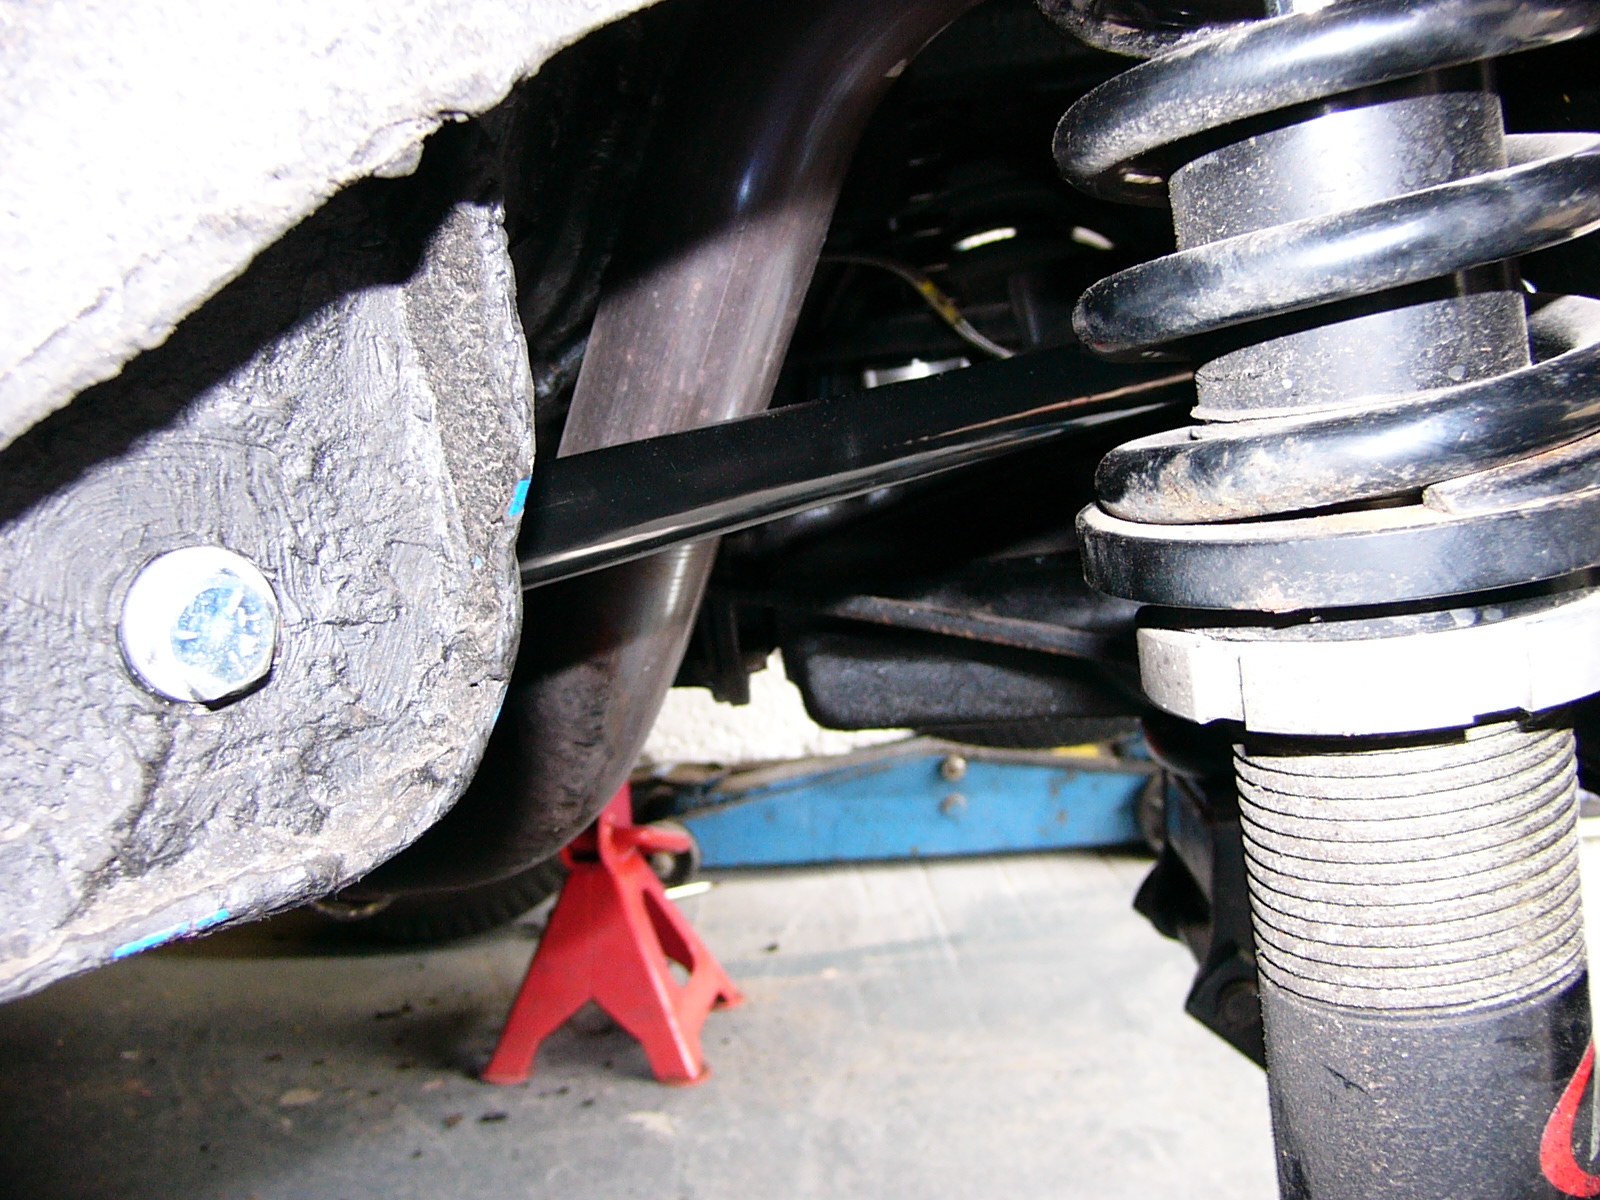
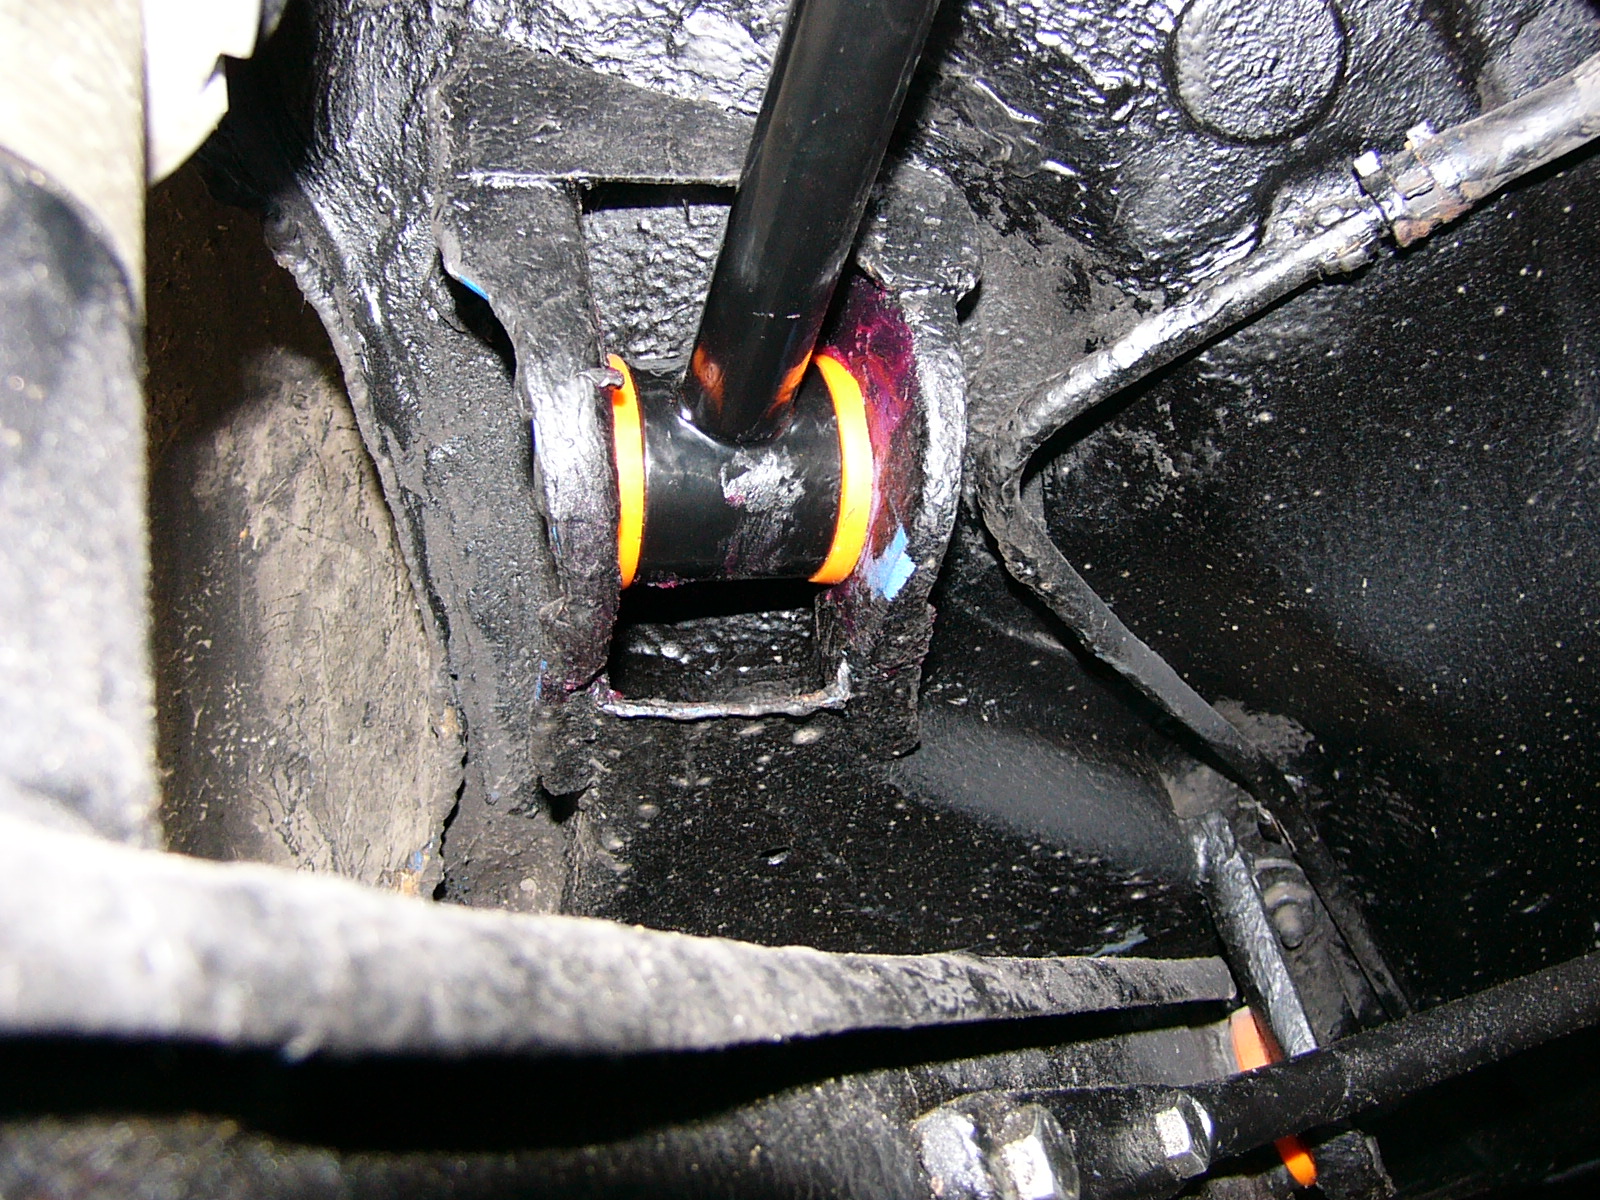
Suspension I found the standard set up slightly soft so I fitted uprated springs and fully adjustable AVO shocks (which are set up to the standard height). This set up cost me £638 to buy with a polyurethane bush kit! The handling has been improved and the car now corners very well. The original springs will be included in the sale. Oh dear - the suspension was a complete mess - the normal collapsed AVO bushes and then incorrect fittings meant the whole suspension needed going over. I've replaced the front AVO bushes and completed replaced the rear AVO's with their too short springs (no helpers were fitted so the springs are loose at 3/4 to full droop) - I've used GAZ on the rear as I had a set here. The steering bulkhead bush was put in the wrong way - so was slowly creeping back out, that's been fixed.
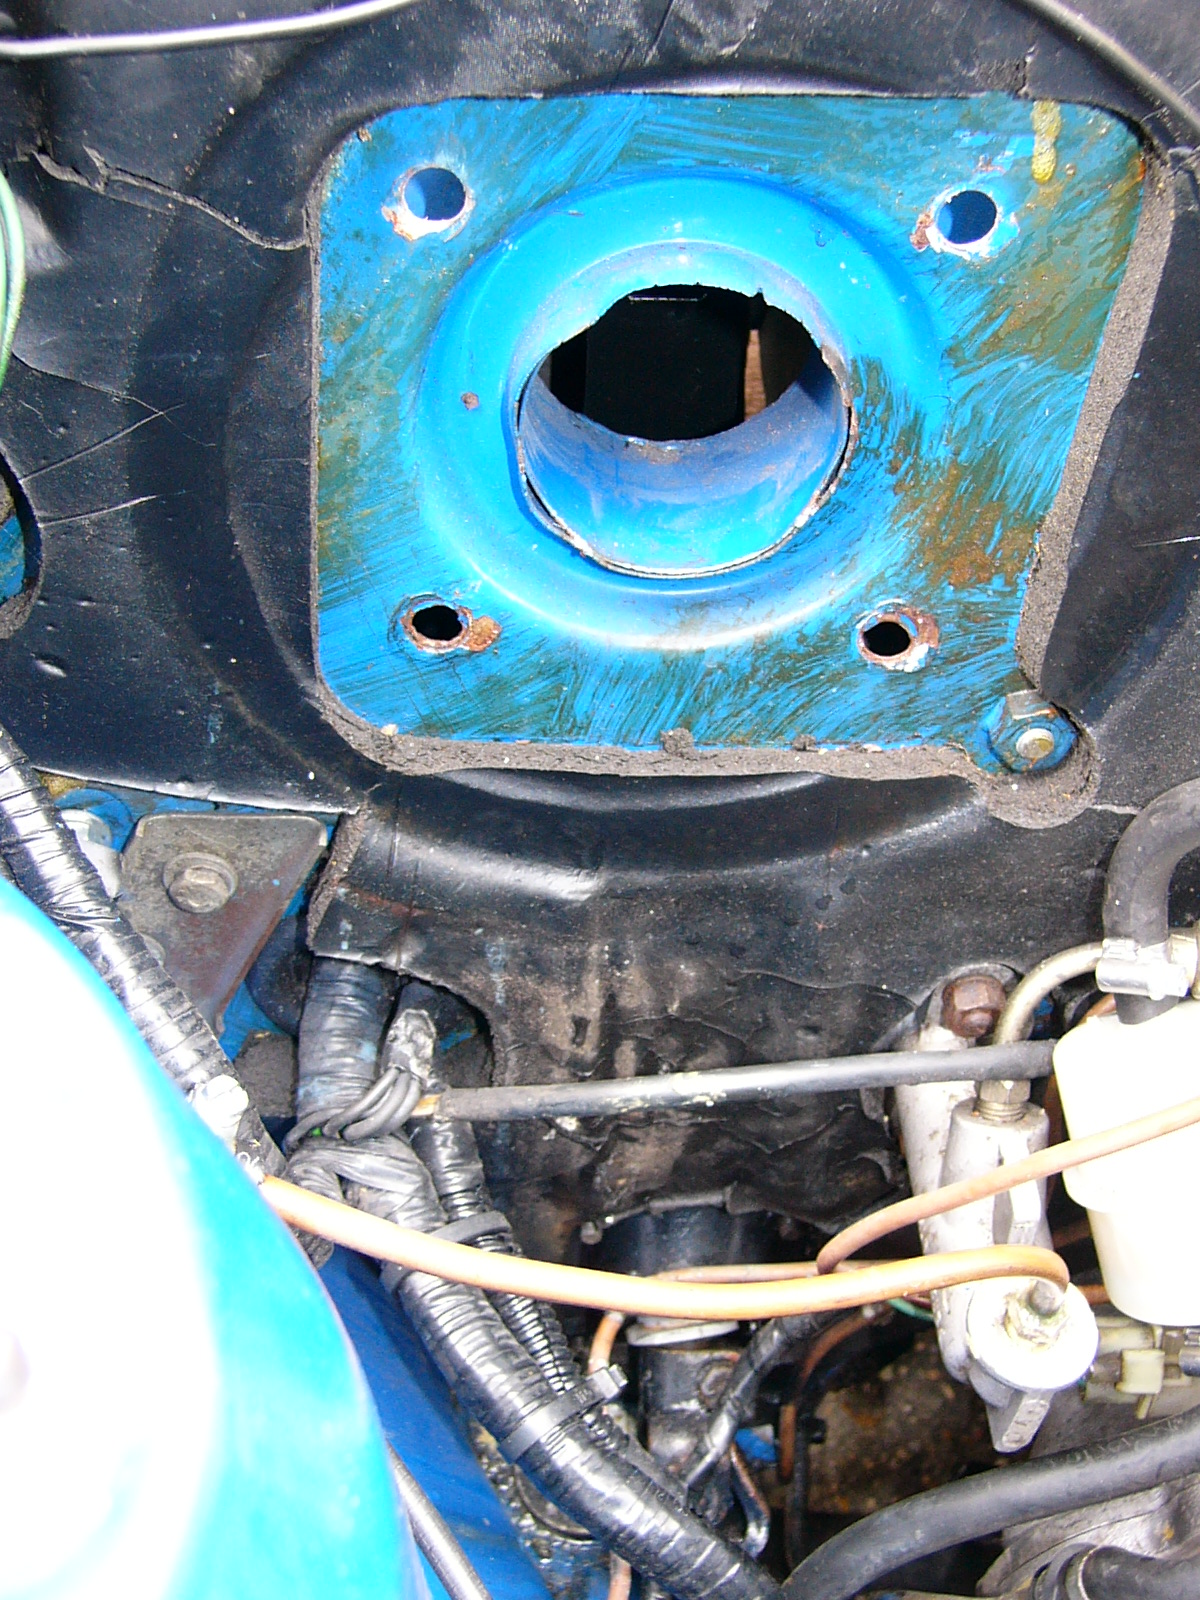
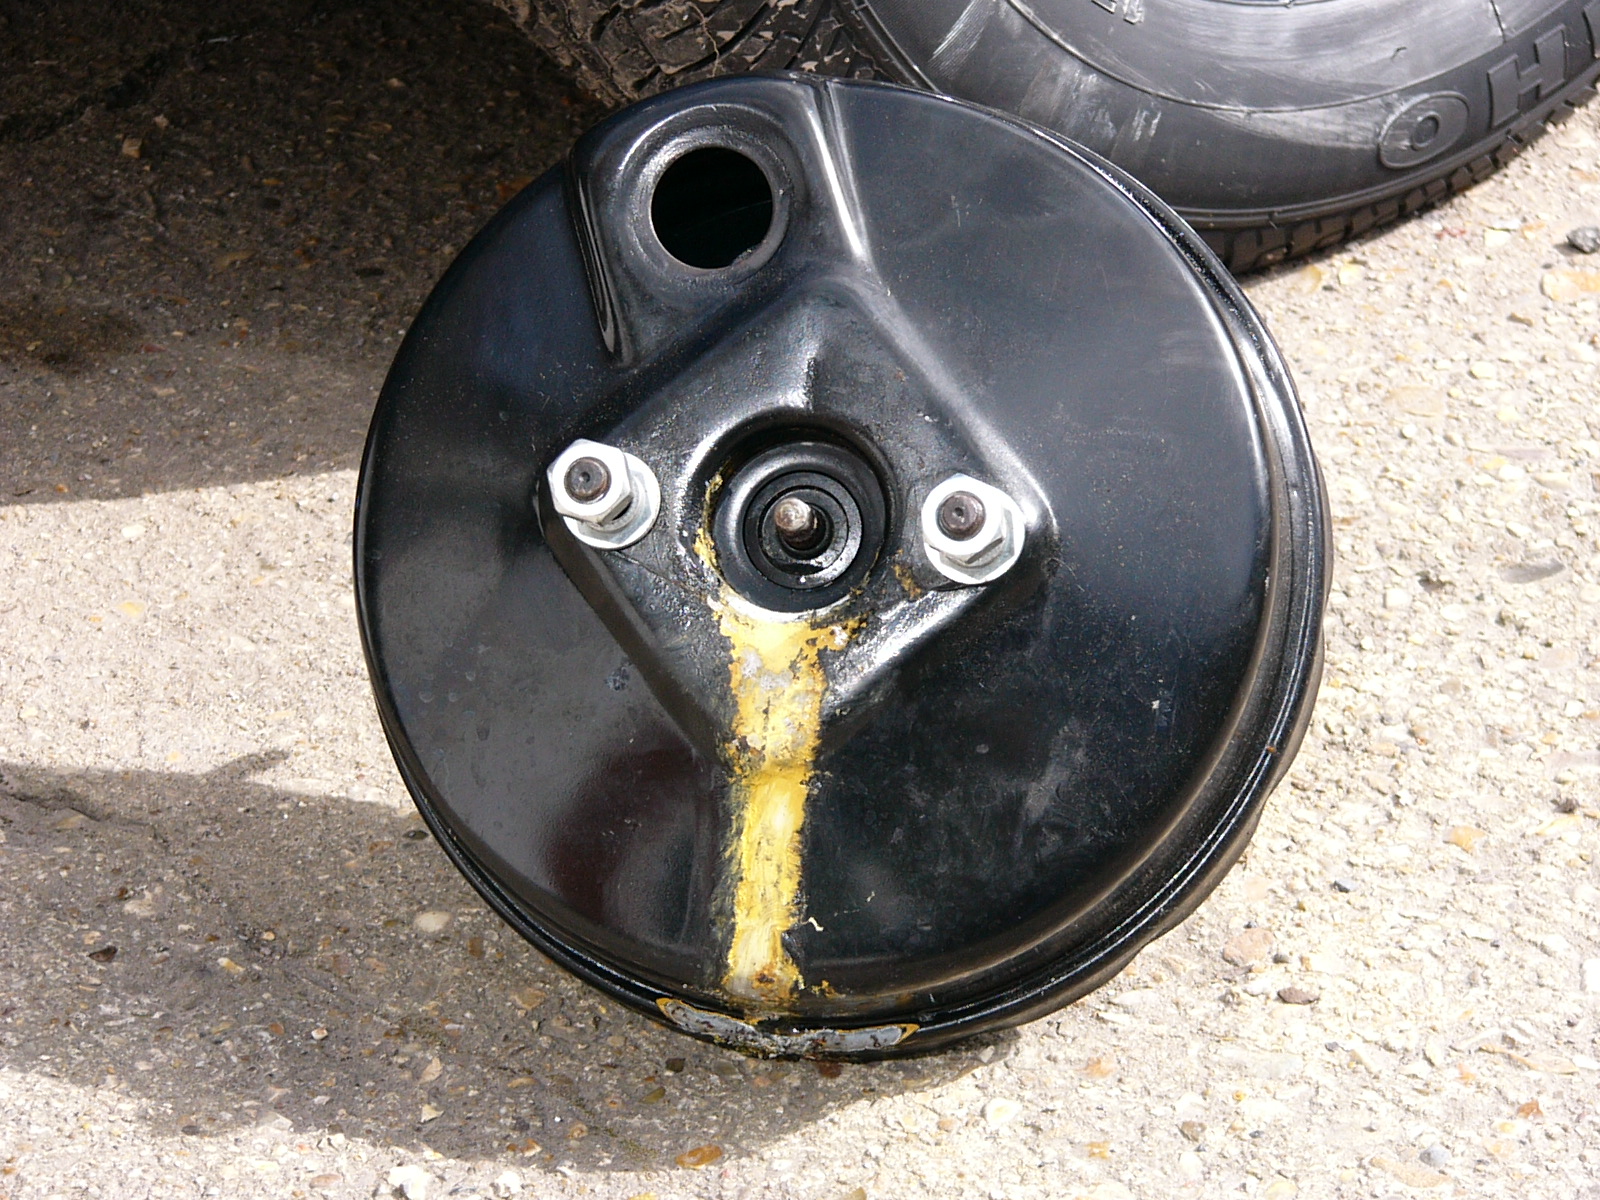
Brakes At the same time as I had the shocks changed I had all the brake pipes replaced for the sake of it really and upgraded to Goodridge flexible hoses. During my ownership the wheel cylinders and shoes have been replaced and the brake fluid was changed only a couple of hundred miles ago. And then the servo locked on - after speaking to Paul this also happened to him - his muppet decided to change the brake fluid from synthetic to mineral. And not put the master cylinder to inner wing bracket on? Anyway - the problem happened to the missus whilst she was driving - brakes locked solid. The servo would lock itself on - nothing to do with the master cylinder or hydraulics - so bog all to do with fluid. I've replaced the master cylinder and now put ST vented brakes on the front. And put the bracket on.
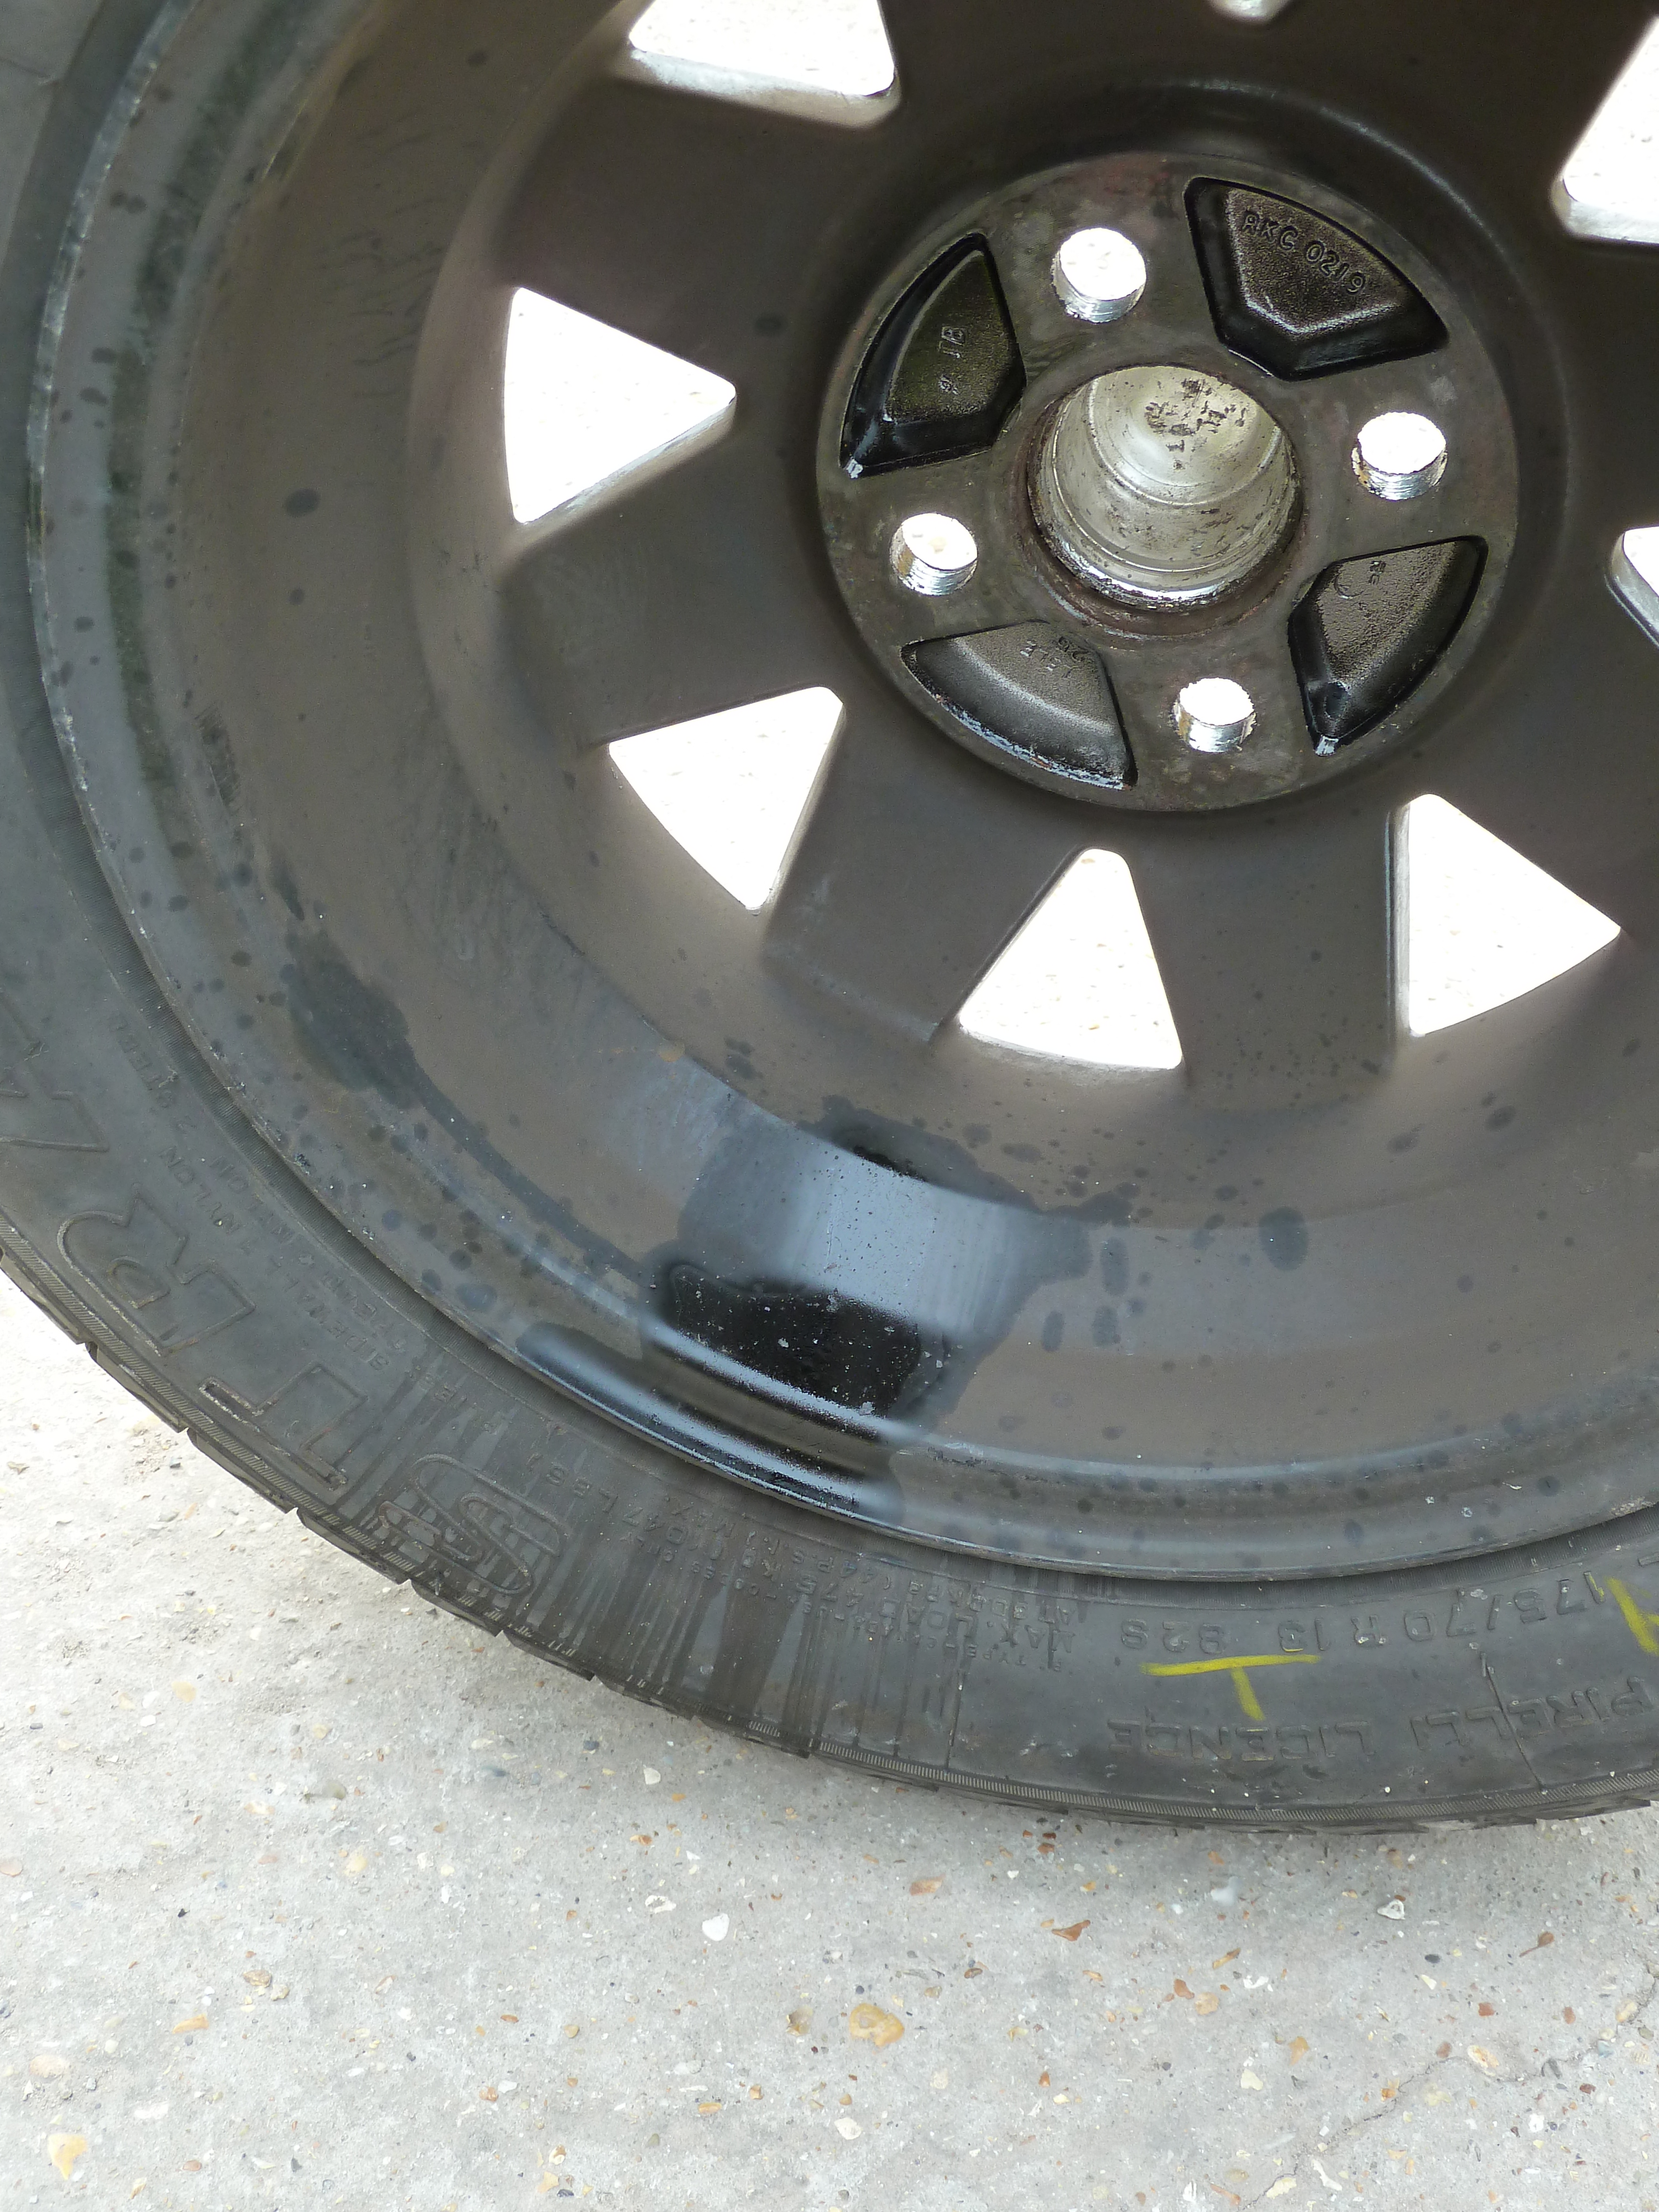
Documents I have the original vehicle wallet containing the Sprints early service history which is main dealer stamped up to 24,521 miles on 12-11-98, the Triumph Dolomite Sprint original handbook and Unipart radio user guide. There are also some old invoices as well as the more recent ones I have saved, old MOT certificates and SORN declarations. Summary To sum up I would say that this is one of the best remaining Sprint's that has not undergone a full restoration and therefore it is also more original. There have been a few sensible enhancements but most of the original parts have been kept and will be supplied with the car. No work at all is required. The car has good tyres, a brand new battery and has just been serviced so there should be no need for money to be spent on maintenance for a while. The tyres were a mix of 185/60 and 175/70-13's - all cheap crap different make tyres - how you'd drive on theses I don't know. They have been replaced with proper 175/70 HR 13's. And god knows how much I've spent on maintenance. |